Can you believe it?! It’s December 9th already, and we are into our 2nd week of December. The Christmas holiday is rapidly approaching and we are gearing up for a very fun (but busy!) couple of weeks.
For us expats living and working abroad (our family is in Shanghai, China), it can be also a difficult time due to the many farewells, as lots of families and their children relocate in December. It’s tough to say goodbye to dear friends so the moment our kids began attending the International School, I made it a habit to have little holiday gifts and personal cards ready for them to give to their classmates. Today, I want to share one of these gift ideas with you… and show you how to use your digital holiday kits to the max.
As an added bonus (because this month can be really busy with work, school activities, winter concerts, cultural activities, and parties), it’s great to be able to create these little gifts with minimal effort. This is a “quick and dirty” way to have something special and custom to give to loved ones. 😉
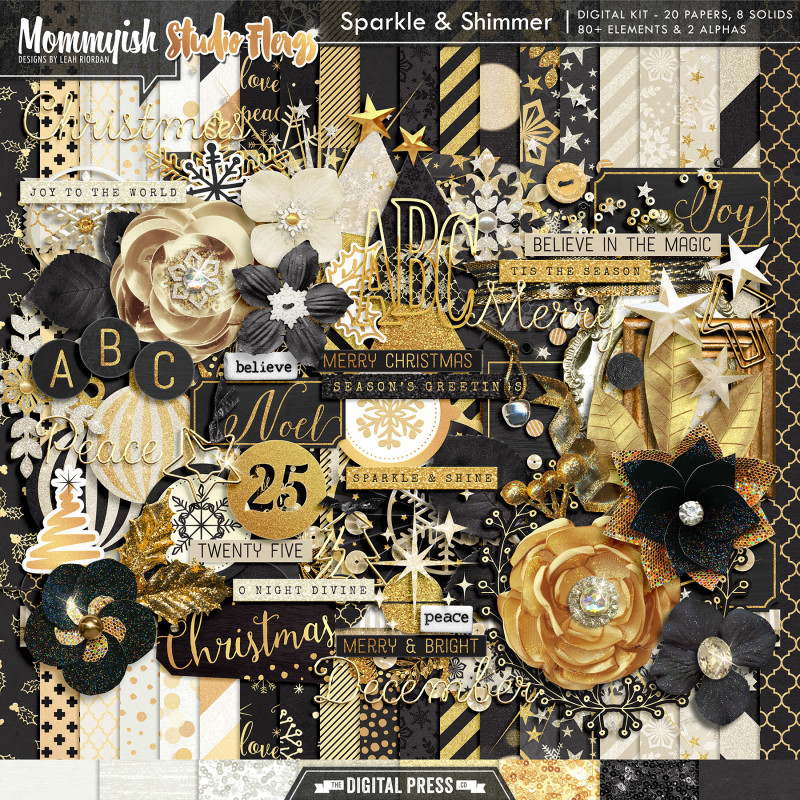
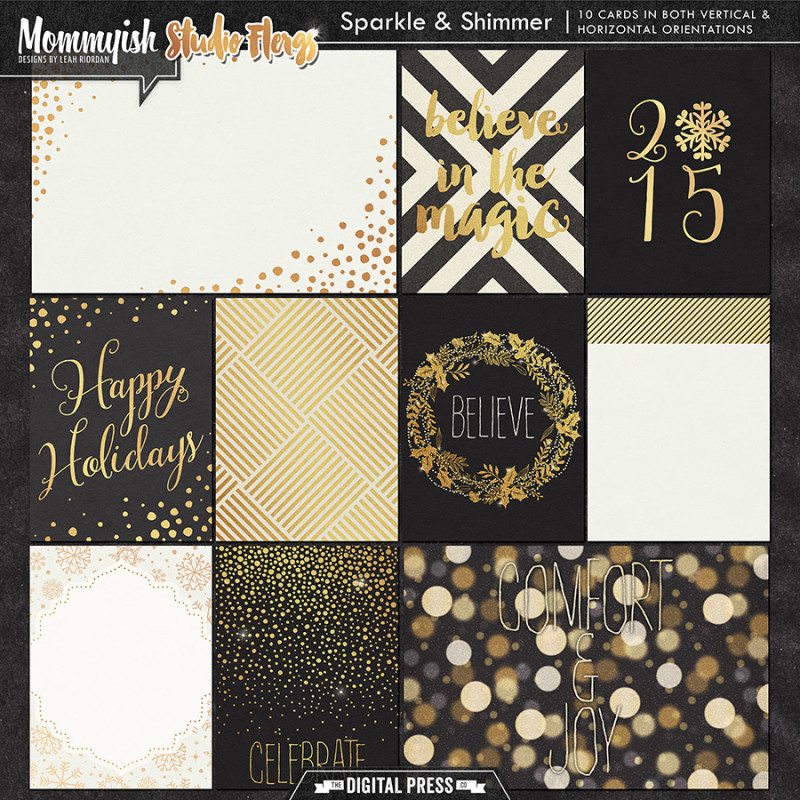
To get started, you will want to choose a digital kit/collection to work with. Lately, I have been loving the look of golden bling… and I couldn’t resist using the gorgeous Sparkle & Shimmer collab by Mommyish and Studio Flergs. This kit has so many awesome papers, journal cards, and elements that are perfect for adding some holiday sparkle…
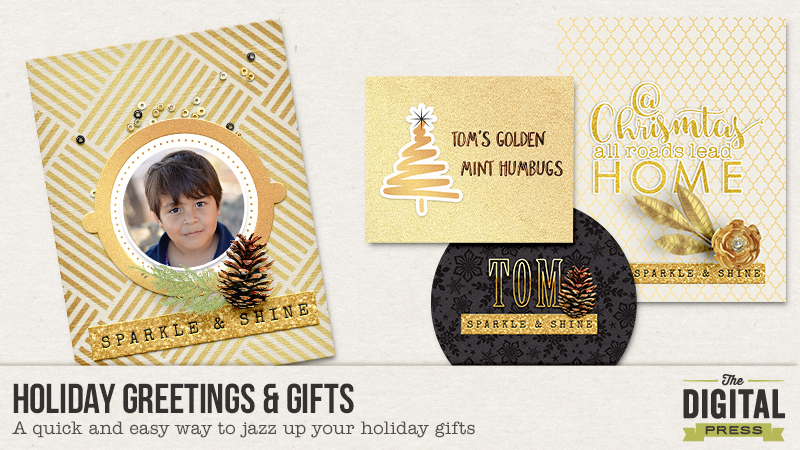
For the little tags I love to use journal cards/pocket cards, because most of the time they are the perfect size and you just have to add elements or word arts to make the tags your own. I chose to use these…
I also used an element (the little pine cone you see in the image below this) from the kit Traditionally Festive by KimB Designs (coming to TDP on Friday!).
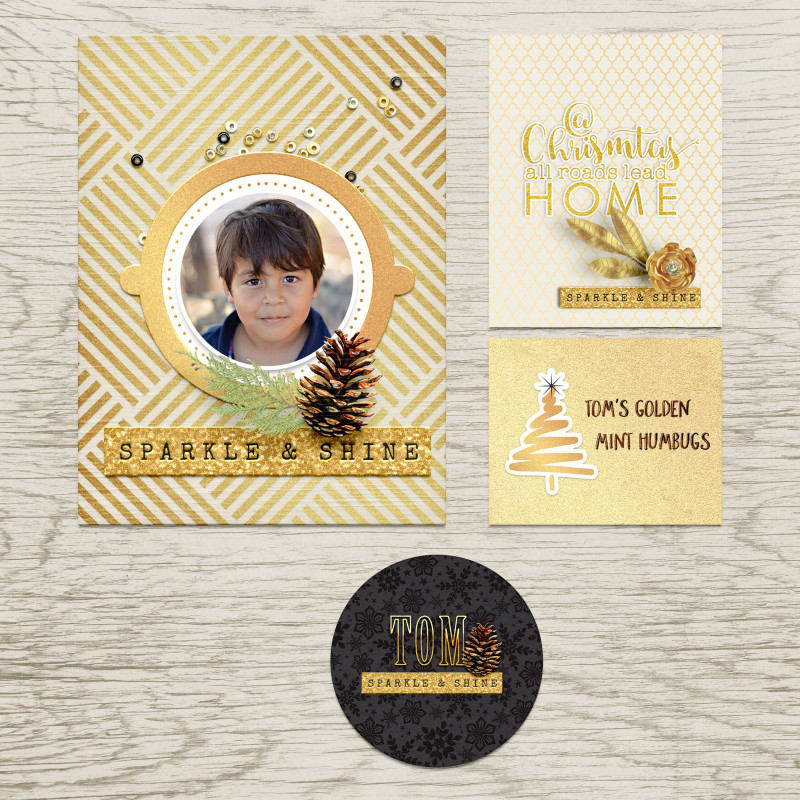
For this tutorial, I will be showing you how to decorate little candy jars. You can either buy the ready-made ones (pre-filled with goodies), or find yourself some mason jars & fill them yourself. For this blog post I am using ready-made versions.
Before I started to make each tag, I first measured the dimensions of the space I wanted to cover. For the candy jars (see below), I wanted a rectangle for the front & one to cover the back (I want to leave the ingredients list untouched). I also want to have something covering the cap as well.
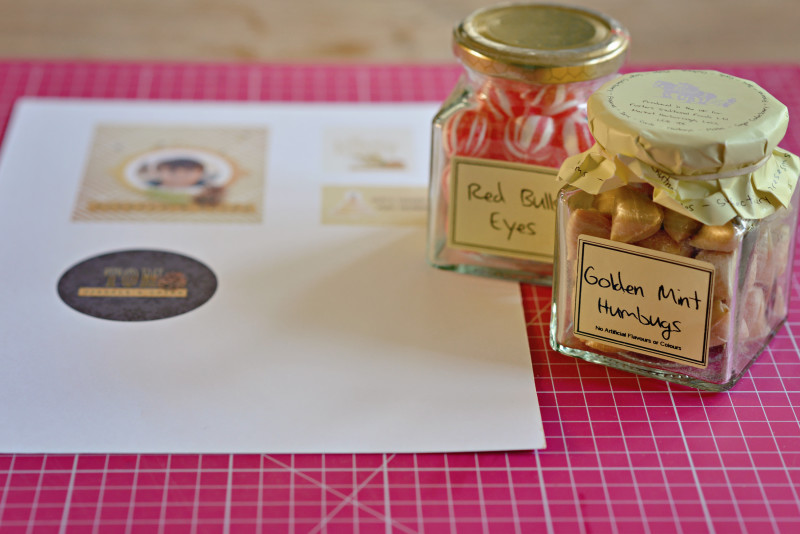
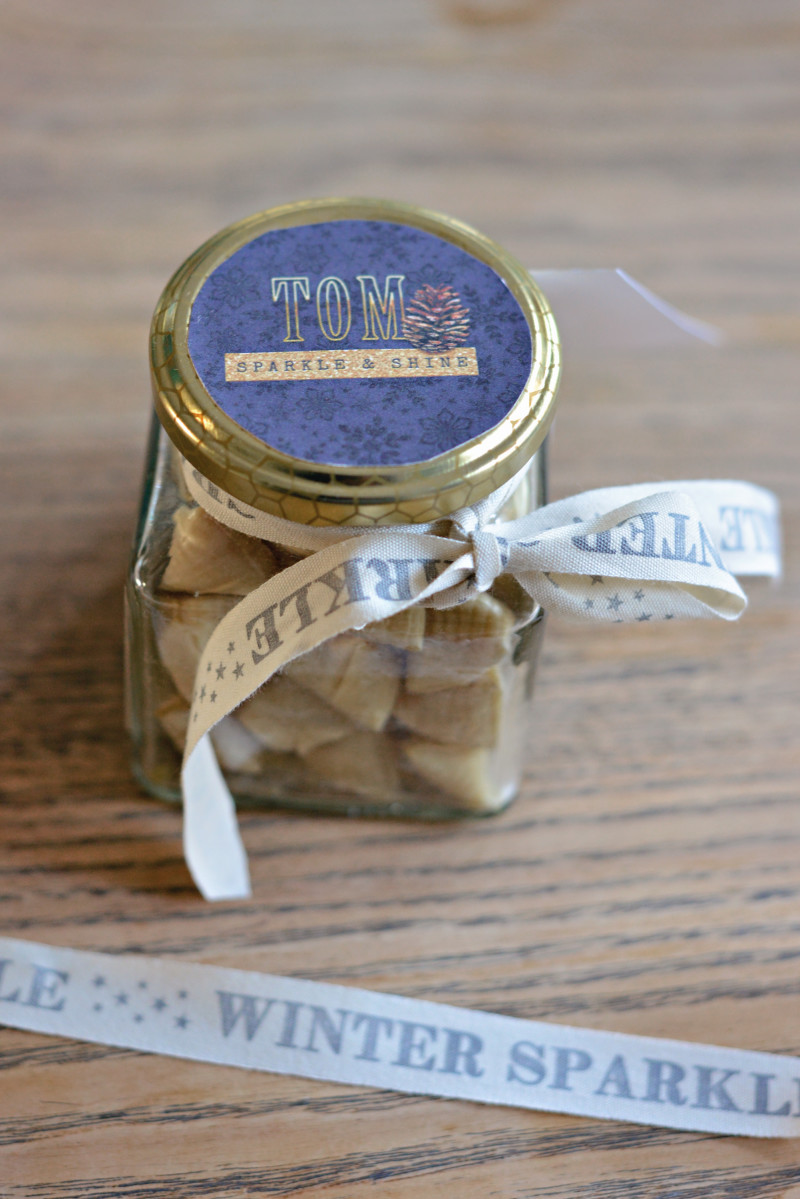
Once you have measured/planned and you are happy with your designs on the computer screen, print them out and then the magic can start. Here’s a look at a circle I printed out for the cap…
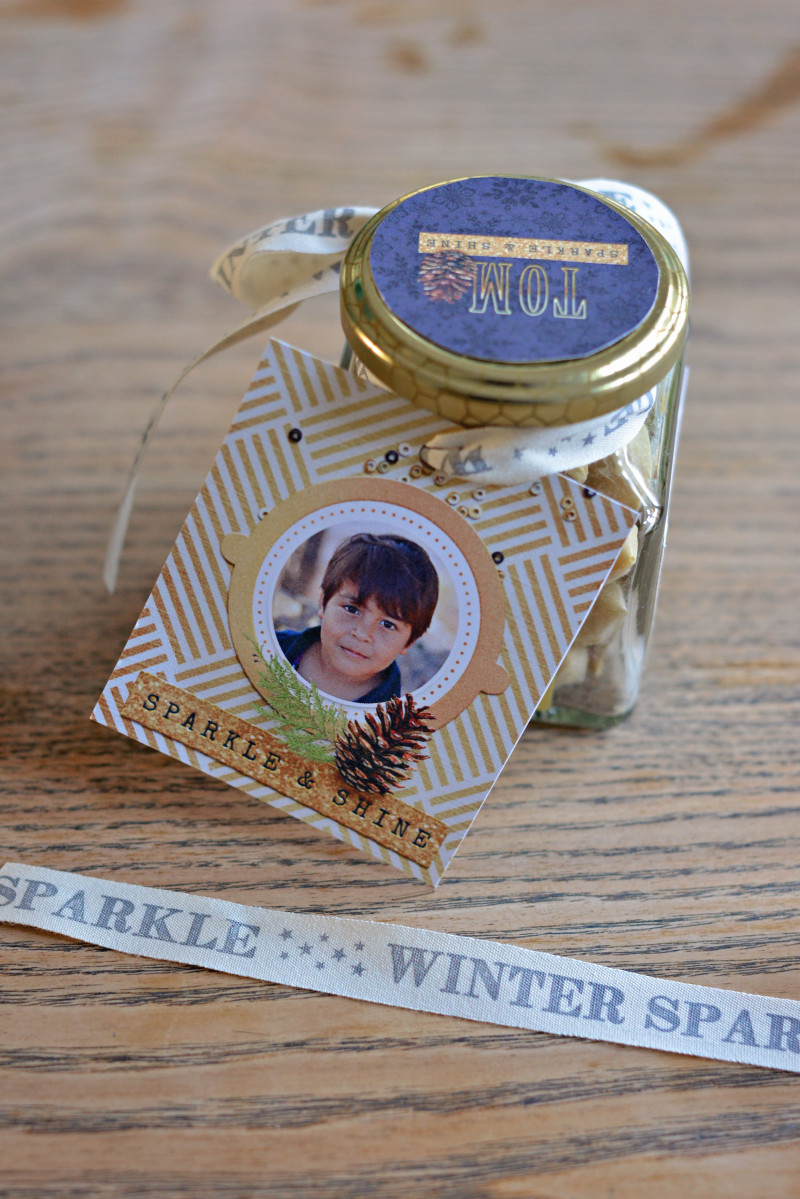
Here’s a look at the rectangle I used on the back, along with the tag I created to hang around the “neck” of the jar…
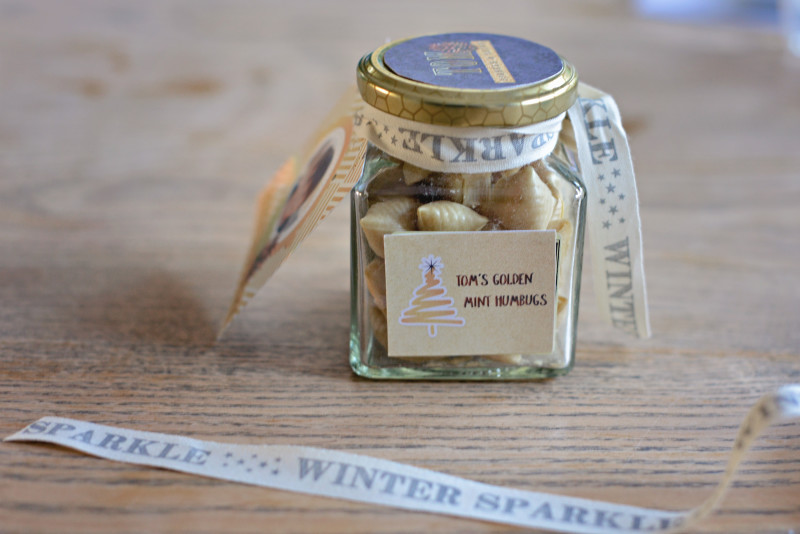
When I tried to add the gift tag I realized that it was a tad too large… so I ended up eventually cutting some from the top and the bottom.
Another option for small/simple gifts that I love to use… peppermint candy canes. Kids love them, and it’s a really easy item to tie a little tag onto (and then place all together in a bowl; I love to use the little Chinese steamer baskets — it looks awesome and makes it easy to share for my youngest).
It took me about 15 minutes to design the labels & tags. I printed them on 120 gr white paper, added some pretty ribbon, and in 30 minutes max I finished these cute little gifts for their teachers and good friends.
Hopefully I have inspired you to create some wonderful holidays gifts, as well. If you give it a try… please come show them off in the gallery or forum here at TDP, because I would love to see what you create and get inspired as well!
 About the author Cecilia (aka MissK) is a member of the creative team here at The Digital Press. This Dutchie is at the moment living and working in Shanghai, China as a photographer. Together with her husband, Udo, and kids Lana (7) and Tom (5), she loves to explore the world and enjoy life to the max. Carpe Diem!

