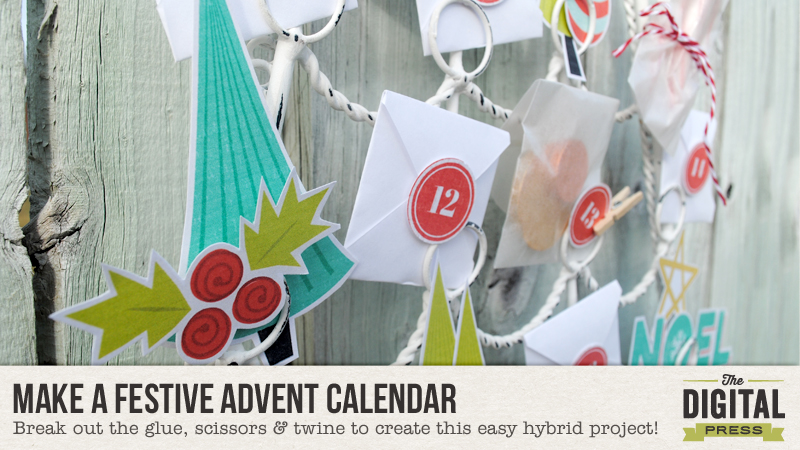
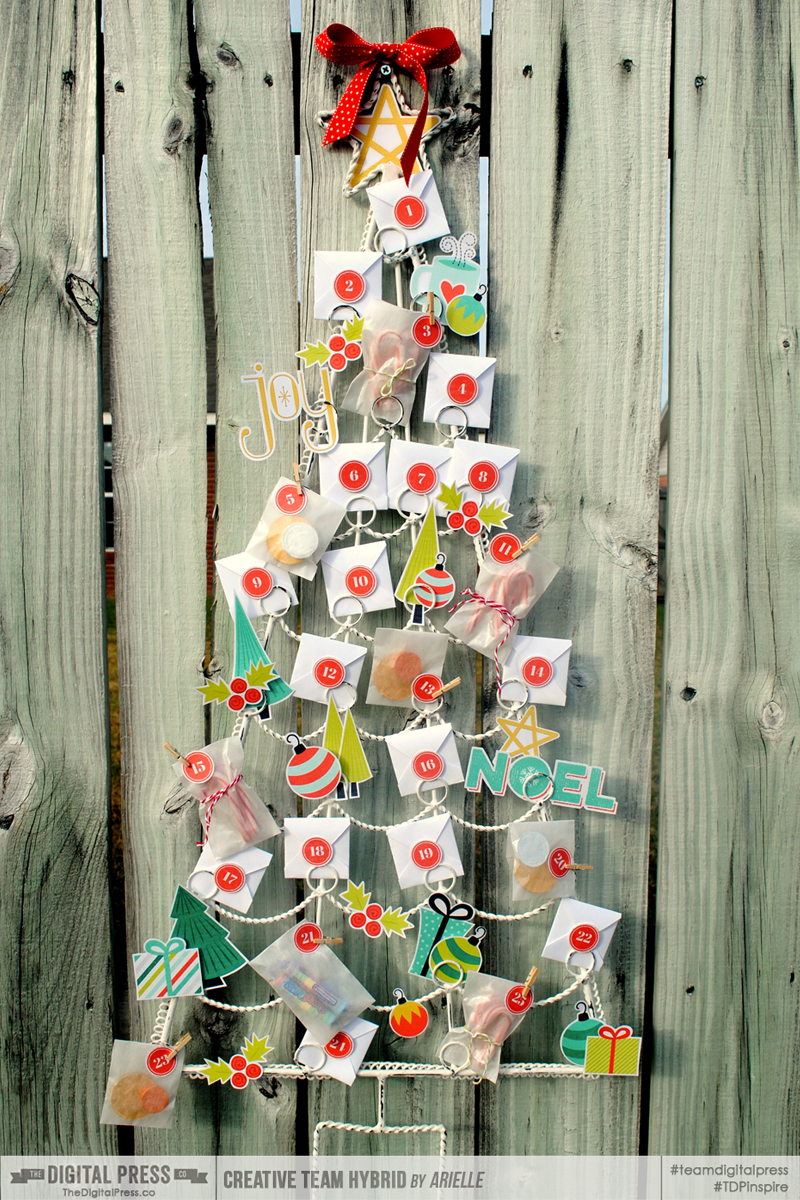
I love everything about Christmas, especially traditions. For the last few years, I have dreamed of having an advent calendar for my family as a new tradition… but what a seemingly-HUGE undertaking! I like quick crafting (another reason I love digital scrapping!), and taking on such a project has always daunted me. When I saw this gorgeous digital kit, however — Season of Joy, by Scotty Girl Designs — and this fun Whitewash Christmas Tree Cardholder from World Market, I knew I had to make it happen this year!
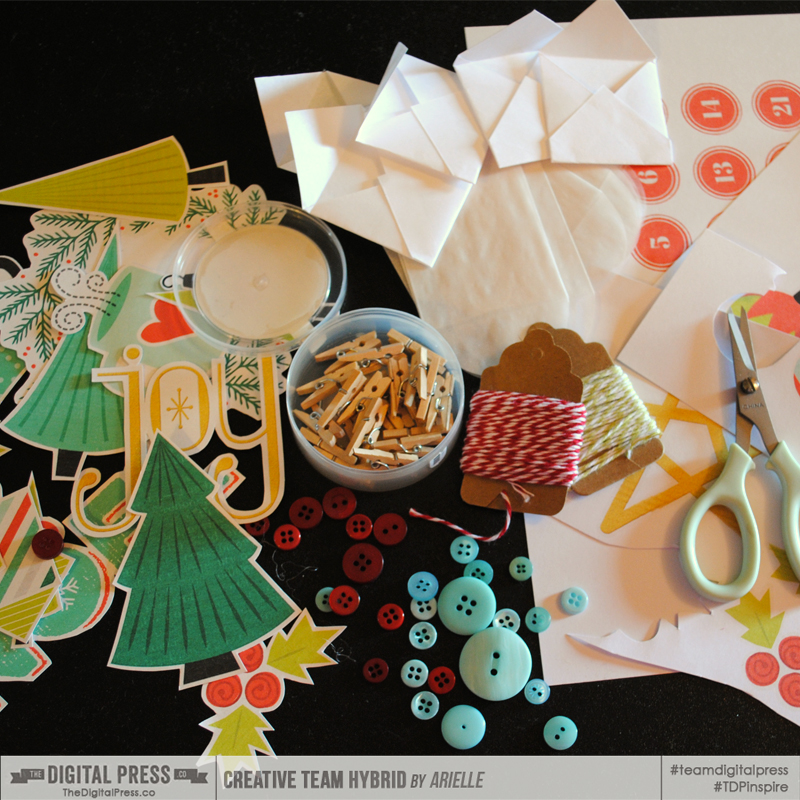
First, gather some crafty supplies —
- Digital kit of your choice (I used Season of Joy, by Scotty Girl Designs )
- Thin cardstock & plain bond white paper
- Adhesives (I used dimensional glue dots & an ATG gun)
- Scissors & paper trimmer
- Other embellishments such as twine, ribbon, buttons, and mini clothespins (I ended up not using the buttons, which is crazy — because I usually put buttons on EVERYTHING!)
- Cardholder, or other frame to the calendar elements
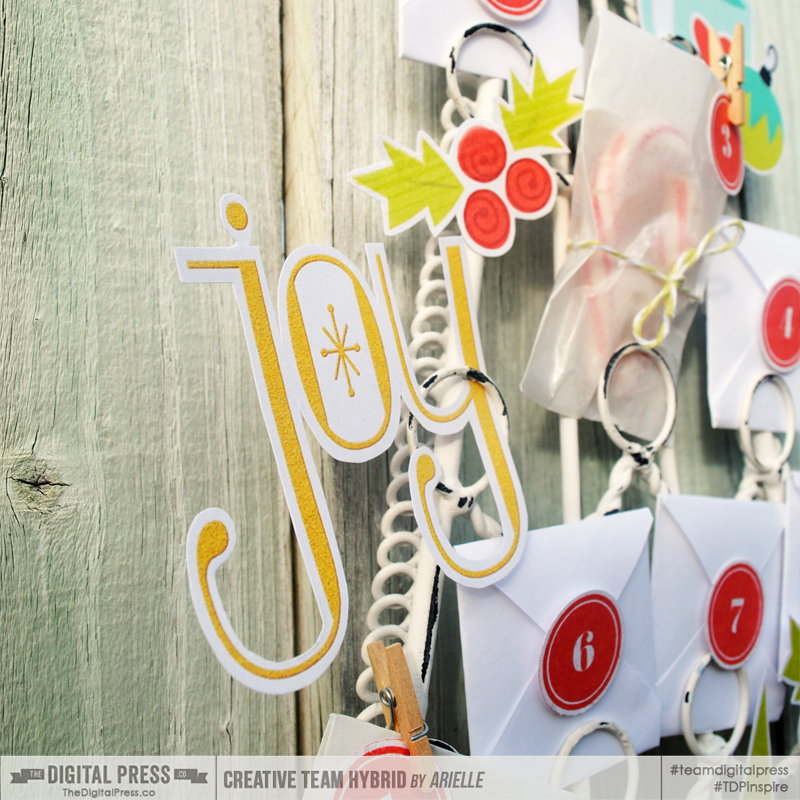
I started the project by taking a photo of the tree cardholder and then enlarging it to 100% in Photoshop, so that I could measure/resize the elements and decide on their placement. I quickly figured that my little envelopes needed to measure 2″ square, and then I was able to fill in the gaps with elements from the kit, and size them appropriately. The numbered circles are from one of the patterned papers in the kit – I sized them to 1″ inch so that I could quickly use a 1″ punch to punch them all out. Once that was squared away, I set up 8.5″x 11″ documents of what I needed, printed them, then trimmed out all the pieces.
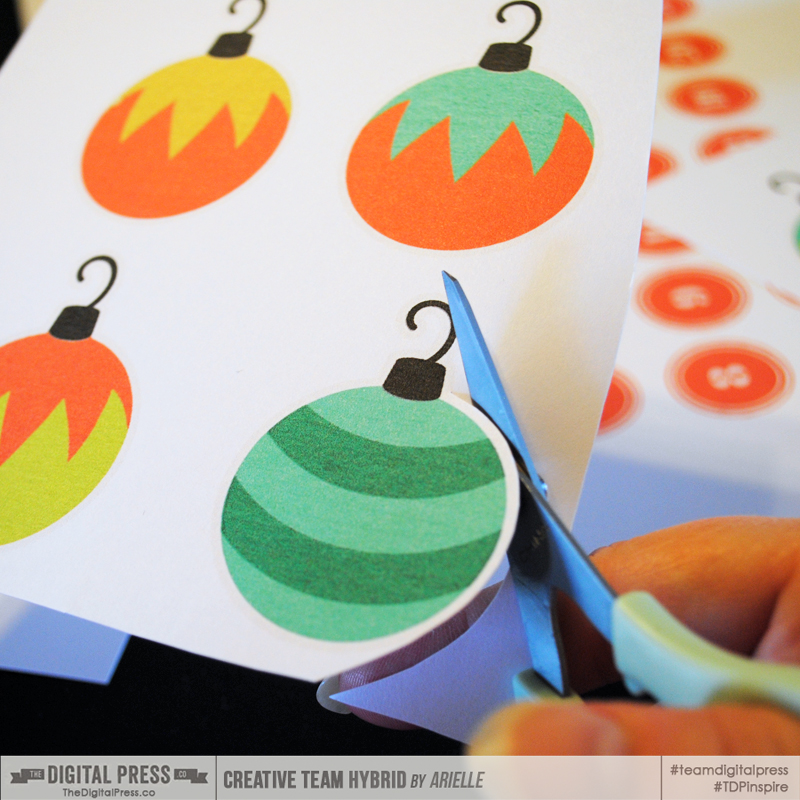
I loved how all the elements in this kit have a white border – I could just make it out once they were printed, and used them as guides as I trimmed them.
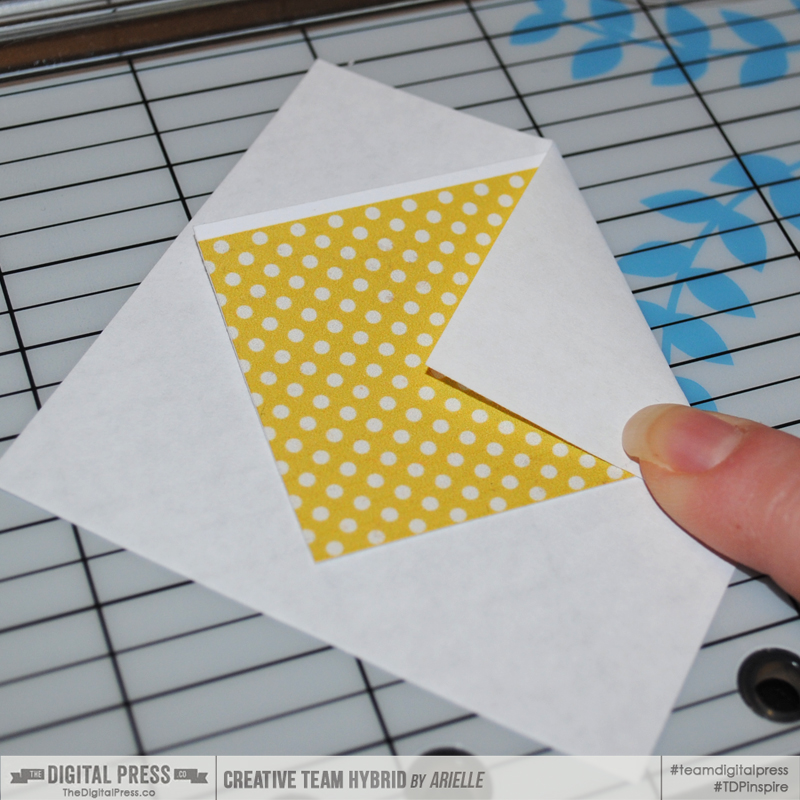
For the little envelopes, I cut plain white paper to 3.25″ square. I used a 2″ inch template of thick cardstock to fold my envelopes. I lined the corners up on the grid of my trimmer, to make it easier to center my template, and taped the bottom flaps down as I went. Then I tucked a little note into each, directing us on something to do for that day (you can find awesome lists on Pinterest to get ideas for your own notes!).
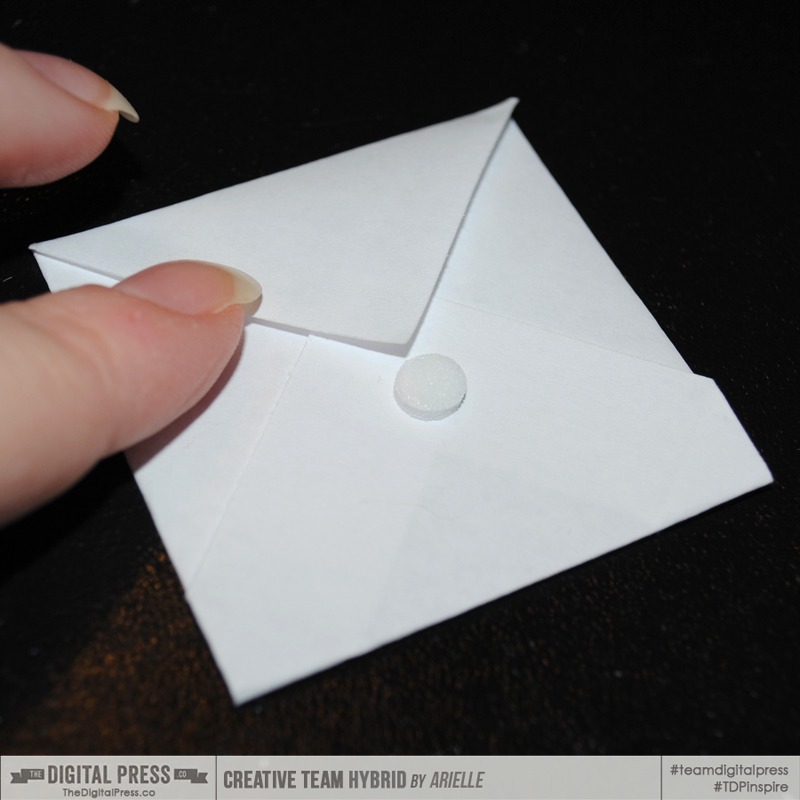
To make the envelopes easier to open, I placed a dimensional glue dot directly under the flap. Later, I adhered the numbered circles onto them, which helped to keep the envelope sealed… but still let it open to easily remove the notes.
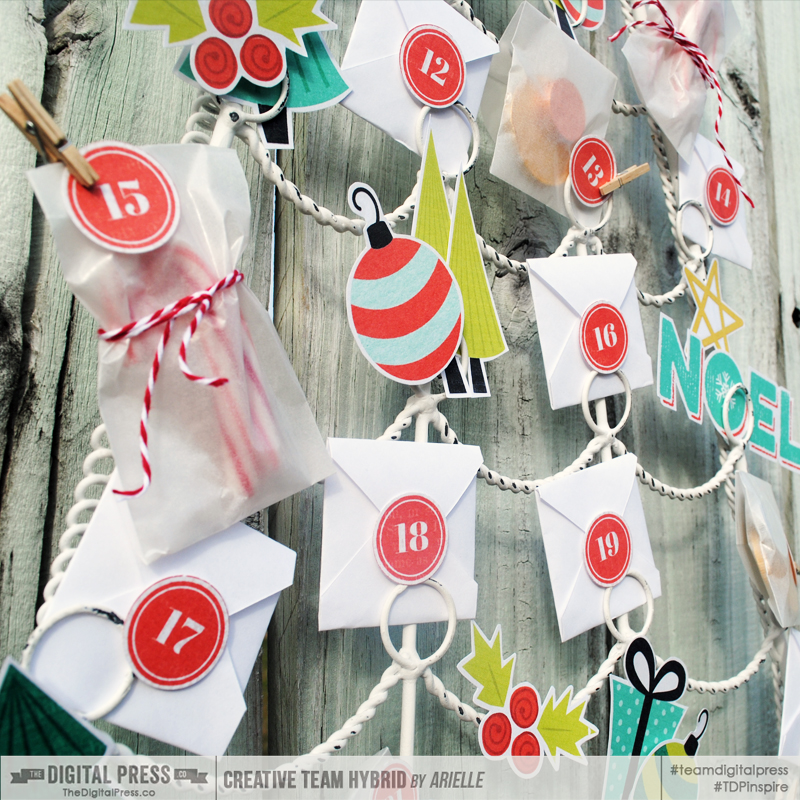
I also used mini glassine envelopes and filled those with little treats (I only did nine treats, as I didn’t want the calendar to be all about the candy!).
After you have everything trimmed and ready to go, I suggest putting all the envelopes in place on the frame and then sticking on the numbered circles; that way, you’re not shuffling through them to try to find what goes where. Finally, all of the open spots are now ready for the magic touch — the adorable elements!
I didn’t want anything adhered TOO permanently, so I mostly tucked elements in or pinned them to the frame with mini clothespins. You could always use twine or ornament hooks, as well. I am so excited to have something I can customize each year!
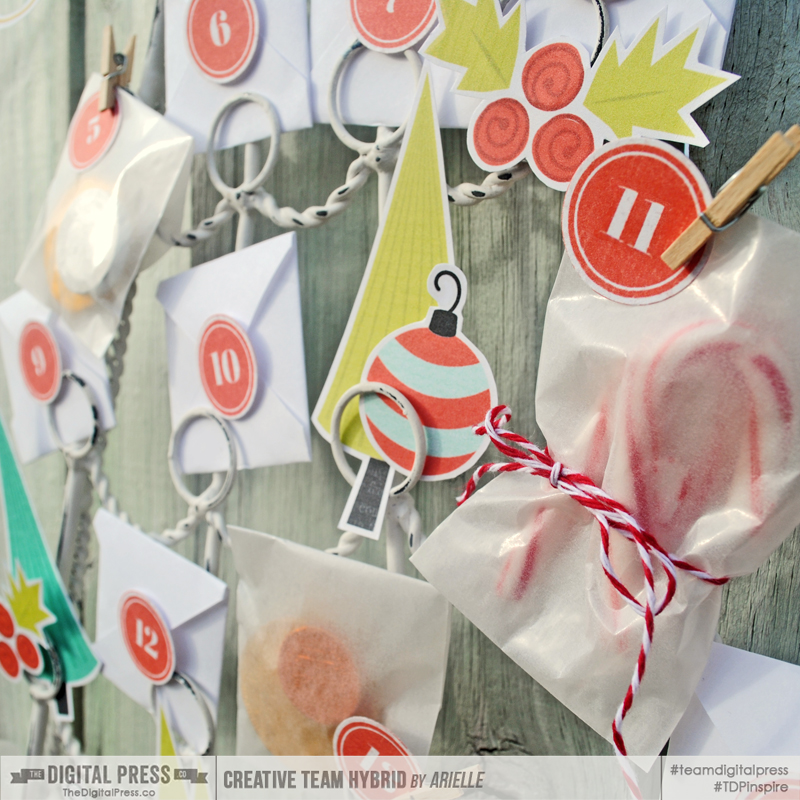
You can make your calendar as simple or detailed as you like. This one took me about 5 hours total – which is a bit lengthy for me [wink!] –but the finished product made it worth it! I am so excited to be starting this tradtion with my family!
We would LOVE to see your hybrid holiday decor – please share it with us over in the hybrid gallery and our Facebook page. And be sure to come back tomorrow to see the second post in our 12 Days of December series!
 About the author Arielle H Gordon is a wife and mom of two crazy kiddos, ages 5-1/2 & 7. She moved around (a lot!) before returning to settle down in her hometown of Enterprise, Alabama, to marry her sweetheart and start her family. She is an avid crafter — digital, hybrid and otherwise! She LOVES Jesus, family time, camping, gardening, reading cozy mysteries, hot tea, popcorn, and anything on the BBC! This time of year, you’ll find her glued to the Hallmark channel watching every single Christmas movie — even if she’s seen them 5 times each!

This is the cutest advent tree I’ve ever seen Arielle! Love the digital kit and the way you put everything together for a whole lot of CUTENESS!!
It looks awesome…..
Arielle, this is amazing!! This was so worth the time!!