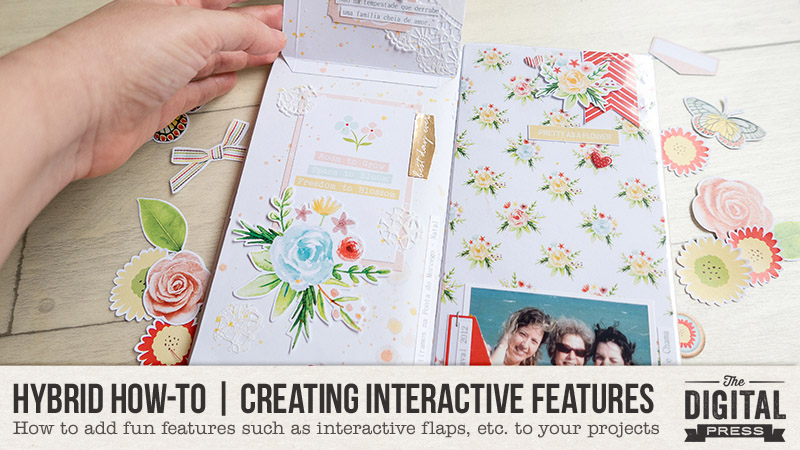
Hi everyone, and welcome to another edition of our Hybrid How-To series here on The Digital Press blog! Today, I’m here to show you how to create interactive features — such as flaps and pockets — to add to your hybrid and paper projects. It’s a really fun way to add more photos and journaling into your projects!
I think it makes a project more interesting and fun to add interactive pages, which give the possibility of finding some fun surprises by flipping open the pages within our notebook — surprises like hiding journaling notes and even some photos under flaps and in pockets.
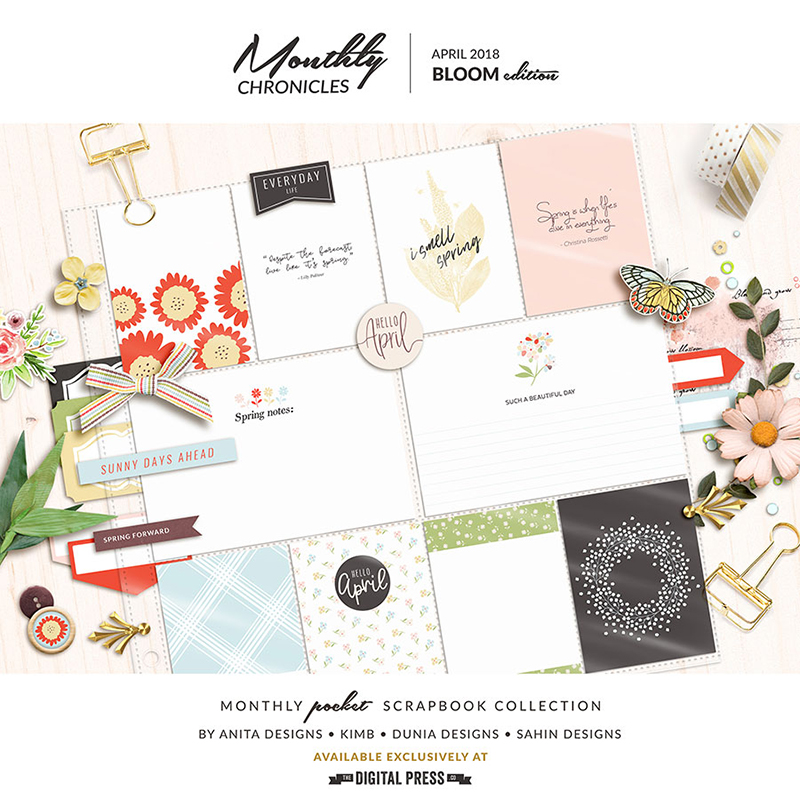
For my project today, I will be using one of TDP’s Monthly Chronicles digital collections — Bloom — shown here…
I’m going to be adding some of these interactive features to my own Traveler’s Notebook project.
Sometimes I want to work on smaller projects like this, because they’re very fun and not as time consuming. A Traveler’s Notebook is a great way to document things in a smaller format. We can make our spreads one day at a time, without being overwhelmed about finishing a larger 12×12 page or even a full mini album. It’s also a good way to document a weekend, a trip, a single date or event, or any other small moment in our lives.
The first interactive feature I wanted to add was a tiered page, with multiple layers/flaps for the viewer to open. This is an easy technique that you’ll master in no time at all!
The supplies you will need are listed here:
- digital printed papers
- your favorite embellishments
- your photos
- trim and score board
- double-sided tape or glue
- a pencil
My Traveler’s Notebook is a standard size, measuring 4.33″ x 8.25″ — but you can apply this tiered page technique to any size page/album or any kind of journal, simply by adapting the measurements to fit your own project’s “canvas”. No matter what size you are creating, keep in mind that you will have to trim the paper slightly smaller than your journal, for a nice border finish and to prevent your book from becoming too bulky.
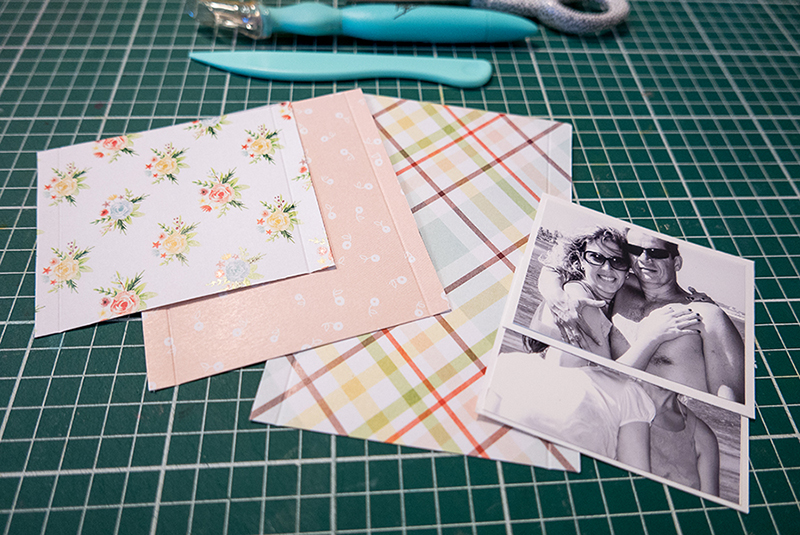
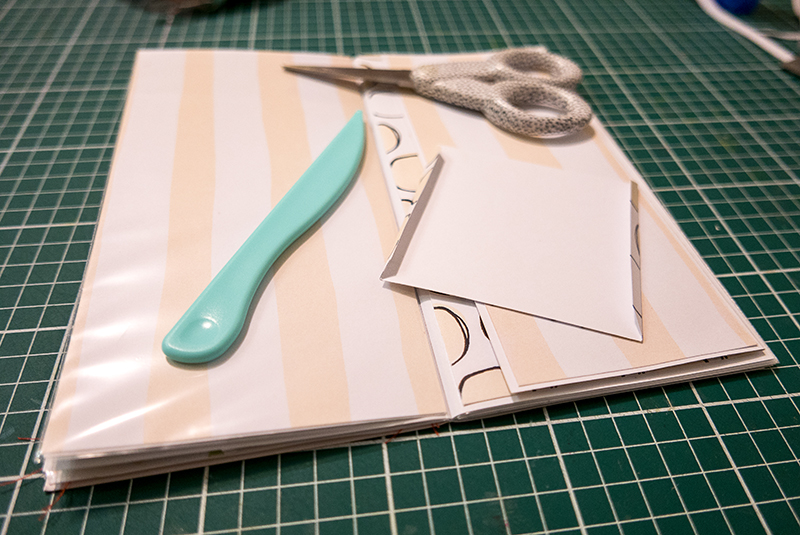
First, I cut three pieces of different patterned paper, measuring as follows…
- 3 1/4″ x 4″
- 4 1/2″ x 4″
- 5 1/2″ x 4″
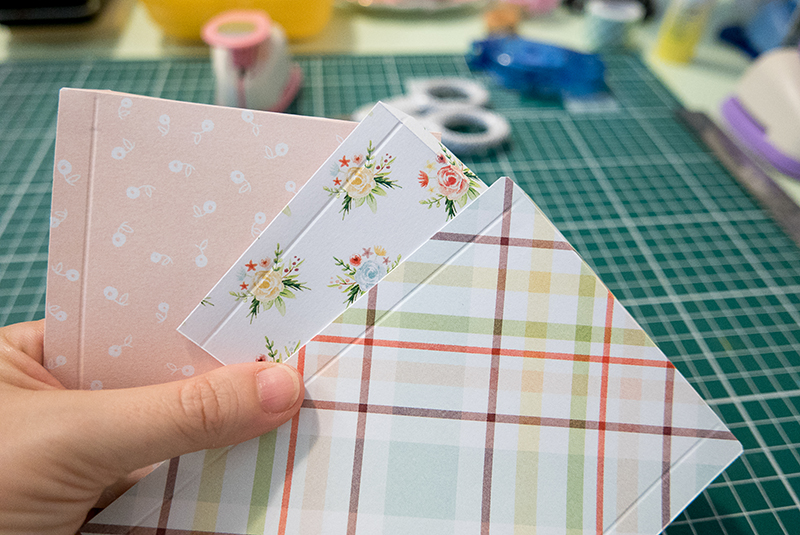
Once my papers were cut, I folded them at 1/4″ from the top, as shown in the photo above.
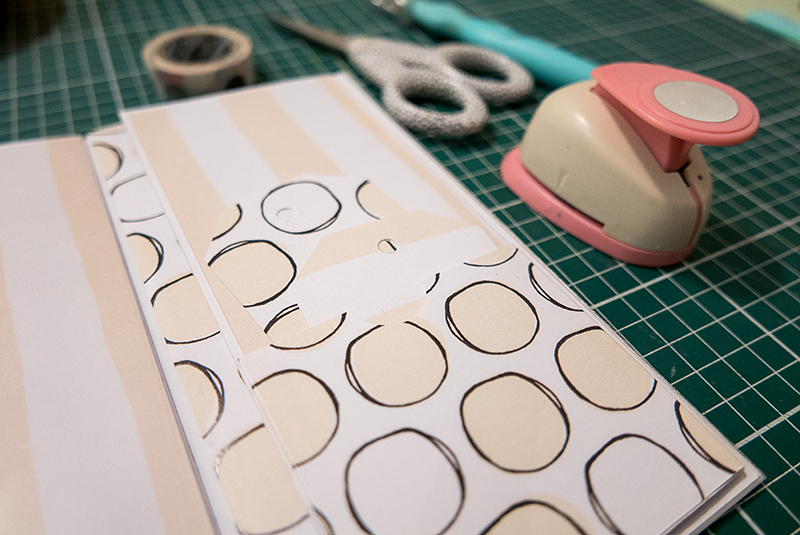
Next, I glued the folded top 1/4″ of each of the 3 papers down onto my main notebook page, in 3 tiers, as shown here…
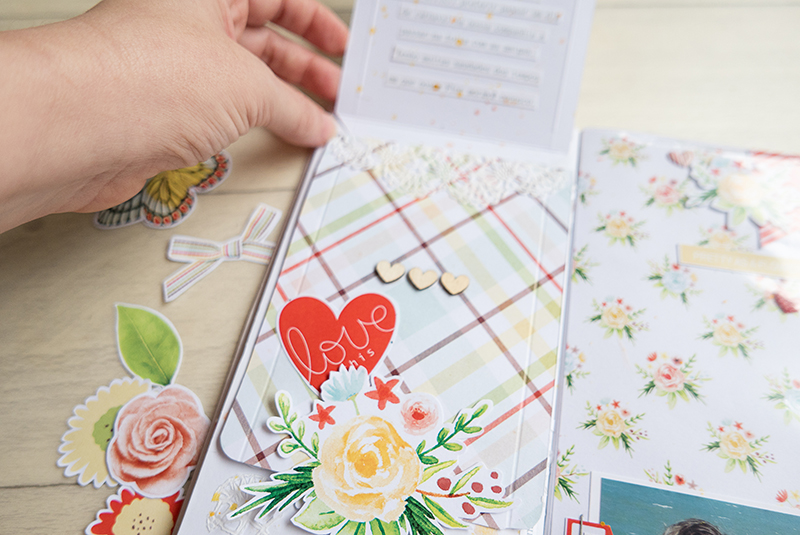
Each paper was glued just below the one above it. Here’s a look at the second level…
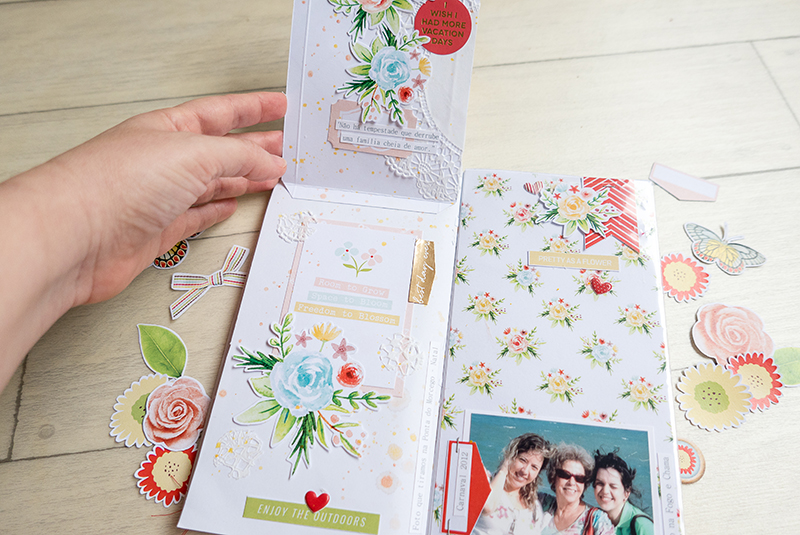
And finally, the lowest level (and what appears underneath it)…
Tips & Tricks:
- Have your paper widths cut evenly so they will all line up perfectly.
- Keep the paper that lines your page slightly smaller for a nice border finish and to prevent your book from becoming too bulky.
- Make sure your fold lines are nice and crisp for a sleek finish.
- For a softer edges, you can round the corners.
- Use different contrasting papers for each tier, which really adds to the effect of this technique.
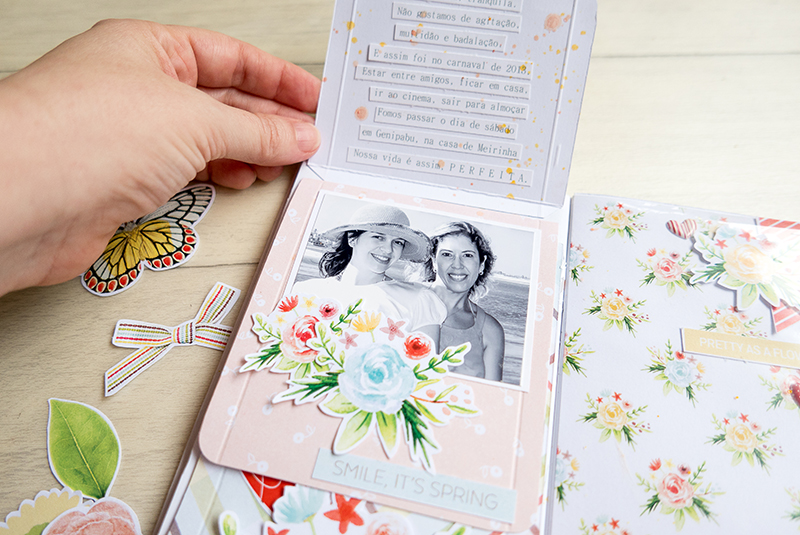
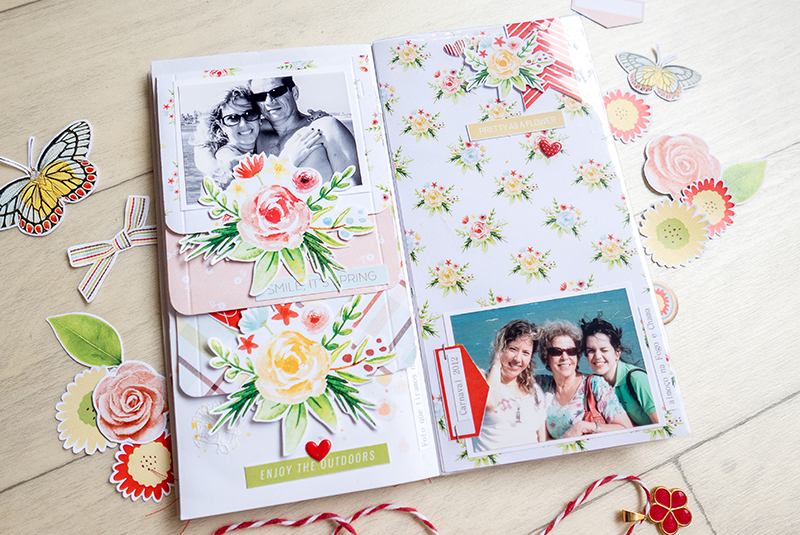
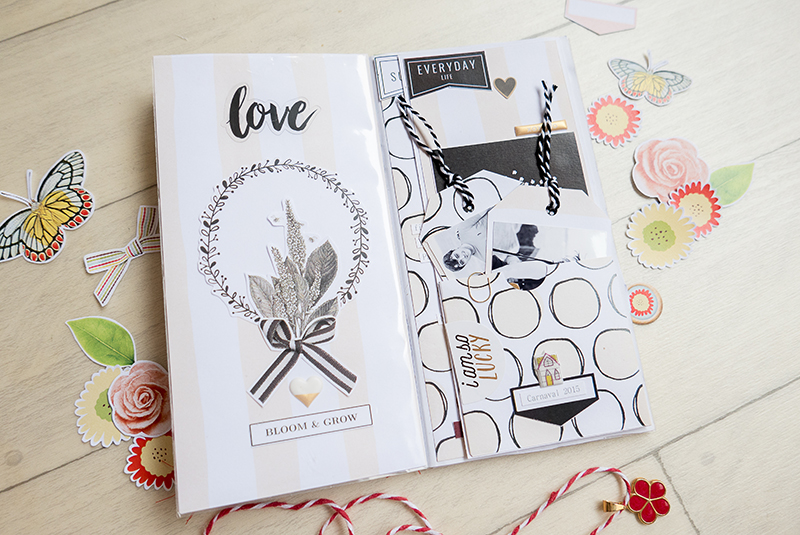
Here is a look at my final spread; you can see all 3 layers nicely on the left side…
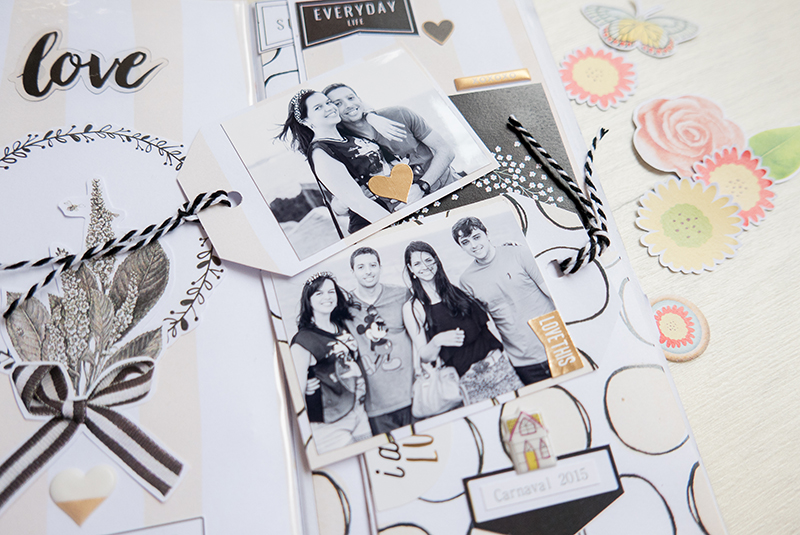
The second interactive feature that I want to show you today is a fold-out page, as you can see in the following photo…
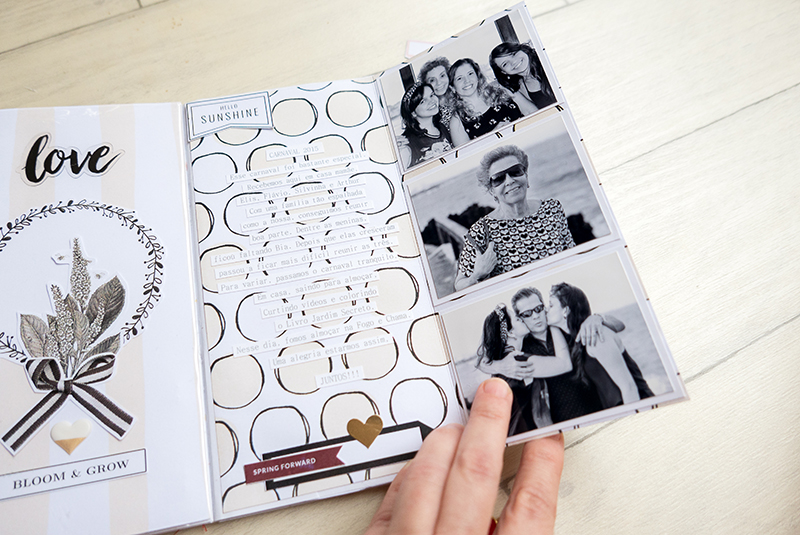
For this page, I chose my paper and cut it so that it measured 7-1/2″ x 8-1/8″. Then, I folded it at 3-1/2″ from the right side (as shown, above).
As you can see, the flap allowed me to insert three photos on the far right, and still have space for a lot of journaling in the middle section of my notebook.
It’s a really quick/easy technique that makes the page more fun and interactive!
Finally, the last interactive feature I want to show you is the addition of a pocket on one of the fold-out pages, as shown here…
For this pocket, I cut a piece of paper, measuring slightly smaller than my notebook page’s size (mine ended up being 4″ x 3-1/2″).
Then, I folded each side at 1/4″ in order to glue my pocket on my page…
Once the paper was glued down to create the pocket, I could start sliding items inside (like the 2 tags I created, shown here)…
Then I glued some photos onto the tags, and added tag strings, to make the process of pulling the tags in/out of the pocket really fun…
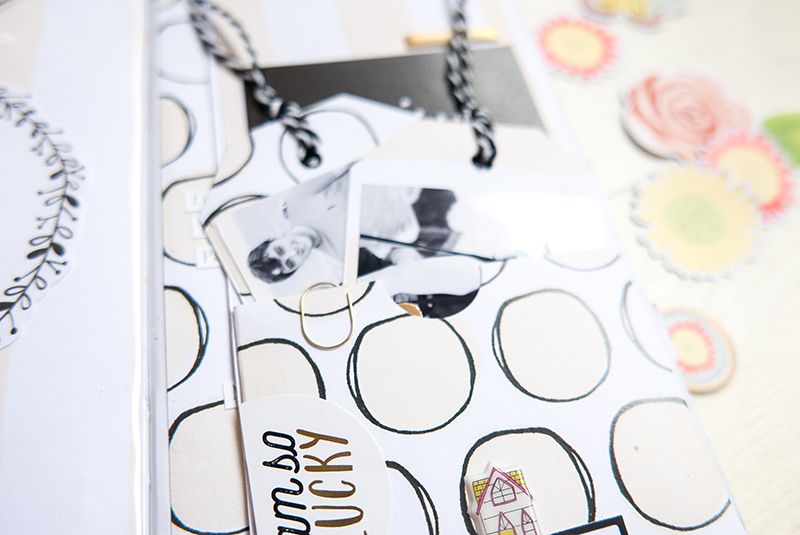
Here’s another look at the finished tags, out of the pocket…
Aren’t these techniques fun? And they’re really very easy, as well!
I hope that you have enjoyed this edition of Hybrid How-To! I had a great time making this project.
If you’re feeling inspired and you’d like to give this a try, too, don’t forget that you can earn challenge points at TDP! Come visit the CROSSWORD SECTION in The Digital Press forum, and you’ll find this month’s Hybrid Challenge thread (for each month’s Hybrid Challenge at TDP, you get to choose one of the month’s “Hybrid How-To” tutorial posts from here on the blog and make your own version). You’ll see how fun it is! Give it a shot, and share your final results with us! We can’t wait to see what you come up with.
Have a great weekend you guys, and happy scrapping!

About the Author Andrea Albuquerque is member of the hybrid creative team here at Digital Press. Andrea has been a scrapper since 2010 and a photographer since 2012… and although she adores the flexibility and creativity of digital, she can’t resist playing with paper, paint, and embellishments. Hybrid scrapping is the perfect medium for her! She lives in Brazil with her hubby.