Category: Hybrid Crafting

Hybrid How-To | Decorated Envelopes

Hello and happy Saturday, Arielle here with quick little tutorial on making your own hybrid envelopes! Usually all of my mojo goes into creating cards, and obsessing over every detail… but I realized that I am missing an important part of the process – the envelope! Today I will show you how to make gorgeous, printable envelopes that take hardly any time at all, and will definitely make your snail mail “POP”.

Supplies Needed:

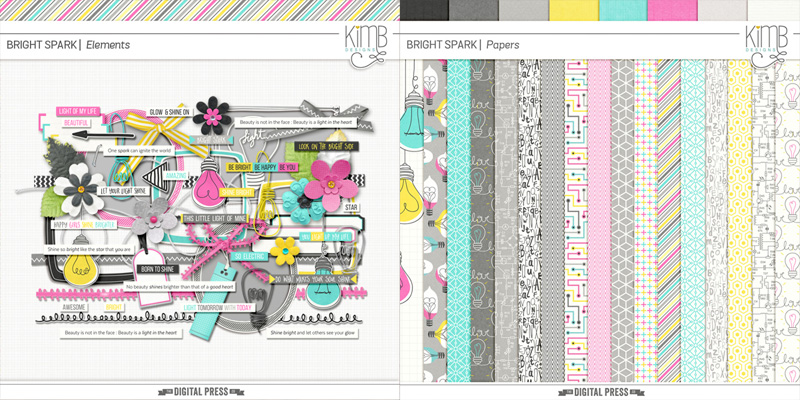
  • Digital kit of your choice (I used Bright Spark Elements and Bright Spark Papers by KimB Designs, shown below)
  • Paper
  • Paper trimmer or scissors
  • Scoring tool or a ruler
  • Adhesive (I used and ATG gun)
  • Envelope templates. (I found PDFs at SplitCoastStampers here [for 41/4” square cards] and here [for cards 41/4 x 51/2“])

ahg_TDPhybrid_080616_2a

Design:

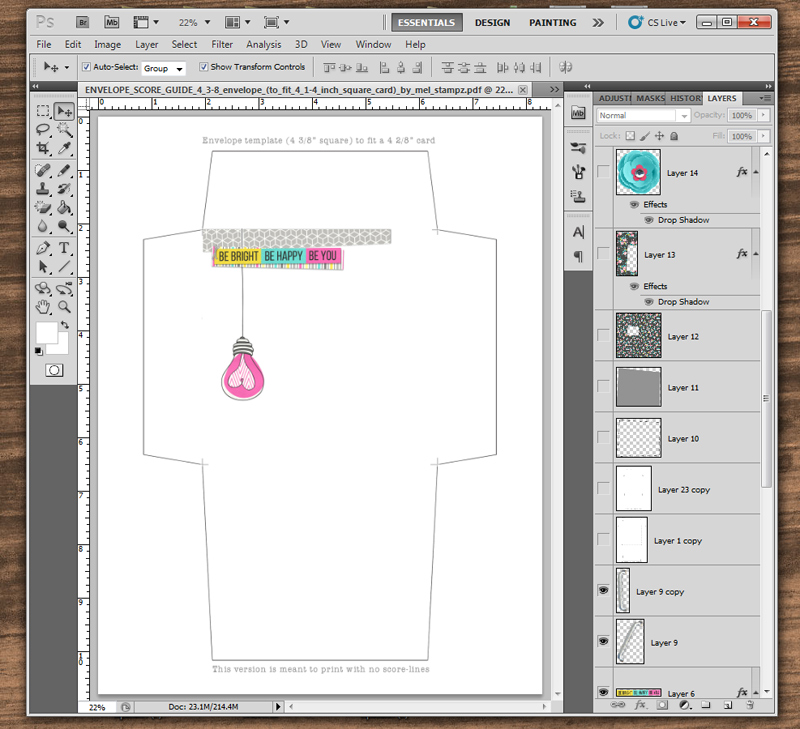
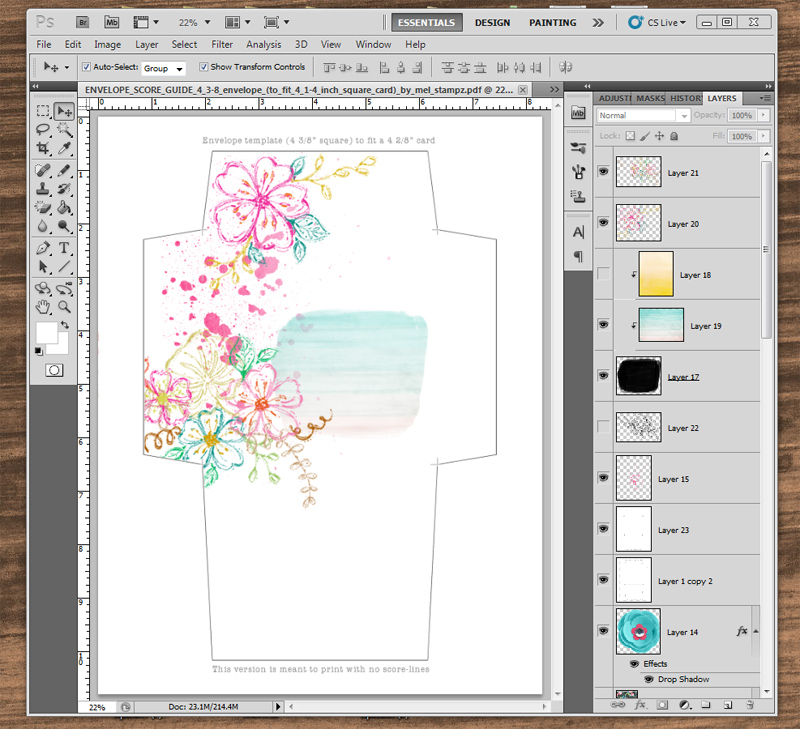
  1. Open the pdf template in your photo editing program.
  2. Add some paper and elements. (I took parts of the hybrid card I made and added them here to make a matching envelope!)
  3. Print! (I left the lines showing so you could see, but before I print, I usually decrease the opacity of the template to 35% – just enough to be able to see to cut it.)

ahg_TDPhybrid_080616_2b

To Assemble:

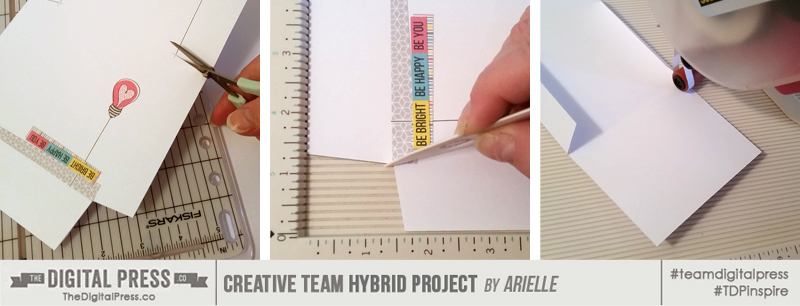
  1. Cut along the outer lines of the envelope.
  2. Using a straight edge, or a paper scoring tool, fold in the sides.
  3. Apply your adhesive to the flaps and adhere.

ahg_TDPhybrid_080616_3

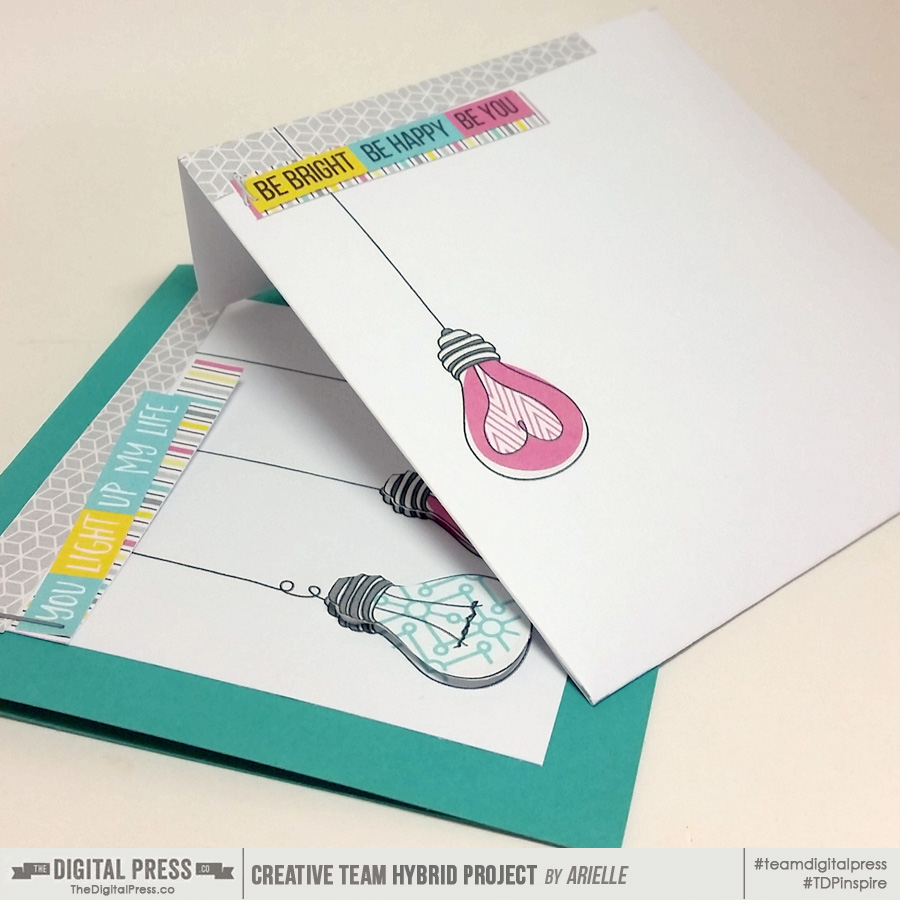
And that’s it — easy as pie!

ahg_080516_2v2

Here’s a couple others I made… this one is to match a card I made last week…

ahg_TDPhybrid_080616_4

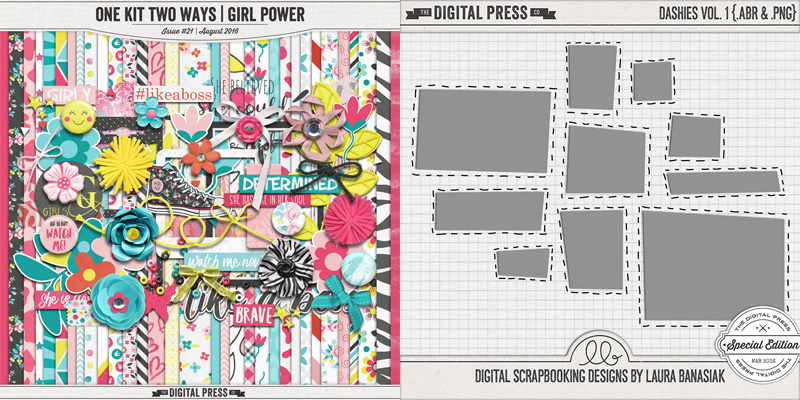
with the One Kit Two Way | Girl Power shop collab and Dashies Vol. 1 by Laura Banasiak.

ahg_TDPhybrid_080616_5

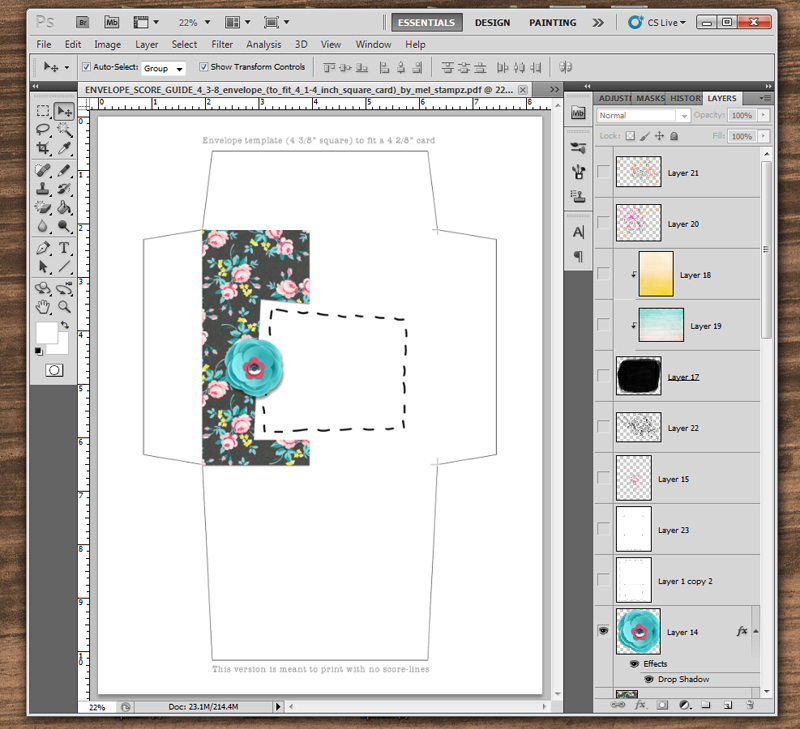
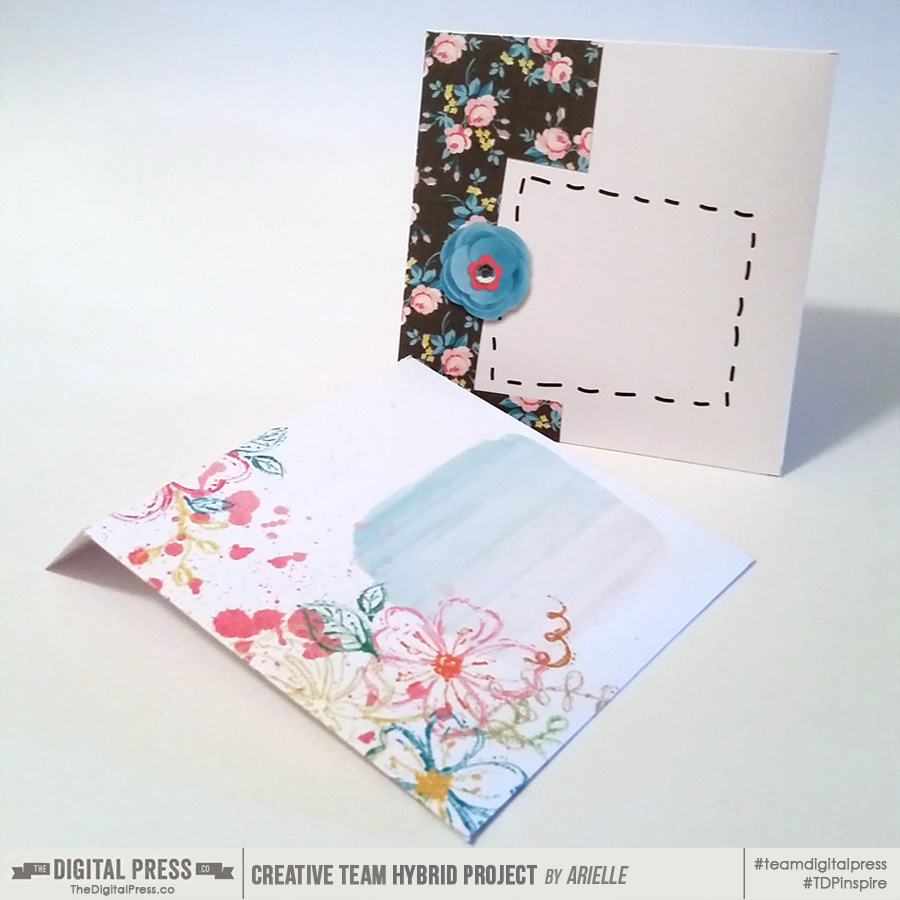
And here’s a little “artsy” one…

ahg_TDPhybrid_080616_6

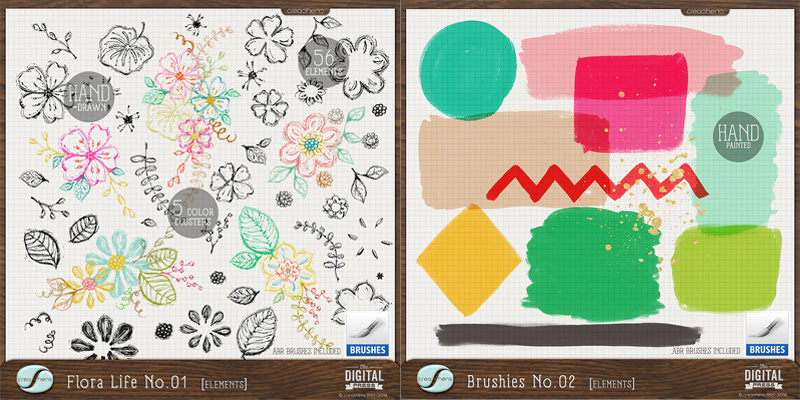
using Creashen’s Flora Life No. 1 and Brushies No. 2.

ahg_TDPhybrid_080616_7

And here are the finished envelopes…

ahg_TDPhybrid_080616_8

Now it’s your turn, make a decorated envelope and come share your creation with us in the forum! During August 2016, you can even receive points in TDP’s challenge system if you complete this project and enter it into the August 2016 Hybrid Challenge. 🙂


Arielle H GordonAbout the author  Arielle H Gordon is a wife and mom of two crazy kiddos, ages 6.5 & 8. She moved around (a lot!) before returning to settle down in her hometown of Enterprise, Alabama, to marry her sweetheart and start her family. She is an avid crafter — digital, hybrid and otherwise! She LOVES Jesus, family time, camping, gardening, reading cozy mysteries, hot tea, popcorn, and anything on BBC! This time of year, you’ll find her reading like it’s going out of style, going to the gym, or in the car-pick-up line! 

Hybrid How-To | Custom Composition Books

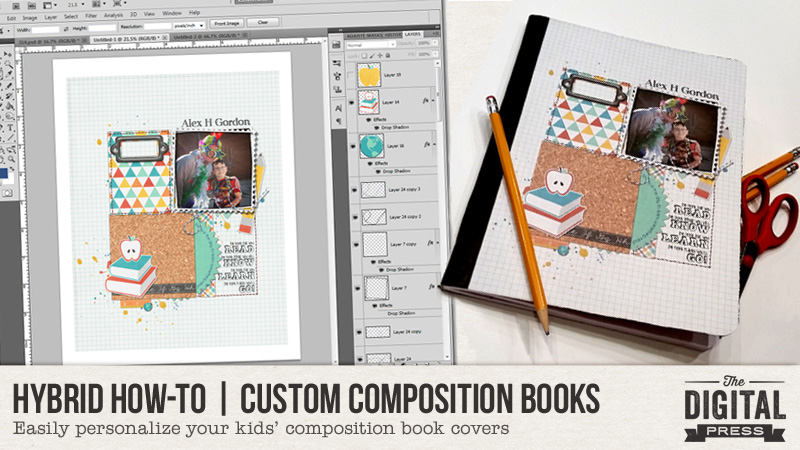
Hello and happy Saturday! Summer is quickly coming to an end. Can you believe it? My kids go back to school in 2 weeks and we’ve been busy getting their supplies. I noticed both kids have composition notebooks on their lists — woohoo! Why have a plain notebook, when you can have a fantabulous notebook? I thought it might be fun to create some personalized covers, and am here today to show you how to use your favorite digital kit to do so!

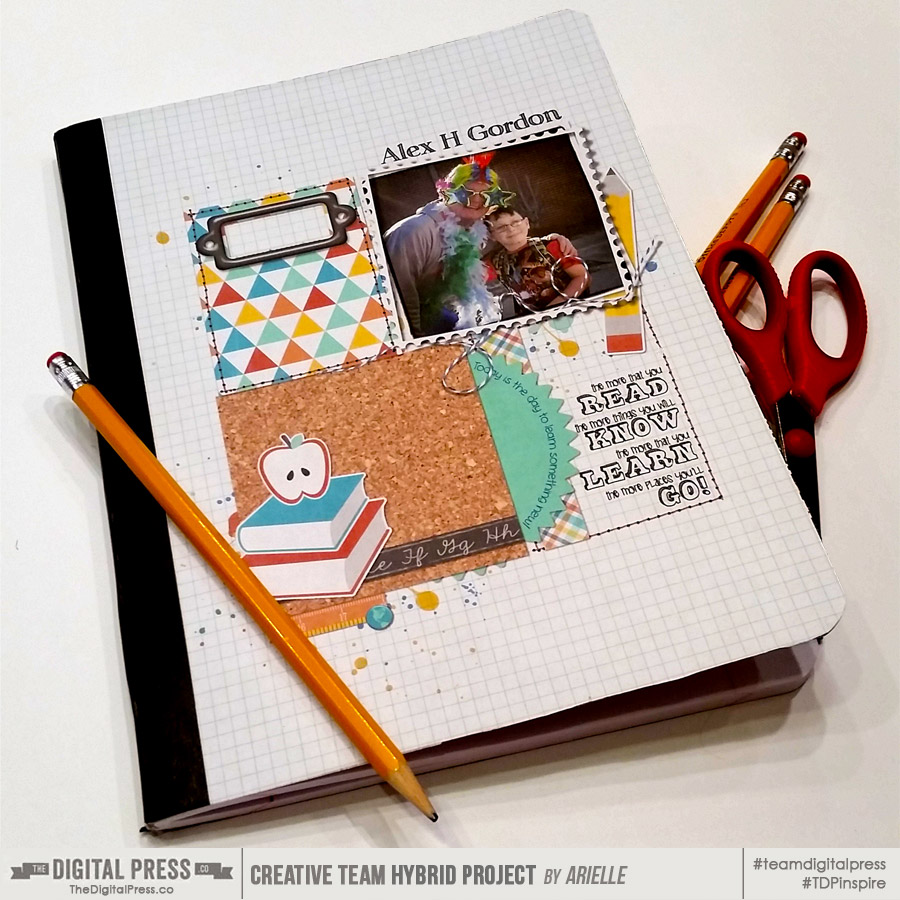
For my own composition book cover, I included a happy memory from my kids’ previous school year, as well as a little inspirational quote. I even left a blank space to write in the subject. I’m also putting a blank sheet of adhesive on the back, too, so the kids can add their own personal touch! Anything to keep them motivated, right?

Supplies Needed:

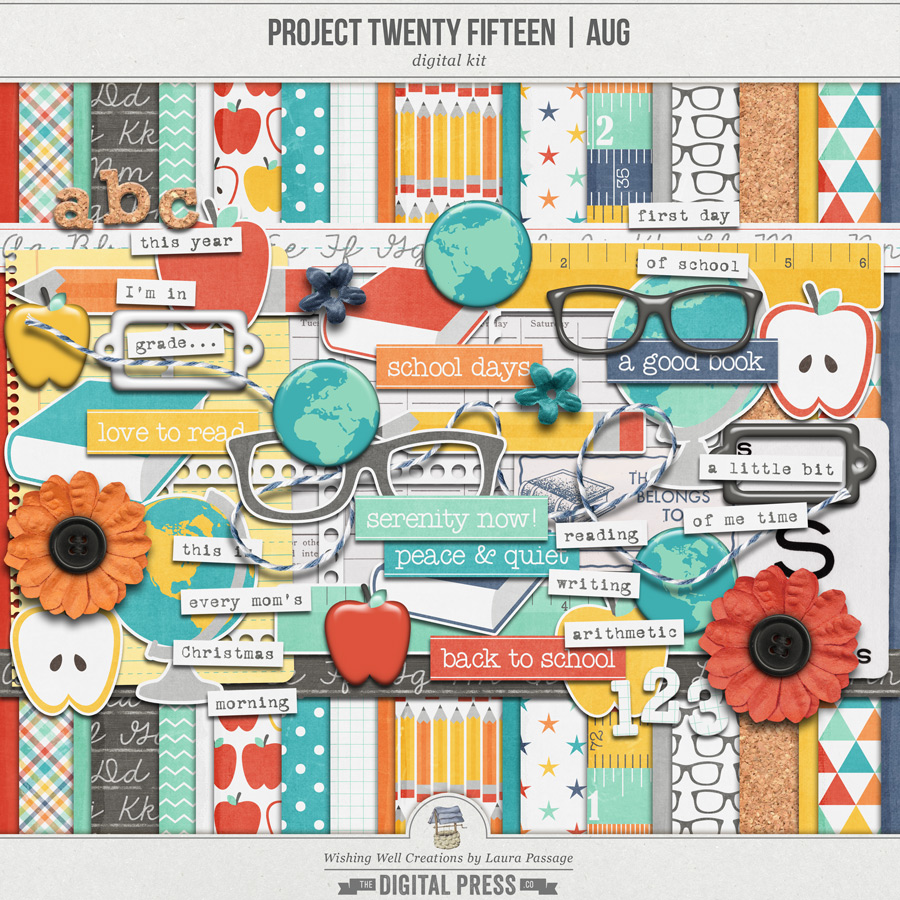
  • Digital kit of your choice (I used Project Twenty Fifteen | August by Laura Passage, shown below)
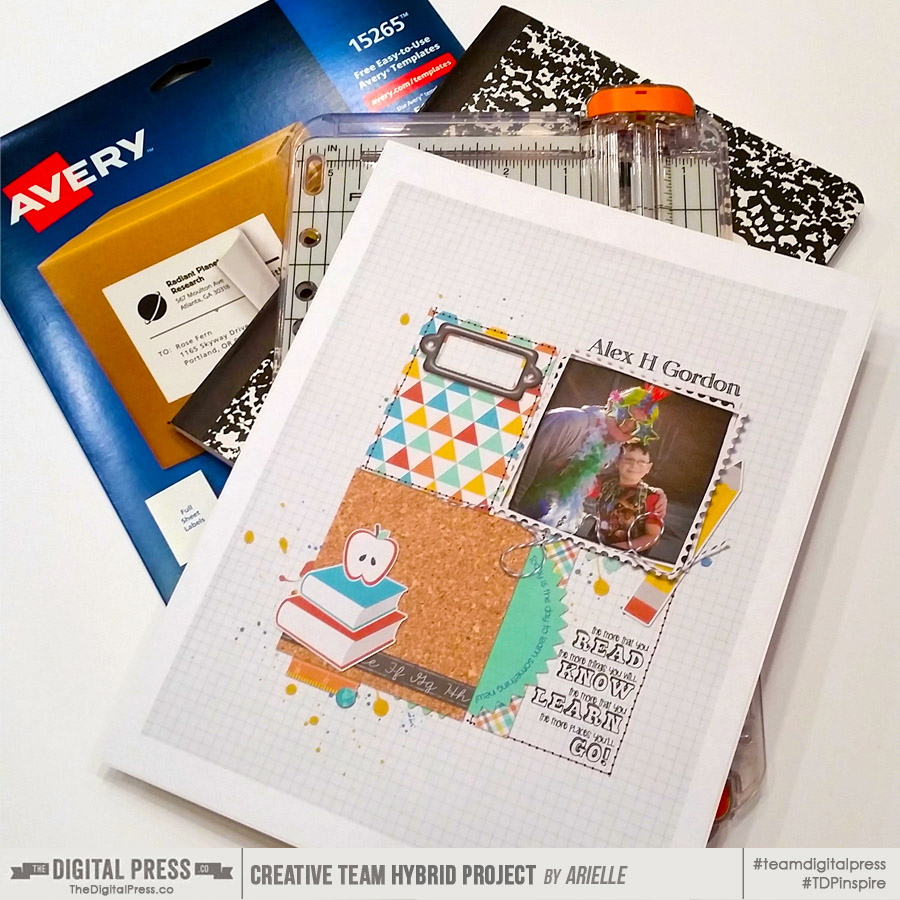
  • Full sheet adhesive labels (I used Avery #15265)
  • Paper trimmer, scissors, pencil, and a ruler
  • Composition notebook(s) of any size


Directions:

  1. Measure the cover of your notebook.
  2. Create a document in Photoshop that is the exact size of your book’s cover — plus an extra 1/4″ on the top and bottom (this will ensure the design you are about to create will cover the front of the notebook).
  3. Print your design onto the full-sheet adhesive label sheet.
  4. Using the paper trimmer, trim the excess from the left side of your design, the side closest to the binding tape of the book. Don’t peel the backing off yet! First, you will center it and mark where you’ll need to cut the other 3 sides. Trim those before adhering.
  5. Start to peel the backing from the left side, only a half inch or so, and adhere it starting on the left. Then slowly continue to peel back an inch or so at a time, as you adhere it. Doing it this way not only ensures you get it centered, but also eliminates pesky air bubbles!
  6. Using the scissors, trim around the corners.
  7.  Optional — If you want it to be just a little more permanent, add clear contact paper on top of your cover.

And that’s it — easy peasy!

Now it’s your turn, make one of these super simple comp books and come share your creation with us in the forum! During July 2016, you can even receive points in TDP’s challenge system if you complete this project and enter it into the July 2016 Hybrid Challenge. 🙂


Arielle H GordonAbout the author  Arielle H Gordon is a wife and mom of two crazy kiddos, ages 6 & 7. She moved around (a lot!) before returning to settle down in her hometown of Enterprise, Alabama, to marry her sweetheart and start her family. She is an avid crafter — digital, hybrid and otherwise! She LOVES Jesus, family time, camping, gardening, reading cozy mysteries, hot tea, popcorn, and anything on BBC! This time of year, you’ll find her buying school supplies, gearing up for VBS and reading like it’s going out of style (while sipping sweet tea!)…


Hybrid How-To | 4th of July Party Favors

Summer is in full force, heat and all. So many fun things happen during the summer… vacations, pool parties, barbecues, and more — including the 4th of July! A lot of people celebrate the 4th with food, family, friends, games, and lots of fireworks. I love the 4th, and the meaning behind the celebration, so I decided to do make some 4th of July party favors. It’s easy, and I’m going to teach you how in today’s Hybrid How-To post!

For this project I used the …And the Pursuit of Happiness | Kit & the coordinating digital stamp set set (which is also mobile-ready!) — both designed by Laura Passage. I also used the Gingham Style collab collection by The Digital Press Design Team (from back in April 2015).
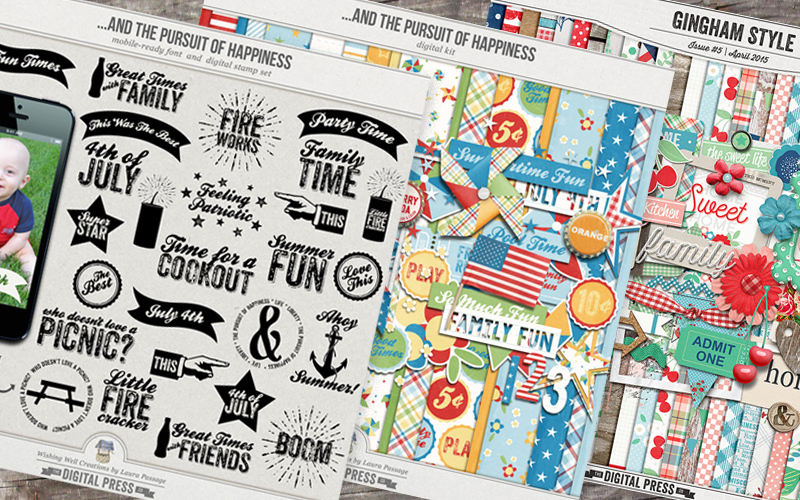
I am a Silhouette girl… and I use the SSDE (Silhouette Studio Designer Edition) for almost everything. I find that even some of the more difficult things are easier to do in this software over Photoshop Elements (PSE). I still use PSE for my all of my scrapbooking, however.

First, I opened this pillow box file I already had in my stash of hybrid files. I re-sized it until two of them fit onto an 8.5″ x 11″ page. *NOTE* there is no need to turn on registration the marks here, but do make sure the cut lines are on.
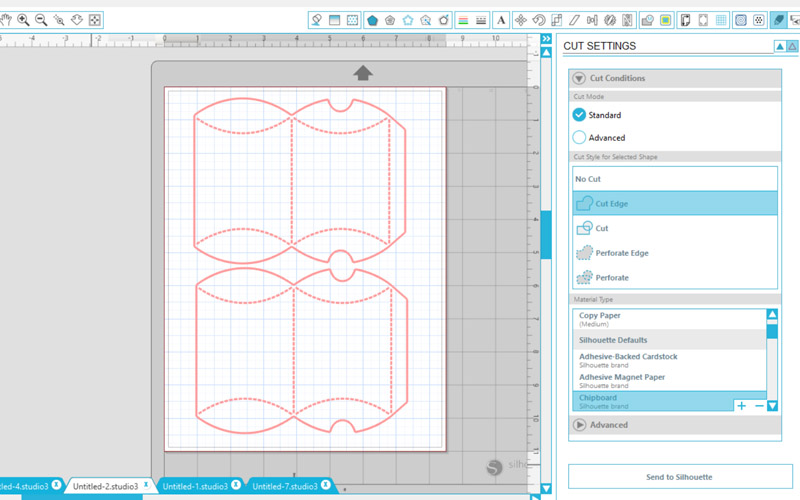
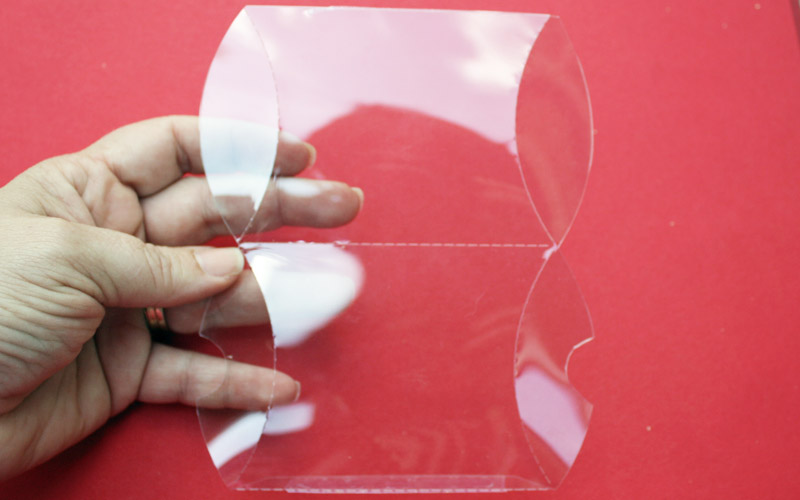
Then, I used SSDE to cut out my project on clear cardstock. I loooove clear cardstock! It can be purchased online. It is a little thicker than the acetate sheets that I used in my floating ornament tutorial. I put my cardstock onto the cutting mat, loaded it, and cut. The cut settings are “chipboard, blade on 7 and double cut.” Then, to assemble it… I just used one strip of double side tape on the edge.
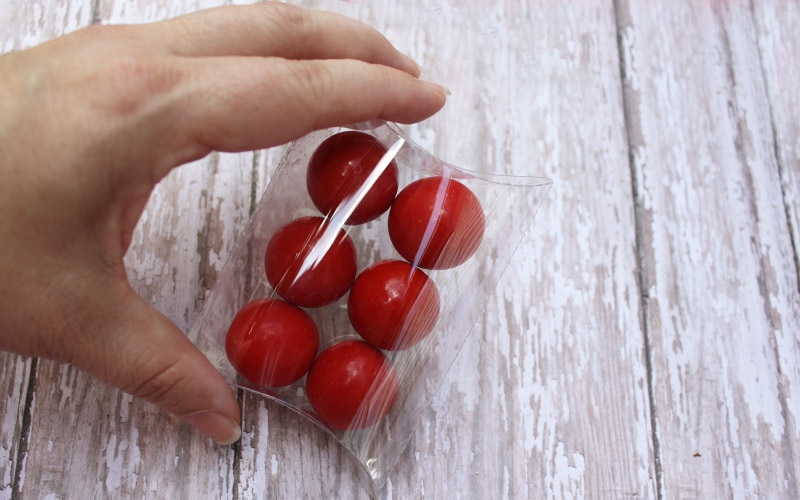
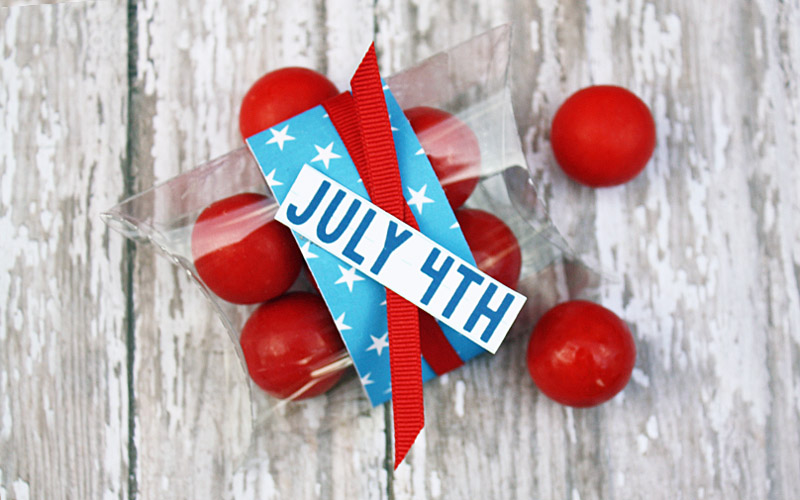
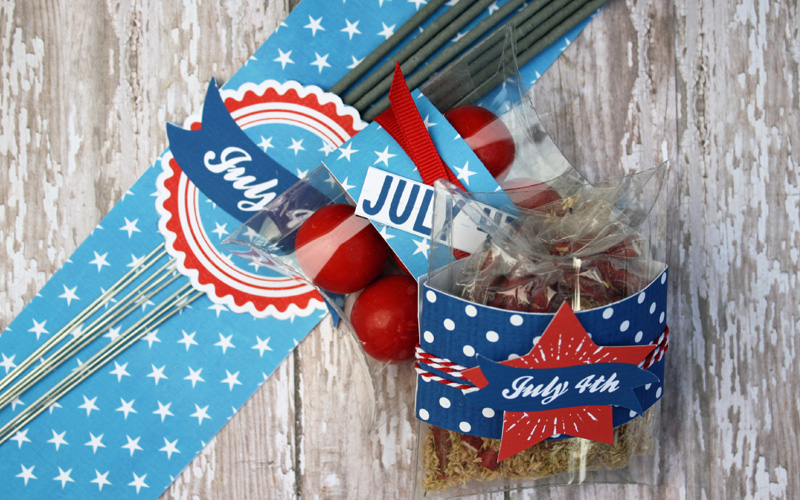
Next, I filled my new pillowbox container! I used fireball candies to fill this one. I think the finished product will be cute in a little basket on the treat table at a party. I also filled another pillowbox container with little firecracker pops.
The next step was to embellish the pillow box. I drew out long strips and used various digital papers from the kits to fill them in. I also opened up a few element files (using the star shapes, and stamps from the mobile-ready font & stamp set) and put them on the same page.  Again, no need to turn on the registration marks in SSDE, because after printing I will cut them out with my scissors.
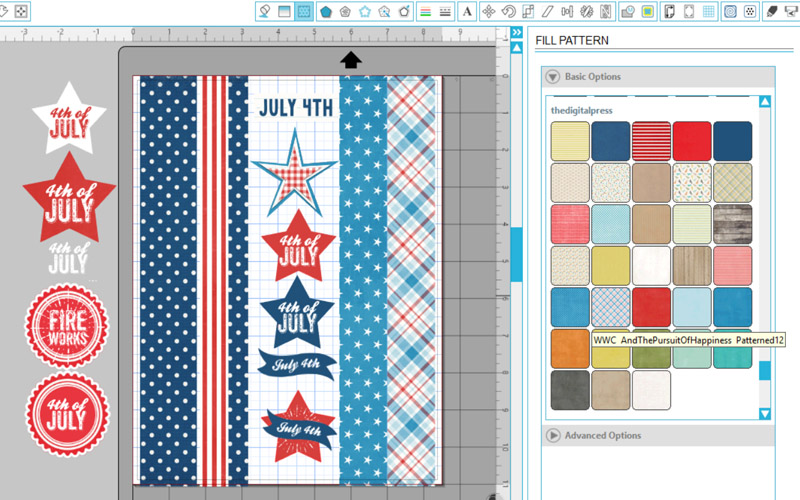
Here’s a look at some of the pieces after I printed them out, as I was cutting them out…

Next, I combined the paper strips with the other elements — attaching them with double sided tape. I also embellished with ribbon. How cute are they?
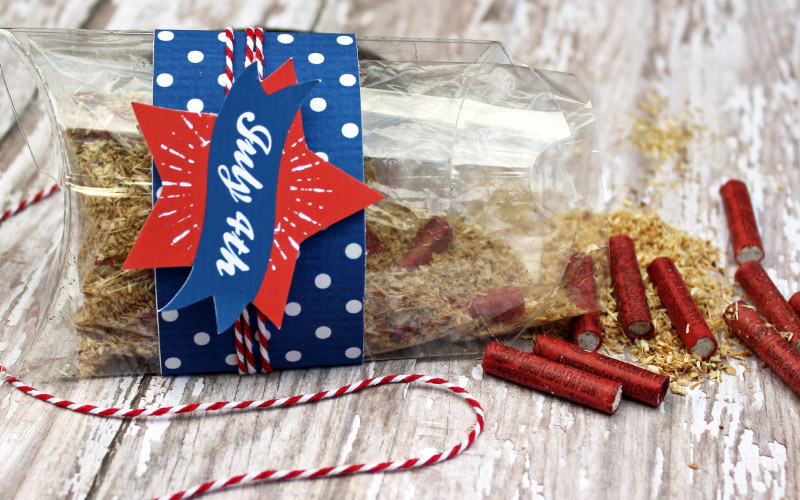
This next one is the one I filled with the firecracker snaps (you throw them on the ground to pop)…
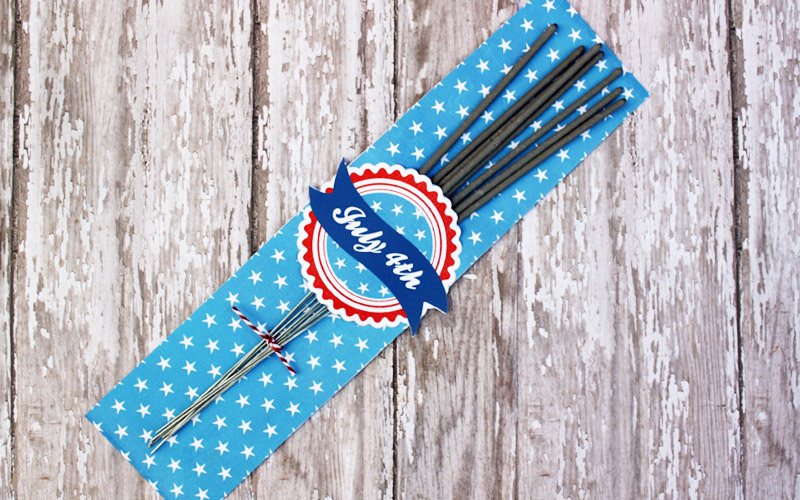
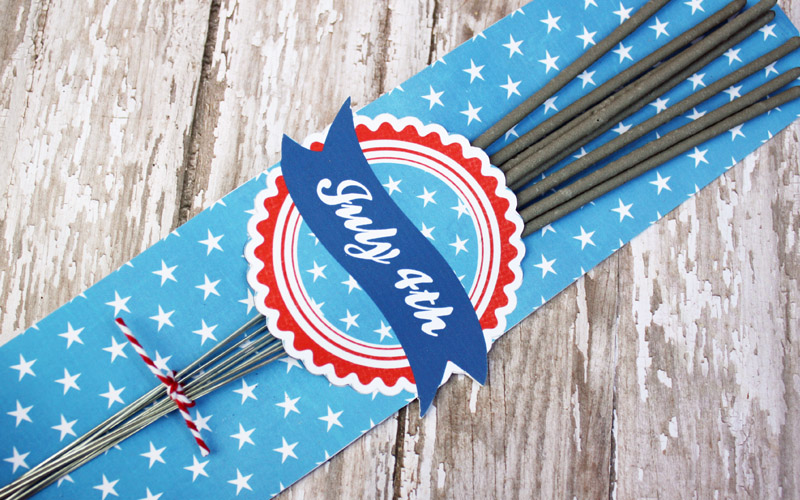
Now, to make the sparkler holder. These will be presented as a “Thank You” gift for coming to our 4th of July festivities…
For this part of my project, I used Silhouette Studio. To design the holder, I used elements from all three products.
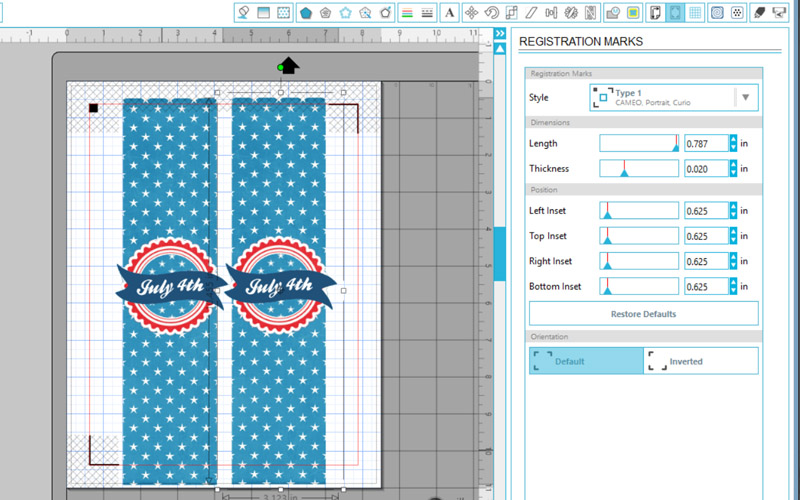
 

You can print and use scissors (or an exacto knife) to cut around the opening… OR… if you have a Silhouette, you can turn on your registration marks and do a print and cut. As you can see, the design is past the registration marks — and that is okay because I will cut that part with my scissors. You can see here that I have cut marks around only part of the middle part of the design. I did this by tracing the “circle” part of the design and cutting part of it away. This is to ensure that it would only cut a small opening for the sparklers to fit through.
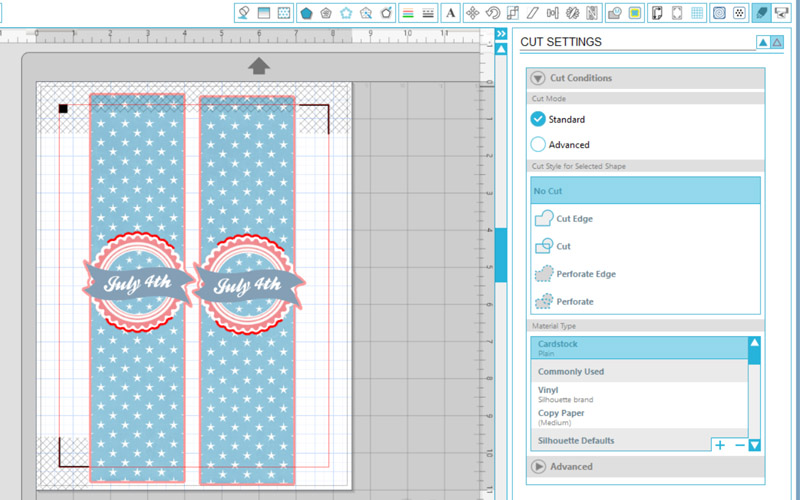
You can see here in this next image where it cut (I put the sparklers through the opening so that you can see what I mean)…
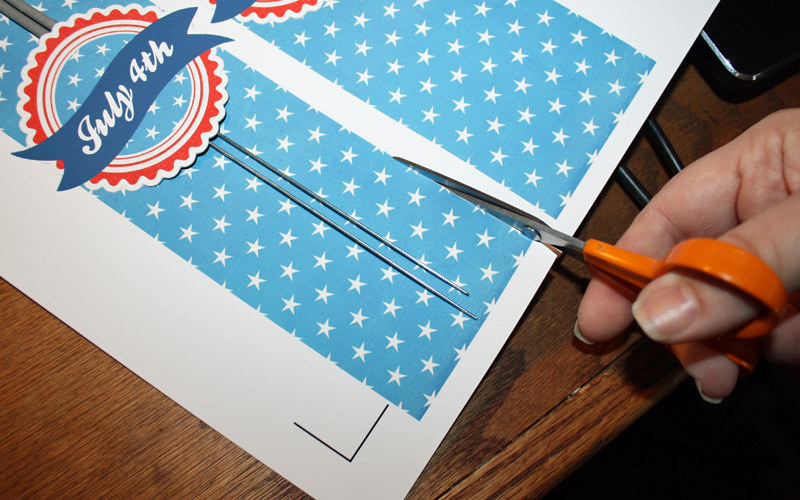
The part that goes past the registration marks will not cut. That is okay for this project. I simply took my scissors and cut out the rest.

I backed the sparkler holder to make it a little more sturdy. To do this, I started out by drawing out a 8.5″ x 11″ shape then filled it with paper from the …And the Pursuit of Happiness kit. To get the shape of the template, I mirrored the image and turned on my cut lines before printing. After printing, I cut it out with my machine. You do not have to use the registration marks for this part of the project. If you don’t want to go through all the steps above, you can simply print the paper and cut a strip with your paper cutter or scissors. It just won’t cover the back of the banner on the sides… but I think that would be just fine, and a lot quicker!
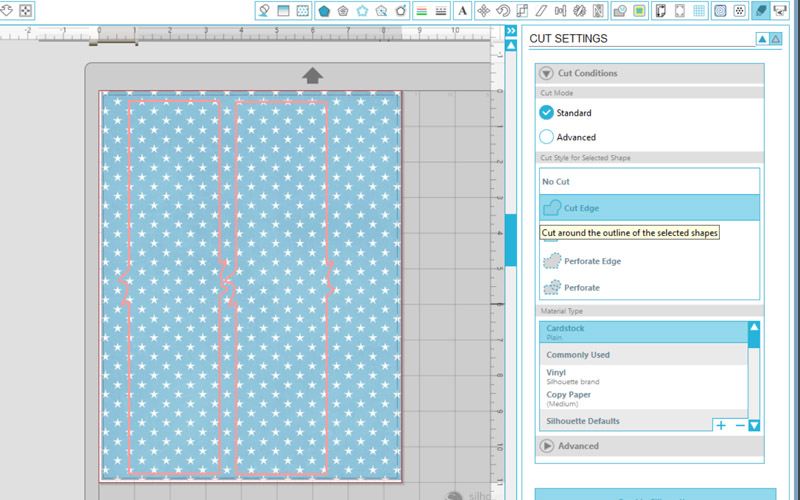
 

After cutting, adhere with double sided tape…

What a fun party favor! You could always add more details, as well… like the year, your name, etc.
This project was really fun. There are so many more things you can make for your party. I’m thinking of things like cupcake toppers, garland, and food tags… just to name a few. Let your creativity run wild!
I hope that you enjoy giving these fun projects a try, and I also hope you have a safe and Happy 4th of July weekend! Thanks so much for stopping by the blog today!


TanyaAbout the Author  Tanya is a part of the hybrid team here at The Digital Press. She has been hybrid crafting for at least 12 years now, and loves creating and sharing those creations with others. Her all-time favorite tool is her Silhouette Cameo. She has been married for 26 years and has two sons: Chris, 24 and Chance, 20. She also enjoys crocheting, photography and woodworking.
Hybrid How-To | Straw Rockets

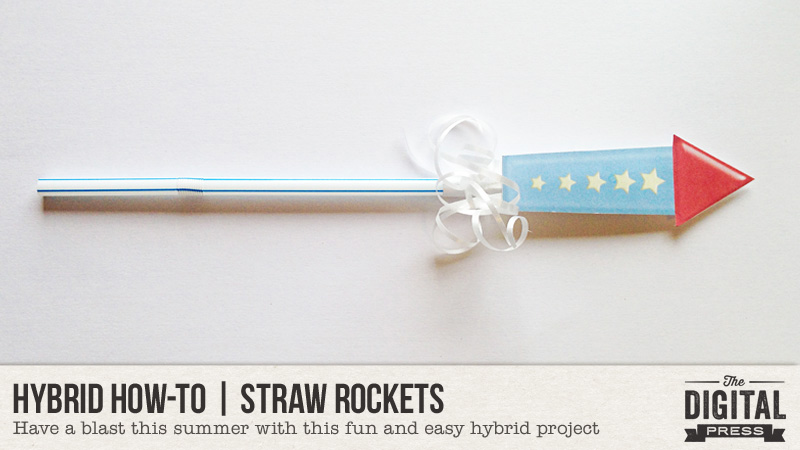
Are you ready for something fun and easy? I found this simple project on Pinterest, and knew it would be the perfect way for my littles to spend a summer afternoon.

Supplies Needed:

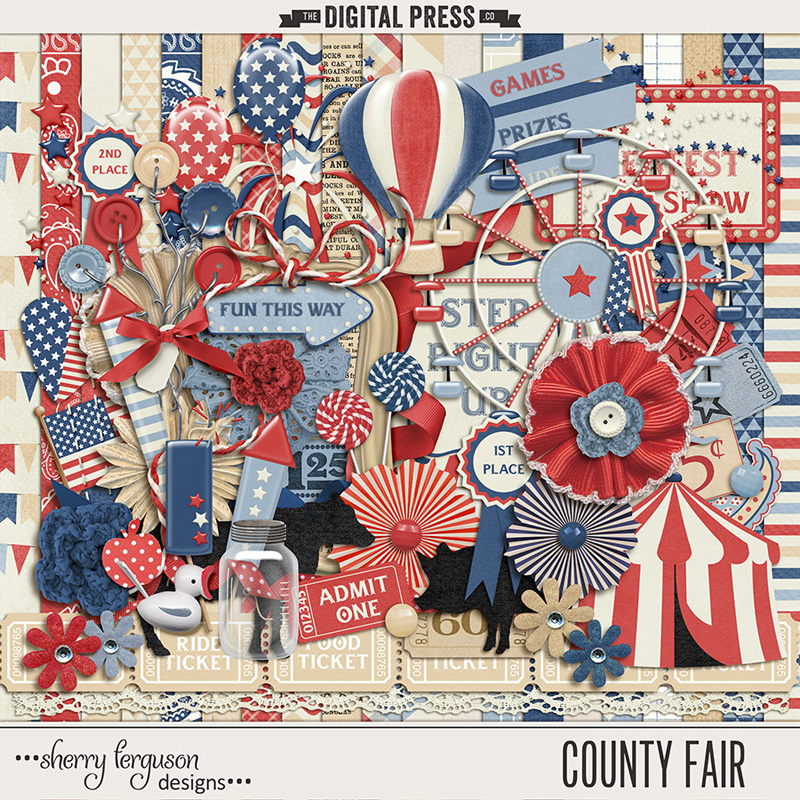
  • Digital image of your choice (I used the rocket from County Fair, seen below)
  • Cardstock
  • Scissors
  • Hot Glue
  • Curling ribbon (optional)
  • Straw

Directions:

  1. Print out the image you want and cut it out. Before printing, make sure the image is the size you want. It shouldn’t be too small; I actually ended up making the rocket from the kit a little bit bigger.

  1. Next, cut a rectangle of out of plain paper (I just used some scratch paper). It needs to be a little longer than your image.
  1. Roll the rectangle paper around a pencil and glue the edge together to form a tube. Pinch one end of the tube and glue together so that the end is sealed. At this point, I decided to glue some curling ribbon to the bottom of my rocket. Next, glue the tube to the back of the image.


And that’s it!

Now you can slide the tube over the top of the straw… and blow to make it fly. 🙂


Kate


About the Author  Kate is on the hybrid team here at The Digital Press. She lives on the Utah/Colorado border with her husband, 5 kids, 10 chickens, and a dog named Gracie. She’s a city-born girl who found she’s really a country girl at heart. She can be found outside, barefoot, and probably in her garden.

Hybrid How-To | Cushion Covers


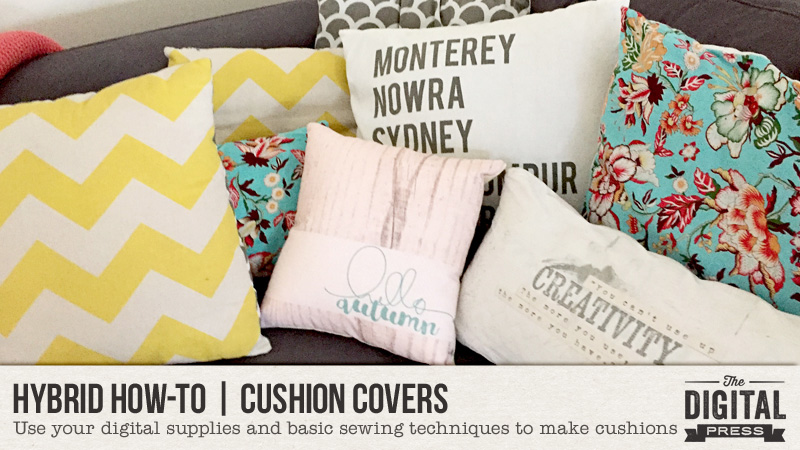
I know most of the world is coming into summer now, but where I live we have the most beautiful autumns and I wanted to make some decor to celebrate that.

I make a lot of my cushion covers; they are so easy to do. Today, I will show you how!

First, I design the cushion cover in Photoshop. My printer prints up to A3, so that’s the size of the page I start with. For this project, I used Grateful Papers by Little Lamm & Co. and Wondrous Stamp Sheet by Karla Noél.

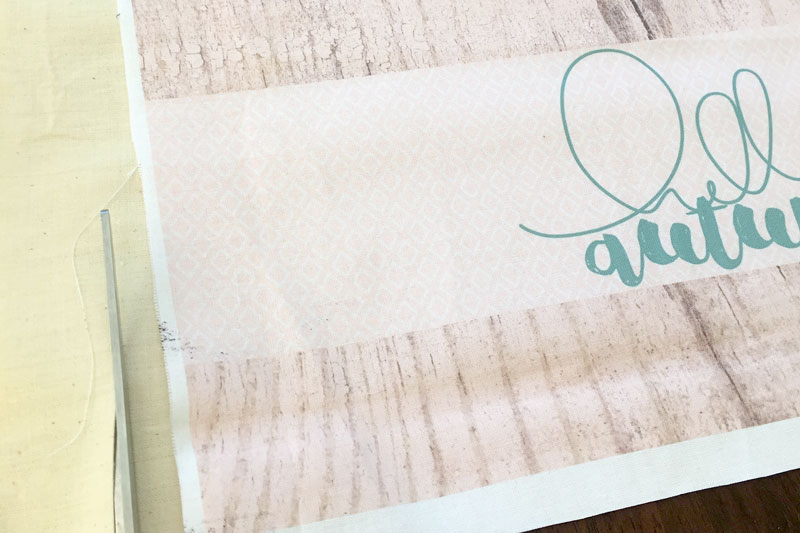
After creating the design, I cut fabric to A3 size. Make sure your fabric is ironed completely flat and stuck to the paper with double sided tape. The top edge should be stuck right to the edge of the paper. Print your design onto the fabric.

*NOTE* The ink will not be colorfast, so if it gets wet… it WILL run. You can use transfer paper if you want your design more colorfast, but I change mine around often, so its not a big deal for me. If mine gets wet, I just make a new one!
You will also need to cut a back for your cushion cover. I purchased a small cushion from IKEA that already had a pattern on it and wanted to make sure the pattern didn’t show through on the front, so I cut an extra piece of calico. Cut them slightly larger than your design to allow room for seams.

hybrid cushion covers

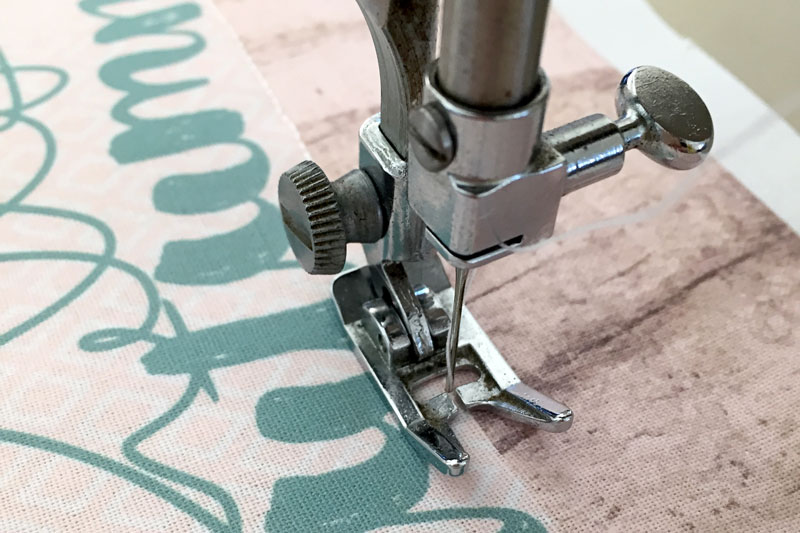
To make my cover look a bit more quilted I decided to sew where the different papers meet. Do this on the front so you can see where you need to sew.
IMG_4933

When you are happy with your design, put the ‘right’ sides of your fabric together and sew around the edges, making sure you leave a large enough gap to put the cushion in.

IMG_4937

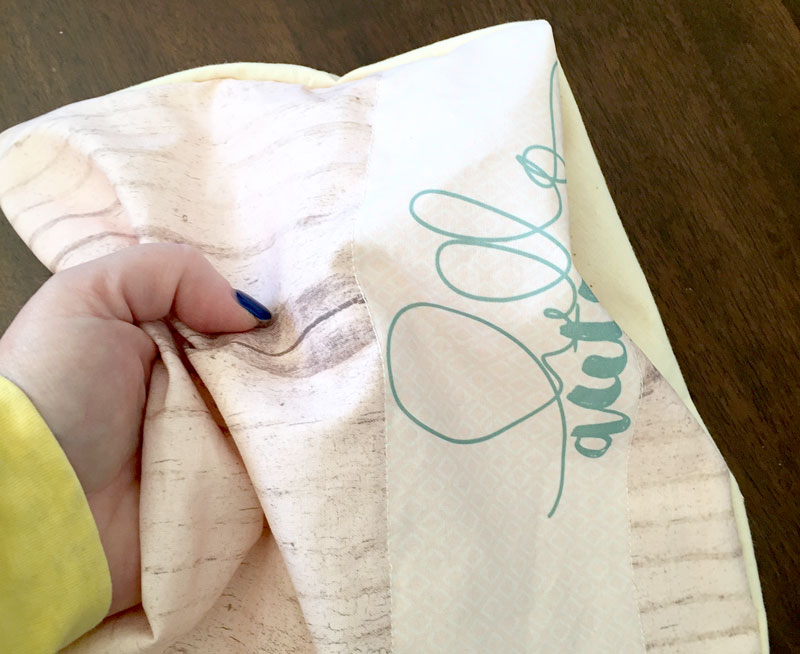
Turn your cover inside out, paying attention to the corners, stuff your cushion inside and hand stitch up the gap.

Untitled-5

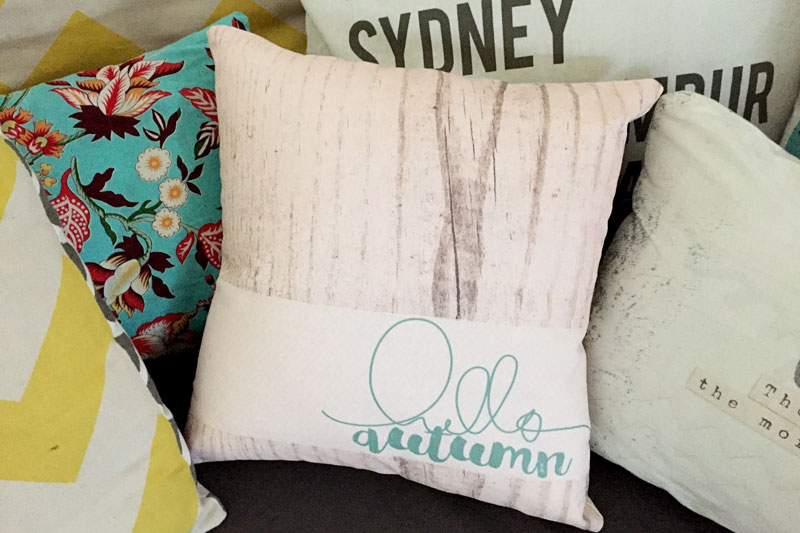
Voila!
IMG_4941


Amanda

About the Author  Amanda found digital scrapbooking in 2006 as a paper scrapper who was frustrated with the limitations of paper scrapping products. She now loves to combine paper and digital products and techniques for her pages and projects. She is the wife of a Naval Officer and has two teenage children. She lives in Australia, and has also lived in the U.S and Malaysia and loves that she has had the opportunity to travel the world with her family.

Hybrid Saturday | Making A Flipbook

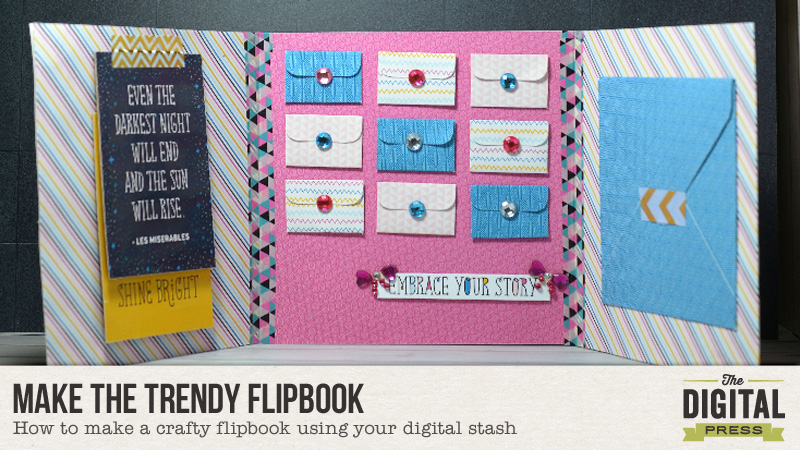
I have seen a lot of rise in snail-mailing lately, and one of the ways to do it is by sending flipbooks. basically a flipbook is a folded book with bits and pieces from the sender to the recipient. Usually a flipbook also includes a mail tag or a series of questions or requests, which the recipient would forward with the answer to another recipient or sender. Making flipbooks is very fun and it uses your physical and digital stuff in a new way.

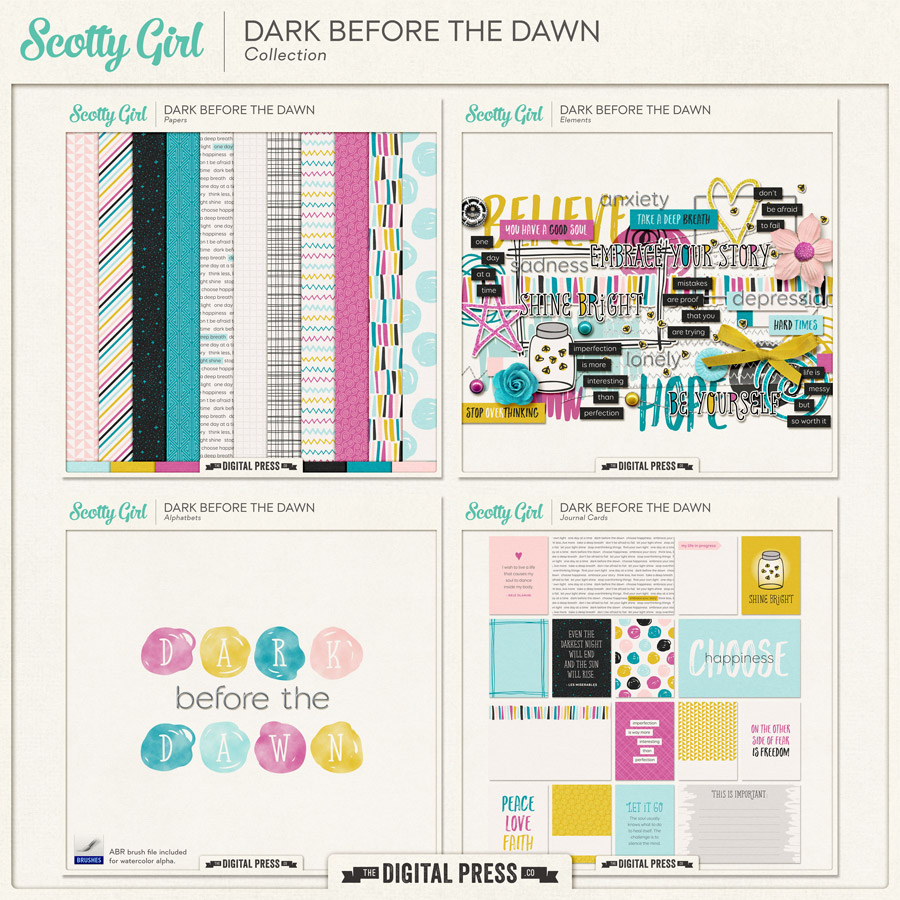
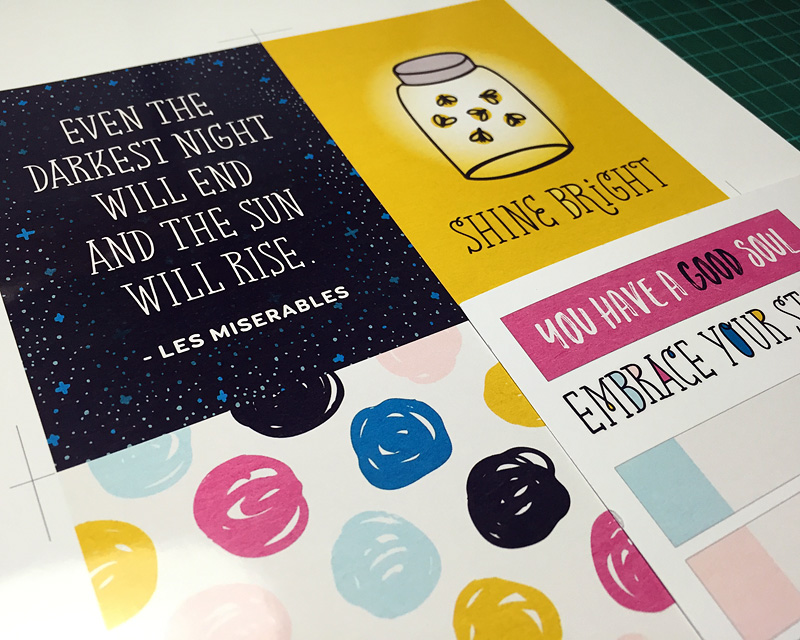
For the project I am showing to you today, I used Dark Before the Dawn Collection by Scotty Girl Design for the papers, elements, and cards…

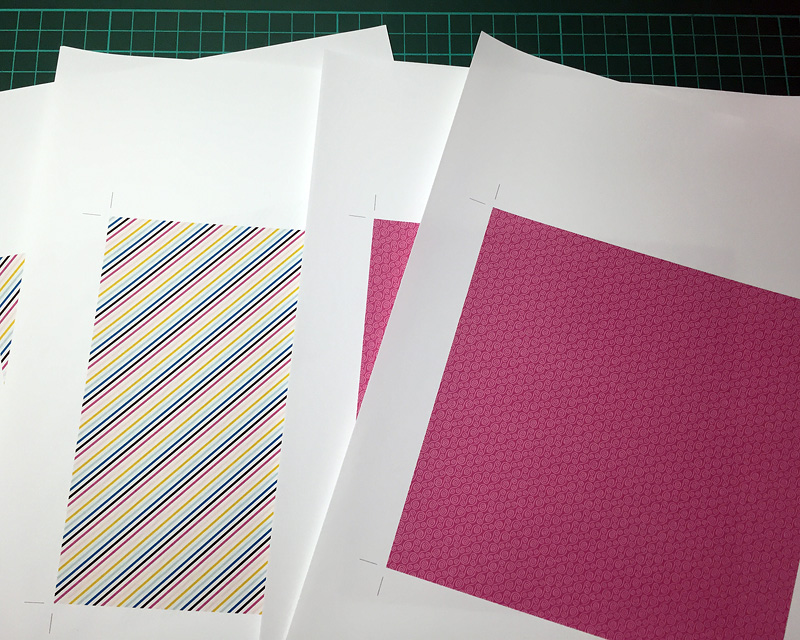
Start by printing out 6×6 inch pieces of paper. Since I don’t have a double-sided paper, I  print out 6 pieces of 6×6 papers, 3 of each patterns.

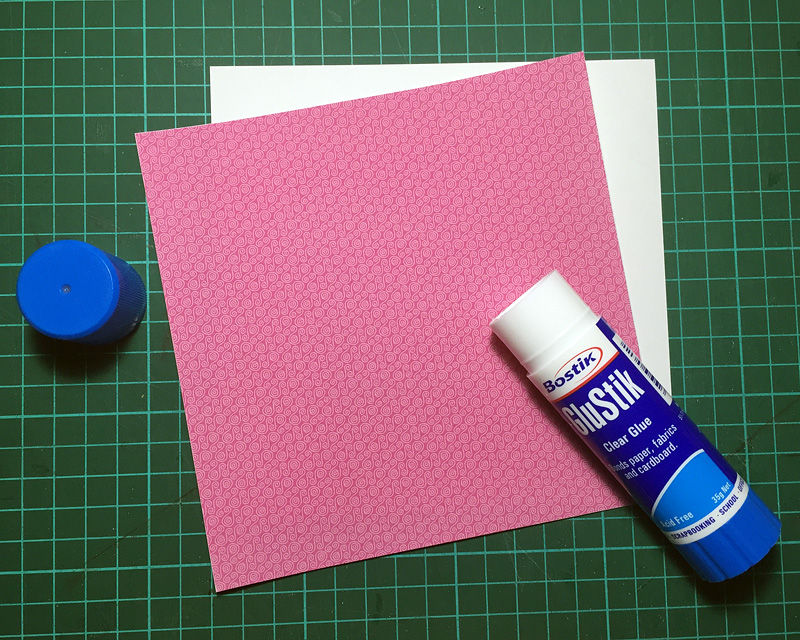
Glue the papers so it becomes a double-sided paper. You can use liquid or dry glue, I tend to work with dry glue because sometimes liquid glue warps the paper.

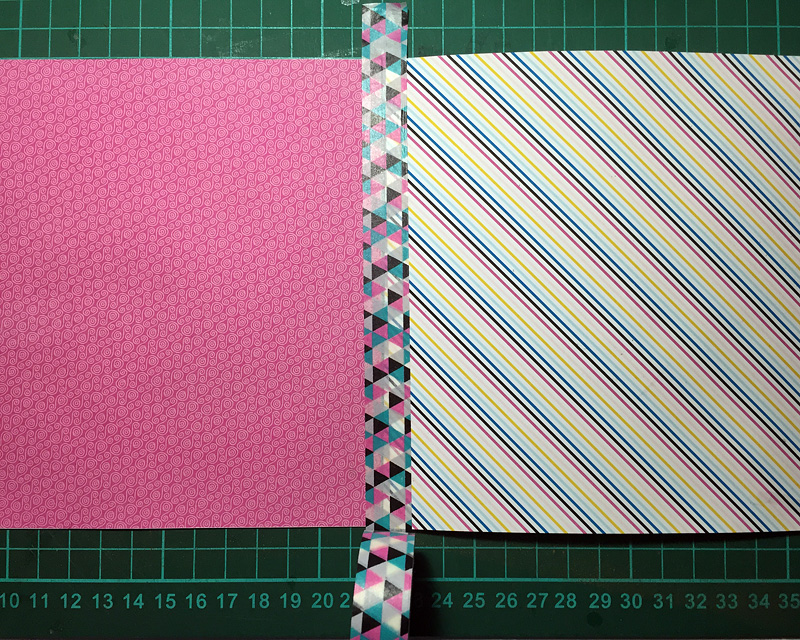
Create hinges by taping one piece of paper to the other using a washi tape. You can also reinforce this by running a strip of adhesive before taping down the washi tape.

Next is up to you on how you would like to decorate your pages. I printed out journal pages and also embellishments from the kit, and then hand-cutting them to fit the pages.

That’s it! Pretty easy right?


IndahAbout the Author  Indah has been a hybrid crafter for almost 10 years. She also loves collecting stamps and stickers.