Category: Hybrid Crafting

Hybrid Saturday | Tissue Decoupaged Bunny

HYBRID: Tissue Decoupaged Bunny

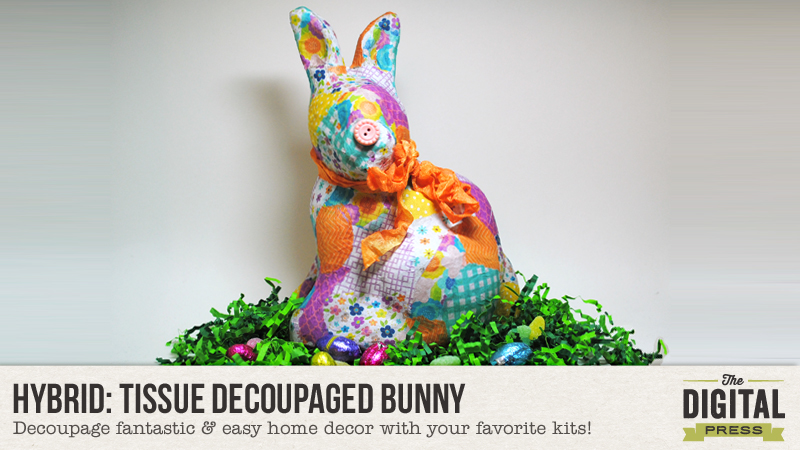
I am a sucker for bright colors, and Easter is one of my favorite holidays of the year! Arielle here with today’s “fun, easy, inexpensive and perfect to work on with the kiddies” project, a Tissue Decoupaged Bunny. Wouldn’t it make an awesome centerpiece for your Easter table? This technique is perfect for other decor items, such as picture frames, miscellaneous objects, old wooden chairs… you name it!

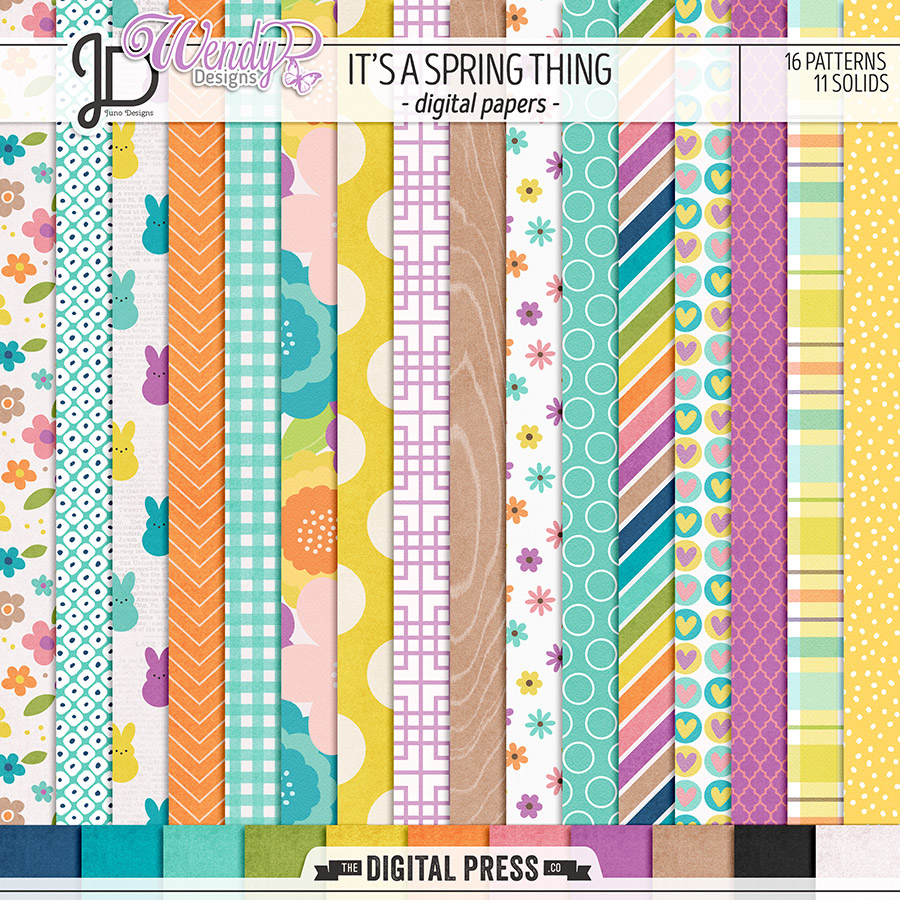
First, pick your favorite papers! I used It’s a Spring Thing | Papers by Juno Designs and Wendy P Designs. All these beautifully bright papers were perfect for my little bunny!

HYBRID: Tissue Decoupaged Bunny

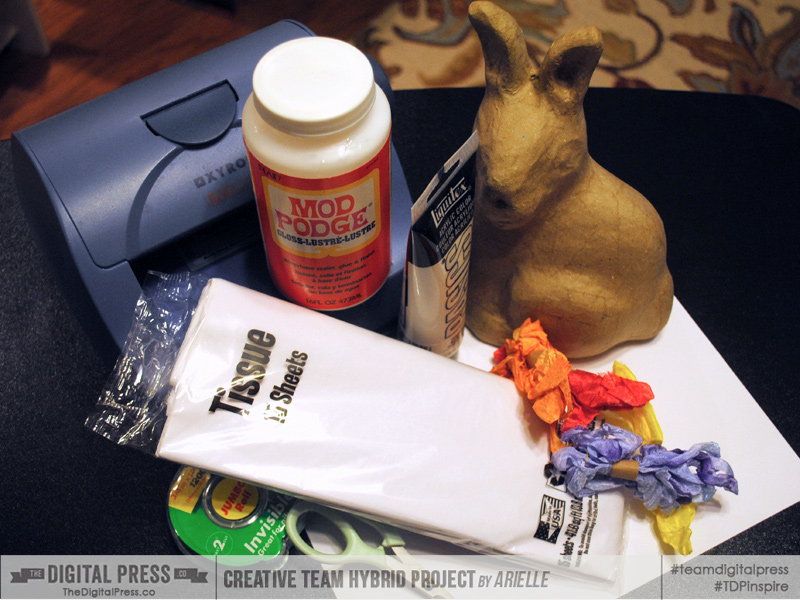
Then gather your crafty supplies —

  • Thin cardstock
  • Tissue paper
  • Adhesives (I used a Xyron machine & scotch tape)
  • Scissors or paper trimmer
  • Other embellishments such as ribbon and buttons.
  • Paper mache animal (or picture frame, etc…)
  • Mod Podge (optional)
  • Paint and brushes (optional)

HYBRID: Tissue Decoupaged Bunny

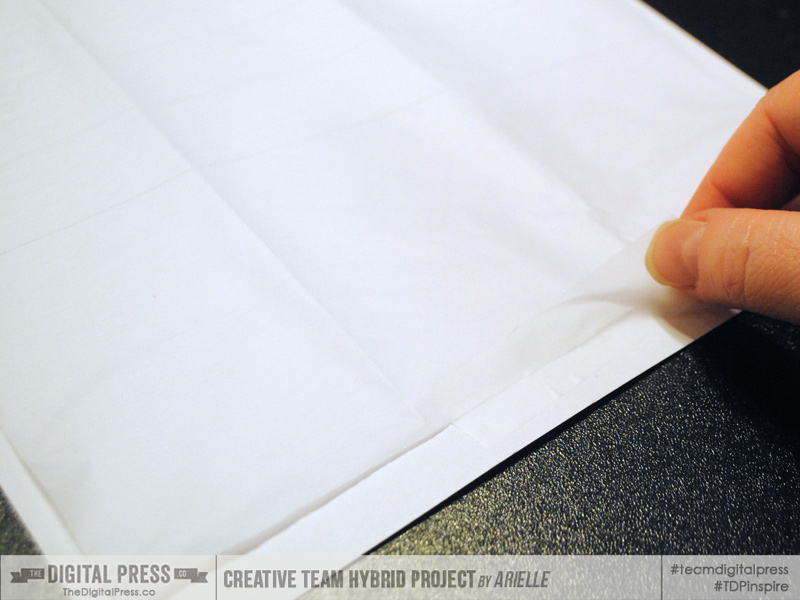
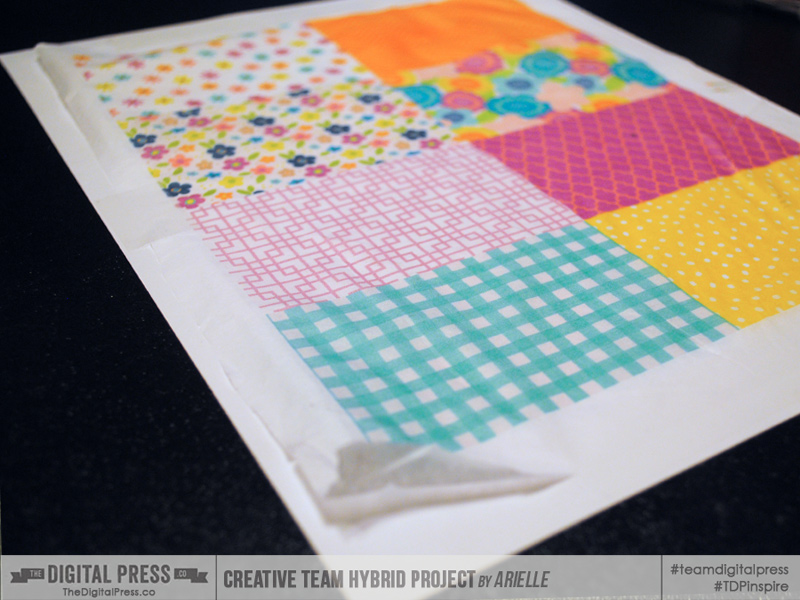
Start off by cutting some tissue paper to fit your cardstock.  (I picked up some cheap tissue at the dollar store.) I cut it approximately 7.5″x 11″, then using invisible tape, I adhered it to the cardstock at the top and bottom. Be sure to put the paper into your printer so that it will print onto the tissue.

ahg_easterhybrid2

Set up a document of “swatches” to print. My swatches measured 3.5″ x 2.5″, and I was able to fit eight, centered, onto each page.
HYBRID: Tissue Decoupaged Bunny

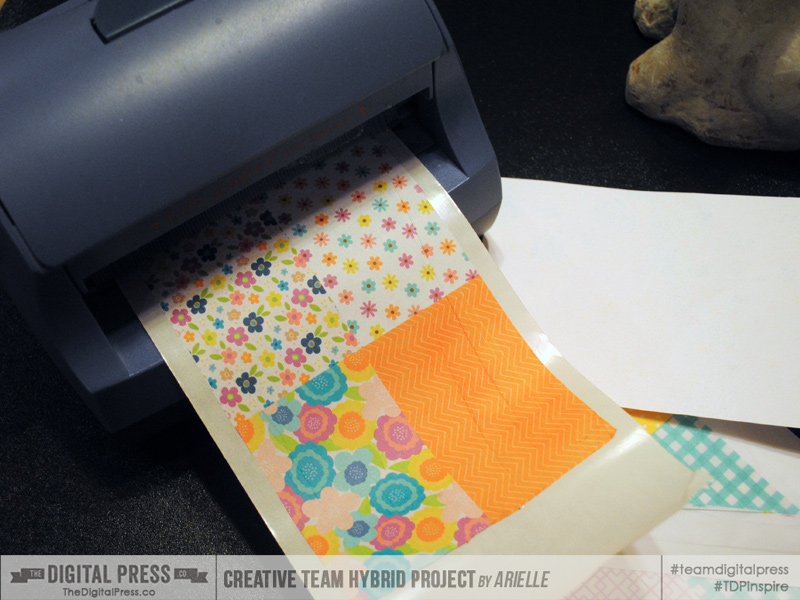
Remove the tissue, and trim off the excess, then run it through the Xyron. If you don’t have one, use Mod Podge, or some other glue. Be careful though and use it sparingly to prevent the ink on the tissue from bleeding.
HYBRID: Tissue Decoupaged Bunny

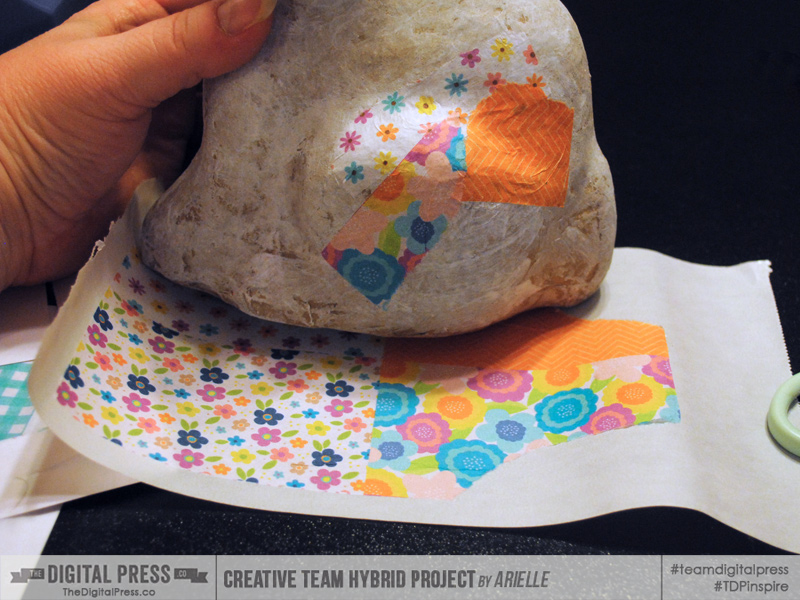
Tear your tissue into pieces and start applying. You’ll notice I also put a thin wash of white paint on my bunny before I started. Keep tearing and sticking the tissue to your project until it’s covered. It took a little over 2 sheets to cover everything.
HYBRID: Tissue Decoupaged Bunny

To finish, you can cover it in Mod Podge or spray a fixative on it to preserve it. I also added a pink button nose and an orange ribbon around his neck! Get creative ~ you could even add paper flowers, pearls or beads.
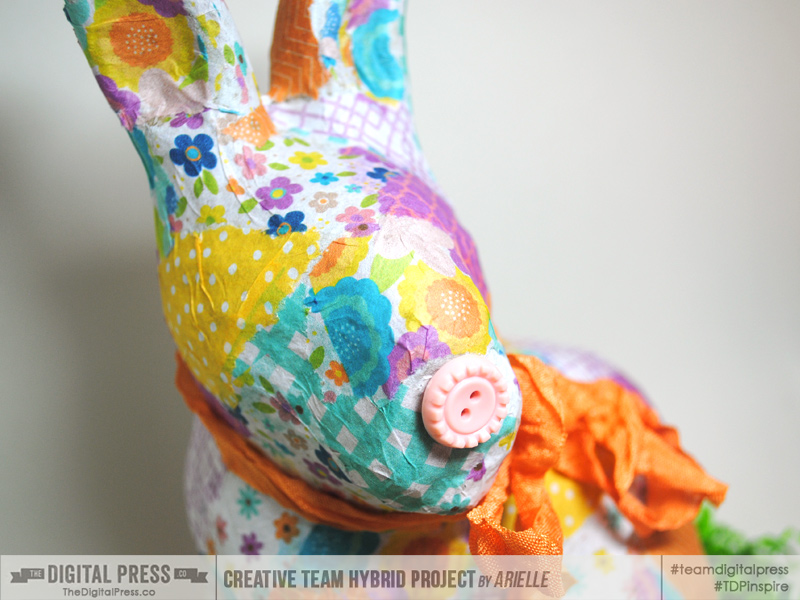
HYBRID: Tissue Decoupaged Bunny

Add some candy and Easter grass and you’ve got a great centerpiece!
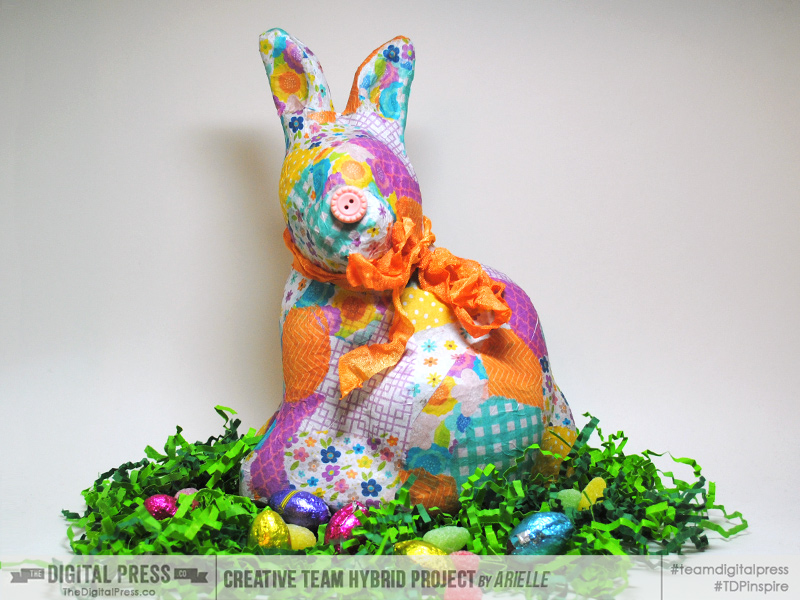
HYBRID: Tissue Decoupaged Bunny


Want to try your hand at this easy decoupage? Please come join us in The Digital Press’s forum for a fun challenge related to this tutorial! You can create fantastic decor items AND earn points doing it! Points can later be cashed-in for discount coupons to the shop at the end of the month if you participate in the challenge system at The Digital Press!


Arielle H Gordon About the author  Arielle H Gordon is a wife and mom of two crazy kiddos, ages 6 & 7. She moved around (a lot!) before returning to settle down in her hometown of Enterprise, Alabama, to marry her sweetheart and start her family. She is an avid crafter — digital, hybrid and otherwise! She LOVES Jesus, family time, camping, gardening, reading cozy mysteries, hot tea, popcorn, and anything on the BBC! This time of year, you’ll find her hoarding Cadbury Mini Eggs and Peeps, dying Easter eggs and waiting for Lent to be over so she can resume one or two of her less obnoxious vices…

Tutorial Tuesday | Hybrid Pocket Treat Bag

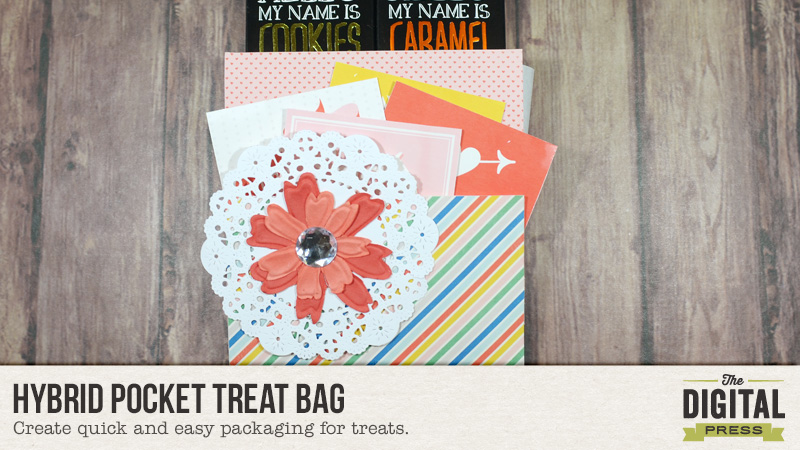
Hybrid Pocket Treat Bag


Hi everyone! Indah here with an easy hybrid tutorial for you today…

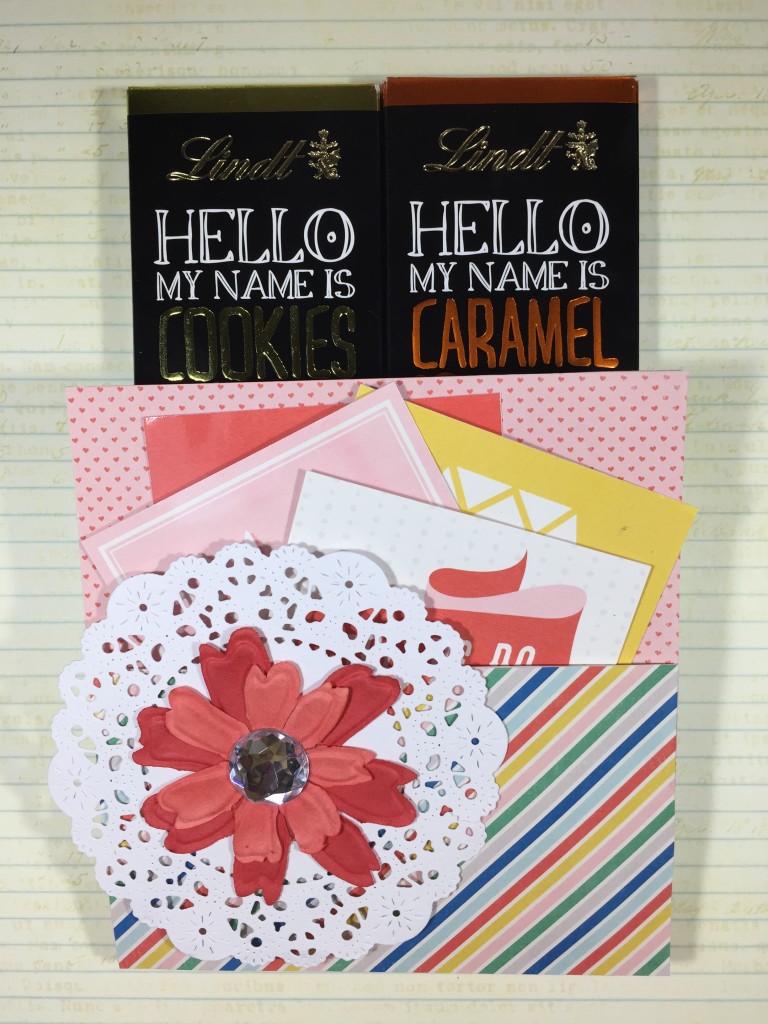
Recently, I wanted to give my good friend a couple of chocolate bars I brought for her from abroad, so I used a plain paper bag to create a treat bag that doubles as a card. The good news is that this project is easily adaptable to all sizes of paper bags (and therefore, all sizes of treats!).

Here’s a look at the finished product…

Hybrid Pocket Treat Bag


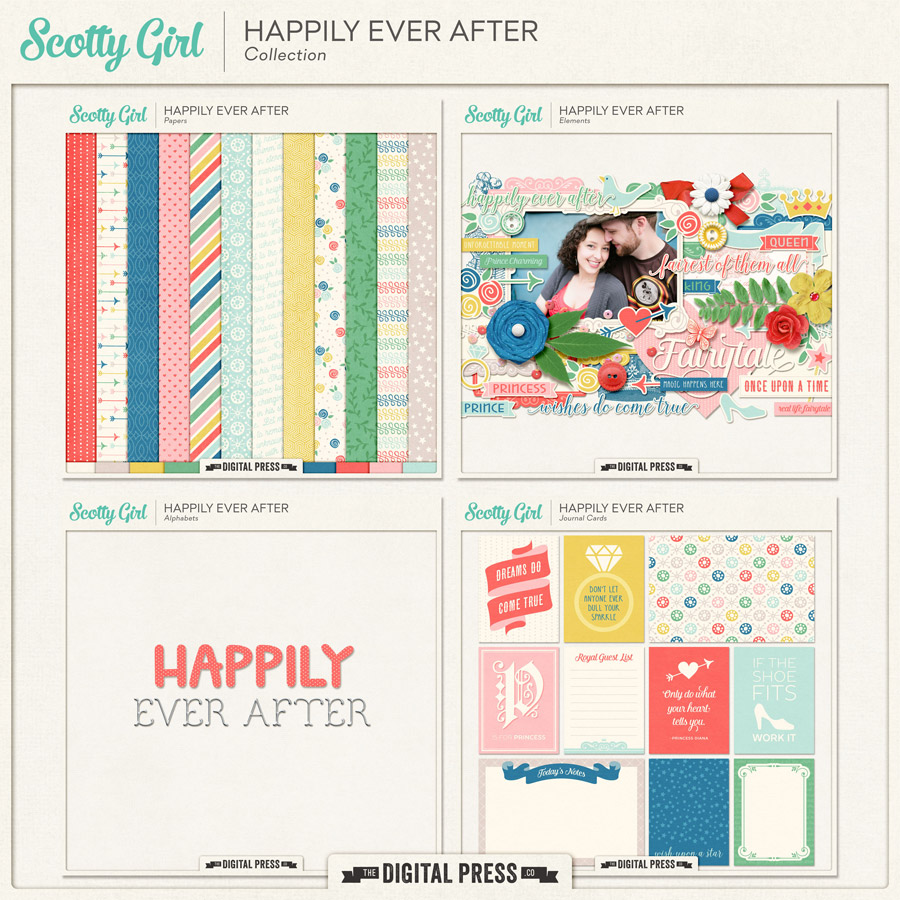
To make this pocket treat bag, I decorated it with papers and cards from Scotty Girl Design’s Happily Ever After Collection. This is such a pretty collection and it really fit the girly theme/feeling I was going for.

Hybrid Pocket Treat Bag

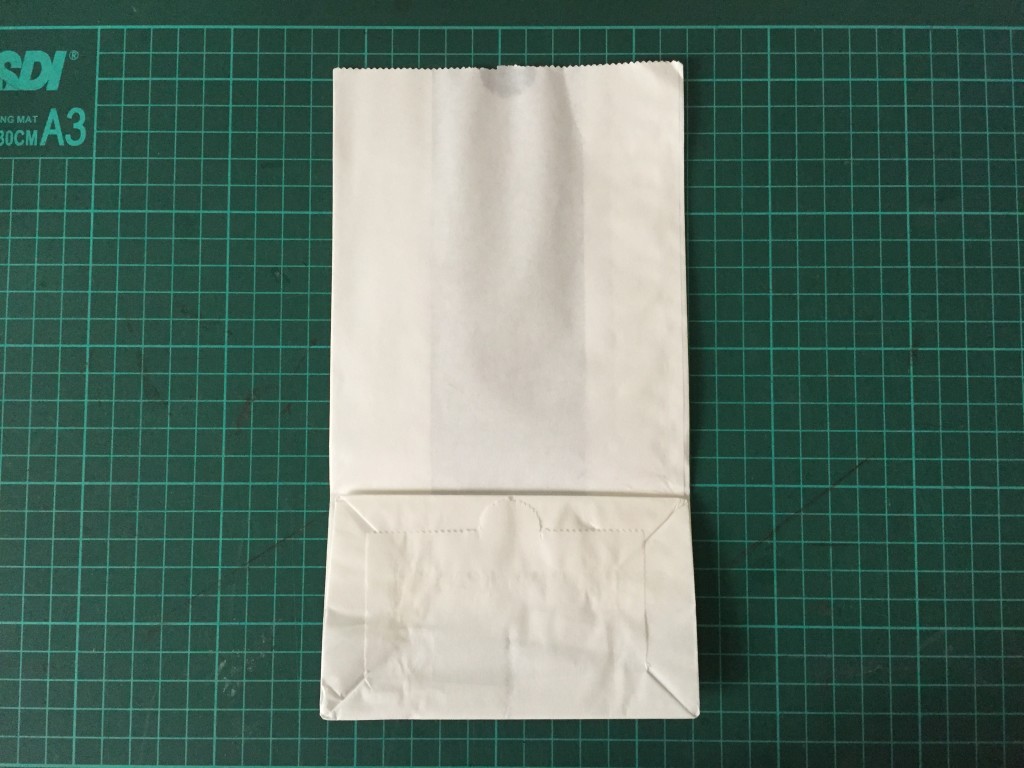
To make one of your own… start out by folding up the bottom part of the paper bag. This will be the pocket to your card.

Hybrid Pocket Treat Bag

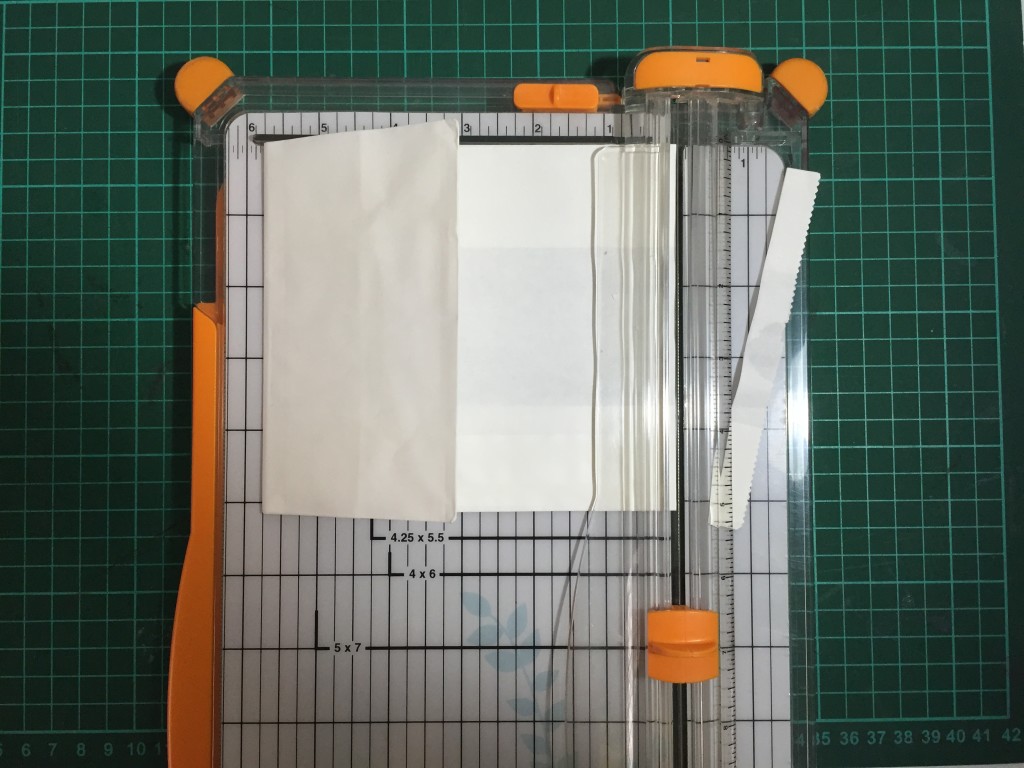
Then, you will cut down the paper bag to the length that you want. I cut mine down to about 5-3/4 inches (just below the notch on my paper bag)…

Hybrid Pocket Treat Bag

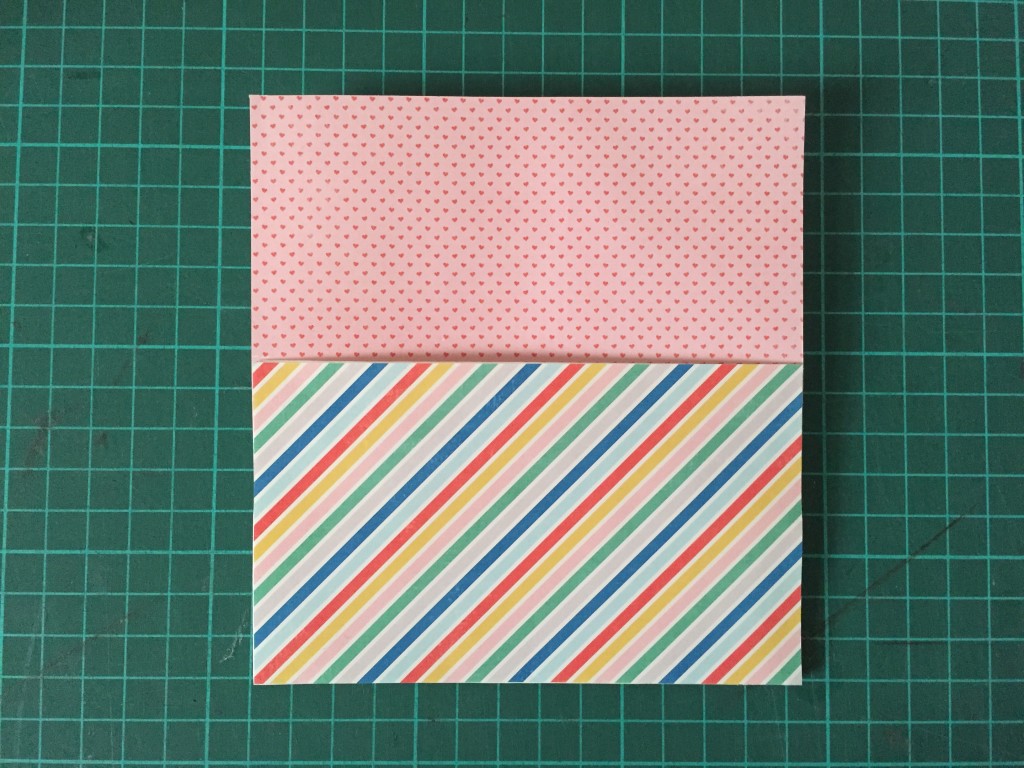
Next, you will adhere patterned paper on all sides of the paper bag. I printed mine using the digital kit shown above. You can do the same (with any kit you choose)… or you can even use actual physical supplies from your own paper stash.

Hybrid Pocket Treat Bag

*NOTE* do not glue down the front flap/pocket before you adhere the paper on the inside.

After you finish adhering all the papers, you will glue down the pocket. Use strong double-sided tape and only stick it to the sides of the pocket.

Finally, you will decorate your bag. I decorated the front side of mine with a doily, some flowers, and a little bling. I also printed out some pocket cards and added them to the front pocket — making the treat bag into an instant greeting card that the recipient will love!

That’s it! It’s easy, right? You can certainly go crazy when it comes to decorating. The best part of this project is that you can totally customize it to meet your needs.

Have fun and I hope you enjoy making this as much as I did!


IndahAbout the Author  Indah is on the creative team here at The Digital Press.  She has been a hybrid crafter for over 8 years, and loves making cards and paper crafts. She also loves collecting stamps and stickers.

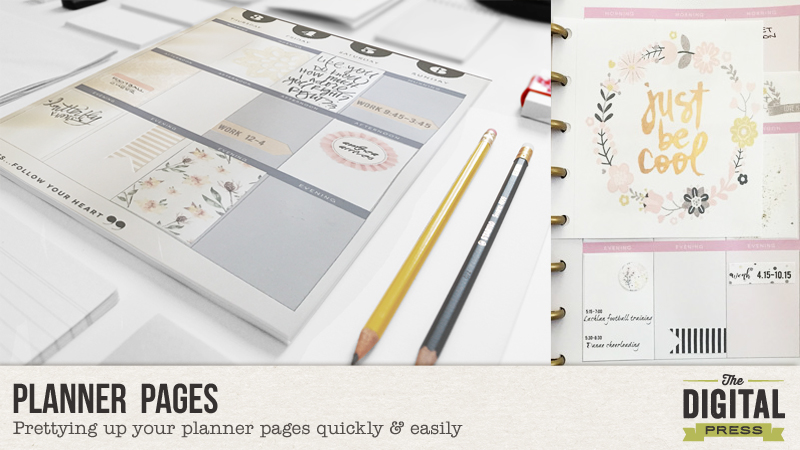
Hybrid: Planner Pages

Planner Pages

Prettying up your planner pages can be fast and easy!  Who wants a boring planner?  Not me!

Each weekend, I sit at my computer and take about an hour to pretty up my planner for the coming week. I write all my appointments, etc. in pencil in my planner until after I pretty it all up.

The great thing about working with digital scrapbooking supplies is that you can find anything you might need at a moment’s notice and download it to use right away, without having to leave your house or your jammies!

To do this is simple:

  1. I start off by measuring the squares in my planner.
  2. In Photoshop, create clipping masks on an 8.5″ x 11″ document (the size I print on), using the sizes I just gathered.  Create additional clipping masks as needed (I tend to do more than I need so I have options).
  3. Create mini journal cards by adding text, papers, and other elements. Should you want to add something that would not fill a the whole clipping mask, either change the background to the color of your planner’s background, or decrease the opacity after using the size of the mask as a guide.
  4. Once complete, print and cut them out.
    Planner Pages
  5. Now that everything is ready, it’s time to add all of your pretties using your favorite adhesive.
  6. Finally, you can now replace all of the penciled in appointments, etc. with your favorite pen(s).

See?  Simple.

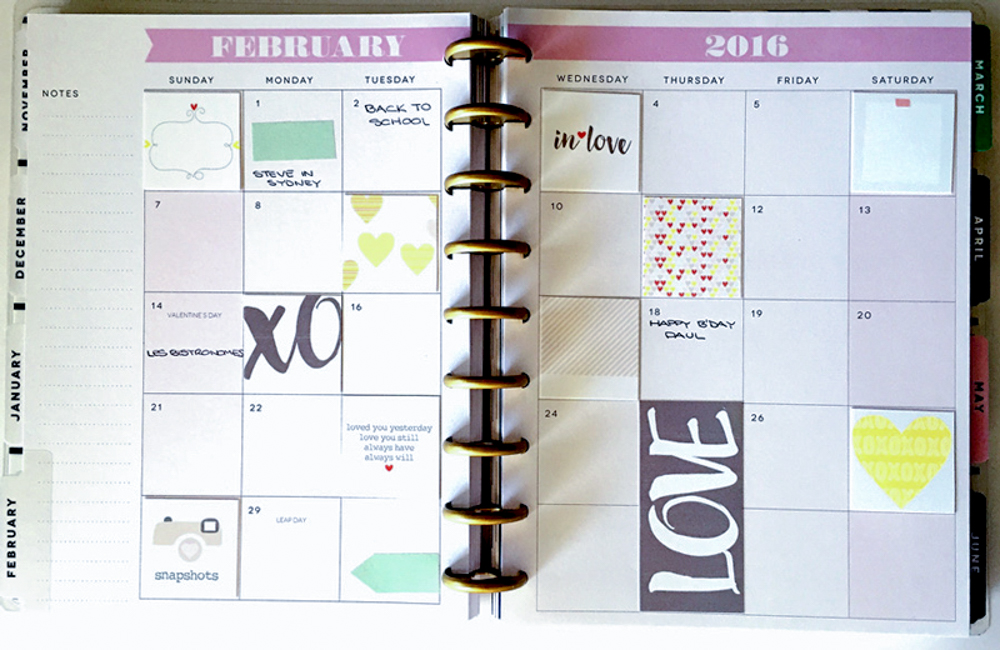
Sometimes I only use journal cards, like I did here with Dunia Designs’ February Documented (Cards):

Planner Pages

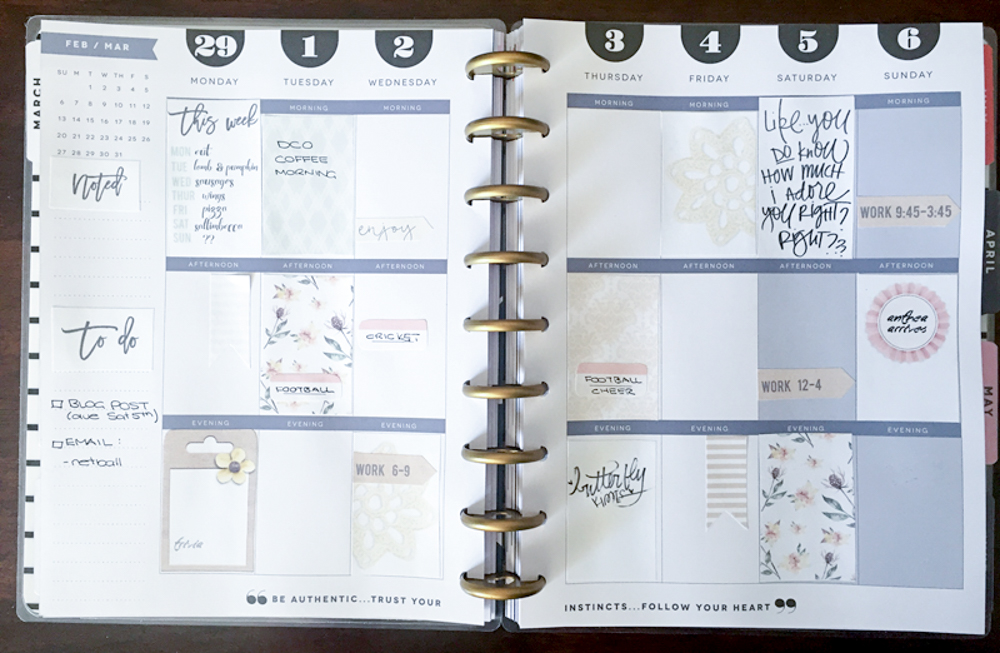
Here is an example where I used papers and elements from Hello February by Anita Designs as well as elements from Notebook Elements by France M. Designs:

Planner Pages


Have you thought about how you can use digital supplies to pretty up your own planner pages?  Here’s your chance to join us for a fun challenge in the forum to try it out!


AmandaAbout the Author: Amanda found digital scrapbooking in 2006 as a paper scrapper who was frustrated with the limitations of paper scrapping products. She now loves to combine paper and digital products and techniques for her pages and projects. She is the wife of a Naval Officer and has two teenage children. She lives in Australia, and has also lived in the U.S and Malaysia and loves that she has had the opportunity to travel the world with her family.
Cherish Yourself

Cherish Yourself

Cherish Yourself. That is a hard one… especially as a woman who is juggling so many hats. Therefore, it is the one thing I have decided to work on for myself this year. My “one little word” this year is “happy” …and every day I remind myself to do something (even if it is a very little something) to make myself happy.

Most things I choose involve being creative, which always guarantees to fill up my happy bucket. There are a lot of things you can do, however. Here are my tips to cherish yourself more…

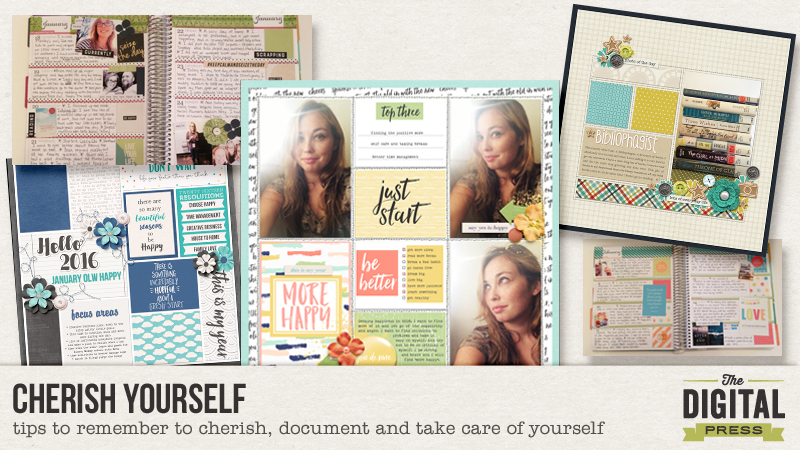
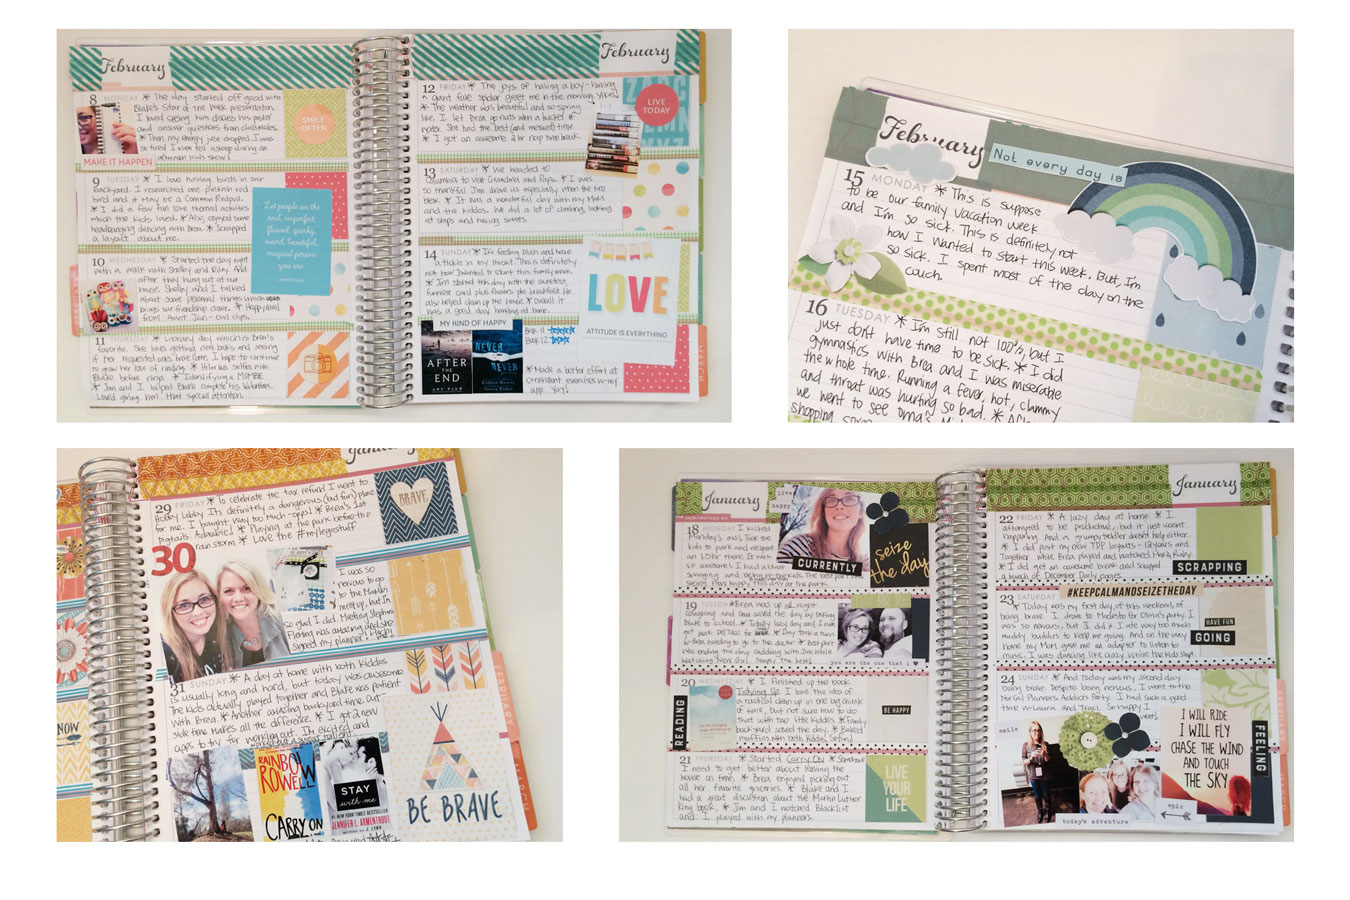
1. Keep a journal focusing on you. I recently started a planner that focuses on just me, and I take the time to hand-cut the digital-to-hybrid pieces that I put in my planner. Most weeks, I try to include a selfie… and I also include the books I have read during the week. This collage shows several weeks’ worth of my “happy planner.” The kits I used to create these items are Seize the Day by Sabrina’s Creations, Be Brave by Kim B Designs, Celebrate Life by Scotty Girl Design, and It Will Rain by River Rose. So far, this has been such a therapeutic project… and I am loving putting it together each week.

Cherish Yourself

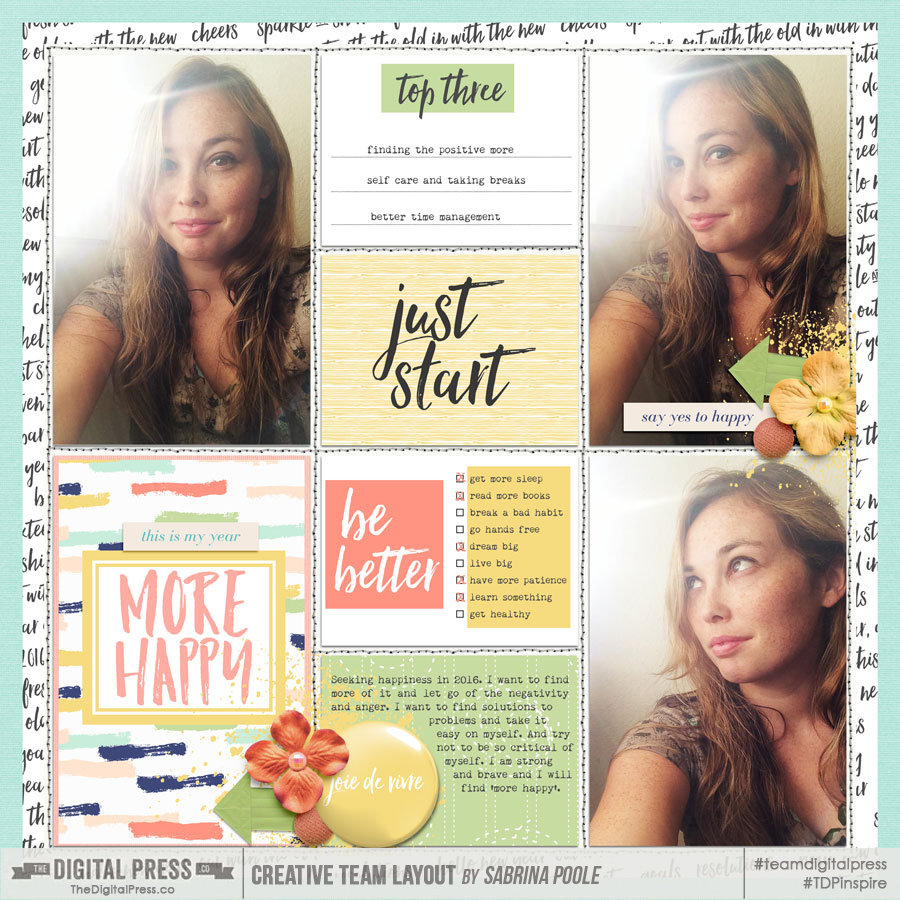
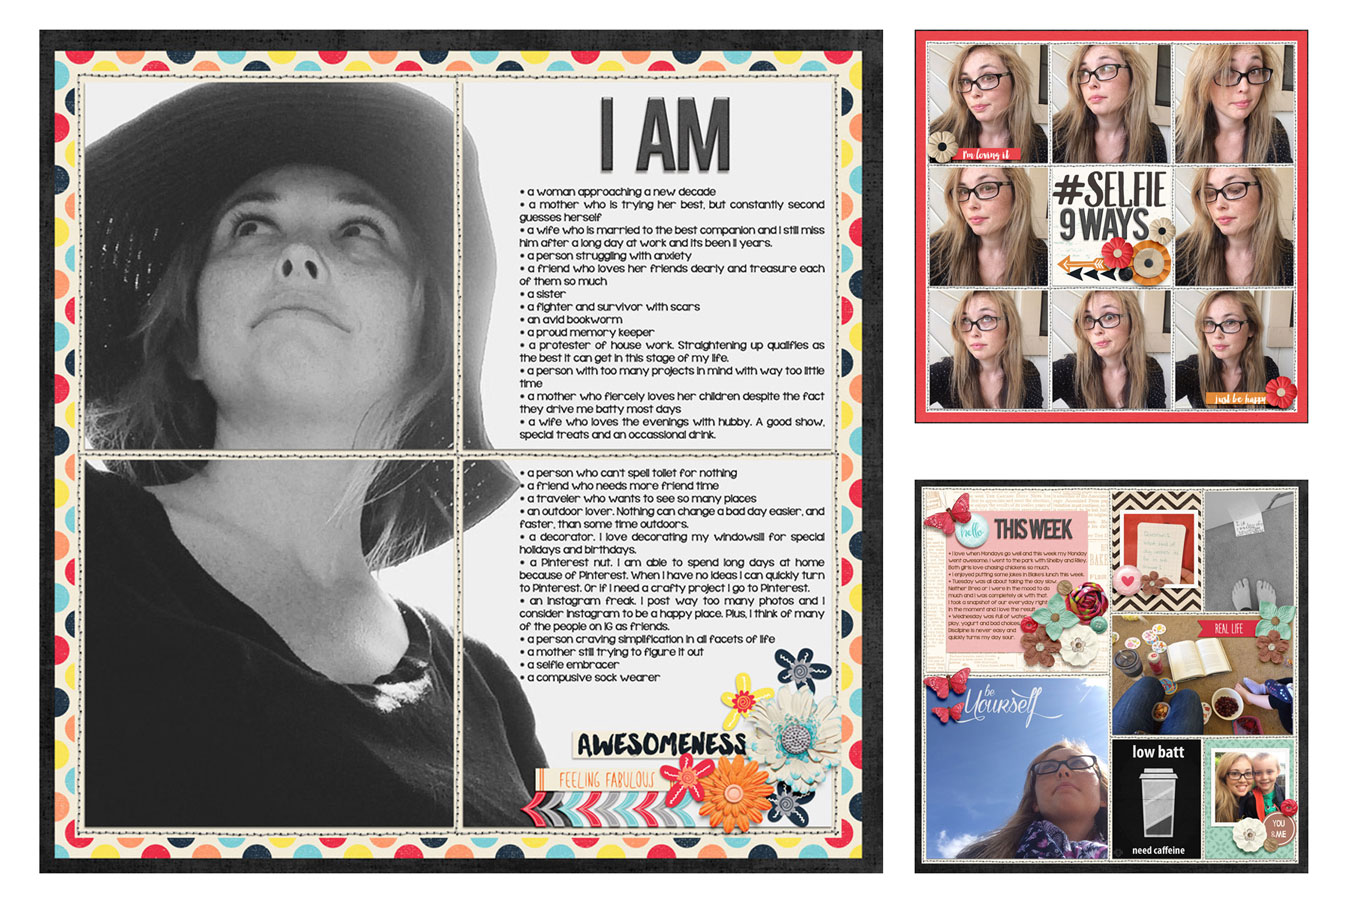
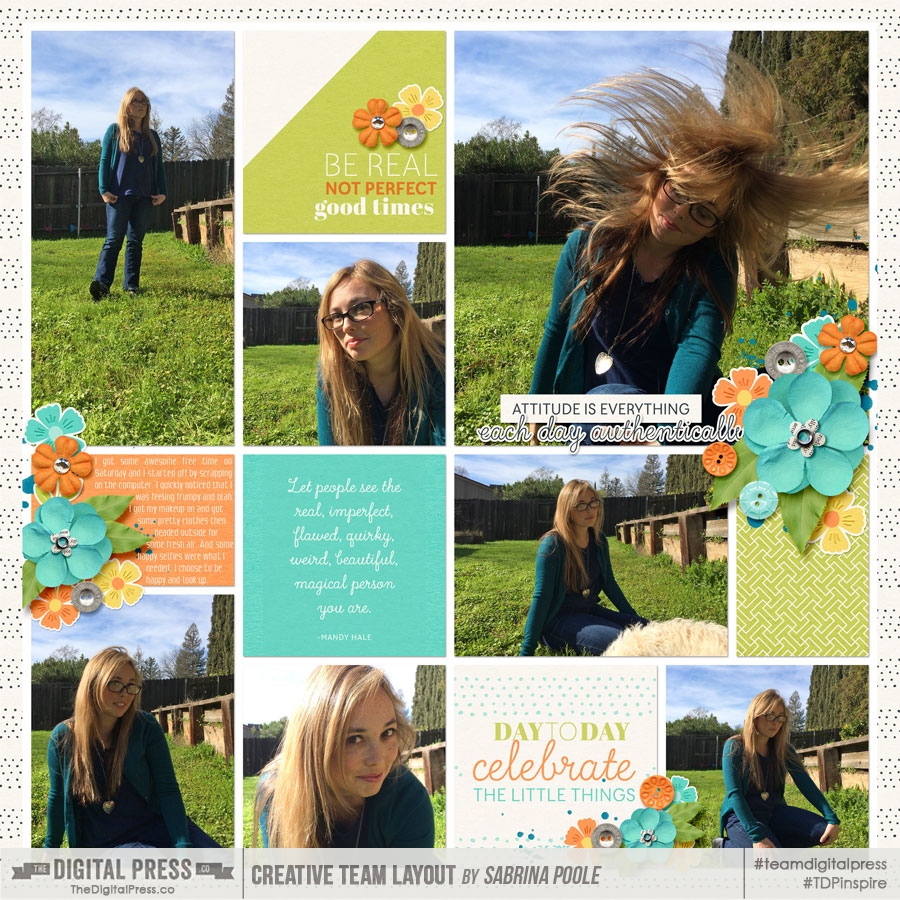
2. I also have made a goal to document more of myself. I have a limited amount of time to scrap, and I want to see more of myself in our family’s pages. Here are two recent pages I did of just me (linked for credits):

Cherish Yourself
Cherish Yourself

3. Another way to celebrate and cherish yourself is to participate in community projects. Last year, I did a project called A Selfie Scrapbooking and I forced myself to find time to do the project. It is truly one of my favorite projects that I have ever completed. Here is a collage of some of the layouts; I wound up with over 15 pages that are all about me!

Cherish Yourself

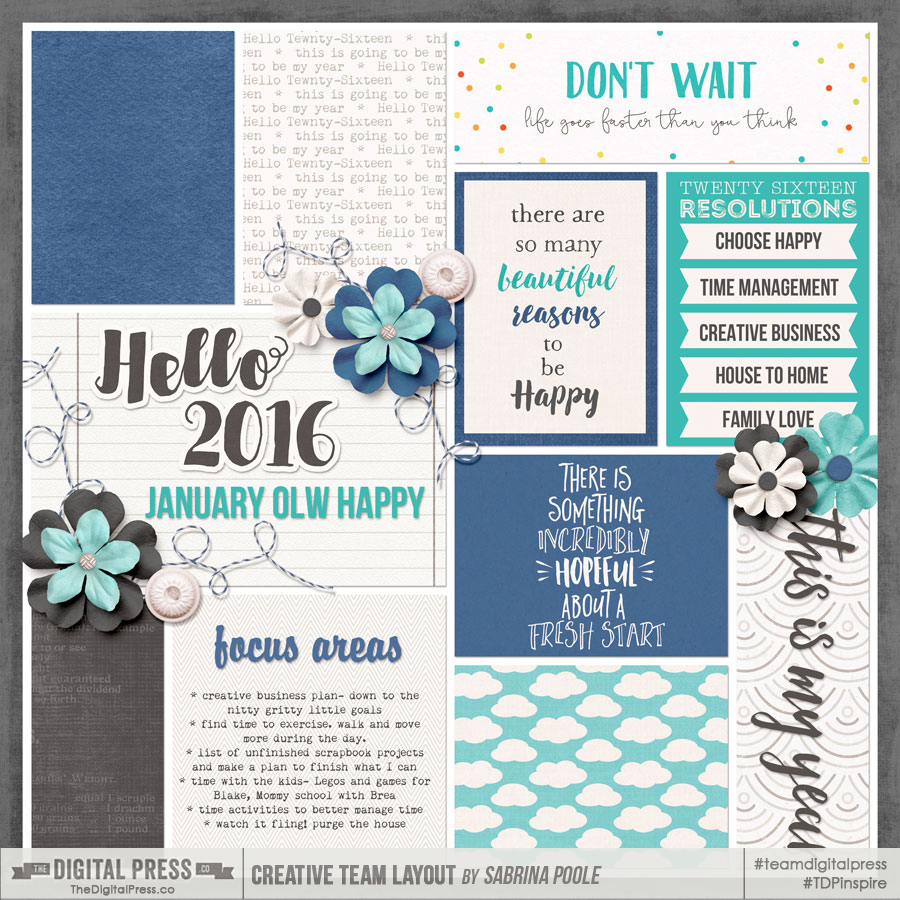
4. You can also scrap a “goals page” for the month to keep you on track. I tend to set lofty goals for the month, but I’m OK with the fact that I may only get half of the goals accomplished. The first step is just an intention to try and plan (linked for credits):

Cherish Yourself

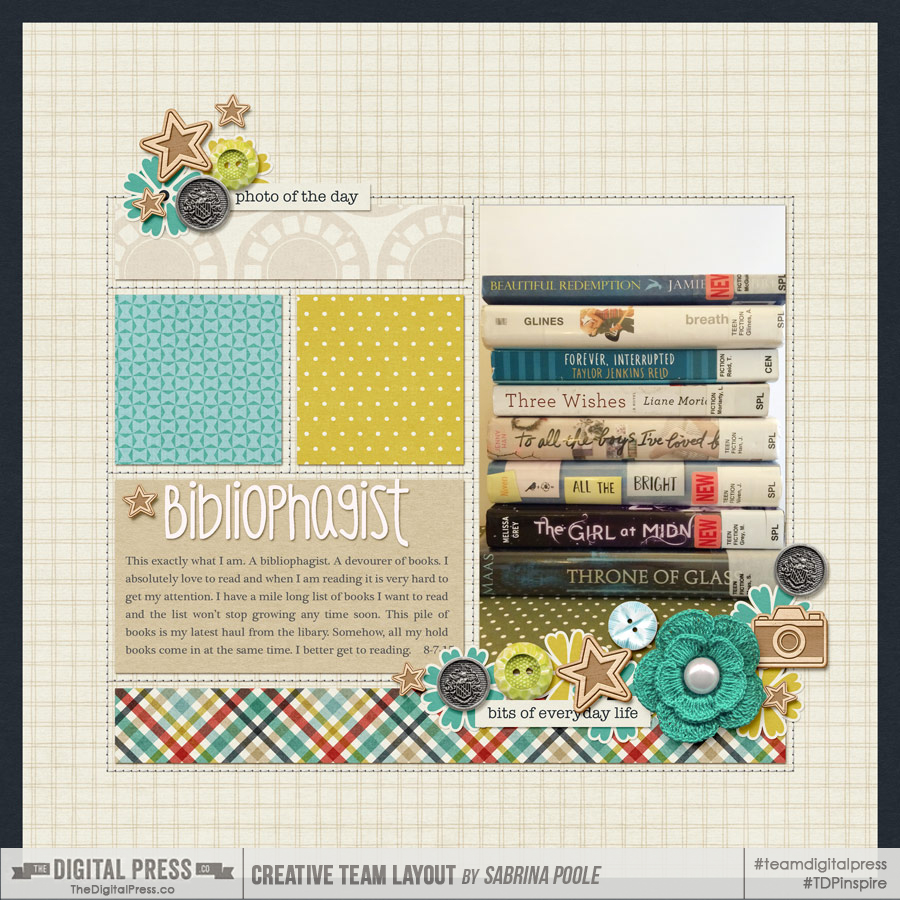
5. And finally… you can scrap about another hobby you may have. For me, this is reading… and I scrapped a page about my stack of library books (linked for credits):

Cherish Yourself

Cherishing yourself is all about making a commitment to make yourself a priority. However you choose to cherish yourself, keep doing it and make it important. Self-care and loving yourself keep you happier (and I’ve noticed everyone in the family seems happier when the Lady of the House is happy!).

Want to give it a try? Please join me in the TDP forum for a fun challenge!


TDP-blog-nov-sabrinaAbout the Author  Sabrina is an avid documenter of life — herself, her children, her hubby, and her everyday life. There is beauty in the ordinary moments, and they are what she loves to scrap. She is also always on the hunt for a quiet, peaceful moment, and she usually spends it reading.

Create a Teacher Appreciation Card


Education is very important to our family and I try to teach my children that learning is something that should be cherished. We have been very fortunate that our kids have had many great teachers at the international school they attend in Shanghai. So, whenever possible, I like to show their teachers how much we appreciate the love and care they give our children and their efforts to teach them a good set of values in addition to the normal curriculum.

Today, I am going to show you how to create a simple teacher appreciation card with the awesome designs our talented Digital Press Designers offer in the store. I think any teacher would love to receive a heartfelt thank you and a small token of appreciation like this.

Step 1: Choose the papers and elements you want to use
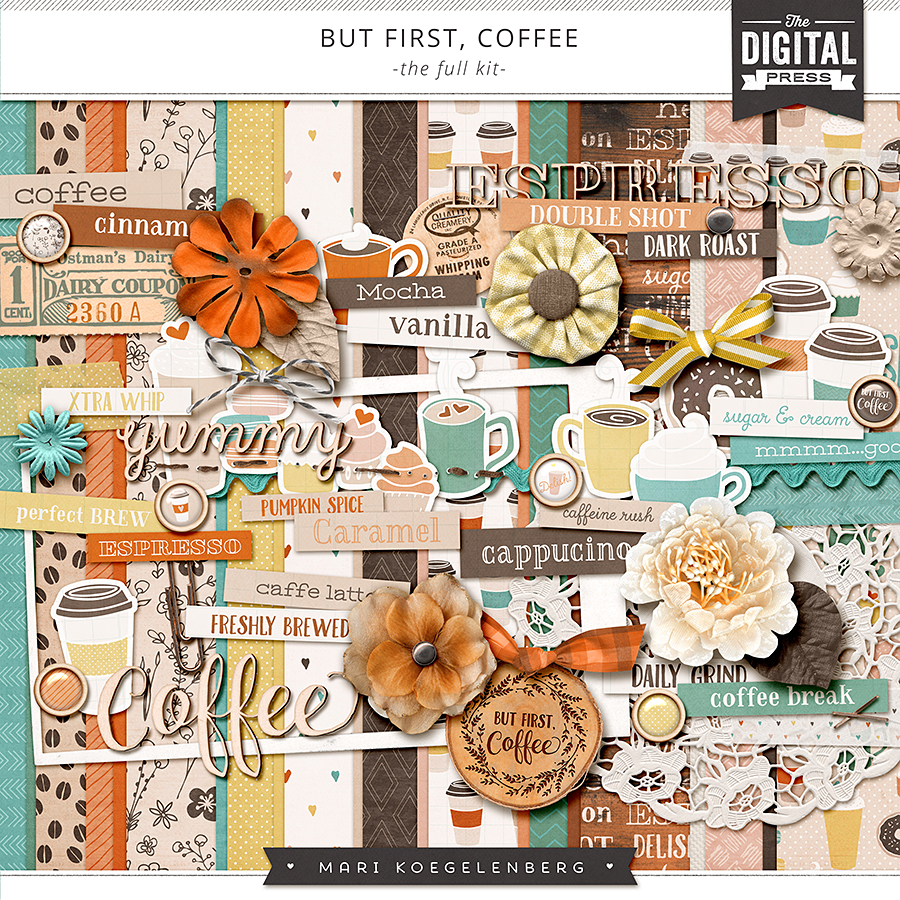
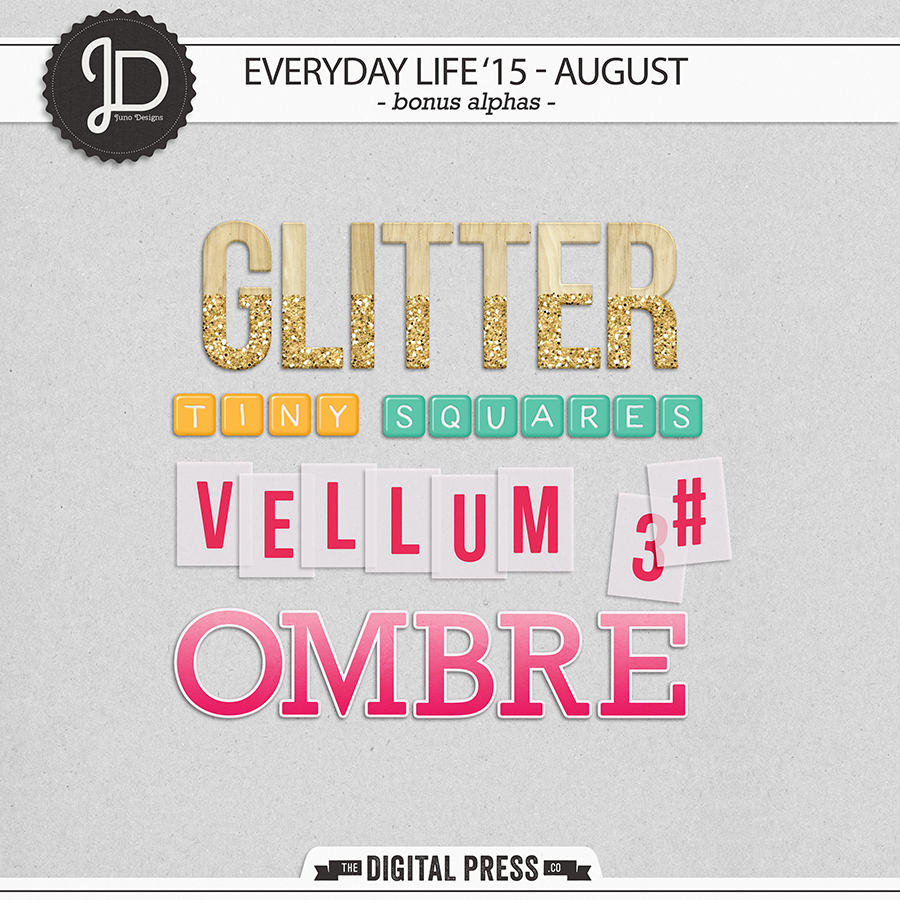
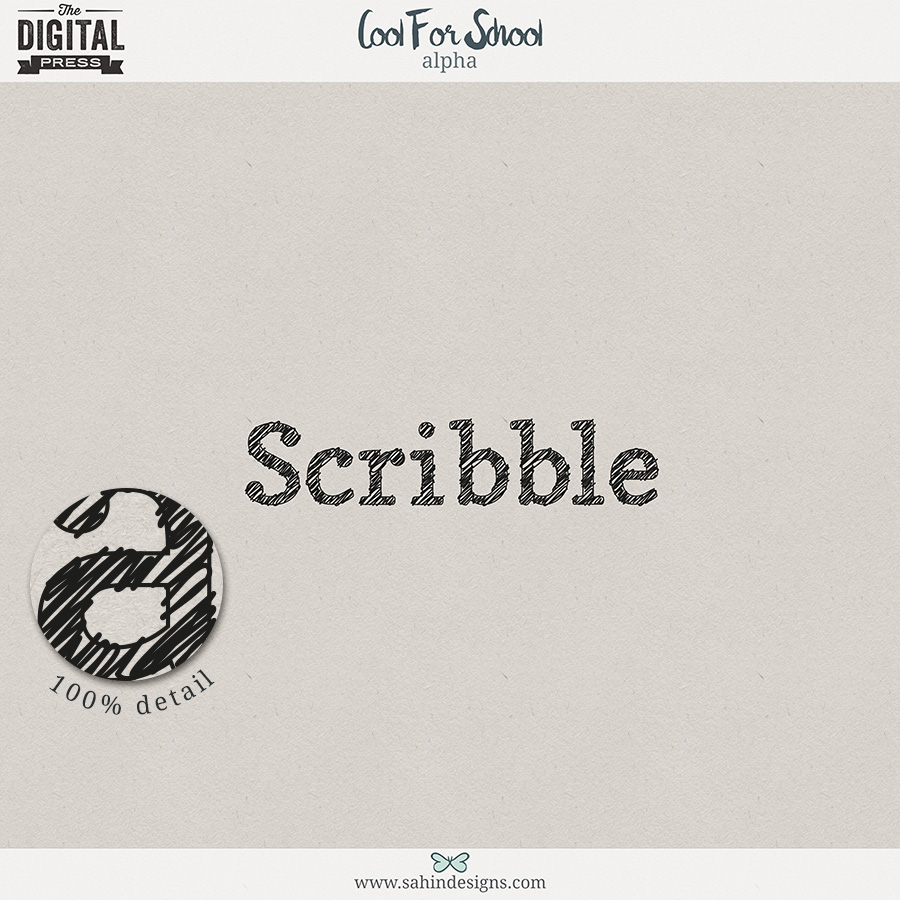
I find this the most difficult part, because I get easily lost in the store while browsing through all the gorgeous products. For this appreciation card, I have chosen the following designs: But First Coffee | The Kit by Mari Koegelenberg, Everyday Life’s 15-August | Bonus Alphas by Juno Designs and Cool for School | Alphas by Sahin Designs.


Step 2: Decide upon the format/size of your card
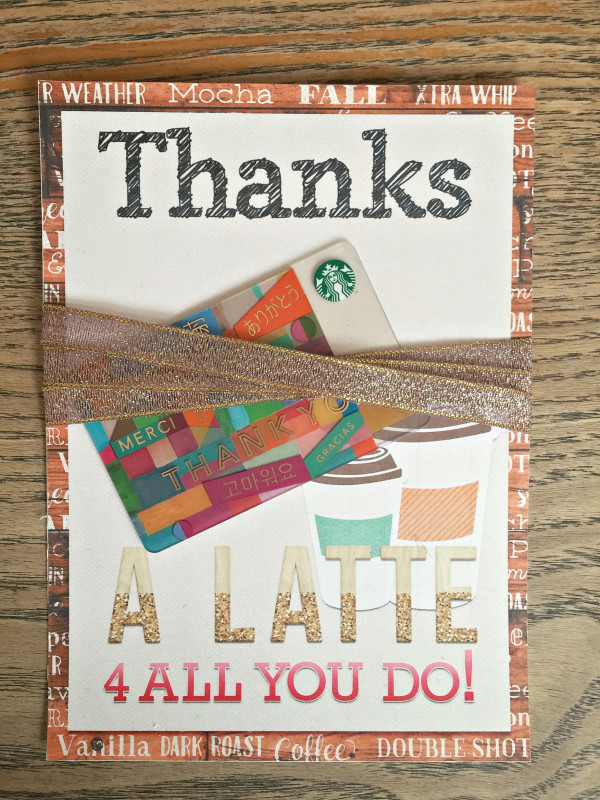
The next step is deciding what size you want the cards to be. As I want to include a Starbucks gift card, I need to make sure the card is big enough for the gift card to be added, so I created a 13 cm by 18 cm canvas in photoshop.

Step 3: Create your card
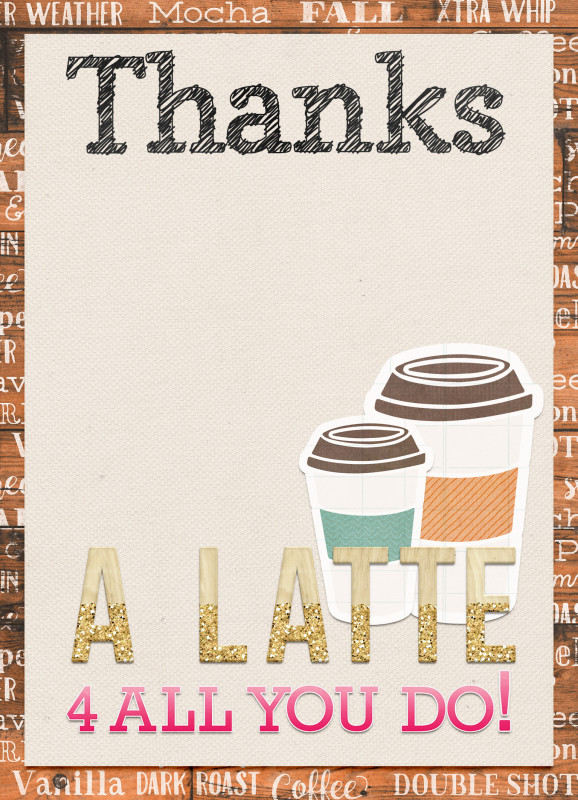
The next step is to choose which papers to use for the background. I opted for 2 papers: one with a nice coffee twist and one neutral paper so I could add the alphas. I added shadows to the alphas and the papers but that’s clearly all up to you. When I printed the card it wasn’t quite finished yet, so I decided to add some elements for the finishing touches.

Here is the card created in photoshop.


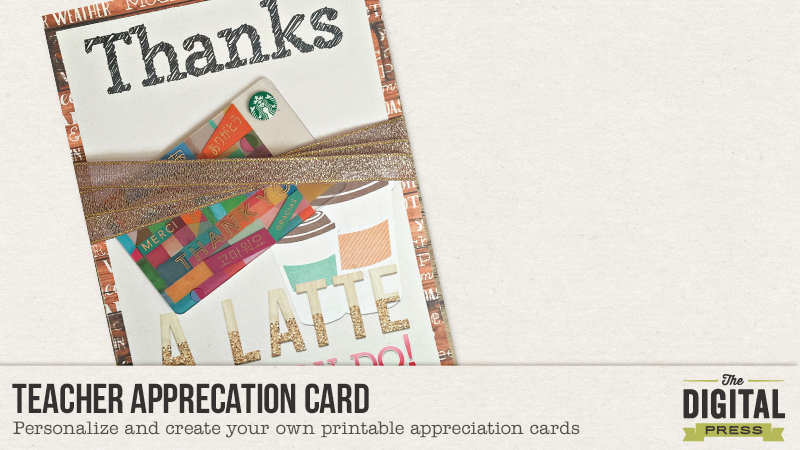
And this is the printed result. I prettied the card with some ribbon and added the Starbucks gift card.


Appreciation cards are so much fun and yet so easy and simple to make. Why not create an appreciation card for somebody you cherish? Come join today’s challenge in the forum and create one of your own! You can share your card in The Digital Press Challenge Gallery and link us up to your page in the Digital Press Challenge Forum.


CeciliaAbout the author Cecilia (aka MissK) is a member of the creative team here at The Digital Press. This Dutchie lives and works in Shanghai, China as a photographer/designer. Together with her husband, Udo, and kids Lana (7) and Tom (5), she loves to explore the world and enjoy life to the max. Carpe Diem!

Prettify Your Pantry – Hybrid DIY Storage Containers Upcycle


My name is Alina and I like to hoard stuff. There’s always something I can think of doing with things later. Maybe I even like to hoard ideas. When I recently got all the clutter out of my kitchen drawer it dawned on me, that I need a way to store my ingredients. Since I couldn’t figure out what the optimal permanent solution for my problem would be, I thought of an interim.

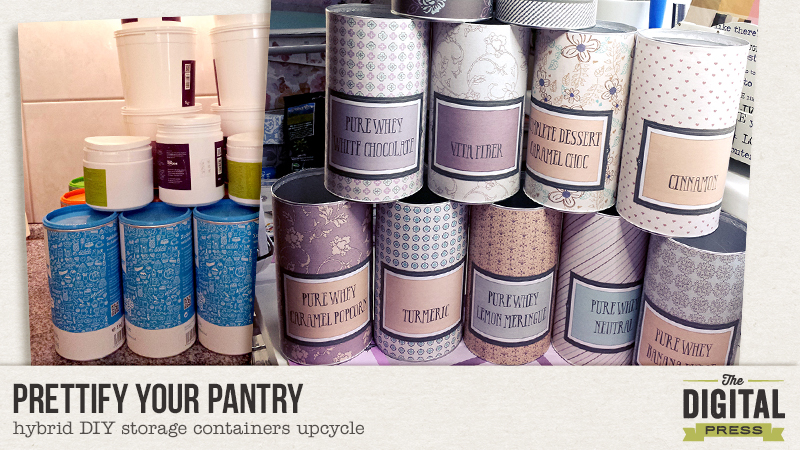
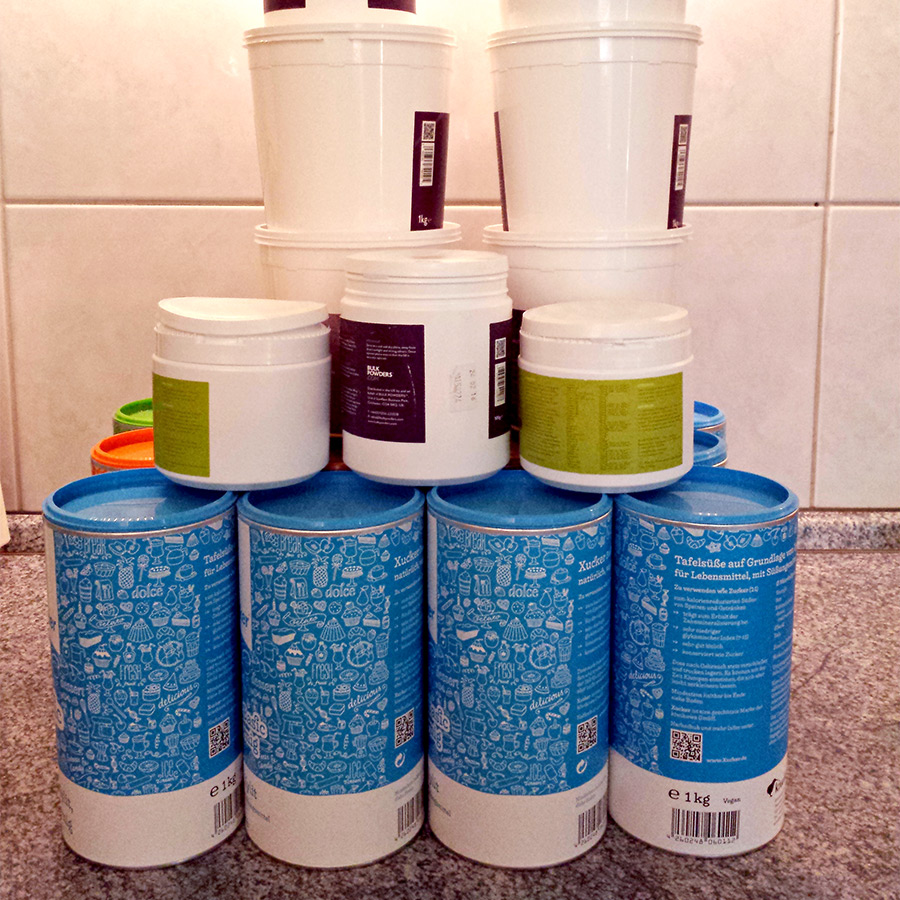
And that’s when my hoarding finally made some sense. I had lots of containers saved for an unspecified diy project. Yay! Containers! They were all not matching my kitchen colors and I knew that a hybrid make-over would let them shine. I will guide you through my thought and action process for this project.


All the kitchen containers I hoarded for later use. For this project the large containers on the bottom came to new life.


First I looked through my ingredients. How big should the containers be and how many of them would I need? How many of them would fit into the space I found for them? I figured that I had 11 bulky ingredients needing a big container. The other ingredients would need a smaller container and they would fit into the drawer, so they wouldn’t need a make-over. If I had additional time and energy, I could still upcycle them later.

I cleaned the containers cautiously and let them dry before I did anything else with them.

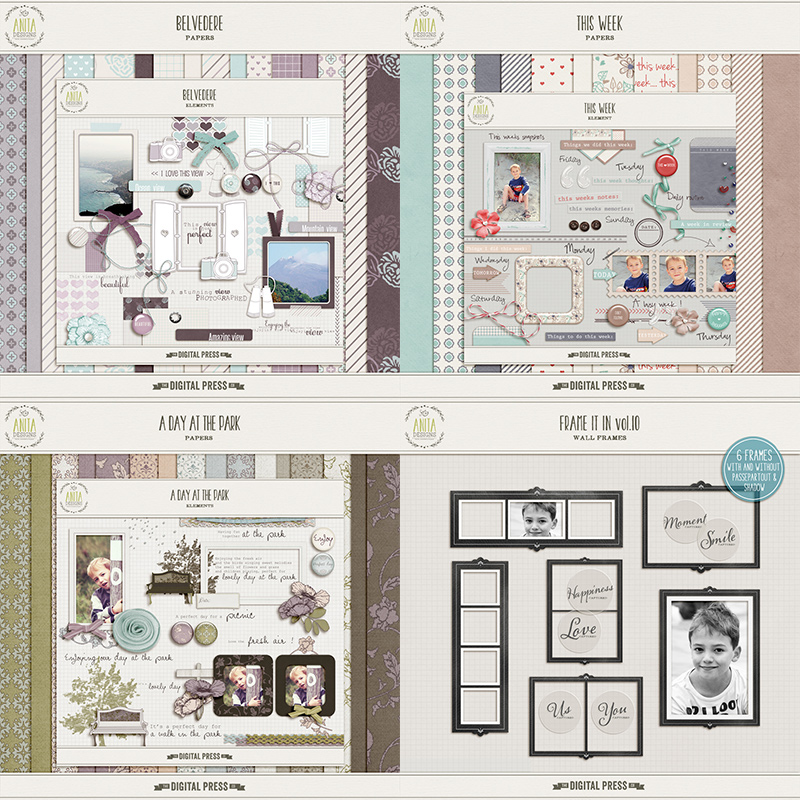
Then I thought of the colors I wanted to use. Our house is full on romantic in dusty/grayed colors and the kitchen is blue/purple/taupe/gray with a wooden countertop. I knew Anita Designs would be my go to for the style of the kitchen. I found lots of kits in these colors and the style that I needed. I was specifically looking for the patterned papers and left out the colors that wouldn’t match what I had in mind (green and red in this case).


The kits I used (linked) Belvedere, This Week, A Day At The Park, Frame It In Vol. 10

I measured the containers. They are all cylindric and have the same measurements. The size of the cover would have been larger than A4 but only a small strip would remain uncovered. Since it’s just an interim solution, I am okay with a small portion on the back of the container peeking through. I have A4 sticker paper and used it for this project.

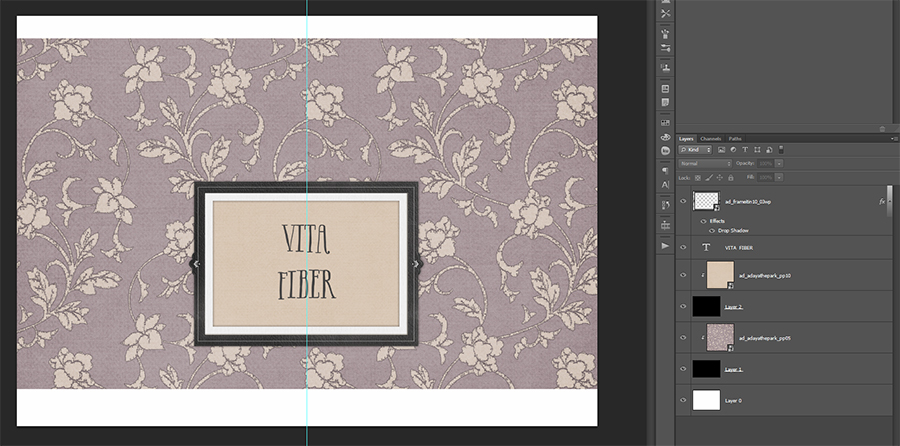
I created a template in photoshop with the measurements of the cover. It’s simply a background paper, a big frame and a large font in capital letters. I created all the covers and printed them on the sticker paper.


My template for the covers. I only changed up the papers and the captions.


Now I got serious. After cutting the excess paper off, I tried the cover on with the backside of the sticker paper still attached. I could see some of the high contrast original cover through the new cover. On those containers I used a plain paper before I covered it up with the printed paper.

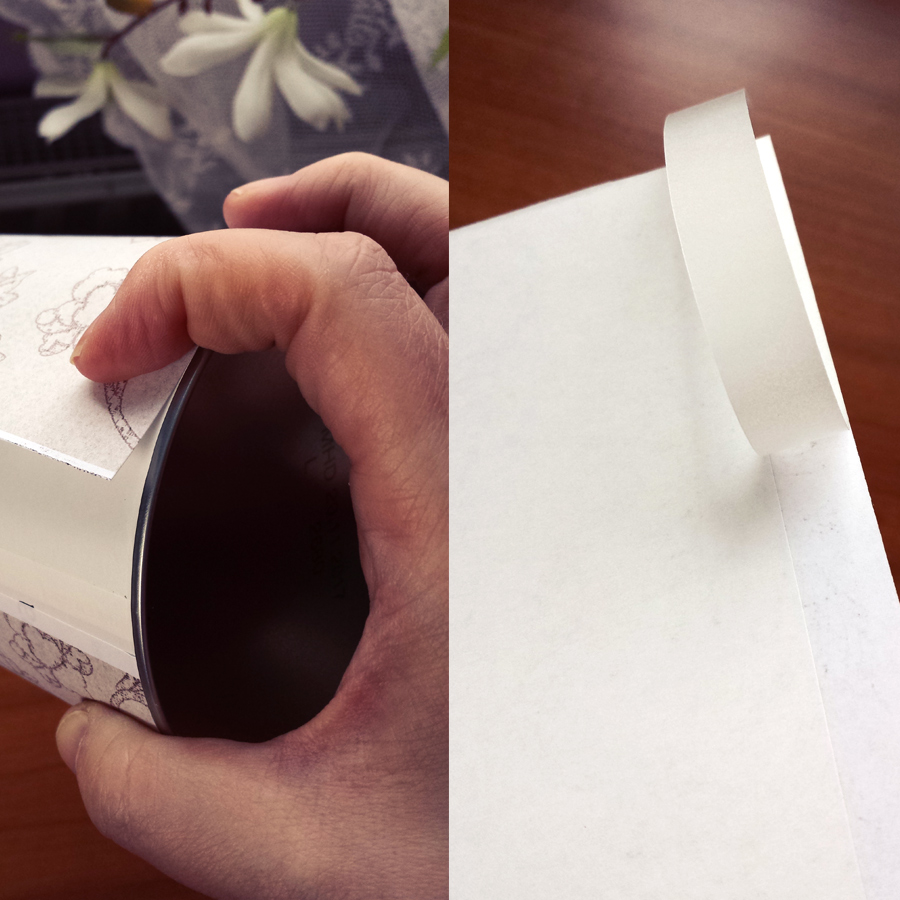
The sticking onto the container was tricky. I had to be very carefully finding the parallel lines to be able to stick the paper without creases and bubbles. Since I’m lazy, I didn’t want to draw a line on every container as a guide. So I only got the small backside off and tapped it lightly onto the container, making sure it would be fitting on the edges. Then I peeled off the rest of the backside and brushed the paper from the middle of the already sticking part to the edges and around the whole container.


Sticking only the small strip to the container to see if the sticker will fit on the edges.


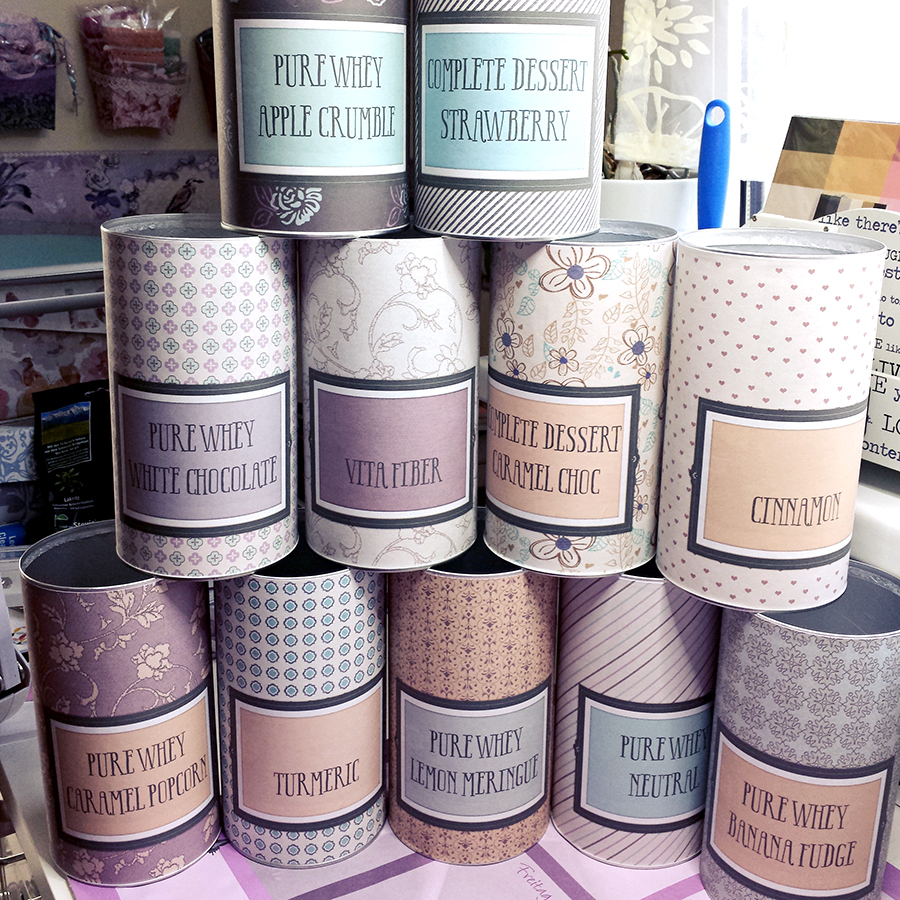
Et voilá, after several repeats, I had them done. All in all this took me about 2 hours, printing not included.


The containers on my crafting table.


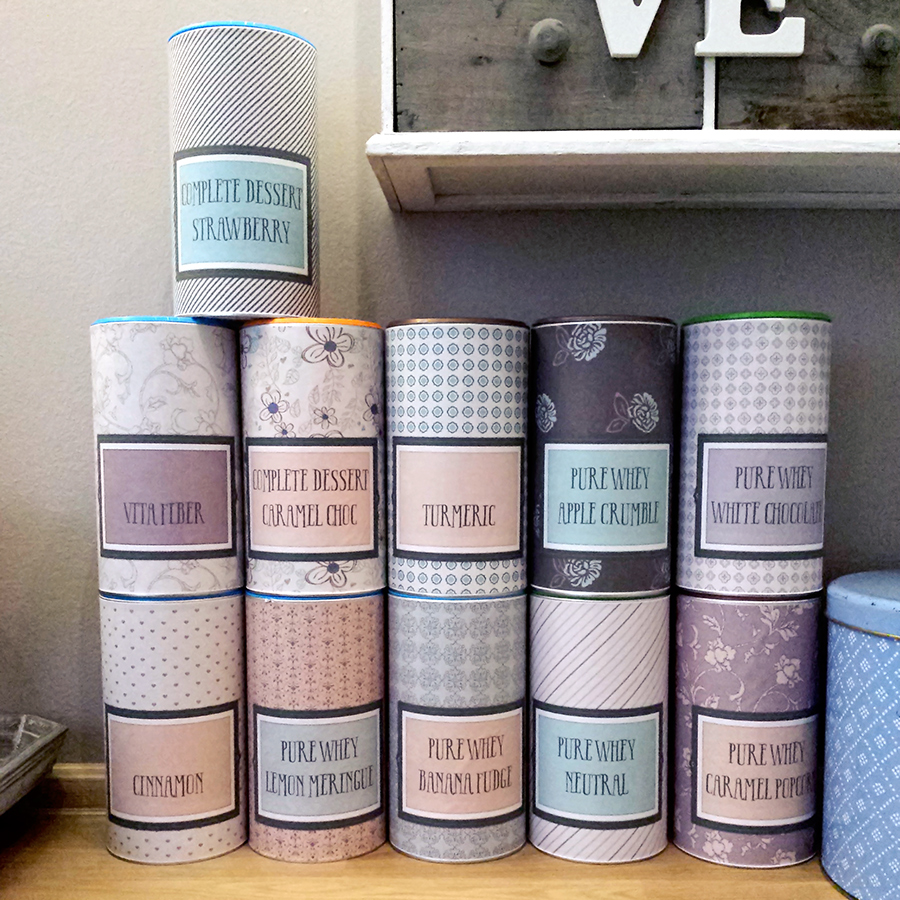
They fit perfectly into my kitchen and I’m happy when I look at them. If I wanted them to last longer, I had them coated, because the ink might come off when in touch with water.


The containers in the kitchen, where they belong.


That’s how my hoarding became something beautiful. Now I can even ease “the hubster” into the thought of keeping things a little bit more. Who knows which idea I will diy next?


alina

About the Author: Alina enjoys sitting in front of her large computer screens too much. Apart from that she loves walking her dog and watching sunsets while being amazed of life in general. She is married to her best friend. Tries to manage the needs of her two cats and her dog and badly fails when they all want their cuddle time at once. Everything else is scrapping, taking photos and currently crafting. Having said that, she needs a bigger craft room.