Category: Hybrid Crafting

12 Days of December – Day 5 – Christmas Bottle Tags

header-blog2PS

I love the holiday season! It’s a great time to share gifts with friends and family. Today I’m here to show you a simple way to dress up a gift with bottle tags! I plan on making quite a few of these tags this month to add to my neighbor gifts this year — things such as bottles of sparkling cider or hand soap. To make mine, I used elements from both the All Spruced Up Kit and and All Spruced Up Journal Cards by KimB Designs…

All Spruced Up Kit by KimB Designs

All Spruced Up Journal Cards by KimB Designs

Supply list:

  • Digital kit of choice
  • 1.5 inch circle punch
  • Scissors
  • Glue dots
  • Hand soap / sparkling cider (or other bottled gift)
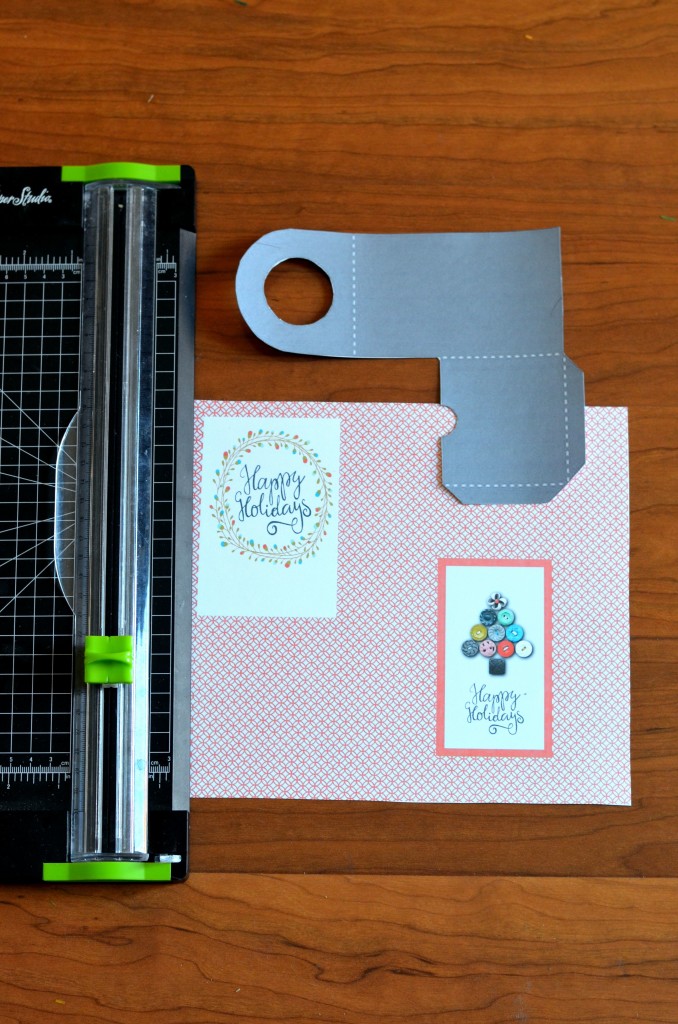
  • Optional: digital template for a bottle label tag pocket (or you can approximate yours using the following image as a guide)

tag

To begin, I started with a canvas sized at 11″ x 8-1/2″. I  used the Christmas tree element cards and word brushes from the All Spruced Up Kit.

template

If you choose to freehand a simplified template and don’t use a cutting machine… measure a rectangle 9″ x 3″, and then make a scored fold line at 2.75″ from the top. You can leave a square edge or round the edges.

Now, for those of you who are using a template similar to mine (shown above)… I loaded the template image into my digital program. I centered the Christmas tree and word art inside my transparent 9″ x 3″ template, and then I designed the image on the front of the tag as 2.5″ x 6″.  If you choose to add the pocket card on the back, you will need to create a journal card  2.5″x 6″ to slip inside. It will be the same dimensions as the image on the front of the tag.

As you can see on my image above, the right side is the front of the tag. On the left is the card for the back. In the photo, my template is on the side you will straighten the template to fit over the Happy Holidays image.  Once you have your page ready, you can print it on card stock from home or send it off to your local printer. Trace the template and cut it out by hand, or use your cutting machine. Punch a hole with a 1.5″ circle punch (or freehand it with scissors like I did). Score the dotted lines and fold, and then secure the back of the pocket with glue dots.

KimB back

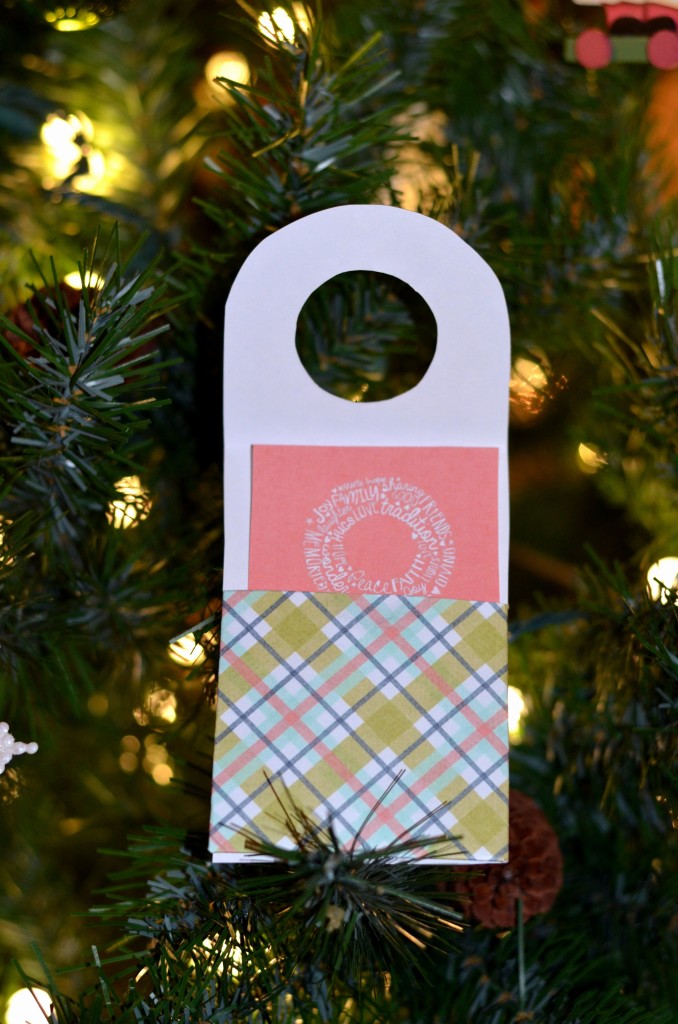
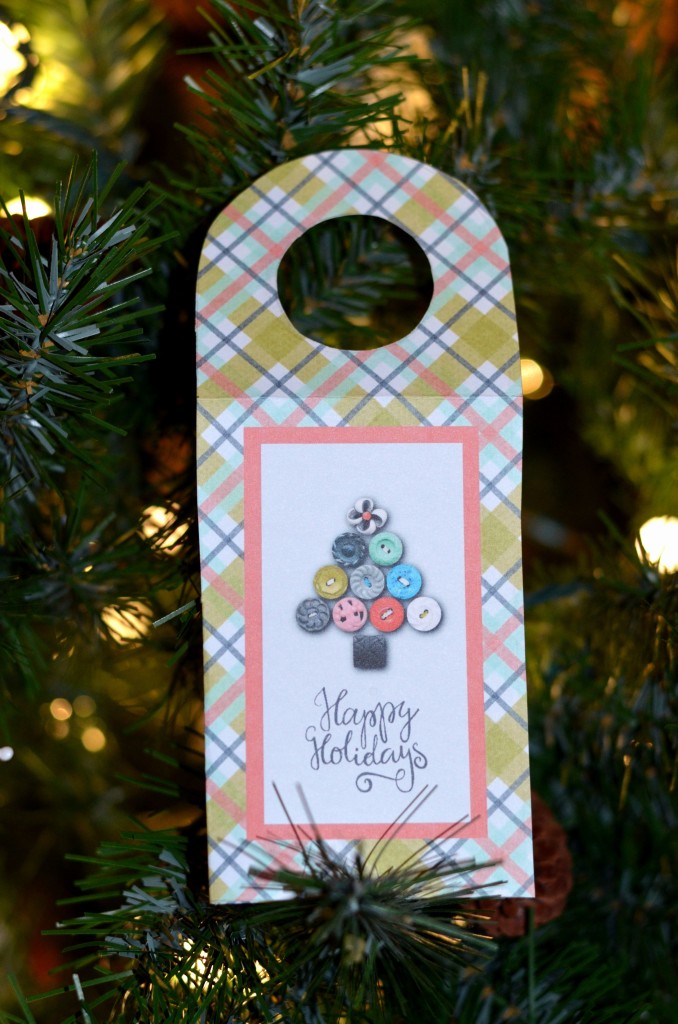
I have included the front and back view of my completed bottle tag with the hole punched. Scored edges and pocket tag are shown on the back.

front

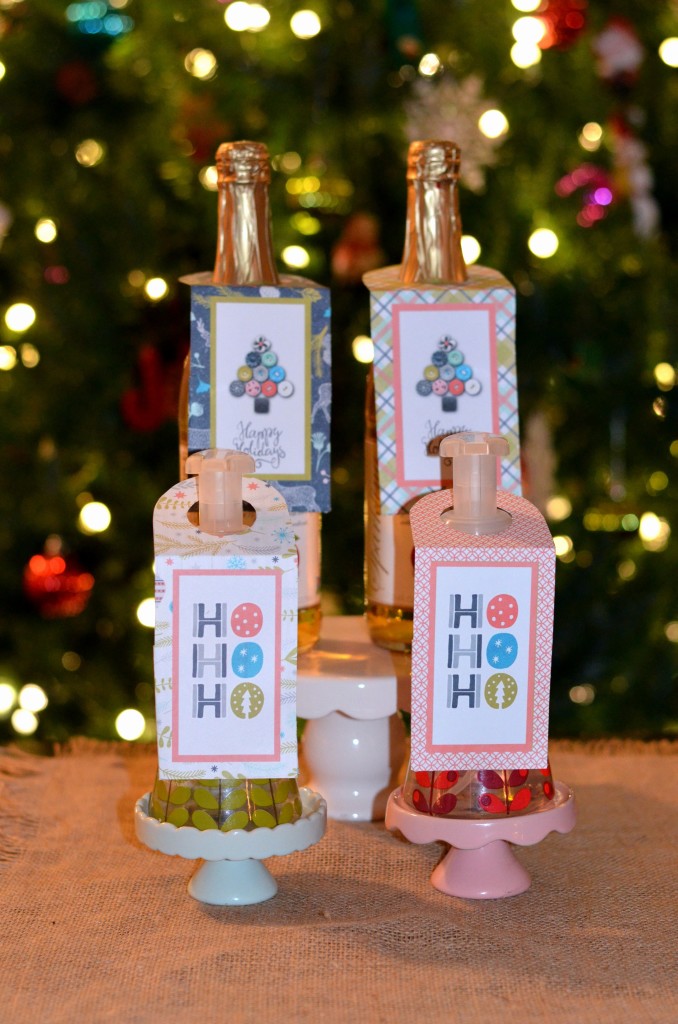
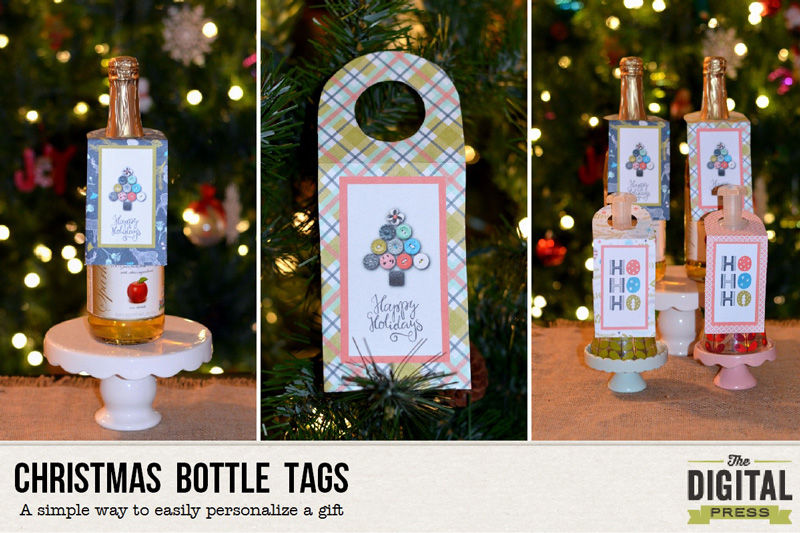
Here’s a look at the bottle gift tags attached to apple cider and hand soap… ready for gift giving!

KimB bottles

So simple to create… and you now have a personalized gift for friends and neighbors.  Join us in the forum for a fun challenge!

Merry Christmas and happy gifting!


TerresaAbout the Author Terresa is a mother to 5 beautiful children. She loves capturing memories with her digital camera and then creating a visual family memory book to be enjoyed and treasured. She also loves to design and create personalized items for her home and children. Other interests are crafting and gardening, and you will often find her enjoying the outdoors and soaking in the beauty of nature.

12 Days of December – Day 1 – Make a Festive Advent Calendar

Make a Festive Advent Calendar

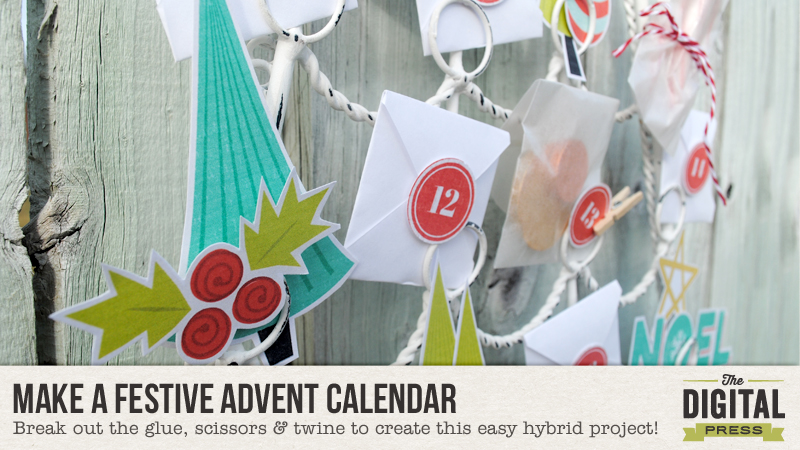
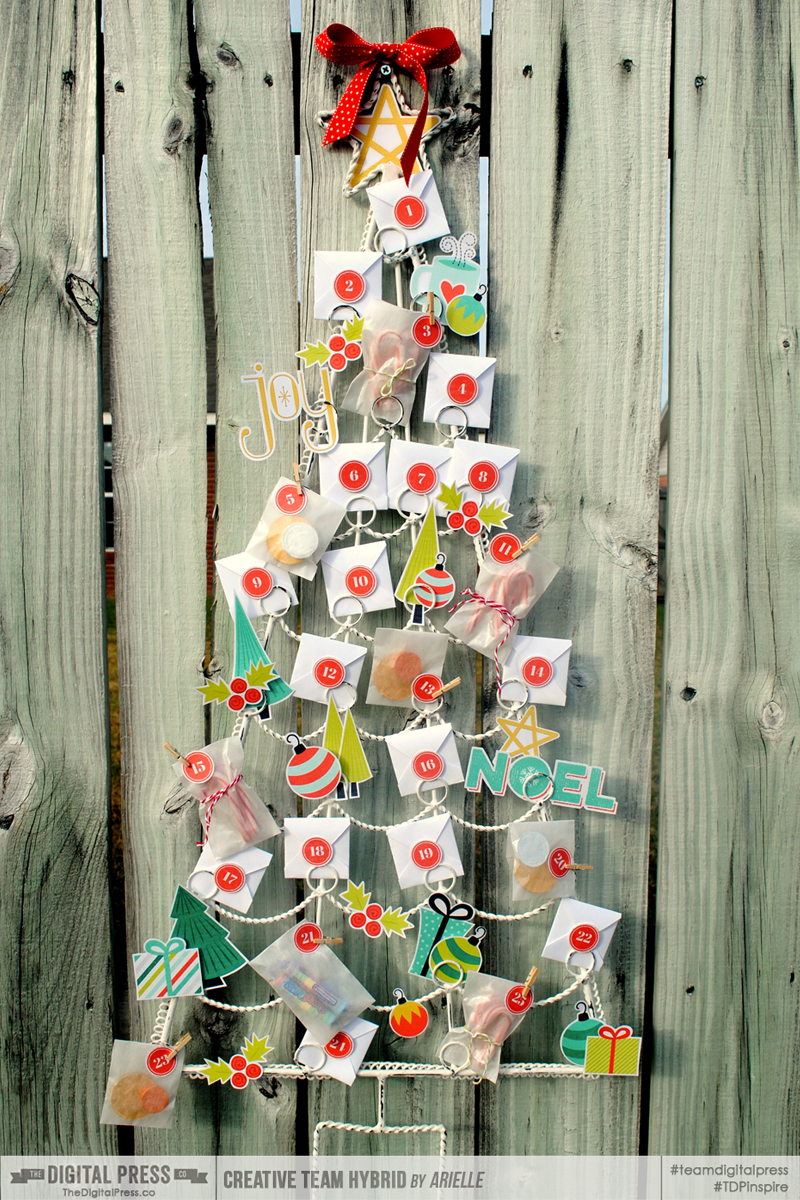
I love everything about Christmas, especially traditions. For the last few years, I have dreamed of having an advent calendar for my family as a new tradition… but what a seemingly-HUGE undertaking! I like quick crafting (another reason I love digital scrapping!), and taking on such a project has always daunted me. When I saw this gorgeous digital kit, however — Season of Joy, by Scotty Girl Designs — and this fun Whitewash Christmas Tree Cardholder from World Market, I knew I had to make it happen this year!

Make a Festive Advent Calendar

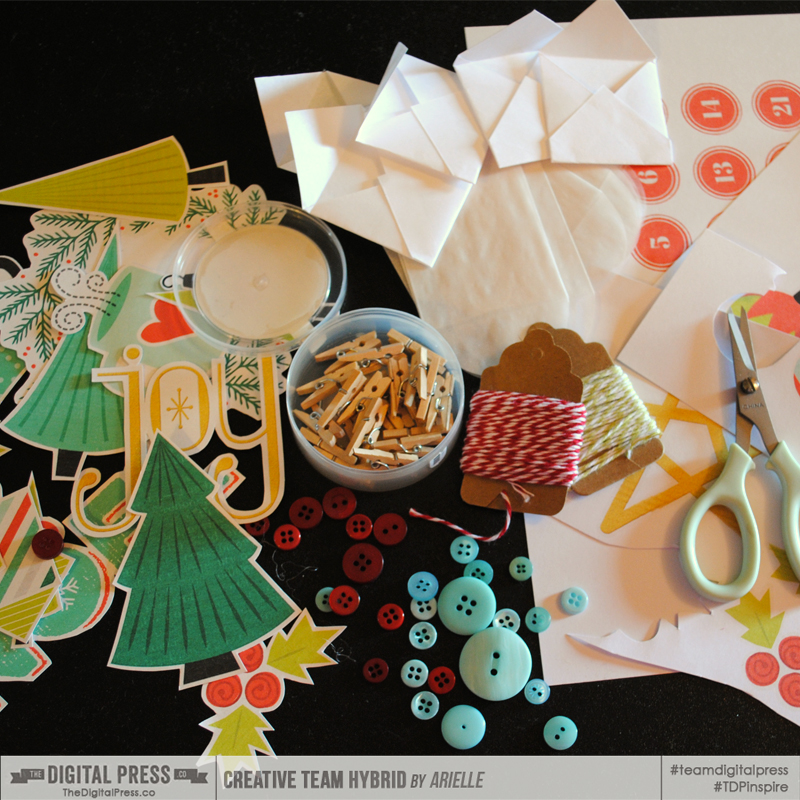
First, gather some crafty supplies —

  • Digital kit of your choice (I used Season of Joy, by Scotty Girl Designs )
  • Thin cardstock & plain bond white paper
  • Adhesives (I used dimensional glue dots & an ATG gun)
  • Scissors & paper trimmer
  • Other embellishments such as twine, ribbon, buttons, and mini clothespins (I ended up not using the buttons, which is crazy — because I usually put buttons on EVERYTHING!)
  • Cardholder, or other frame to the calendar elements

Make a Festive Advent Calendar

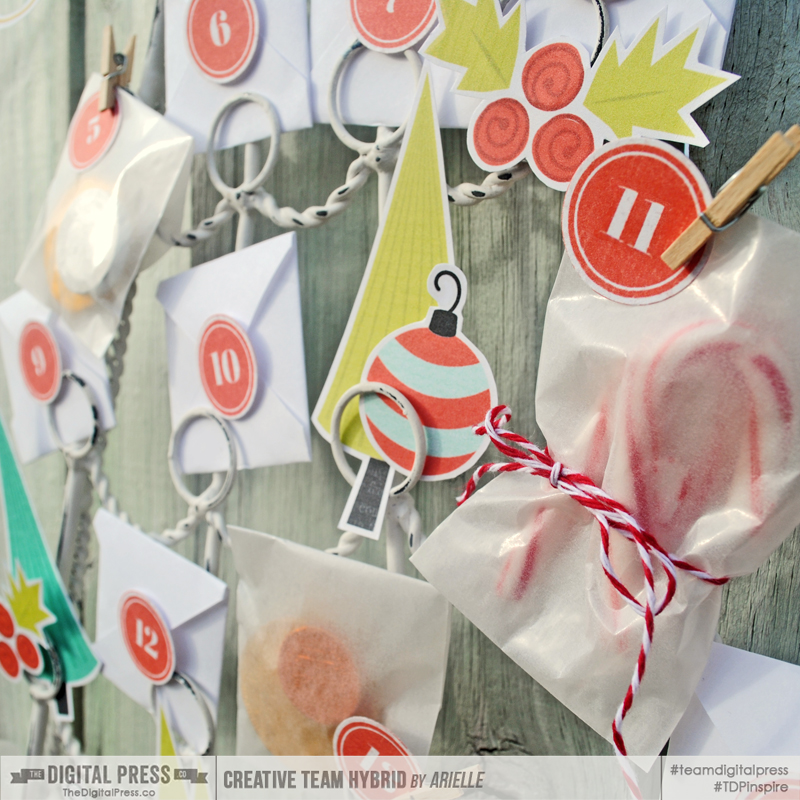
I started the project by taking a photo of the tree cardholder and then enlarging it to 100% in Photoshop, so that I could measure/resize the elements and decide on their placement. I quickly figured that my little envelopes needed to measure 2″ square, and then I was able to fill in the gaps with elements from the kit, and size them appropriately. The numbered circles are from one of the patterned papers in the kit – I sized them to 1″ inch so that I could quickly use a 1″ punch to punch them all out. Once that was squared away, I set up 8.5″x 11″ documents of what I needed, printed them, then trimmed out all the pieces.

Make a Festive Advent Calendar

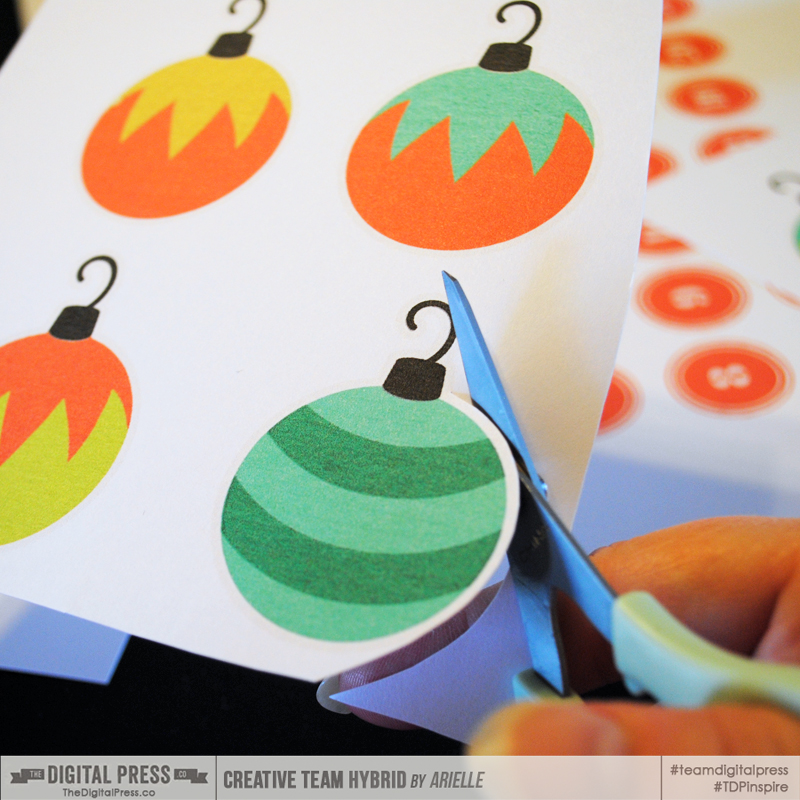
I loved how all the elements in this kit have a white border – I could just make it out once they were printed, and used them as guides as I trimmed them.

Make a Festive Advent Calendar

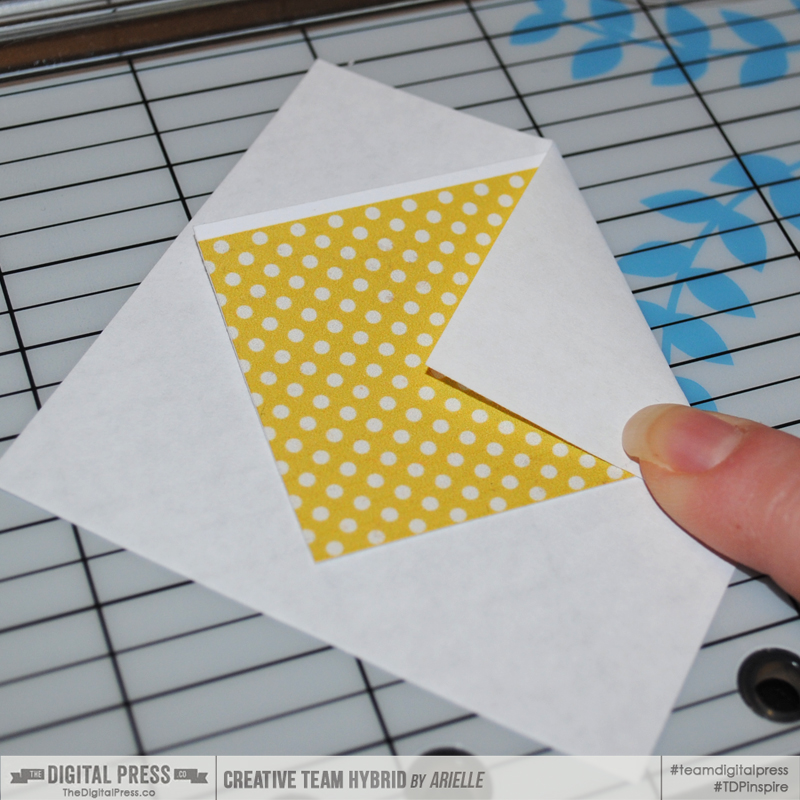
For the little envelopes, I cut plain white paper to 3.25″ square. I used a 2″ inch template of thick cardstock to fold my envelopes. I lined the corners up on the grid of my trimmer, to make it easier to center my template, and taped the bottom flaps down as I went. Then I tucked a little note into each, directing us on something to do for that day (you can find awesome lists on Pinterest to get ideas for your own notes!).

Make a Festive Advent Calendar

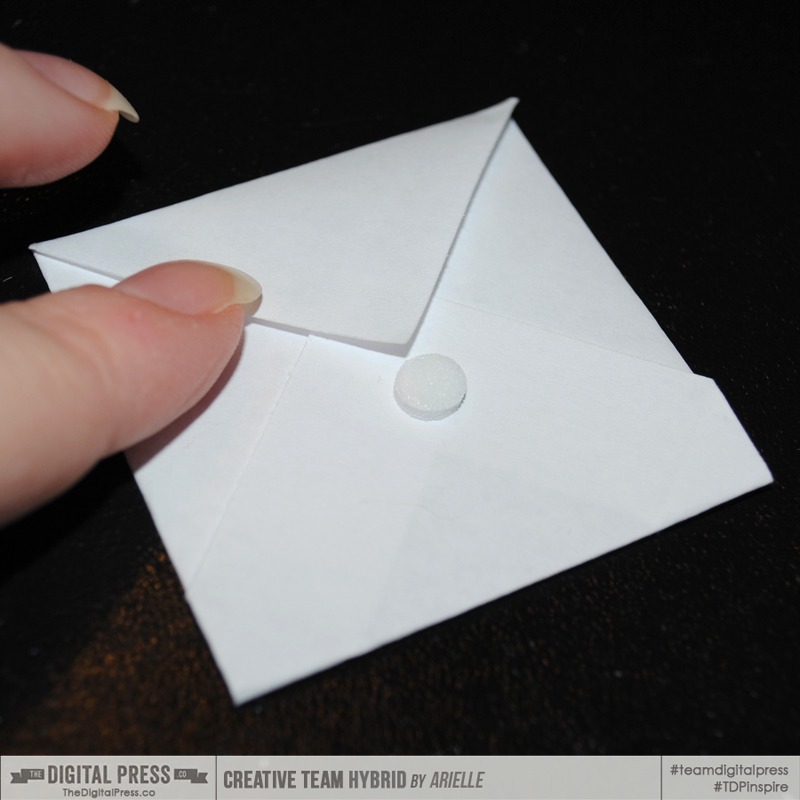
To make the envelopes easier to open, I placed a dimensional glue dot directly under the flap. Later, I adhered the numbered circles onto them, which helped to keep the envelope sealed… but still let it open to easily remove the notes.

Make a Festive Advent Calendar

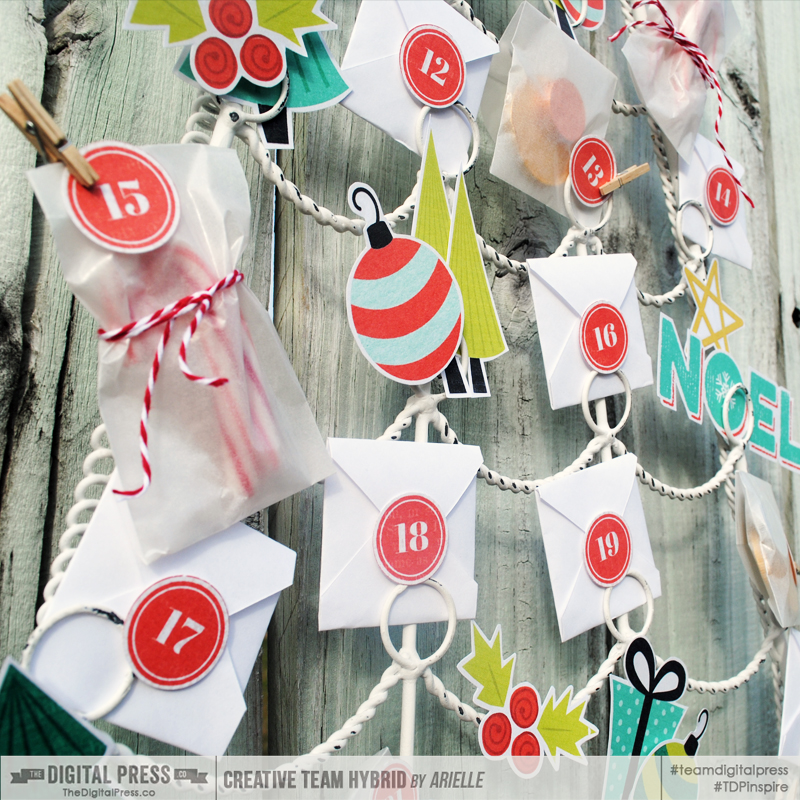
I also used mini glassine envelopes and filled those with little treats (I only did nine treats, as I didn’t want the calendar to be all about the candy!).

After you have everything trimmed and ready to go, I suggest putting all the envelopes in place on the frame and then sticking on the numbered circles; that way, you’re not shuffling through them to try to find what goes where. Finally, all of the open spots are now ready for the magic touch — the adorable elements!

ahg_hybridadvent7

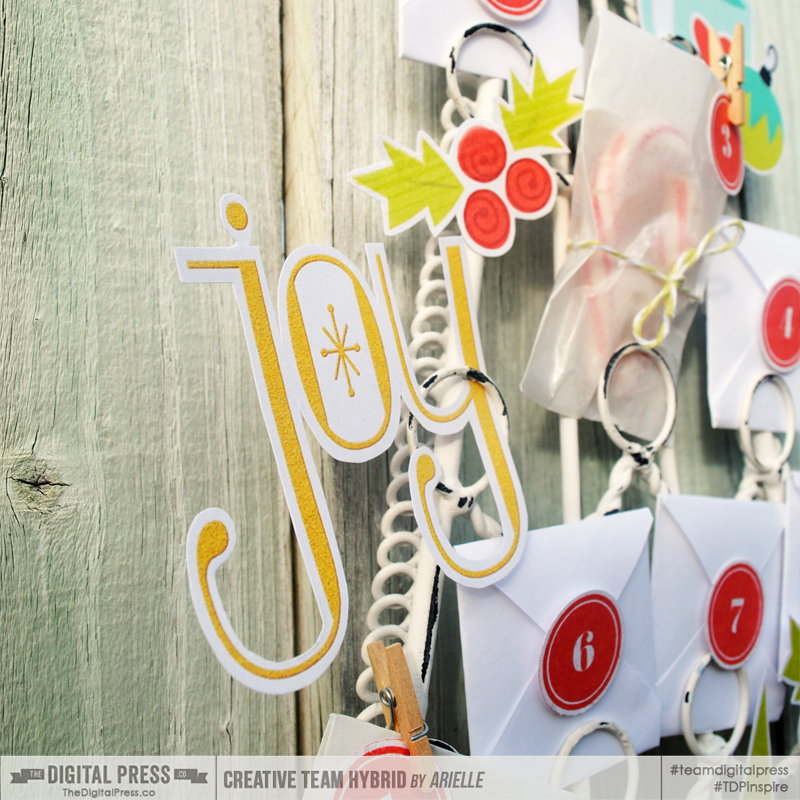
I didn’t want anything adhered TOO permanently, so I mostly tucked elements in or pinned them to the frame with mini clothespins. You could always use twine or ornament hooks, as well.  I am so excited to have something I can customize each year!

Make a Festive Advent Calendar

You can make your calendar as simple or detailed as you like. This one took me about 5 hours total – which is a bit lengthy for me [wink!] –but the finished product made it worth it! I am so excited to be starting this tradtion with my family!

We would LOVE to see your hybrid holiday decor – please share it with us over in the hybrid gallery and our Facebook page. And be sure to come back tomorrow to see the second post in our 12 Days of December series!


Arielle H Gordon About the author  Arielle H Gordon is a wife and mom of two crazy kiddos, ages 5-1/2 & 7. She moved around (a lot!) before returning to settle down in her hometown of Enterprise, Alabama, to marry her sweetheart and start her family. She is an avid crafter — digital, hybrid and otherwise! She LOVES Jesus, family time, camping, gardening, reading cozy mysteries, hot tea, popcorn, and anything on the BBC! This time of year, you’ll find her glued to the Hallmark channel watching every single Christmas movie — even if she’s seen them 5 times each!
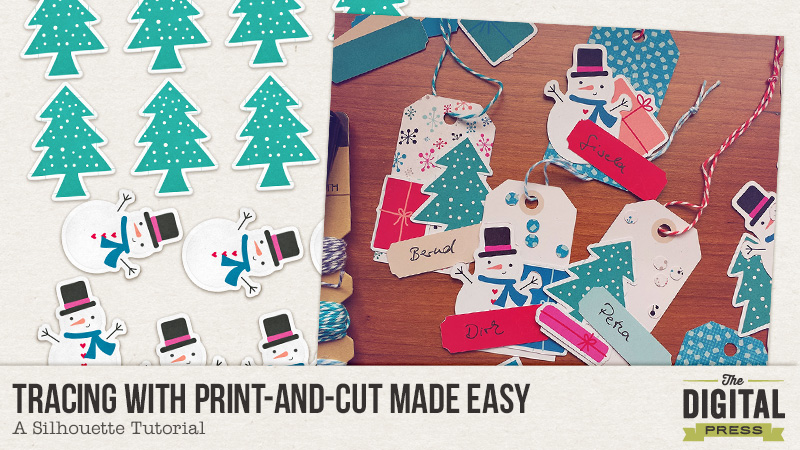
Tracing with Print-and-Cut Made Easy – A Silhouette Tutorial


Did you ever struggle with the Trace tool in your Silhouette software? I did and sometimes I just failed, especially with white edges. I played with filters as hard as I could but still didn’t get it to work.

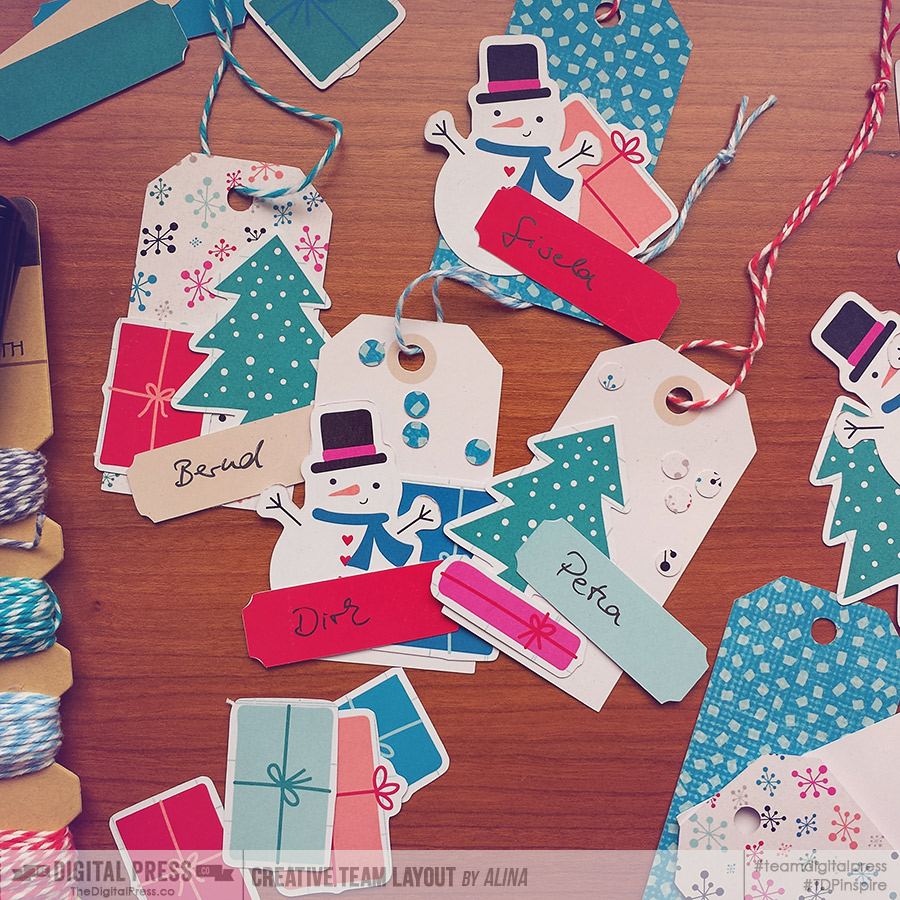
The last time I was using my Cameo, I saw that the sticker sheets in Let’s Plan: December by Mommyish and Mari Koegelenberg had an additional black mask. I wondered if that would make anything better. So I used them. And suddenly tracing was easy breezy! And the cuts came out perfectly. Most perfect cuts ever, to be honest. I was hooked and created several sheets for Print-and-Cut and they were all traced fast and cut with precision, even on the edges.


Click on the image to see what I used.


I thought the easiest way to show you how to create a black mask and to use it for tracing was a video tutorial and here I go!


I hope you learned something new for your Silhouette fun and it made your day like my day was made while Printing and Cutting those tags!

If you have any further questions, go ahead and post them in the comments, I will do what I can to answer them.

Have a great time and take care!


AlinaAbout the Author: Alina enjoys sitting in front of her large computer screens too much. Apart from that she loves walking her dog and watching sunsets while being amazed of life in general. She is married to her best friend. Tries to manage the needs of her two cats and her dog and badly fails when they all want their cuddle time at once. Everything else is scrapping, taking photos and currently crafting. Having said that, she needs a bigger craft room.


Hybrid: 30 Days of Thanks Mini Album

30 days blog header

Hello everyone! Jennifer here to get you inspired with a quick & easy hybrid project.

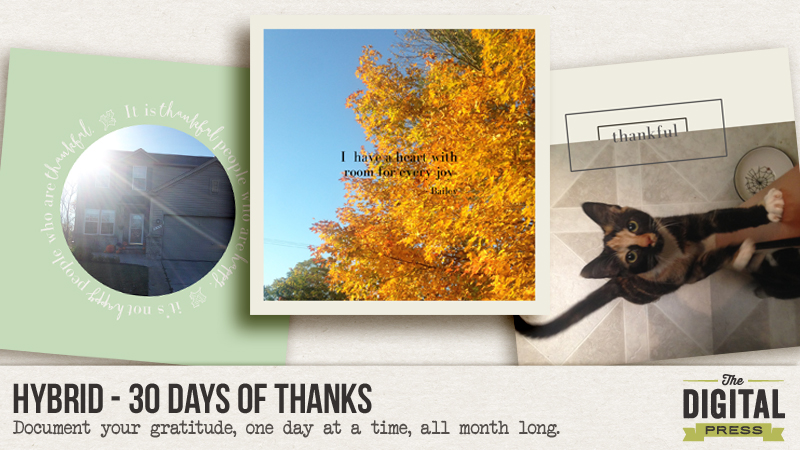
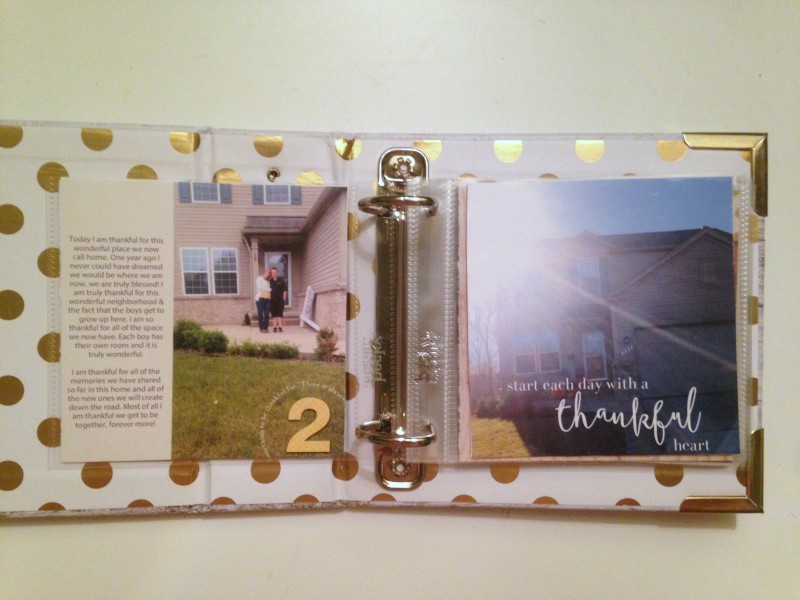
The month of November is all about being Thankful. The Thanksgiving holiday is fast approaching, here in the US. What better way to share your gratitude & what you are thankful for than a fun little mini album! I love this project because you can focus on the big picture like family and friends, or you can use it more to document the day to day. The delicious coffee a coworker surprised you with or the awesome pizza you made at home. Giving thanks for all of the big things and even those little things that make up your daily life! There is no right or wrong way to create a 30 days of thanks mini album, you just need to record one thing each day that you are thankful for!  You can take the photos one day at a time throughout the month of November or collect 30 of your favorite photos from throughout the year. Either way it works, lets just get those photos off of your computer and into the hands of those you want to share your gratitude with!

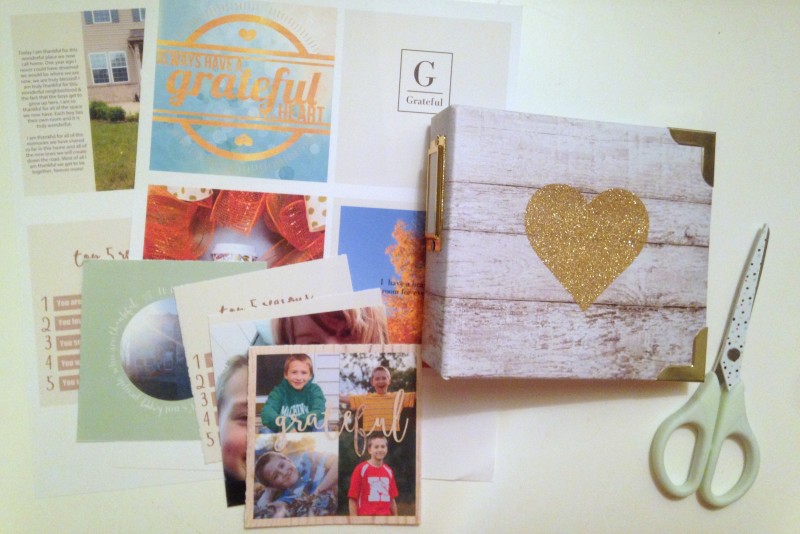
First, gather your materials.

Hybrid 30 days of Thanks

I printed my photos out at home, by creating a 8 1/2 x 11 document in photoshop and dropping 4 of the 4×4 pages I created, onto the page. You can also create your pages digitally and upload them to a photo printing service where they will print and cut them to 4×4 for you! I love that!!

hybrid 30 days of thanks

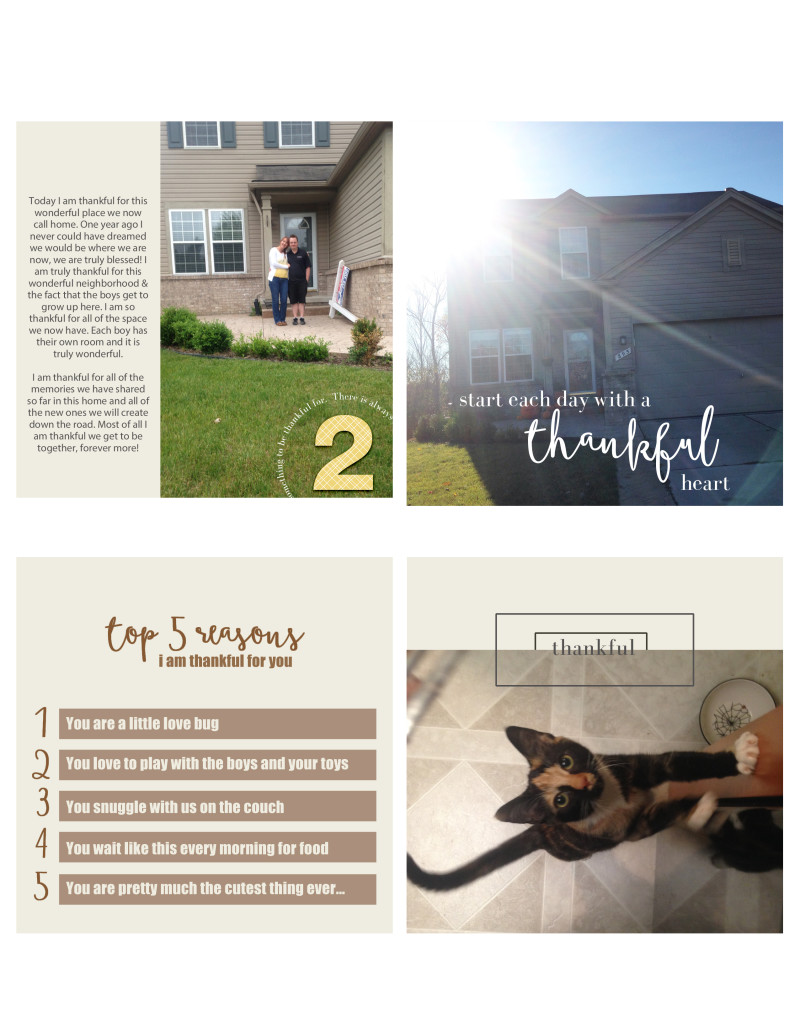
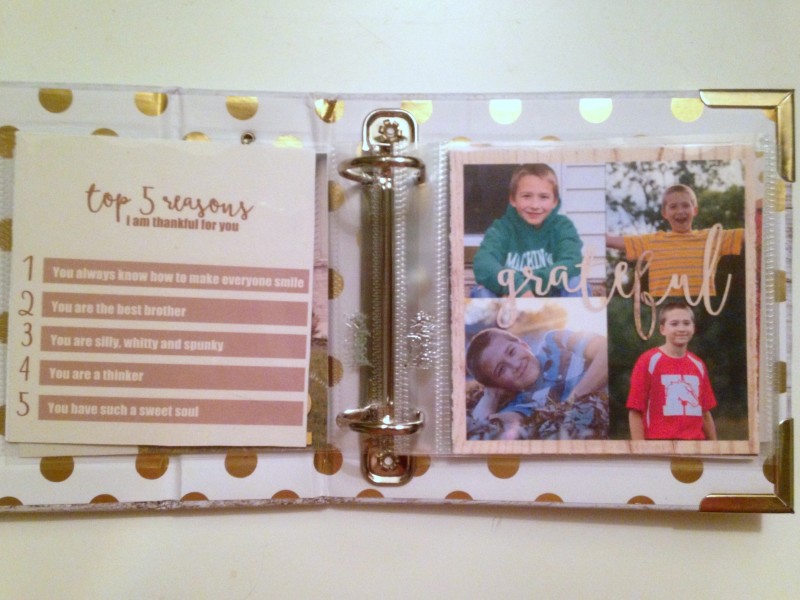
I used the Grateful 4×4 photo templates to gather my photos and thoughts. I love the simple prompts the templates give you to help express your gratitude. The top 5 reasons card is one that I used quite a bit throughout the album! It makes a statement to repeat the design and it gets right to the point, to share the simple reasons you are grateful.

hybrid 30 days of thanks

I added the numbers of the days & digital stamps right onto my photos, before printing out.

hybrid 30 days of thanks

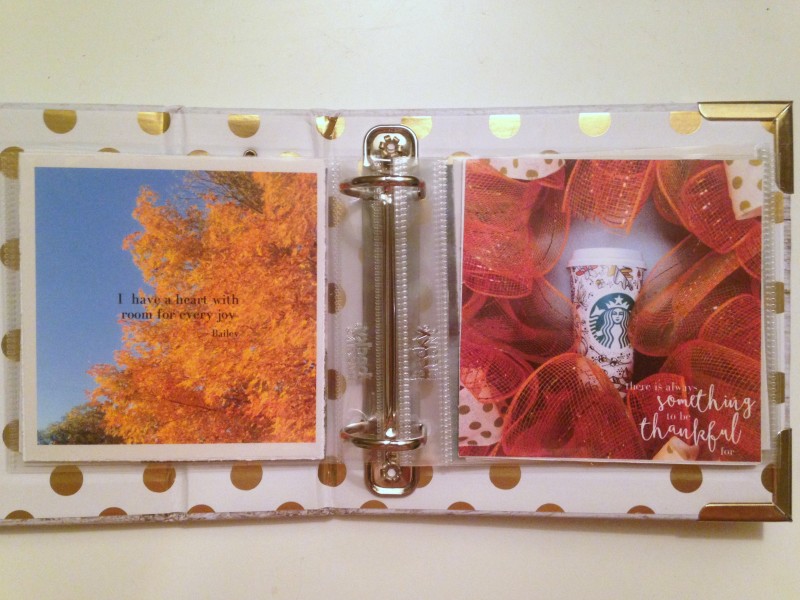
Each day can be either one or two pages. Some days I had more to say and others I just had a photo and a simple quote. Mix up the pages and make it fun! This is your album, your story. You can do what you want, and guess what? No one will no that you didn’t finish two pages per day, they will love that they get to see your memories and read your words!

hybrid 30 days of thanks

To make this month long project a little easier, make sure to jot down a few thoughts each day as you collect your photos. Keep a notebook handy or use social media to record & share your 30 days of thanks. I have been using Instagram to share my 30 days of thanks. I love instagram because of the awesome #hashtag feature. Once you create your own personal hashtag, it collects all of your posts/photos in one place, sort of like your own virtual mini album!

I hope you give it a try! Get those photos off your computer and into your hands. It is so rewarding, you will not be disappointed, I promise!! Please join us in the challenge forum for a fun challenge inspired by this.

JenniferHignite About the Author: Jennifer Hignite is a mom of three boys and new homeowner with her fiance in the mitten state. When she is not scrapbooking she enjoys photography, decorating and shopping at Target.
 

Hybrid tutorial: Fall wreath

donnaespiritu-hybridfallwreath-header

Hello everyone! Donna here to get you inspired with a hybrid project.

Although we don’t have fall where I am, it is one of my favorite seasons because of the warm colors. Today, I’d like to show you a project on how to create a simple hybrid fall wreath.

First, gather your materials.

  • Cardboard (size depends on your preference)
  • Printer, photo paper
  • Digital kits (I used WOODLAND WHIMSY DIGITAL KIT BY: INSIDE PIXELS BY LISA BELL and AUTUMN WOODLAND ELEMENTS BY: RIVER~ROSE)
  • Scissors
  • Glue gun/stick (or craft glue)
  • Ribbon
  • Die cutting machine, metal dies (optional)
  • Acrylic paint and paint brush (optional)

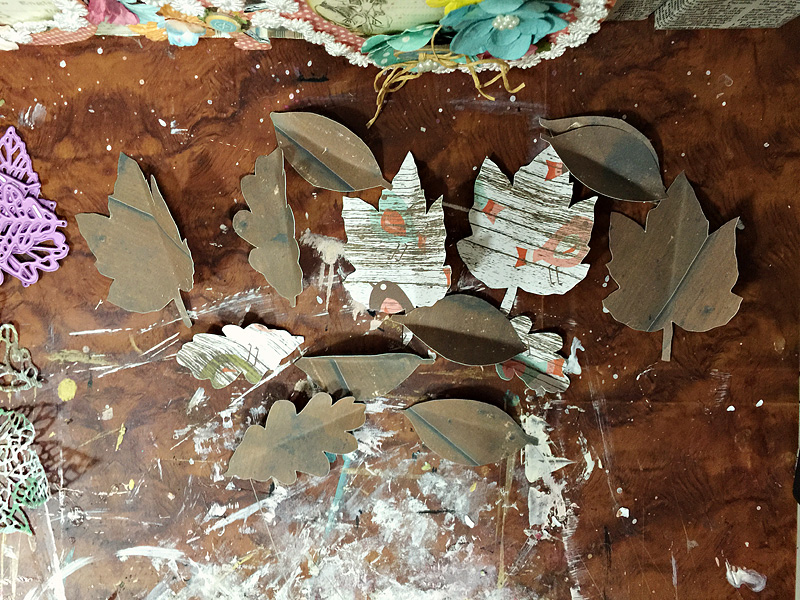
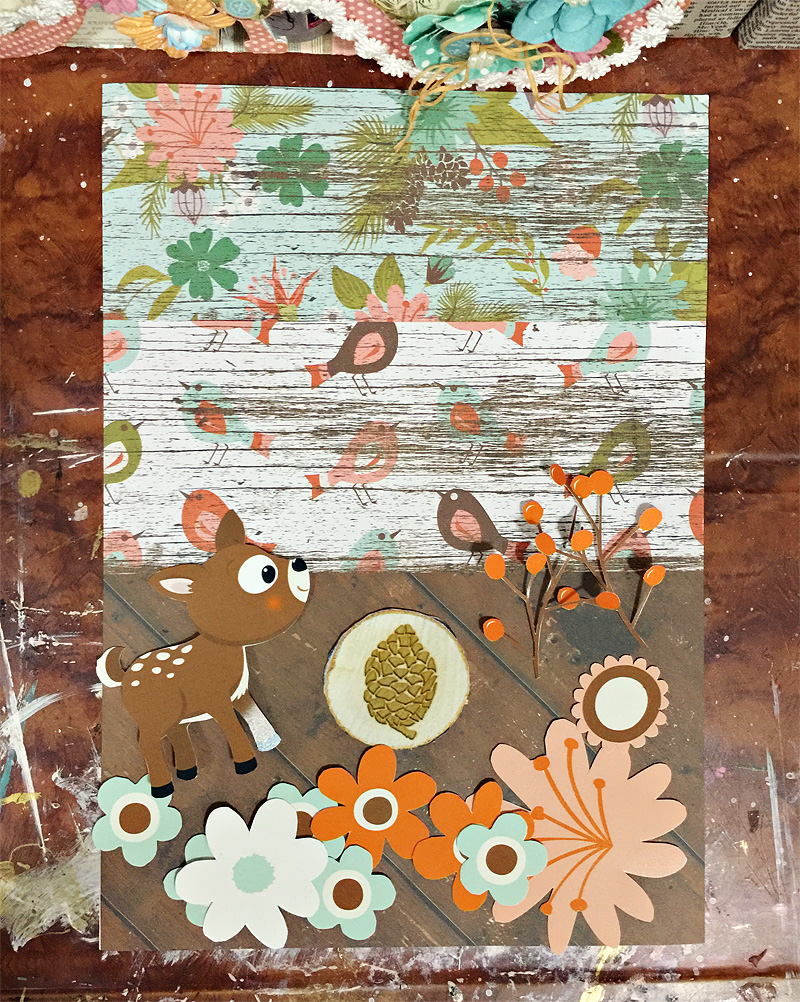
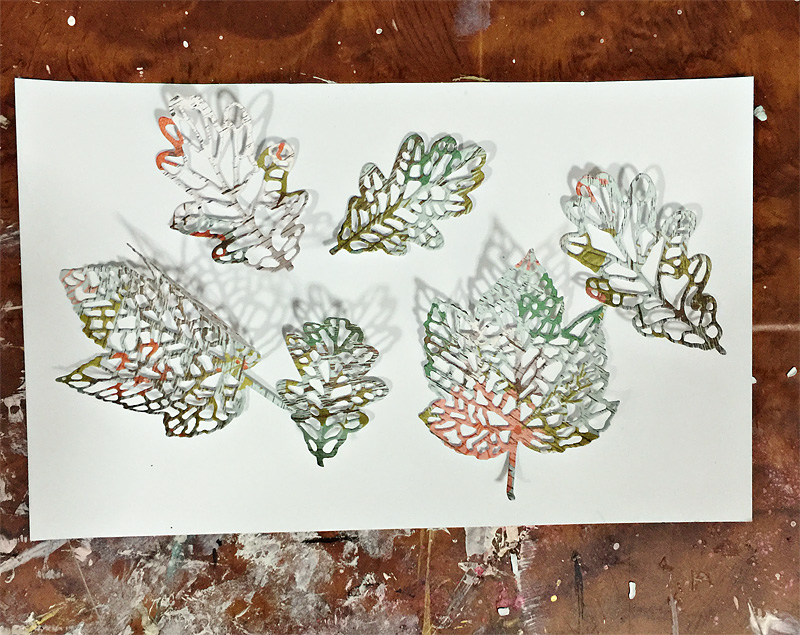
I already printed and cut some of the elements here. I used a 100 gsm photo paper for my print outs. Preferably, use fine-tipped scissors to cut through the intricate print outs. I cut all of these by hand but if you have an electronic cutting machine, you can also do that (I do have one but it’s under my craft table and I’m too lazy to pull it out lol).


donnaespiritu-hybridfallwreath-tut01

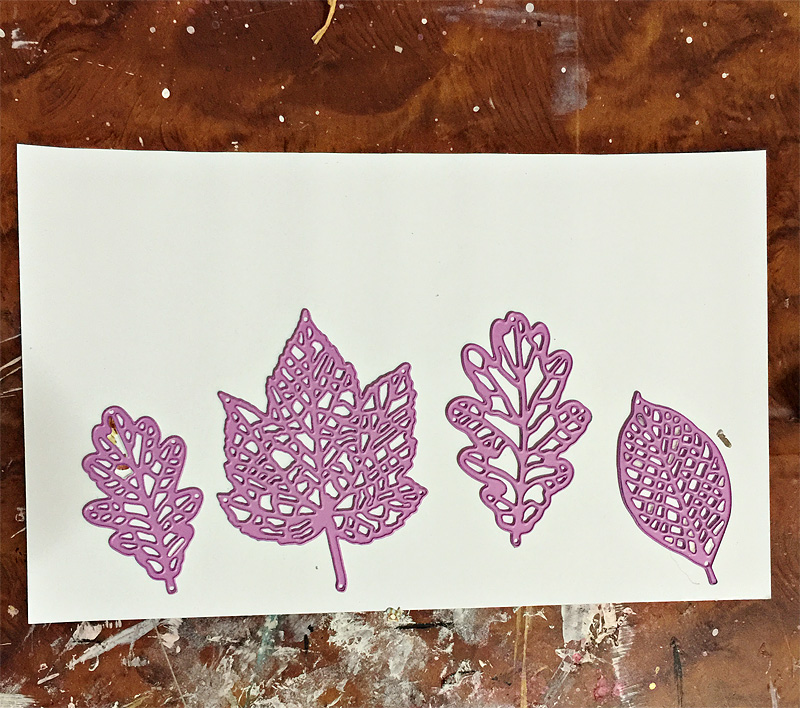
This is optional. I just happen to have a die cutting machine and some metal dies so I used them for this project. donnaespiritu-hybridfallwreath-tut03

I also used the same metal dies to trace solid ones. Another option is to search Google for fall leaves templates and trace those instead if you don’t have metal dies like I mine.

donnaespiritu-hybridfallwreath-tut04

donnaespiritu-hybridfallwreath-tut05

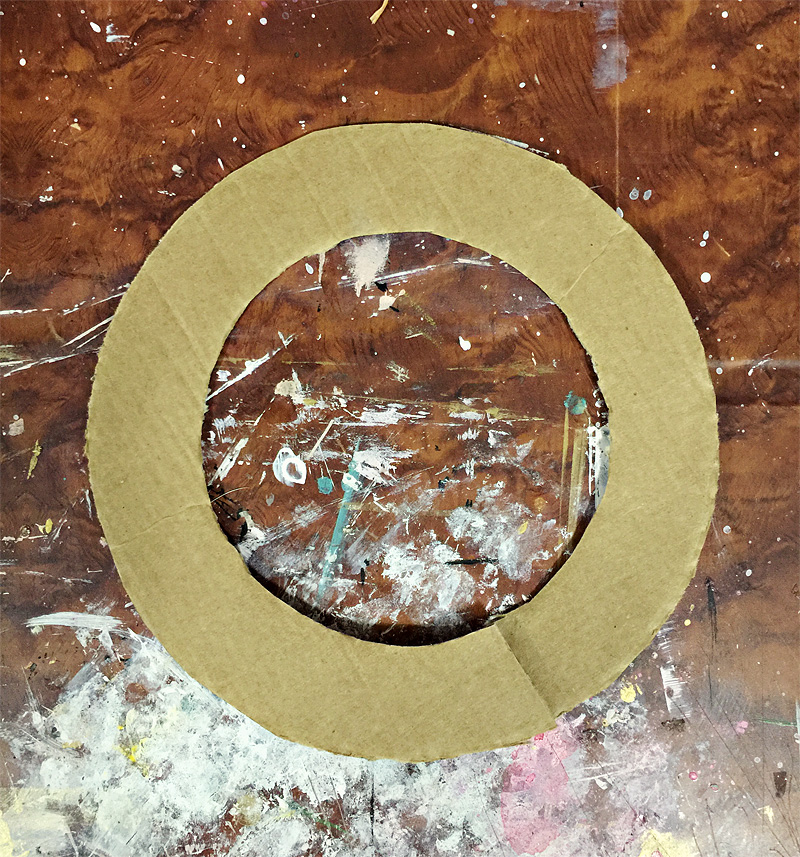
Cut a circle like the one in the image. This is approximately 8 inches in diameter. I just recycled a cardboard from a shoe box.

donnaespiritu-hybridfallwreath-tut02

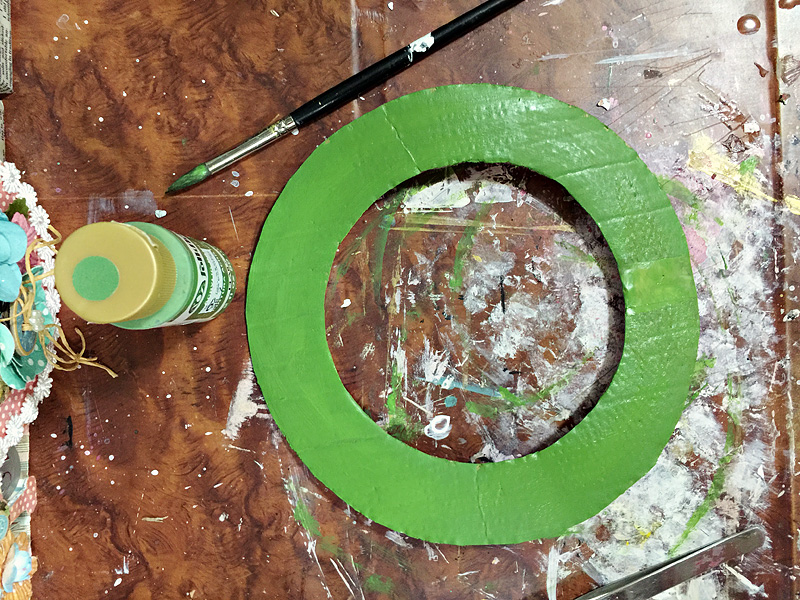
The background won’t show through but I still preferred the cardboard painted. (Ignore the messy table… lol)

donnaespiritu-hybridfallwreath-tut06

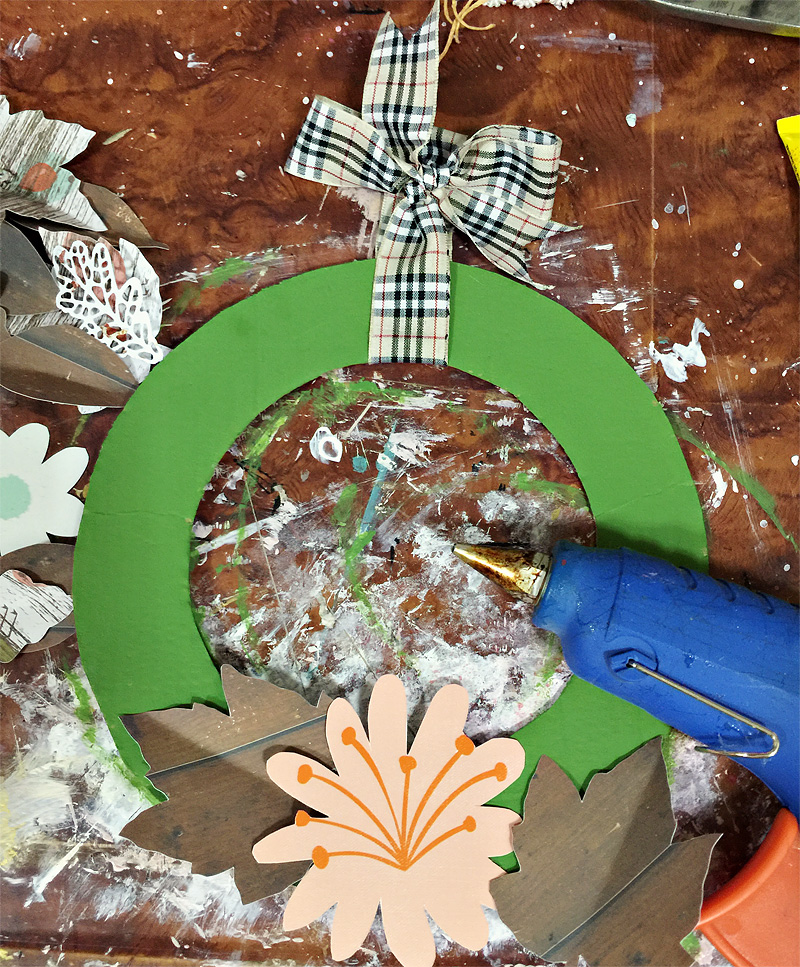
Tie a ribbon and a bow. Then start adhering the cut outs. I used a glue gun because it’s faster. But you can also use any craft glue.

donnaespiritu-hybridfallwreath-tut07

Continue adhering everything, making sure there is balance in your placement. It’s also like creating digital layouts, balance is key to a desirable outcome.

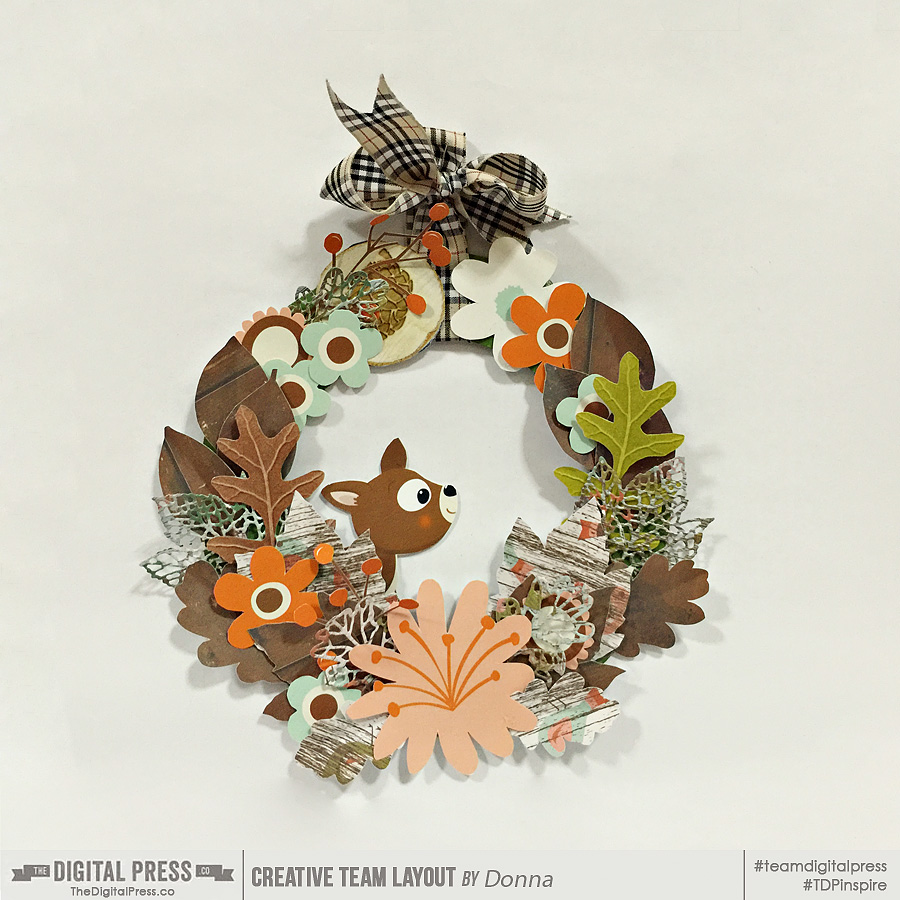
donnaespiritu-hybridfallwreath-01

That’s all for now, I hope you give it a try!  Please join us in the challenge forum for a fun challenge inspired by this.

Happy Crafting!


DonnaAbout the author: Donna Espiritu is a mom to a little girl who just turned 1 year old and wife to a very supportive husband. She is currently living in the Kingdom of Saudi Arabia with them. When she is not scrapbooking, she likes to read books/e-books (sci-fi/romantic/time-travel) or watching old episodes of some of her favorite TV shows.
Printouts & Paper Punches

Printouts & Paper Punches


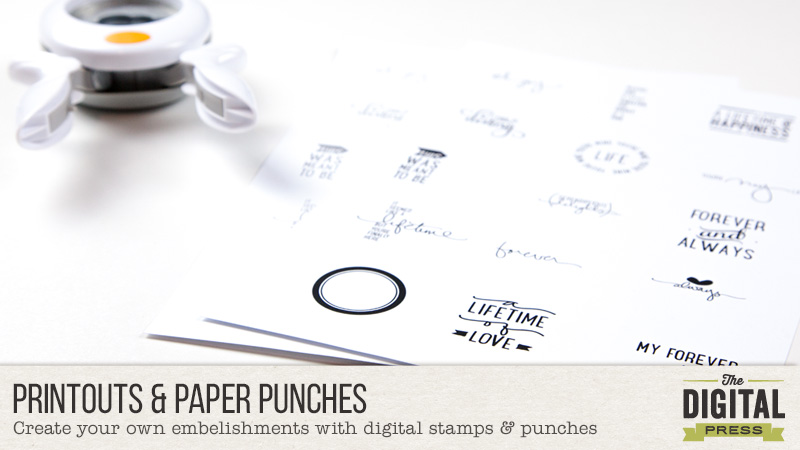
Today I want to share with you one of my favorite ways to use digital stamps on a hybrid or paper layout using paper punches from your stash.


It is much more likely that I will use my digital stamps on a hybrid layout when they are already printed and ready to use. Yes, with pre-printed items you lose a bit of flexibility, but do you know the good news about digital stamps? You can always print them again if you need a different size to fit your project! Of course it rarely ever happens that I actually have to print it again, even though it is always good to know that I COULD.


Printouts & Paper Punches


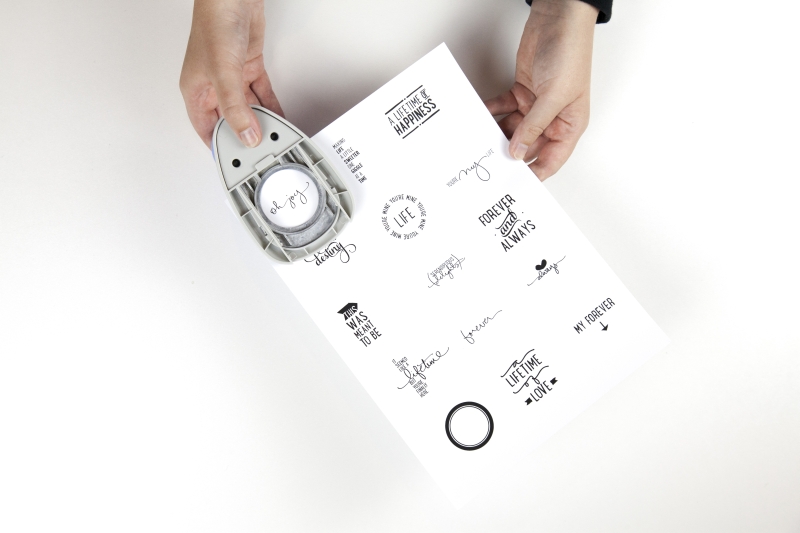
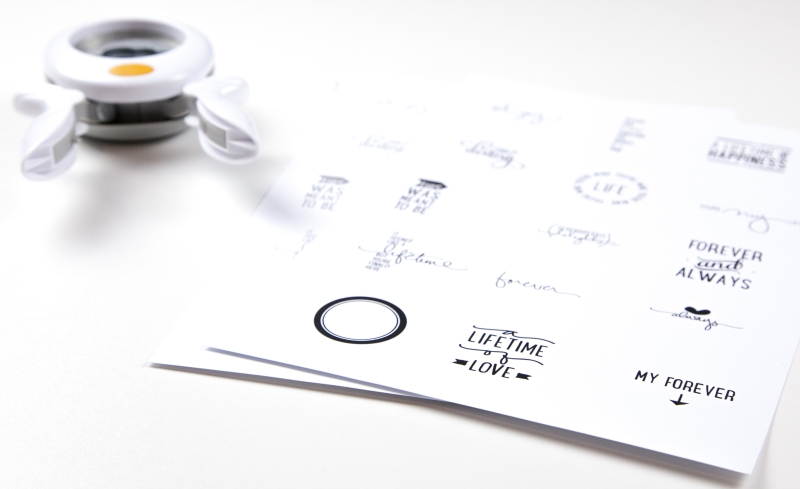
This time I want to show you how not only to get your digital stamps printed, but I also want to encourage you to use you paper punches. For this I add all stamps I like from one set on one A4 (or letter size) page and shrink down all elements at once to either two or one inch, because I know this is the size that will fit most of my punches. I could go ahead and measure them correctly. This takes more time than I want to spent on preparing my prints, so I just see how far I get with this first try. Don’t worry too much about which stamp will fit to which punch and which sizes are needed. If you really have a stamp that’s not fitting like you want, remember that you can always print it again. And most often you will be able to make it work without reprinting.


Printouts & Paper Punches


I like to print in black & grey or if I have a special layout or kit in mind, I might also print some in matching colors. The black ones will be printed twice – one is left black and the other one is to add foil to later on.


Printouts & Paper Punches


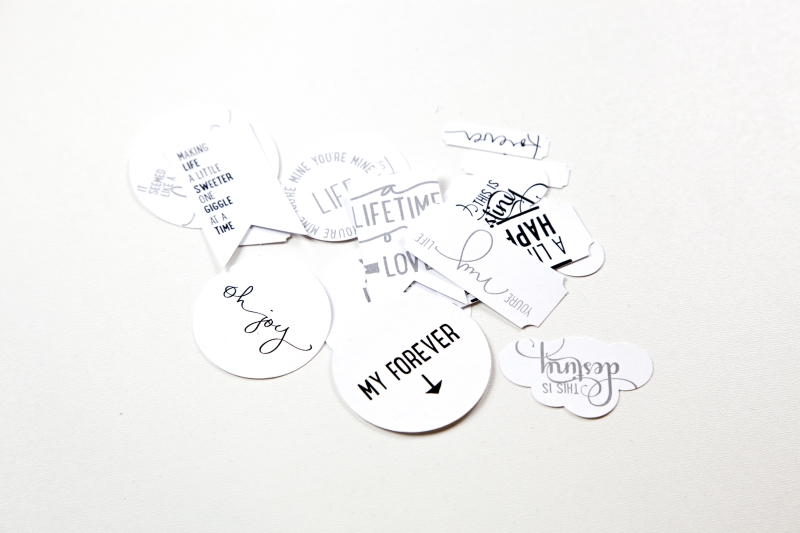
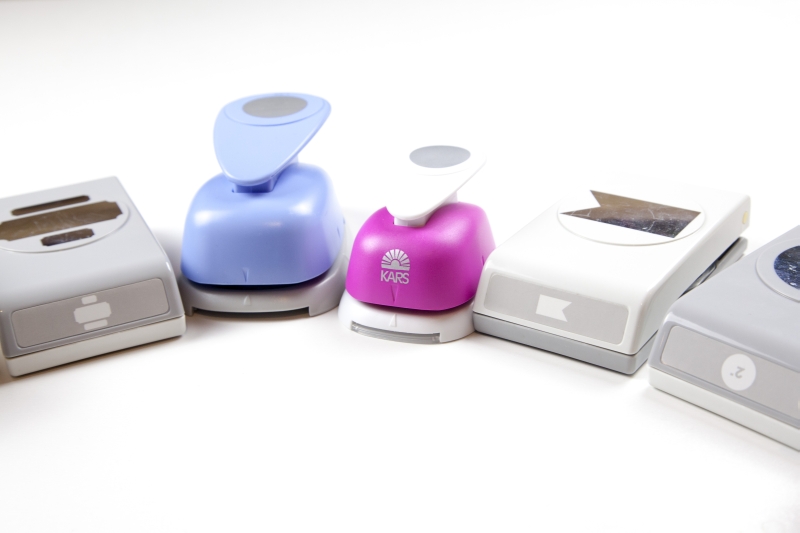
Now comes the fun part: matching your punches to your stamps. There are no rules – just see what looks best for you. If you print multiple times you can also experiment with using different punches with the same stamp.


Printouts & Paper Punches


I would love to see your creations as well, please share yours in our gallery and take part in the corresponding challenge in the forum!


Anika About the Author:  Anika is part of the hybrid team here at thedigitalpress.com. She loves to travel and use the photos her boyfriend takes (thanks for that!) to scrapbook. Digital, paper and hybrid. When she is not scrapping, she is most likely playing a computer game or in a city searching for a geocache.