Category: Hybrid Crafting

Tips for Printing At Home

Tips For Printing At Home
It’s often that people, and scrapbookers specifically, say that they cannot get good prints at home. I’ve been printing at home for a long time with great success, so I always wonder what is causing all this trouble. Today I’m going to be sharing the knowledge I’ve accumulated over the years that helps me achieve great quality prints at home!

Printer Types

Generally speaking there are 2 types of printers. One type is targeted towards offices and businesses. These types of printers are great for printing text and simple graphics such as graphs or clip art, and they tend to focus on speed rather than image quality. They also tend to have fewer single color ink cartridges, or one ink cartridge that contains 3 colors in one unit.

The second type of printer is a photo printer. It is made with photo printing in mind and will do a much better job at making prints because it’s focus is on print quality – not speed. Part of the reason it makes better prints is because it has a specialized print head, and generally speaking will lay down the ink in much finer drops which creates less striping and better gradients. Photo printers also tend to have more ink tanks, and some of the more advanced printers these days will have 8 to 10 separate colors of ink!

Ink

As with most things you can buy brand name or a knock off/generic. This holds true for ink. Each printer manufacturer produces ink that is formulated to work in their printers, and will give you the best prints with no fuss & little to no problems.

However, I’ve recently begun to experiment with generic ink in one of my printers and I’m finding it to not be that bad. Years ago refilling ink cartridges was a messy endeavor; bottles of ink, syringes, and filling up empty cartridges without spills was a pain. Now you can just buy the cartridges all filled and ready to go; I buy mine on Amazon. The manufacturer of your printer doesn’t want you to use generic ink, because that is where they make most of their profits. In recent years they’ve begun installing little micro-chips that let the printer detect one or all of the following: if the cartridge is authentic, if it’s been installed before, and/or the last known level of ink it contained. It’s designed to prevent the use of “unauthorized” ink, but there are workarounds. The downsides to generic ink are that it’s not available for every printer or cartridge number, there’s a greater chance that you may get a defective or non-functioning cartridge, and that the ink may not produce as good a print as manufacturer made ink.

Paper

I suspect the leading cause of “bad prints” is because of the wrong choice in paper. Regular printer/copy paper and cardstock soaks up ink which leads to dull results. Paper that is intended for making photo quality prints has a coating and also comes in various finishes such as glossy, semi-gloss or lustre, and matte. The coating and finishes are what allow you to achieve prints that are vibrant and colorful. Just as with ink, the printer manufacturers make their own paper and you can also get generic paper. Generic photo paper is made without a specific printer in mind and as such will more often that not give you a print with “wonky colors”. Paper that is made by the same manufacturer as the printer has been tested to work and produce good results simply by selecting the type in the printer settings dialog box. So it’s very important to make sure that you are telling your printer what you are using!

There is also a third category. Paper with corresponding printer profiles. What that means is that an independent paper mill has had their paper profiled for different printers which ensures that you get accurrate colors in your prints that match with what you see on screen. One such company that does this is Red River Paper. I am not affiliated with Red River, but am a happy customer so I like to spread the word in regards to their quality product. Check their ICC Profile Page to see if your printer is one that they offer profiles for that works with their paper. They have many helpful resources on that page that will help you install & use their ICC Profiles. One thing to note is that you need to print through software that handles “color management”. The only software that I’m aware of that does this is Photoshop.

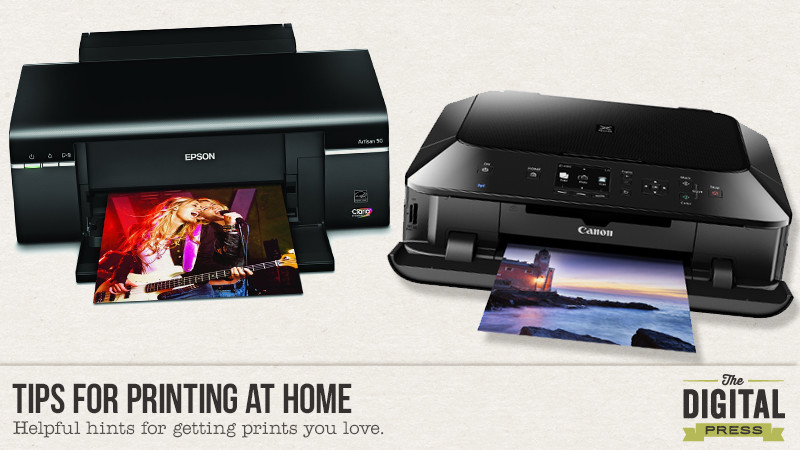
I’m often asked what printer I use. Currently I have 2 Canon brand printers. One is the Pixma Pro-100, which is a wide-format photo printer that uses an 8 ink system, and the other is the Pixma MG7120. It’s also a photo printer but it only uses 6 colors of ink and prints standard letter paper width. You may wonder why I have two printers, and that’s a good question! I use Canon brand ink in the wide-format printer and only use that when I need to print photos & hybrid projects larger than letter size paper or I want the absolute best print. The other printer is filled with generic ink (but still makes a very good print) and is used for my family’s everyday printing which includes everything from text documents to coupons to smaller hybrid projects. Epson is another highly regarded printer manufacturer.

Printers are just like any other machine – they only do what you tell them to do. By making wise choices about ink, paper, and settings you too can have prints that you are proud of!

AmberAbout the author: Amber Funk enjoys a vast assortment of interests such as scrapbooking, photography, getting crafty with her Silhouette Cameo, reading, and playing video games. She is a Wife and Mother of 2 living in Northern California and blogs her crafty adventures at http://perfectly-fabulous.com/

Hybrid: Disney Pendant

Hybrid:  Disney Pendant

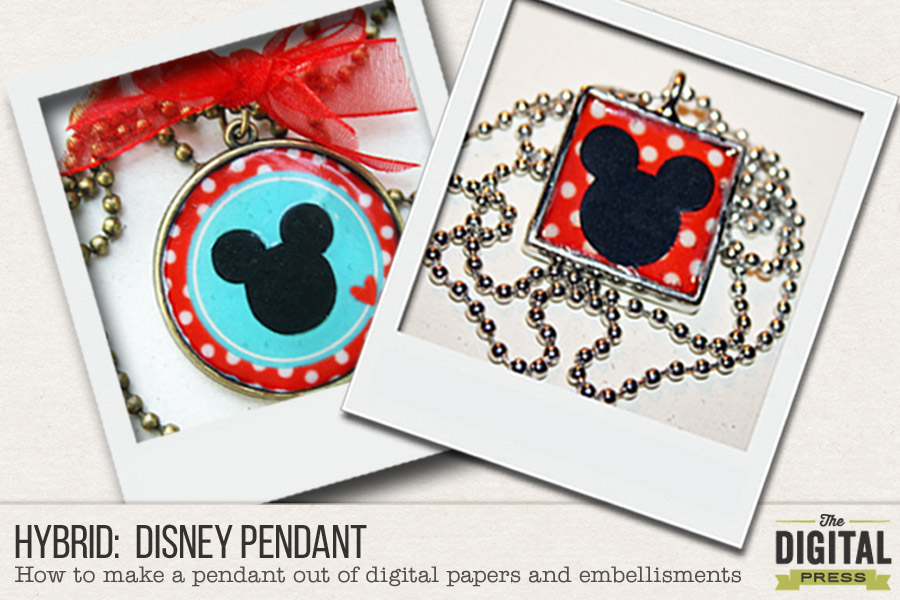
Hello all you Disney goers.  Whether you have gone on that dream vacation or getting ready to go, this pendant will be perfect for wearing during your vacation (if you haven’t gone yet) or to wear as a keepsake to remember all those fun times.  I have always wanted to take my boys to Disney, but it just never happened.  Now that they are grown men, maybe one day I will have some grand kiddos to take.   I plan to take them and then use these wonderful Disney kits to scrap all the great memories.

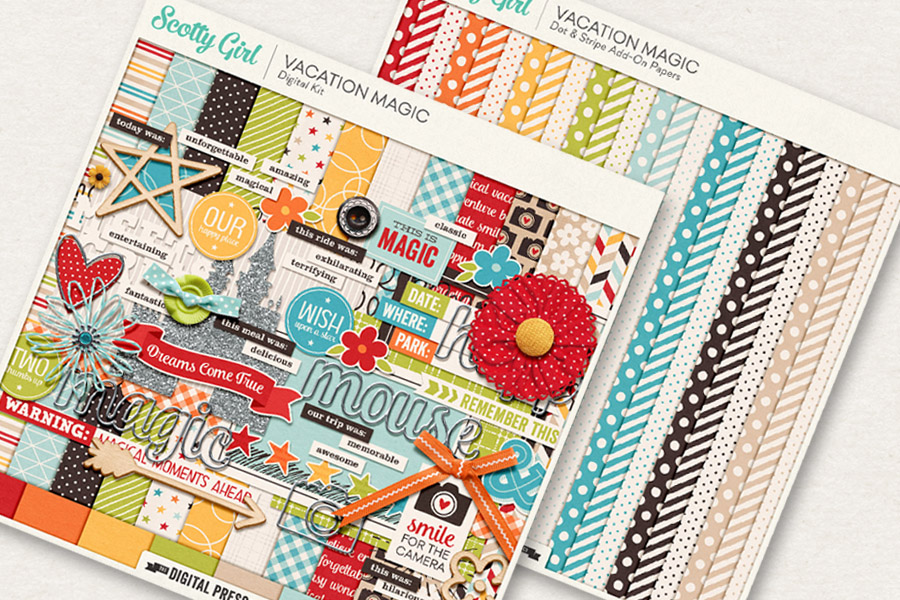
This is a great project to use all those scraps you have laying around.  God knows I have a lot of those, but for now I will use the Disney themed kit, Vacation Magic by using Scotty Girl Design.  This is a super easy project that you can create for friends and family for any occasion.

 Hybrid:  Disney Pendant


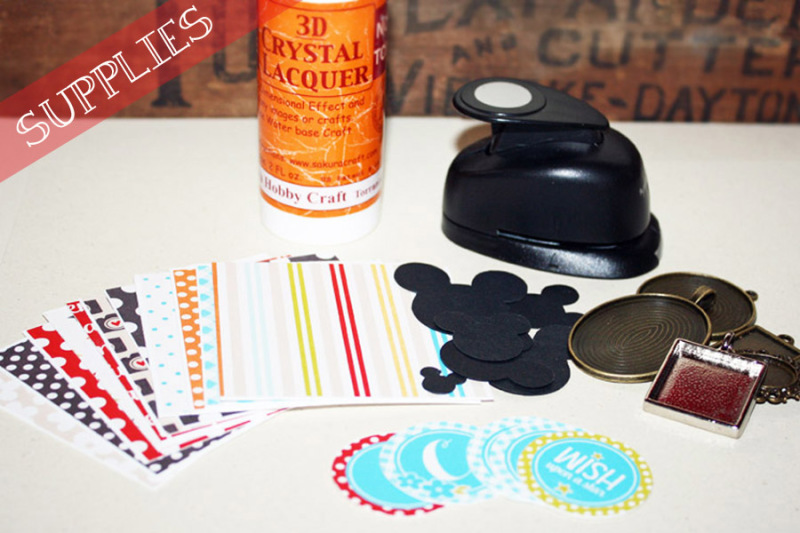
So let’s get started on the tutorial.  Here is a list of supplies you will need for this project.

  • Punches and/or scissors
  • Printed background papers and embellishments
  • Pendants (I bought mine at Hobby Lobby)
  • 3D Crystal Lacquer (I bought mine at Hobby Lobby – there is also a Mod Podge lacquer)
  • Mickey heads (I designed these in Silhouette Studio v3 but it’s easy enough that you can simply draw and cut out)

Hybrid:  Disney Pendant

STEP 1:  Cut or punch pieces you want to use for your pendant.  I didn’t have a square punch so I cut the size I needed with a pair of scissors.  For  Mickey, I used my Silhouette Cameo to design & cut.  I will show you how to do that below.

Hybrid:  Disney Pendant

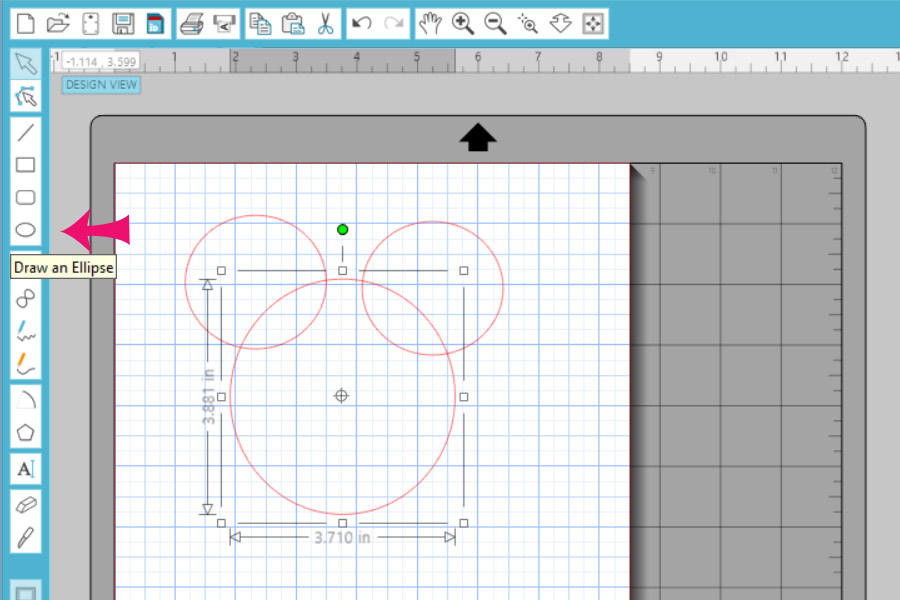
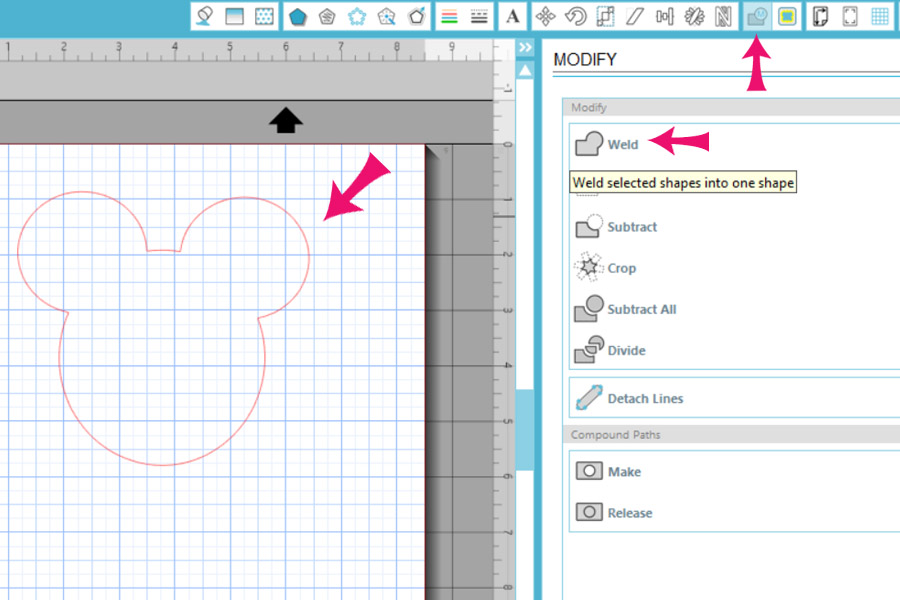
Steps for making Mickey with the Silhouette.

Draw out the circles using the circle tool on the side menu.

Hybrid:  Disney Pendant

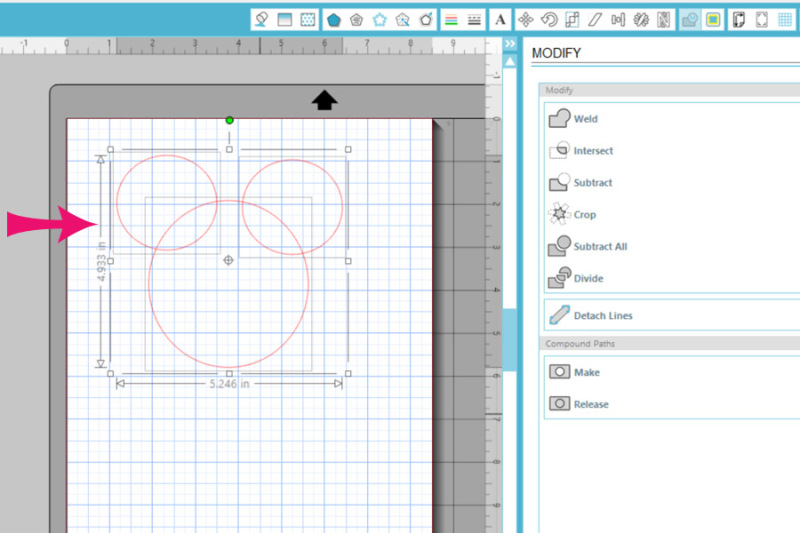
Now drag your bounding box around all three circles.

Hybrid:  Disney Pendant

 Finally, select the WELD icon at the top right of the page.  It opens the welding options where you will select weld.

Viola, there ya have…..Mickey!!

Hybrid:  Disney Pendant

STEP 2:  Once you lay the pieces in your pendant you will add the crystal lacquer.

With one pendant,  I added two thin layers and the other I filled to the rim of the pendant and they both turned out the same.   You may get some tiny air bubbles, to get rid of those simply use a sewing needle to pop them.  Set aside on a flat surface for at least 12 hours to dry.

Hybrid:  Disney Pendant

 That is it….Your done!!  Wasn’t that easy?  Now get to work on those pendants, you have 5 months until Christmas!!


About the Author:  TanyaTanya is a part of the Hybrid team here at The Digital Press.  She has been hybrid crafting for at least 10 years now.  She loves creating and sharing those creations with you.  Her all time favorite tool is her Silhouette Cameo.  She says with the Cameo the sky is the limit.  Tanya has been married for 26 years and has two sons, Chris, 23 and Chance 19.   She also enjoys crocheting, photography and wood working.

Celebrate summer hybrid mini-album

DonnaEspiritu-TDP-Junetutorialpinterest


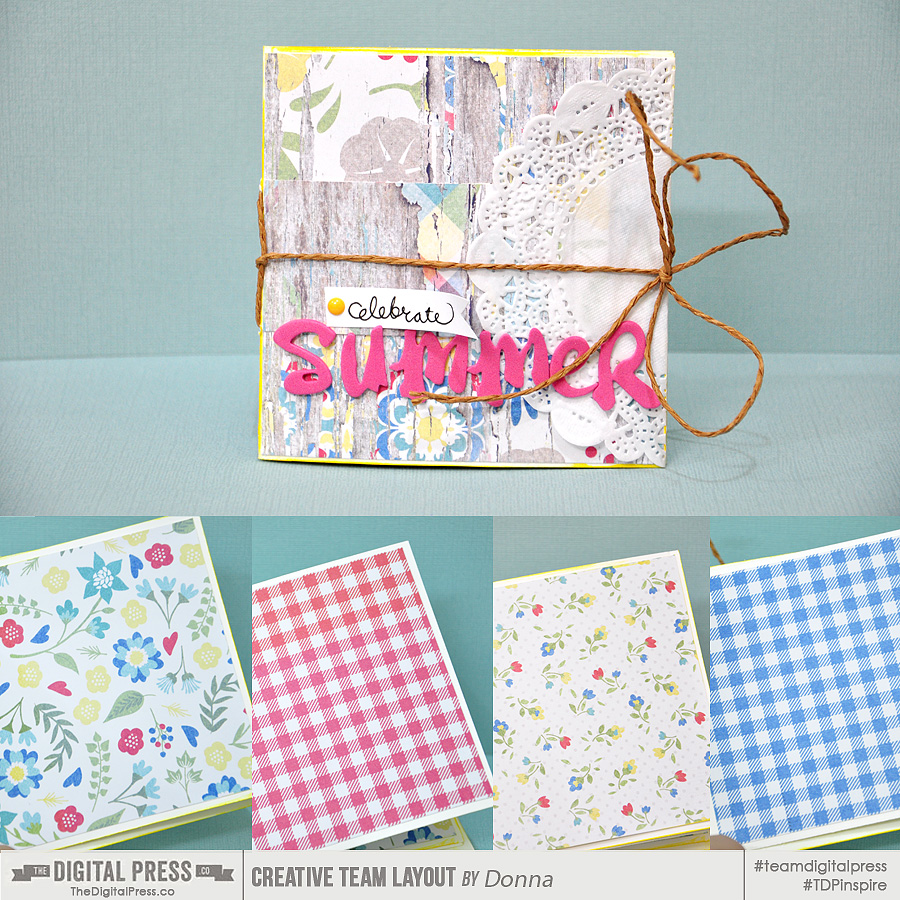
Donna here to show you how to make a hybrid mini-album for some of your summer photos

DonnaEspiritu-TDP-Junetutorial900


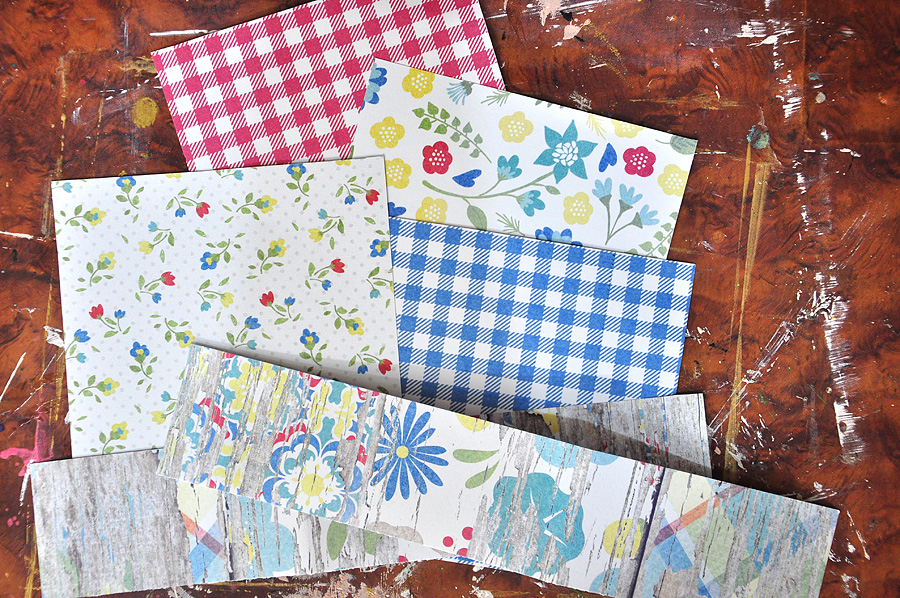
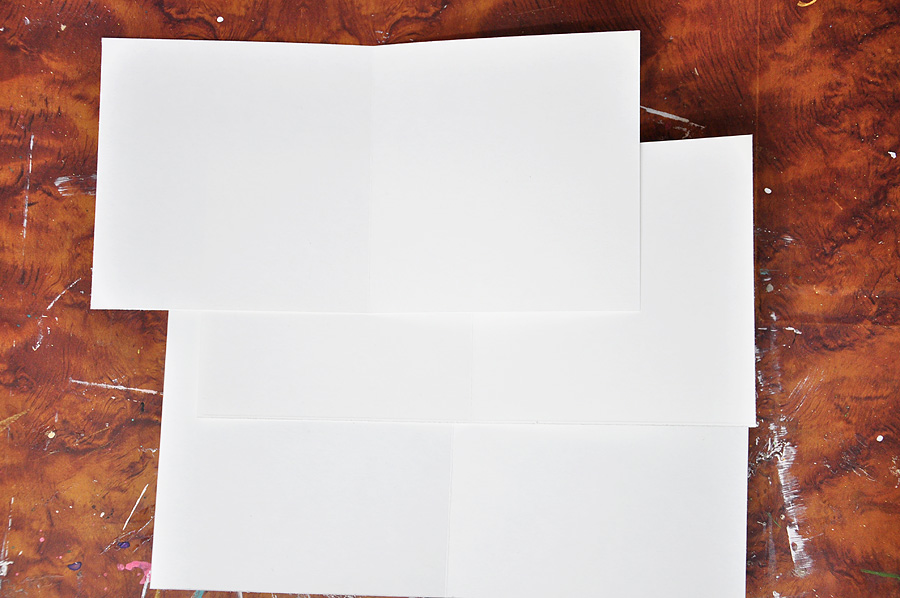
1. Print and cut papers from your chosen digital kit. I used the paper pack from Kim B Designs’ “Simply The Best”. Since I will be adhering my printed papers on cardstock, I used a 120 gsm photo paper. The size of the square pieces were a little less than 4 inches by 4 inches and the strips were approx. 3inches by 8 inches (I cut them in two before taking this photo).

DonnaEspiritu-TDP-Junetutorial-1


2. Cut 1 piece of 4.25 inches by 10.5 inches cardstock, 2 pieces of 4 inches by 8 inches cardstock and score in the middle as seen in the image below.

DonnaEspiritu-TDP-Junetutorial-2


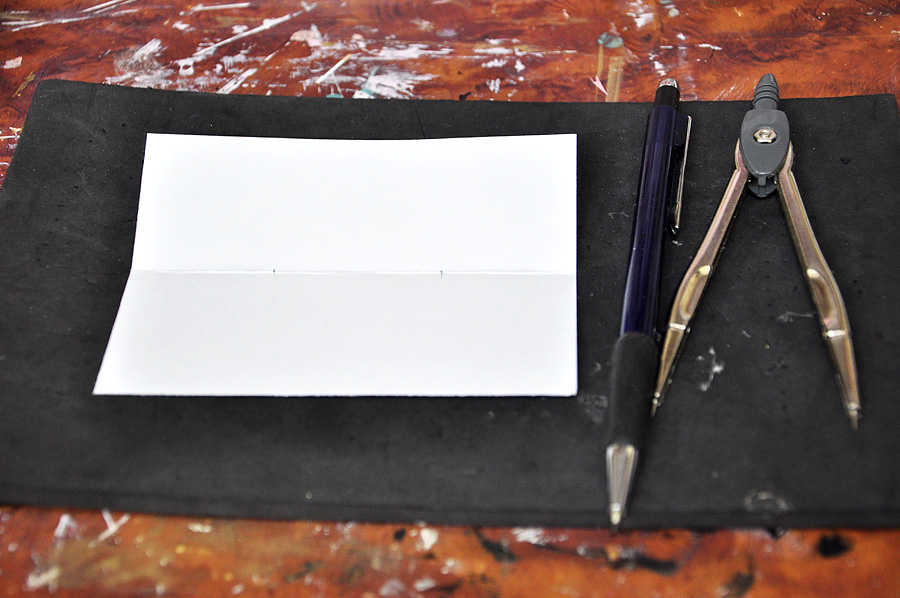
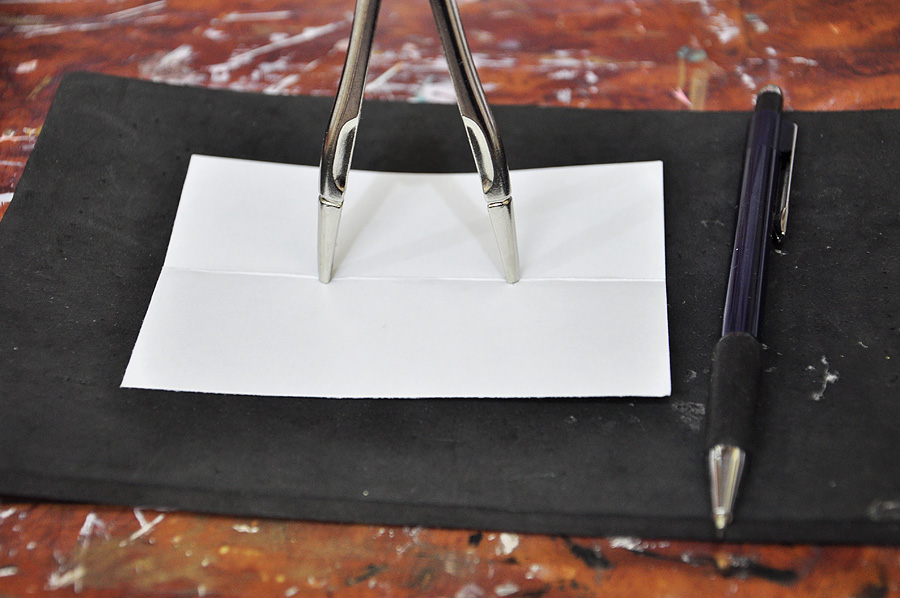
3. Punch holes in the middle of these scored cardstocks. I use my compass to do this and a piece of paper scored in the middle as guide where to punch the holes.

DonnaEspiritu-TDP-Junetutorial-3


DonnaEspiritu-TDP-Junetutorial-5


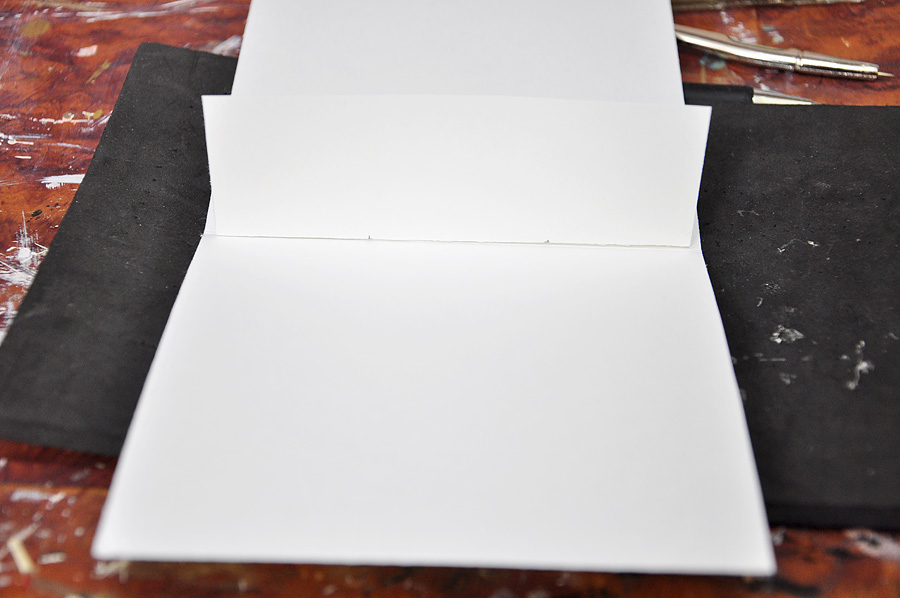
This will ensure holes will be aligned when the pages are assembled.

DonnaEspiritu-TDP-Junetutorial-4


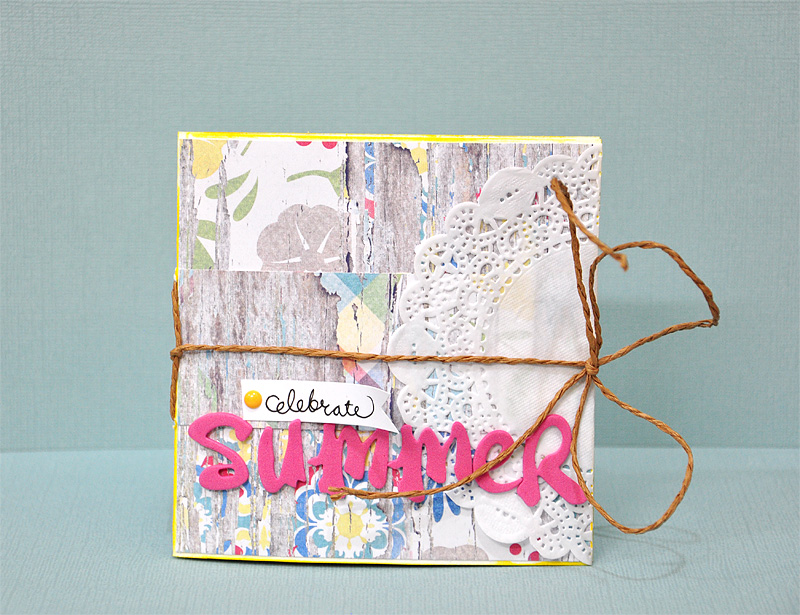
4. Use some twine (or in my case, a brown paper twine) and tie around the album. Decorate the front cover. I used a doily, some thickers, handwritten sub-title and an enamel dot. The edges were inked with distress stain.

DonnaEspiritu-TDP-Junetutorial-6


Hope this mini-album get you inspired to create one. I would use this with Instagram photos, perfect for it’s square size.

Thanks for dropping by!

Happy crafting,

Donna


About the author: Donna Espiritu is a mom to a little girl who just turned 8 months and wife to a very supportive husband. She is currently living in the Kingdom of Saudi Arabia with them. When she is not scrapbooking, she likes to read books/e-books (sci-fi/romantic/time-travel) or watching old episodes of some of her favorite TV shows.

Out of the pocket

outofpocket

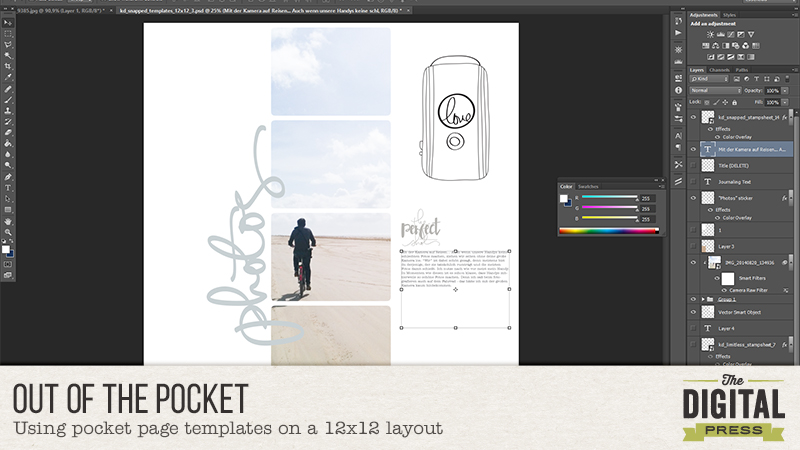
When I saw pocket pages by Karla Dudley, I directly fell in love with the little details outside of the pockets, which make her pages so faszinating. You can find her templates with sample pages here: shop.thedigitalpress.co/Snapped-templates-12×12.html

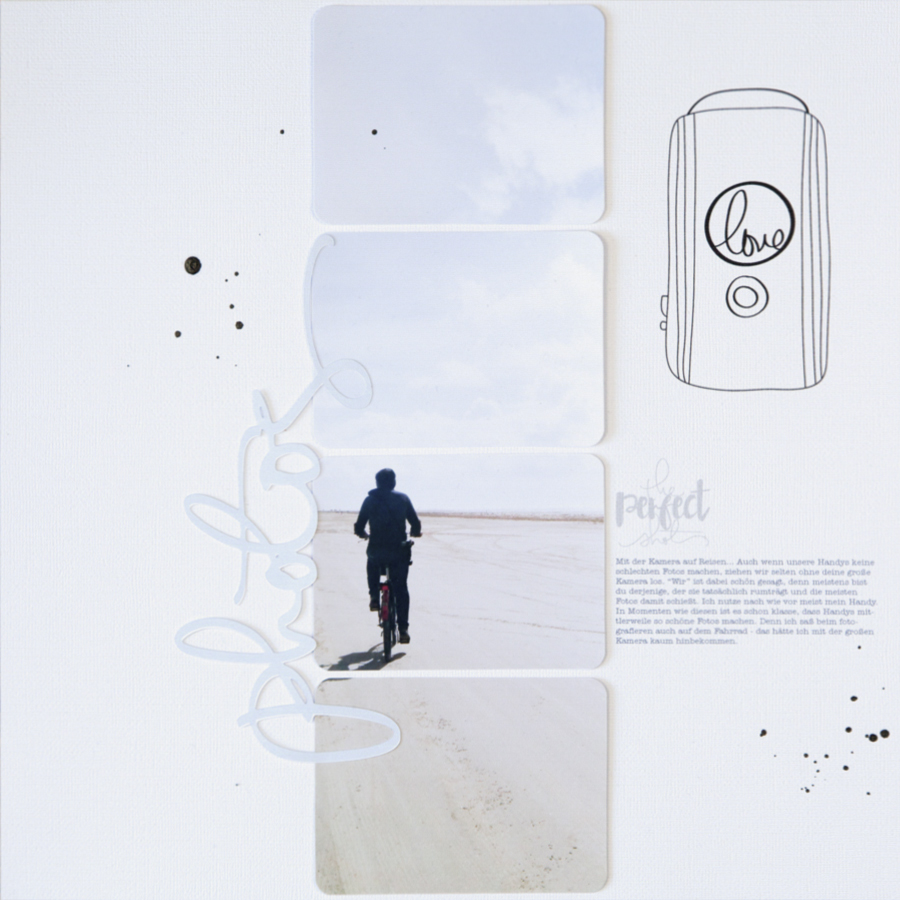
First I thought I wanted to recreate something like this with a real pocket page. Do you know the feeling when something looks totally amazing in your head, but when you are done with it it looks just not at all like what you’ve imagined? Well, this was one the moments where I felt exactly like this! With real pockets, so matter what I did, it just looked strange to have something be in front of the plastic sheets.

Of course it didn’t stop me from trying to get this page as awesome as it was in my imginations! Because I had this photo which looked too cool when it is divided into pockets to let go of this idea.

2015-06-12 21_34_43

The photo was taken at the beach in denmark where we went by bike to find a beatiful place for a picnic. I photographed it with my mobile phone while I was sitting on the bike. I’m still impressed by the quality of mobile phone cameras today.

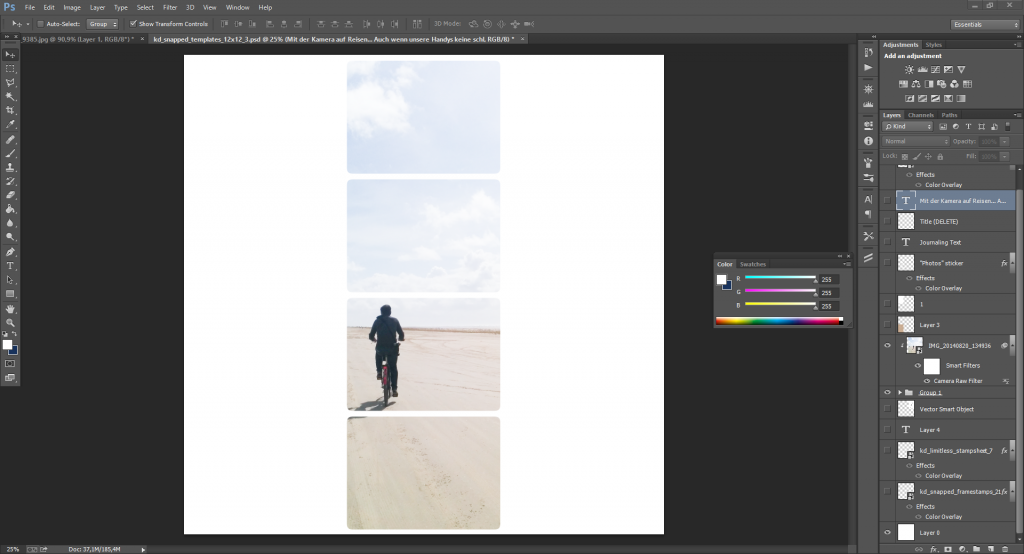
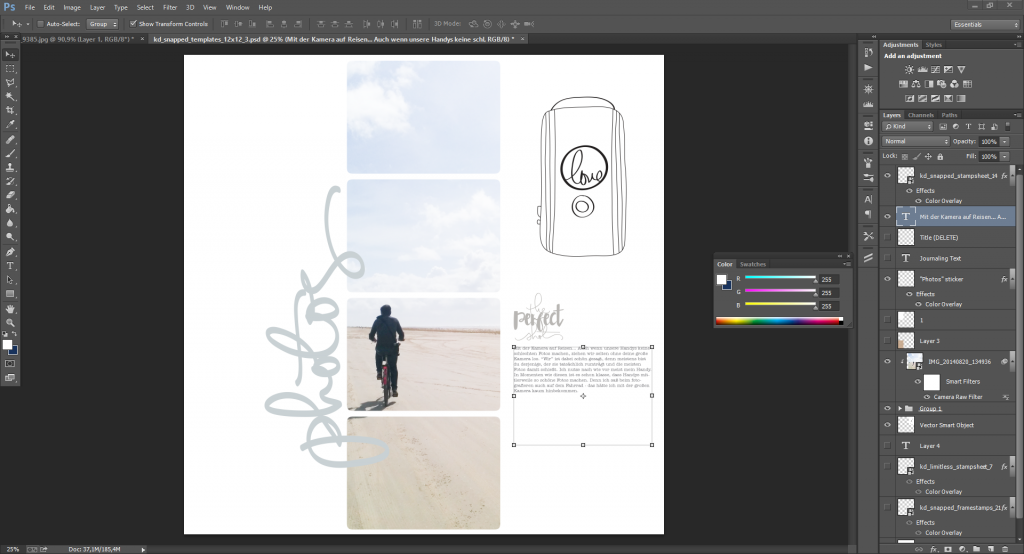
Next I tried to use the photo still inside the pockets, but the page itself is a normal 12×12. I removed all other pockets and was left with this in photoshop.

2015-06-12 21_33_41

This was much close to what I expected. I printed everything and added some real splatters to the page. The journaling is printed directly on the cardstock with an A3 printer. Here is how the page “out of the pocket” turned out:

_MG_9385_2
Oh and by the way… just a few minutes after the photo was taken it started to rain and I was so happy I already had some good shots included the one I used on this page!

Anika About the Author:  Anika is part of the hybrid team here at thedigitalpress.com. She loves to travel and use the photos her boyfriend takes (thanks for that!) to scrapbook. Digital, paper and hybrid. When she is not scrapping, she is most likely playing a computer game or in a city searching for a geocache.

Your Summer Adventure Story

Your Summer Adventure Story

Before the car had even left the driveway for our multi-state camping trip back in the 1980’s, I was the kid in the back seat eagerly scribbling the states in alphabetical order on a piece of looseleaf paper attached to a clipboard!! I’d add in the capitals and then my eyes were peeled to cross those states off my list. I love lists. LOVE them. Once I would get through the states I would see if I could find all colors of cars and then billboards for KOA campgrounds or basically anything. As I got older, I would get the whole car involved with my scavenger hunt lists that would include all kinds of things to look for – a motorcycle with 2 people, a pink billboard, an RV with a car attached, a car with 4 bikes, a sign with a “z”, a train, etc.

This year I’m getting back to basics with my boys and we are heading down List Crazy Lane!! We are making an album for our summer adventure story, which will include a traditional scavenger hunt list for our car trips and other lists that are specific to spots we are visiting. But I’m going to add something different this time. I’m going to include dedicated spots where we can do some quick journaling about a great book we read or a hike we took or a special place we found.

I knew I wanted to get most of the legwork done before the kids were out of school. I know what usually happens with summer albums and me…. I want to do them, but never have enough time to “organize” it. Summer doesn’t officially start here until June 20th, so I am determined not to repeat past mistakes and I’m getting it all organized and will have it ready to hit the road with us.

The first thing I decided was format and I went with a standard letter-sized (8.5×11 inches). Many reasons for that….my boys write big, its easier to find supplies, you can quickly add any normal letter-sized sheet like an email….all you have to do is bring a portable 3-ring hold punch and you are scrapping on the road!!

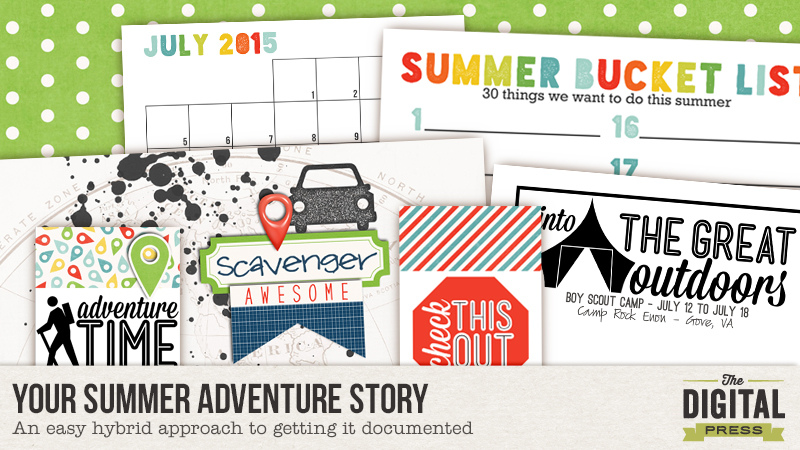
Next I chose the kit I would use for my pages. This was easy. I am going to use Laura Passage and Amanda Yi’s Summer Bucket list Printable Planner.  There are some great templates and printables to plan your month, make lists and then awesome papers, elements and stamps included in their Summer Bucket List Add-on:  Travel Collection to put your album together. The other thing I loved was a mobile font and stamp set by Laura Passage, Summer on the Go, that I could use to add to my photos so it would be easy at the end of the summer to print my photos and add them in….already scrapped!!

So now for our Summer Adventure Story…..

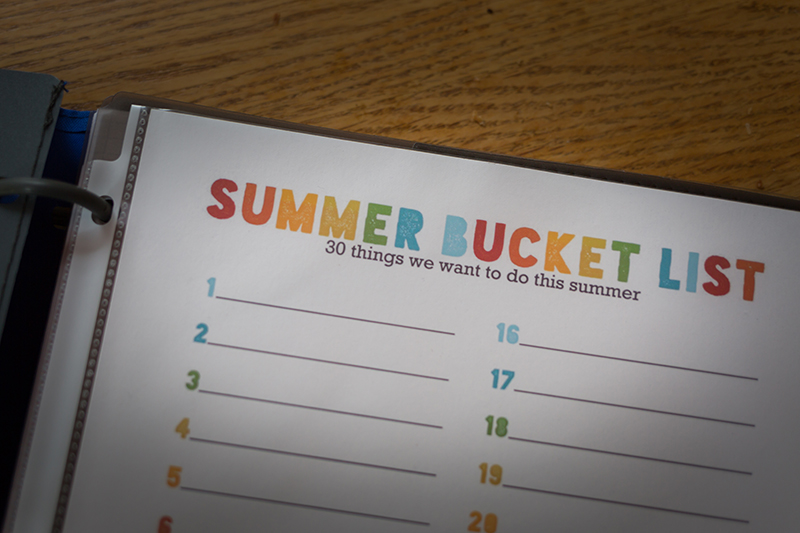
I’m including our bucket list as the very first page insert. We are all coming up with this list together and our plan is to have it all filled in by the last day of school in two weeks. No changes allowed to the final list!! The section following the list will be the “proof “ that we completed the items with either a scrapped/journaled layout, a photo collage or maybe even just an email of the item/event.

Summer Adventure Story

 NOTE: I’m using one of these fantastically durable binders from Mead. Yeah, I know they aren’t the hybrid sexy, BUT they are durable. This binder is going to camps in three different states and will be living in a car for over 2500 miles heading up and back to Nova Scotia. I don’t want to be worried about throwing it in the backseat of the car. This is real life and real life scrapbooking and I’m more interested in telling our story than how it looks on the outside. NOW….come September I will tidy it all up and add photos and layouts…THEN will be the time to find a pretty little home to shelter our summer adventure stories.

Right after the bucket list, I’m going to include five pocket pages with some of the everyday activities we are planning to do throughout the summer. This is the stuff that isn’t on our bucket list, but we still want to “talk” about: books we are reading, biking and hiking and s’mores (good thing we will be biking and hiking!!). Also included one pocket page for just random places that we find and LOVE. The boys can journal a quick card or we will include a photo later or get a business card.

Summer Adventure Story

My next section is going to house our Summer Road Trip to Nova Scotia. It will include our scavenger hunt lists and maps of our trips and all that good stuff that comes with a road trip. I’m making various scavenger hunt lists including the drive up to Nova Scotia (shown below), sights and sounds of the small towns we will visit and one just related to presidents (with a stop in Boston, I hope we can get those founding fathers checked off!!).

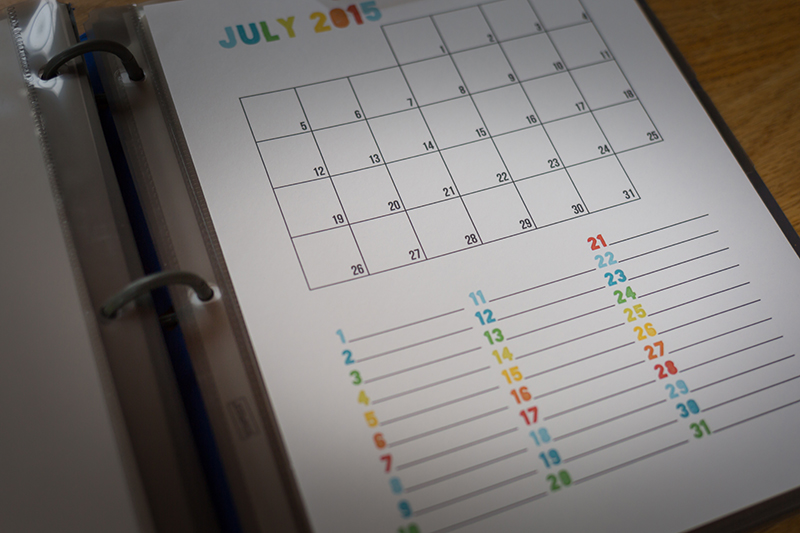
The last three sections of our album includes a calendar for June, July And August that I will be filling in by hand throughout the month.  The bottom section of the page will include a favorite thing that happened that day, current event, or weather forecast…something one line quick.

Summer Adventure Story

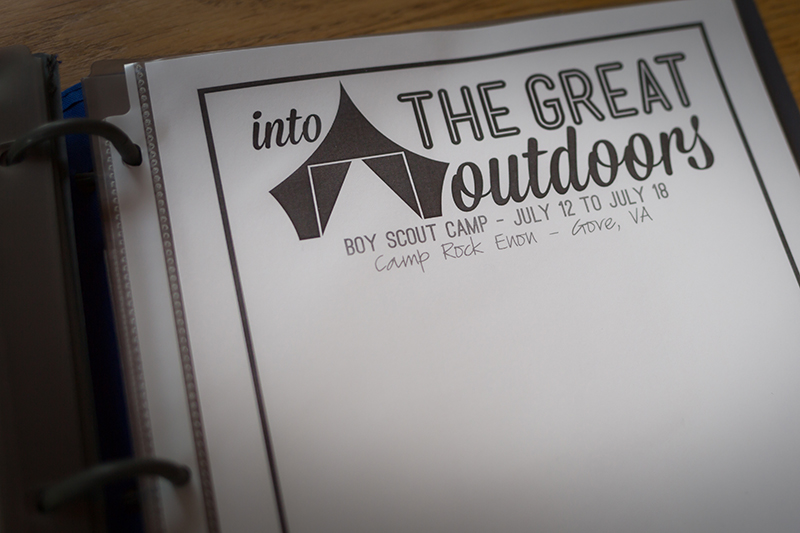
For each month, I’ve included different inserts depending on what is happening that month. For July, I added in page for my boys to journal about their Boy Scout camp that they will be attending together.

Summer Adventure Story

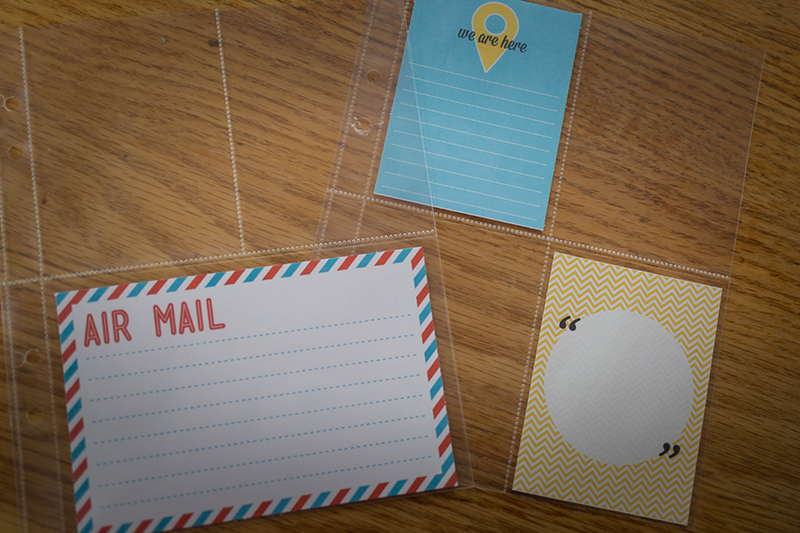
I also included a 6×8 pocket page for my older son’s orchestra camp. He will then add copies of his music to the binder. I did another pocket page for younger son’s week with the grandparents. My idea is that I can then add photo collages or maybe a layout about a particularly spectacularly event (like the final concert at orchestra camp).

Summer Adventure Story

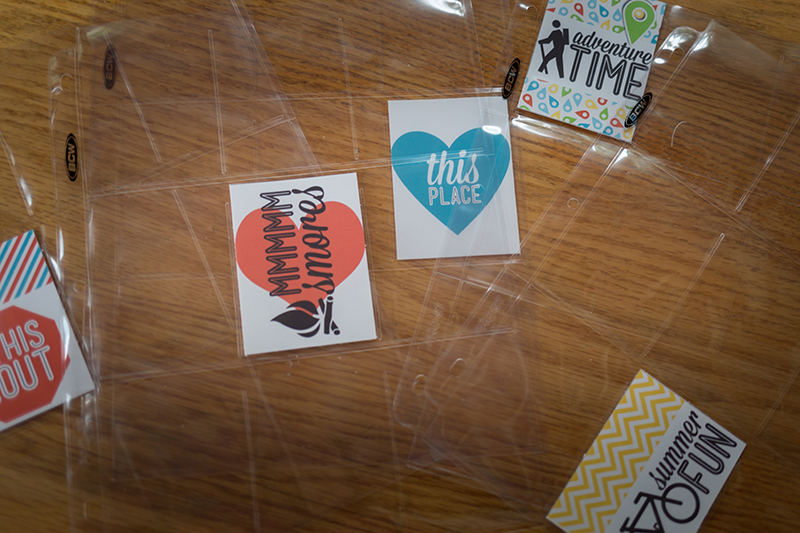
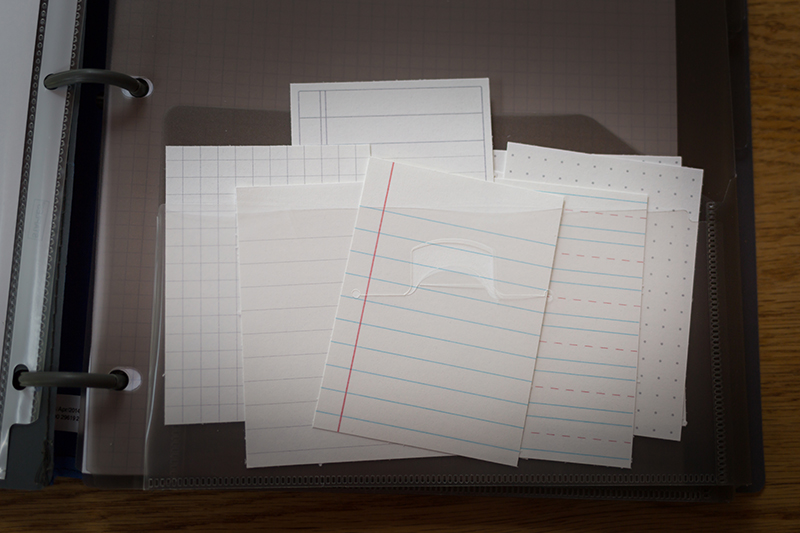
Another reason I love this binder is these pockets. In them I can include receipts, business cards or whatever. One pocket will include various 3×4 journal cards (these yummy ones are called Pocket Essentials created by Scotty Girl) for us to grab and use whenever we find something we want to remember.

Summer Adventure Story

Thank you for sticking with me through this all…I think you can tell I’m excited!!

We are ready to document our adventure story!! I’ll be back in the Fall to show you how it went!!!

Stay tuned……


avatar100x100About the Author:  JennV is a stay-at-home Mom, part-time photographer and SO READY for her kids to be out of school.  10 days left.  She’s excited to have them home, but sad for her fantastic progress in keeping current with Project Life….as computer time will be precious for the rest of summer!!

Summer Planner Pages: Hybrid Style

Summer Planning: Hybrid Style

Real life happens! Work, children, school, sports, scouts, doctor appointments, volunteer duties, house work…oh the list goes on and on! My real life has been crazy busy and shows no sign of stopping any time soon. Which is not exactly great for someone like me who can barely remember what day it is, let alone where I’m supposed to be! I’ve tried organizing myself using a calendar app on my phone, but that requires me having the time to type on that tiny little keypad and hit the right buttons to save my entry (um, fail times 100). I’ve also tried using scraps of paper to quickly jot down appointments but, while this is easy, I’ve lost the slips of papers too many times to count! So, a year or so ago, after being fed up of living such a scatterbrained life (I’m truly responsible – really!), I went the agenda/planner route.

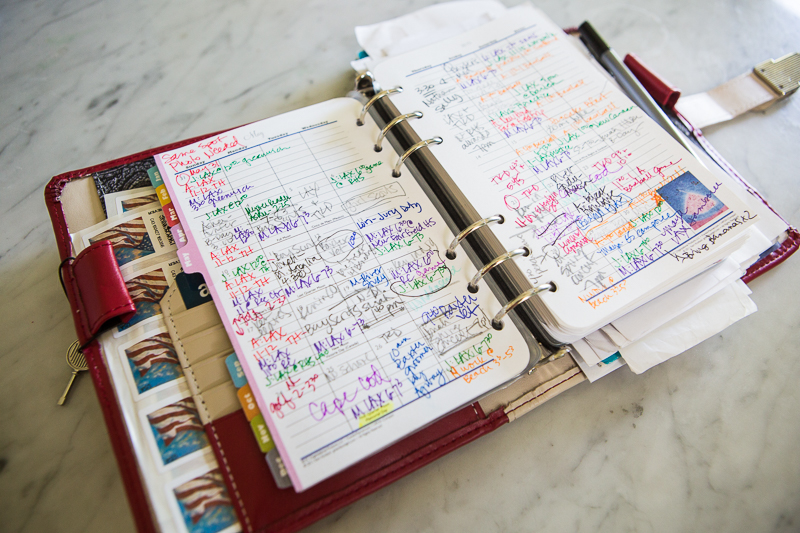
I used to use one years ago and was on top of things so I figured it was time to give it a go again. But with 4 kids and a busy life, the days get filled up super fast. This is my past month – I can barely read where I am supposed to be and when!

Summer Planning: Hybrid Style

Luckily, the daily pages work out well, but I still like to see the overview of each month. Unfortunately, life gets pulled in so many directions, that the things that I really want to do, get forgotten about. So this summer, I’ve decided that I want to use the planner to really get myself organized and find some smooth sailing.

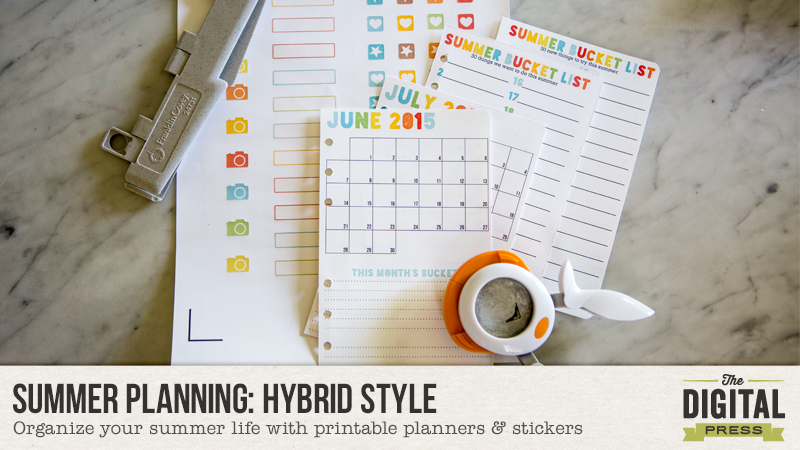
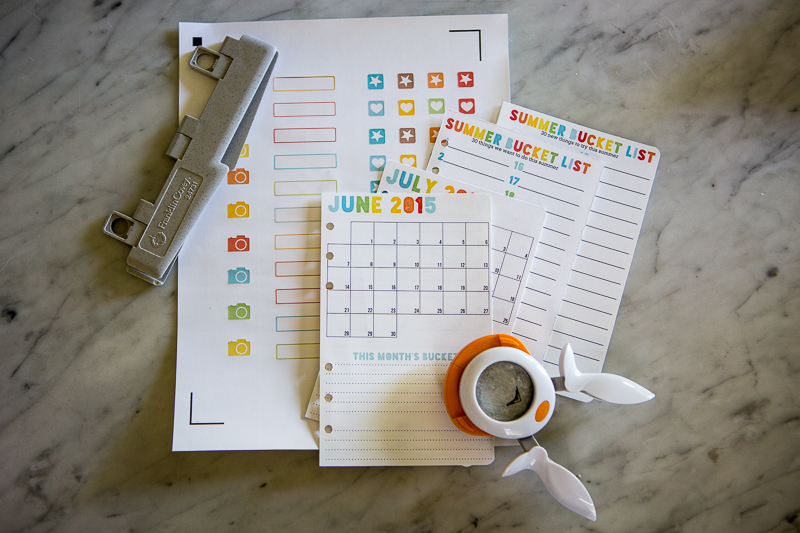
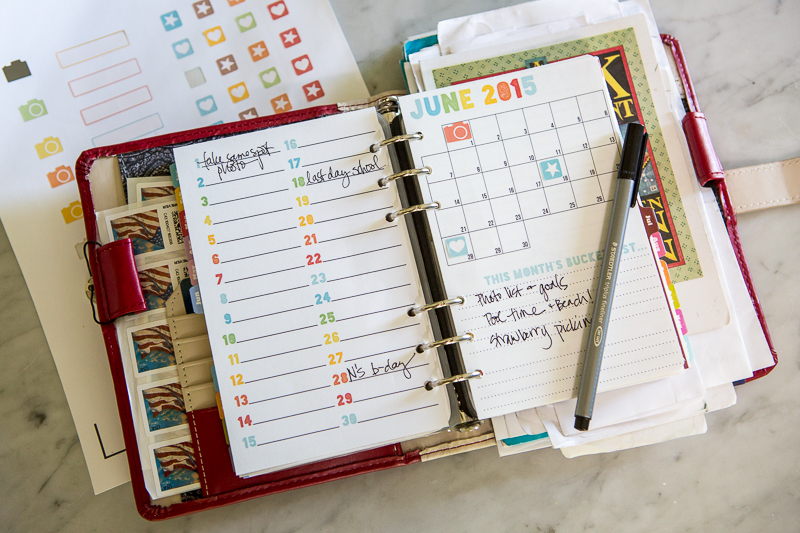
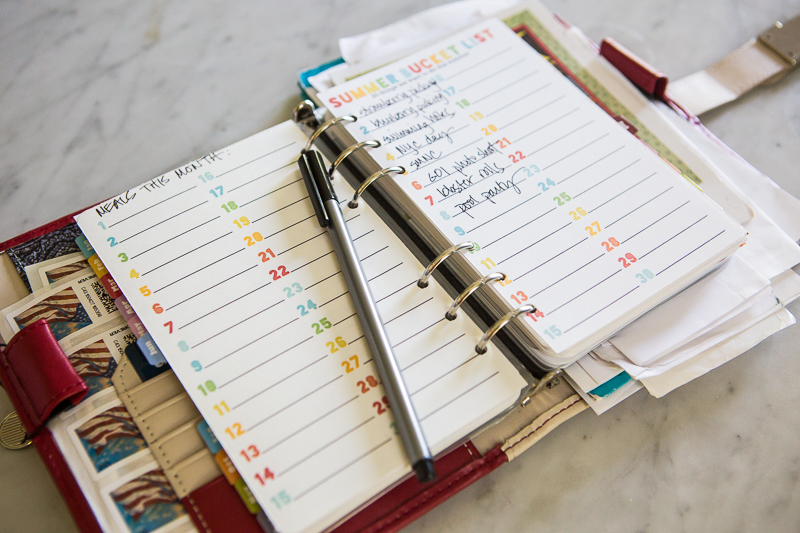
Wishing Well Creations by Laura Passage and Amanda Yi Designs have products are perfect for this! Laura’s Summer Bucket List Printable Planner pages will supplement my usual calendar pages and let me plan out the special activities that I want to do this summer (I LOVE making lists! And now they will be in my planner and not lost in a bag somewhere!). I’m also using them to plan meals (what a novel idea…no more last minute desperate phone calls to take out places) and organize my thoughts. Amanda’s Summer Bucket Stickers help highlight important dates and just look cute.

Summer Planning: Hybrid Style

Here is what I did:

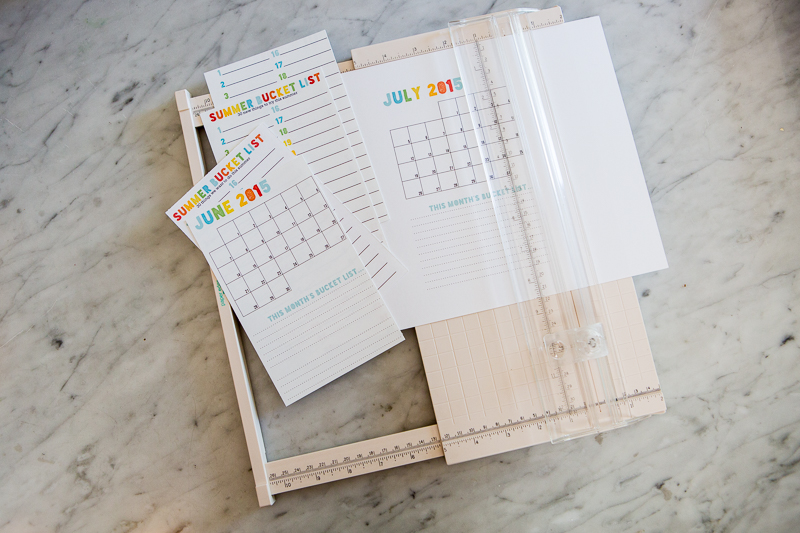
I used Laura’s Summer Bucket List Printable Planner pages which easily and perfectly sized down to fit my smaller binder. I printed them double-sided on cardstock so that they will hold up and ink won’t bleed through. A simple trimming and hole punch, plus a bit of corner rounding, and they are good to go!

To use Amanda’s Summer Bucket List Stickers, I created a file sheet in Photoshop with the stickers I wanted to use. I imported the sheet into my Silhouette software, traced the cutting edges with the trace function, set the registration marks, and sent it to my printer. I used sticker paper for this.After it printed, I then loaded it into my Silhouette Cameo, and after a few registration fails (oh real life you can be bothersome! Haha), it fed through properly and cut out the elements exactly as planned.

Summer Planning: Hybrid Style


Summer Planning: Hybrid Style
Summer Planning: Hybrid Styleer-6

Now life should be organized, smooth sailing, and stress free! One can dream, right? 🙂


LoriAbout the Author: Lori Pereyra is a member of the Creative Team here at The Digital Press. She is a stay at home mom to 4 children and loves capturing life…the good, the not so good, & the perfectly imperfect… and documents it all through photos, paper & pixels. She feels this is modern scrapbooking at it’s best!