Category: Hybrid Crafting

Creating Cards from Templates

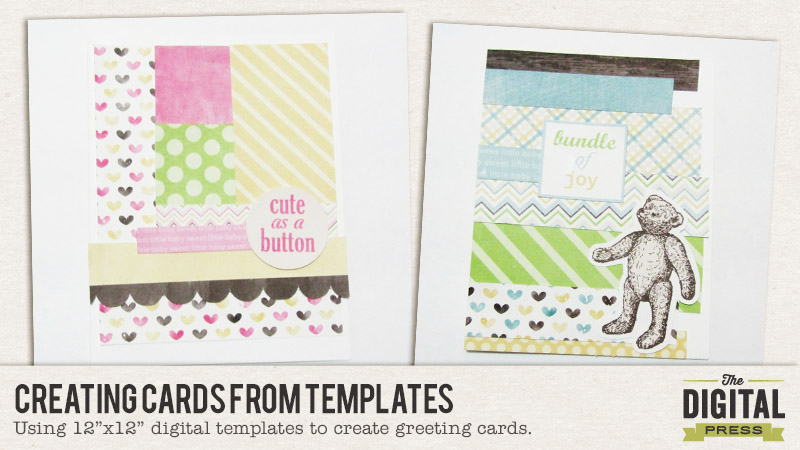
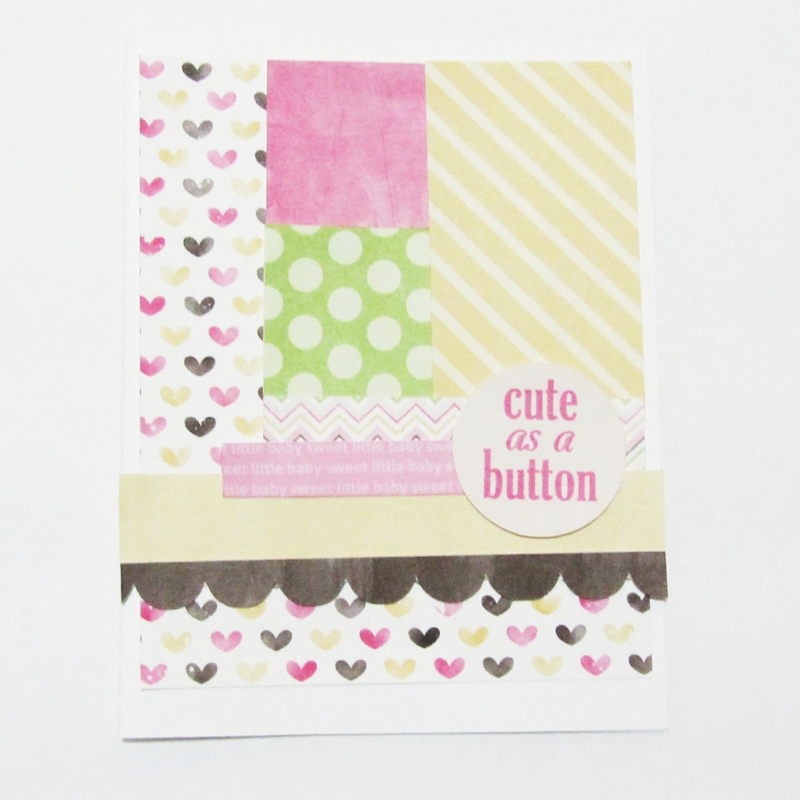
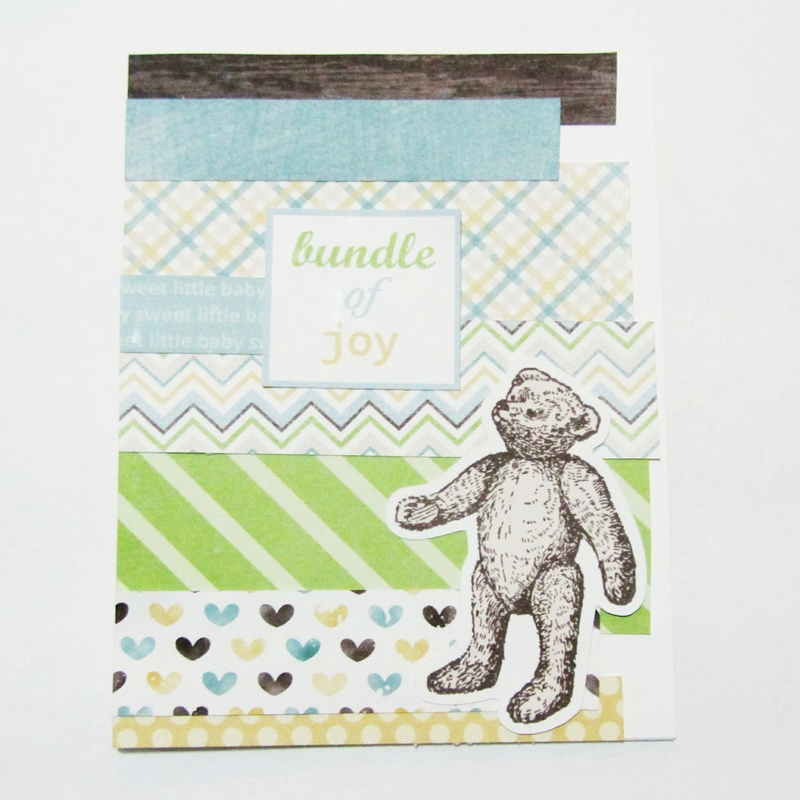
Hi, all. Sarah here. I’m always looking for new ways to use up my scrapping stash and recently I’ve started using 12″x12″ page templates to help me create greeting cards. There are quite a few templates out there that make great card fronts and I’m excited to share a couple of baby cards that I’ve created with you.

baby cards

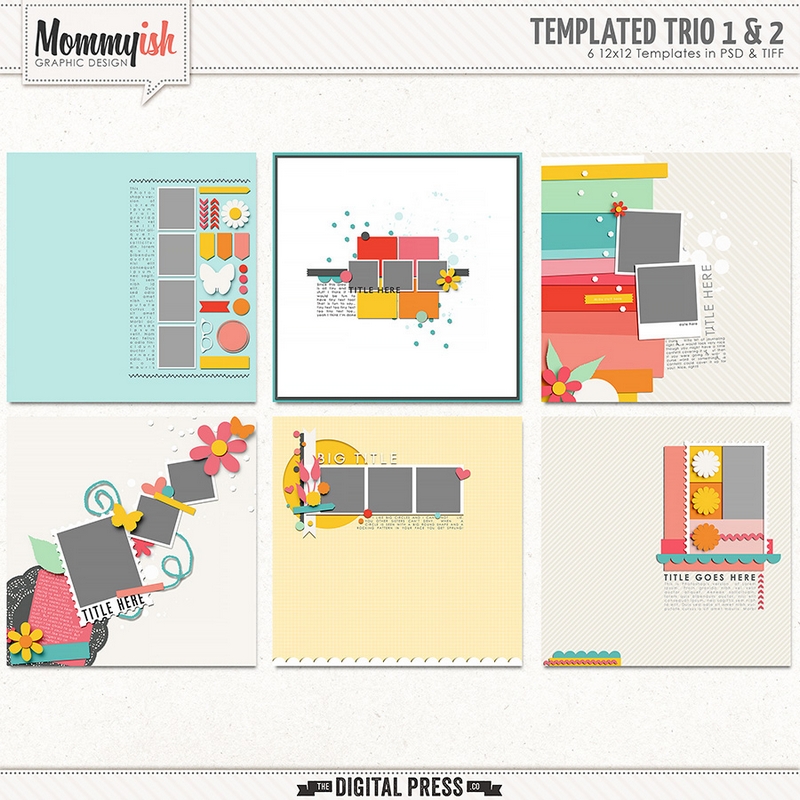
This is the template set I used. I love the grid format and paper strips used in the two templates to the right so I decided to use a portion of these templates for my cards.

mommyish_templatedtrio_900

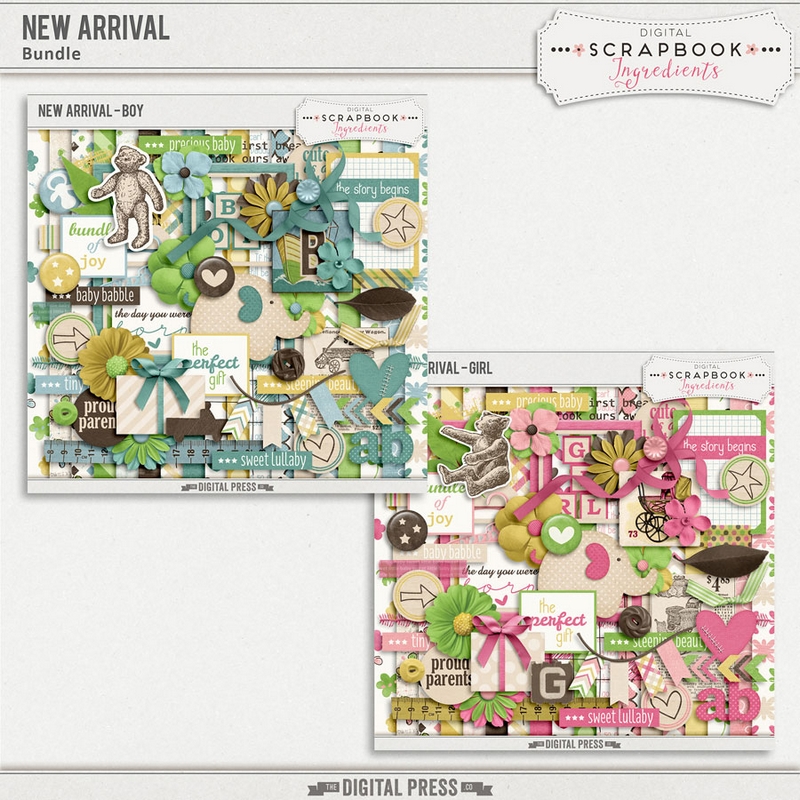
This baby collection is great because there are quite a few printable papers and elements and I love that I could make a boy card and girl card that would have the same basic look.

DSI_NewArrivalBoy-preview-bundle-DET

I  imported the layers that I needed for my cards into my Silhouette software and then resized everything to be more greeting card size friendly. These cards were pretty easy to put together once I had everything printed and cut out. I created two card bases from a sheet of white cardstock and adhered everything down using the original template for guidance.

baby girl card

For this boy card I did have to trim a few of the strips down a bit as they hung over the edge even after resizing, but I think the original feel of the template was maintained.

baby boy card

These were so much fun to create and I love that I get to use my digital supplies in a new way.


Alter A Type Tray: Hybrid Style

Hybrid Type Tray

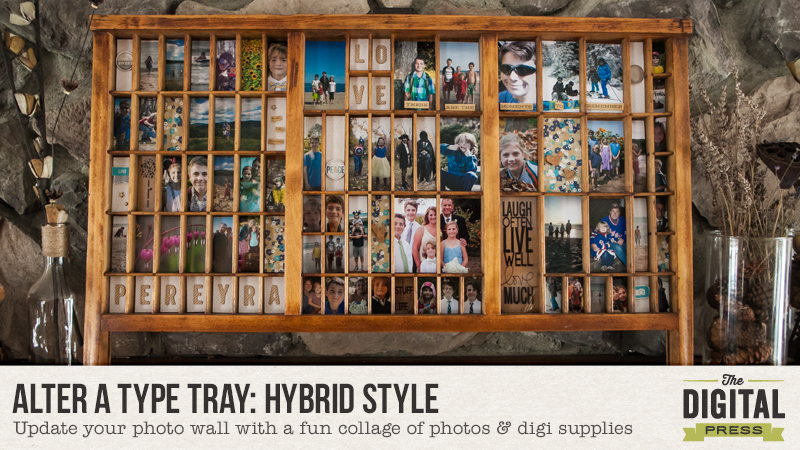
This year I am all about catching up on my very {very!} long list of projects. I am listening to my desires by focusing on pursuing all of the things I enjoy and creating happiness in my home. {Did you catch what I did there? Focus, Pursue and Listen…January, February AND March’s TDP words of the month all in one blog post. Boom! Go Me! Haha!} At the top of my list is filling a type tray with everyday photos of my family. I created this project a few years ago when I acquired three type trays. I loved the first one I made and the other two trays have been sitting empty and neglected in a corner in my office for much too long. There is also a heaping pile of leftover photos from my project life albums accumulating in my office so I decided this was the time to get it done.

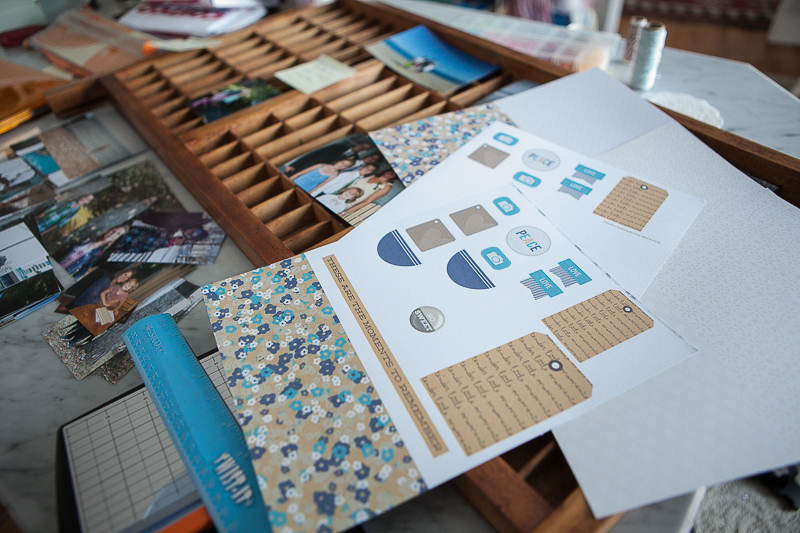
To get started, I selected photos from that pile and played around with an arrangement on the type tray until I felt I had a nice variety of images {and to make sure no child was getting left out – oh the horror that would be!}. There were moments when I wanted to go through my Lightroom album on my computer and find different images, but I resisted as I knew that I would just get sidetracked and procrastinate even more {I am quite good at that!}. Since all of my printed photos were in color, I decided that I would use neutral tones for my patterned papers and elements. I also knew I wanted to include some word are and a few simple embellishments. All of these were easily found in The Digital Press’ shop…papers and elements from Dawn by Design {tender moments}, papers from Digital Scrapbook Ingredients {everyday essentials} and word art from Karla Dudley {stamp press life}. I easily printed my chosen elements and papers on my home printer and printed the word art onto transparencies as I love the look of the type tray showing through. Then I made quite the mess on my desk but I like to think that is a sign of a great creative day. 😉

Type Tray Hybrid Project at the Digital Press


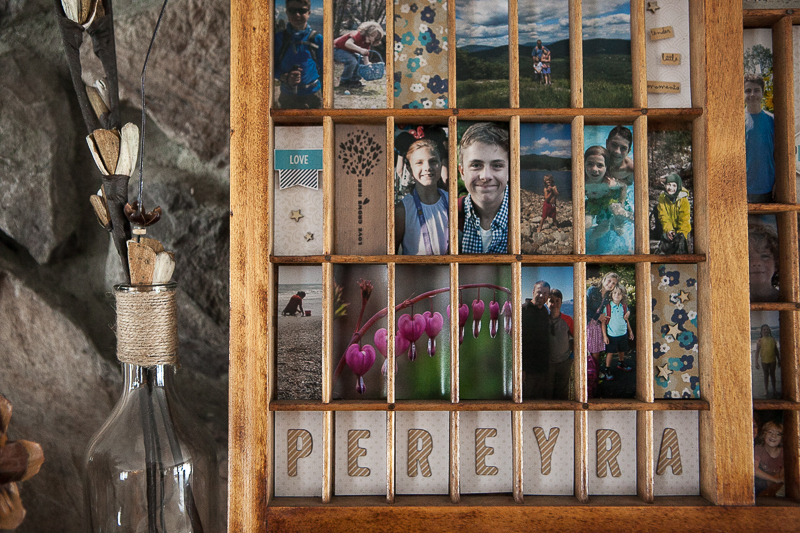
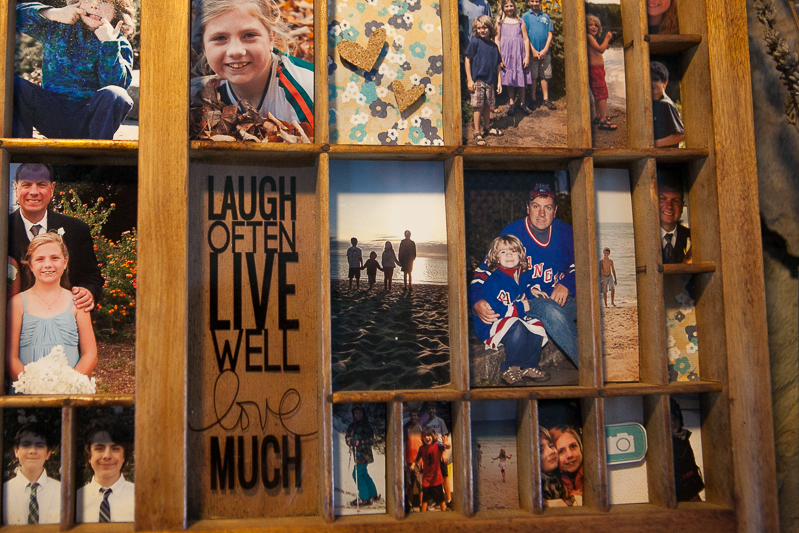
Once I hit my groove, the project came along quite easily. This project required a lot of measuring and re-cutting to get the photos and papers to fit nicely in the boxes, but nothing complicated and quite simple to do. Some physical products were all that was needed to finish things off and it was complete. 🙂 Here are a couple of closer shots to show some of the detail in the compartments:

Type Tray Hybrid Project Close Up 1 at The Digital Press

Type Tray Hybrid Project Close Up 2 at The Digital Press


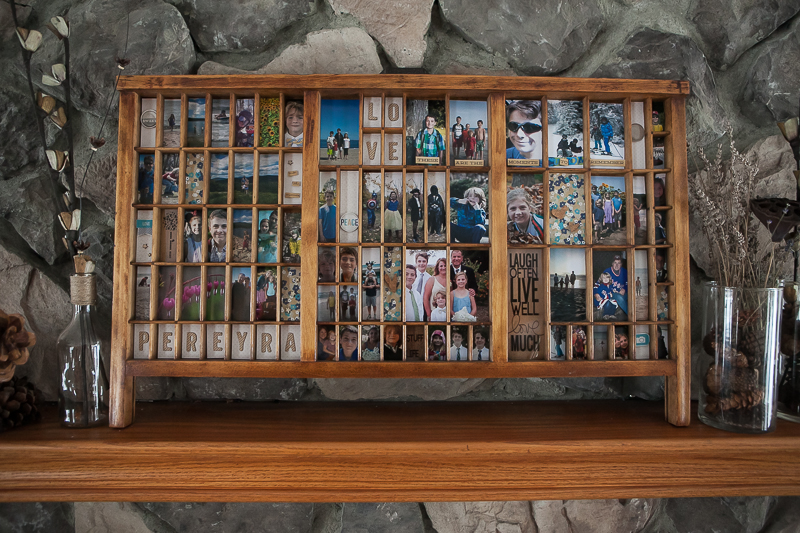
And the finished project:

Type Tray Hybrid Project Final at The Digital Press

It is always a great feeling to finish a project and check it off the list. I hope this inspires you to create a project of your own!


Lori


About the Author: Lori Pereyra is a member of the Creative Team here at The Digital Press. She is a stay at home mom to 4 children and loves capturing life…the good, the not so good, & the perfectly imperfect… and documents it all through photos, paper & pixels. She feels this is modern scrapbooking at it’s best!

Hybrid Pockets Made Easy

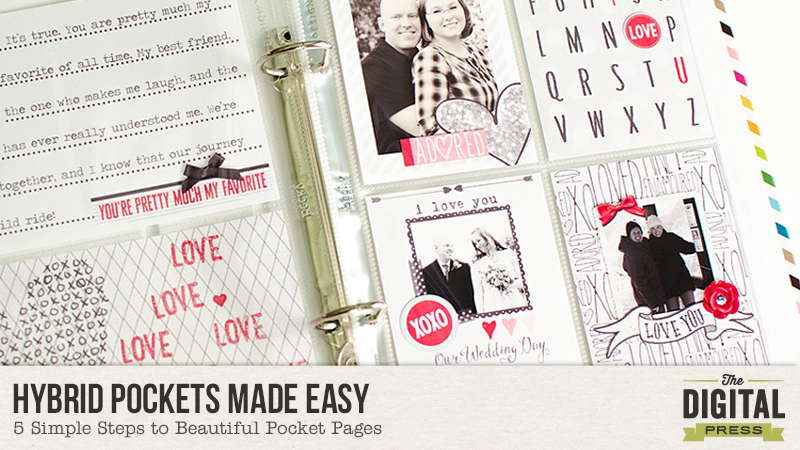
Hybrid Pockets Made Easy

I never loved traditional paper scrapbooking. Mostly for all the same reasons you usually hear about why someone fell in love with digital; no mess, not spending an arm & a leg on supplies or tools, and the speed at which you can finish layouts! After several years of creating strictly digital pages I realized I had nothing to show for it. I had only printed a handful of layouts. I also found that I was only recording the big moments such as birthdays, holidays, and happy events. The snapshots, out-takes, and less than happy moments weren’t included and that was a big problem for me because I wasn’t being authentic in my memory keeping. I knew I had to make a change.

After taking a moment to assess where I was and where I wanted to be I decided that the best thing for me was to start printing at home. I also decided to jump on the pocket scrapbooking bandwagon because it felt like a great fit that would allow me to include pictures that I might not want to devote a whole 12×12 layout to, but were still important parts of my family’s daily real life.

When I set out to create my first hybrid pocket page I spent way too much time trying to get going. I really wasn’t sure where to start, but after a bit of trial & error over the course of several attempts I finally found a workflow that made hybrid easy for me. Today I’m sharing my process for making quick, but beautiful, hybrid pocket pages.

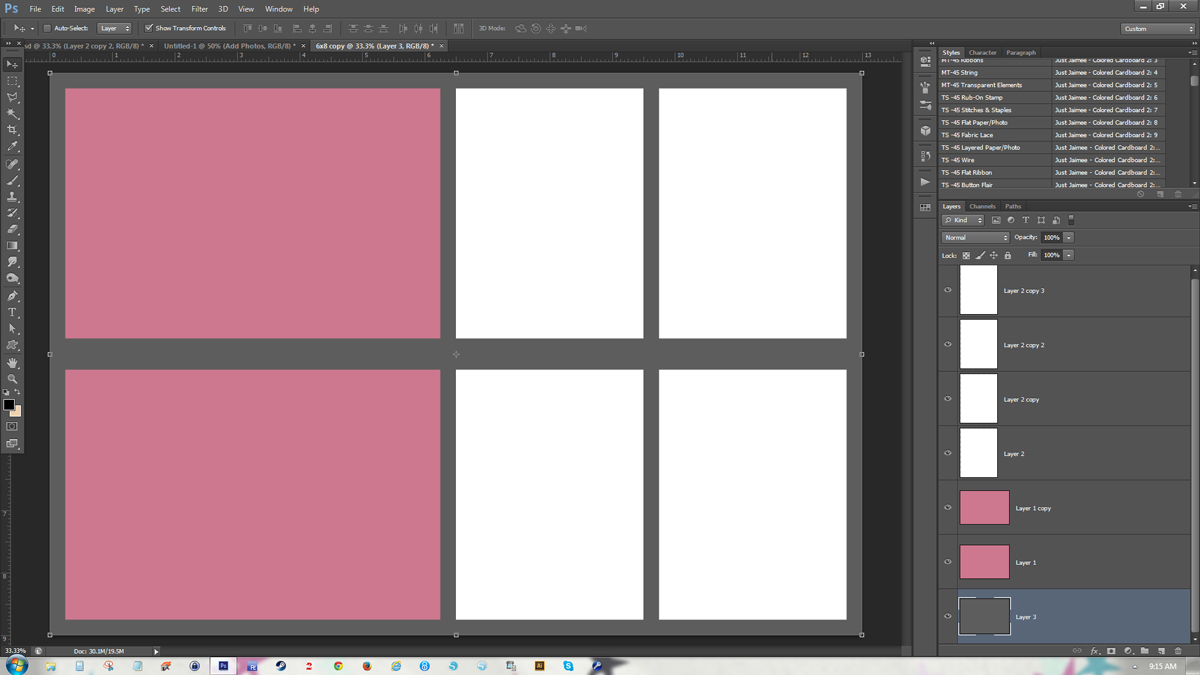
Step 1: Start With Your Layout

I find it’s easiest to create a template which matches the pocket page layout you’ll be using. For my example layout I’m creating for my 6×8” album and the pages are two 4×6” spots on the left and four 3×4” spots on the right. Create the appropriately sized boxes and arrange them in the correct places. These will be your clipping masks for creating your cards.

Hybrid Pockets Made Easy

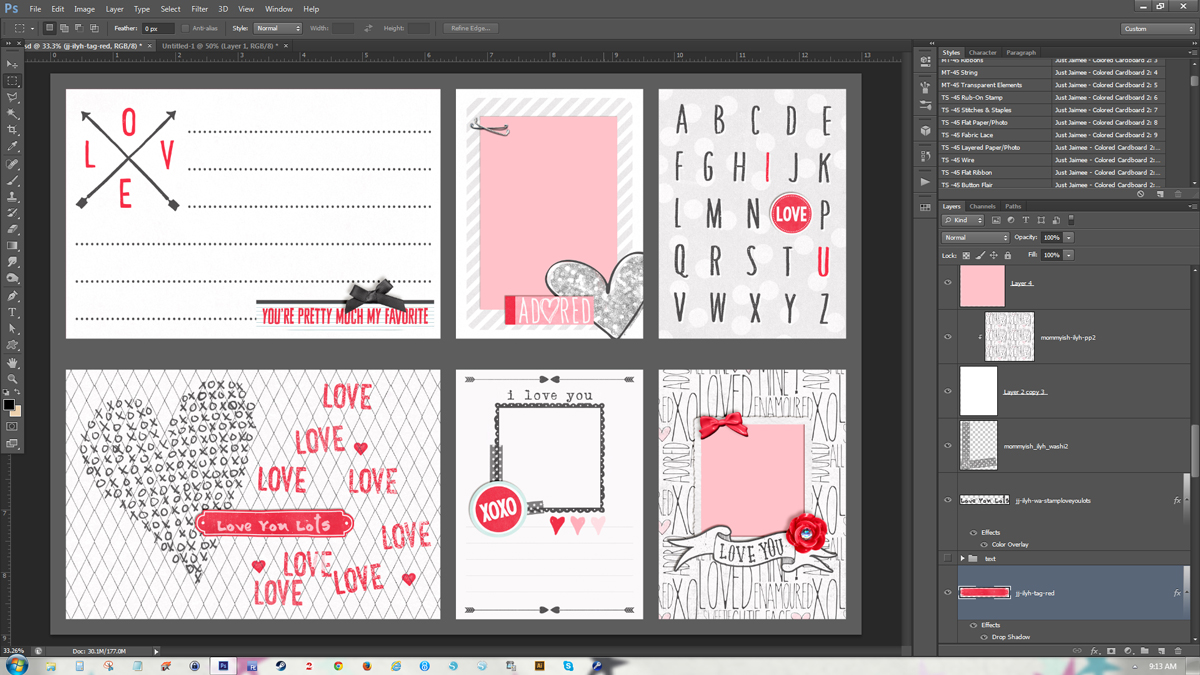
Step 2: Add pre-made cards or papers & embellish

I like to treat each card as a mini layout. I look through the cards that come with the digital kit I’m using and drag them onto my layout. Sometimes I’ll also fill a space with a patterned paper. Then I look for frames in the kit that will work with the pictures I’m using. Once I’ve laid out where I’ll be putting my pictures I work on embellishing each card with some of the kit’s elements.

Hybrid Pockets Made Easy

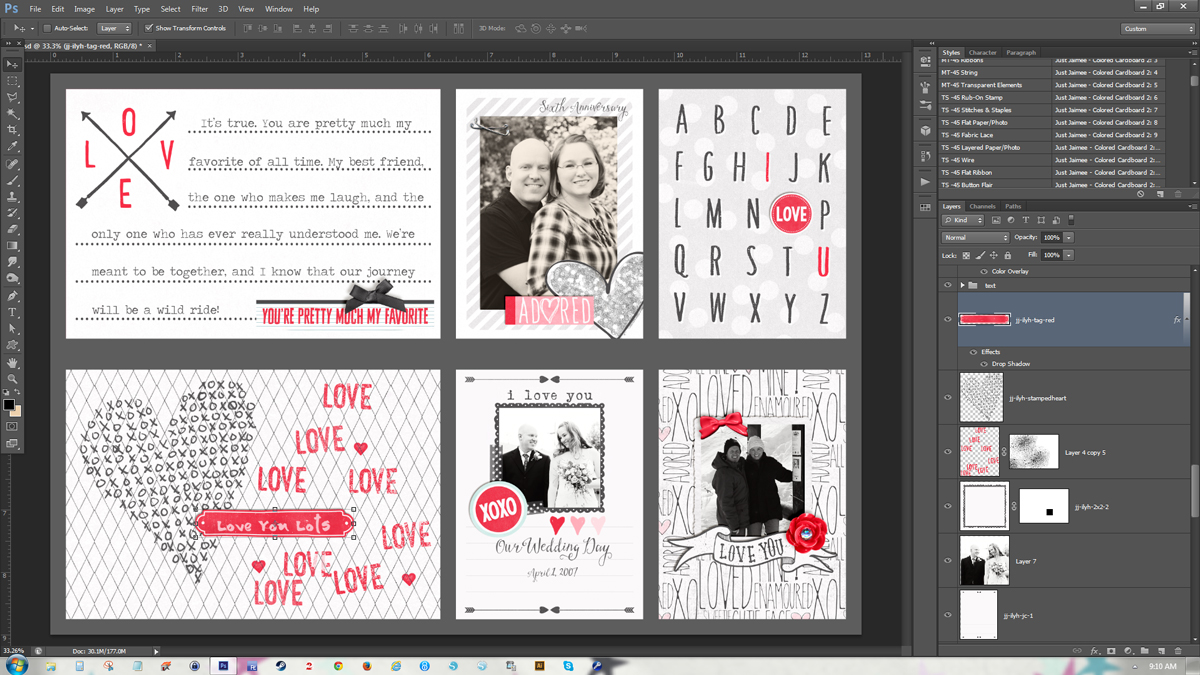
Step 3: Add Photos and Text

Now I edit & add my pictures to the cards. Finish things off with some text and I’m almost ready to print.

Hybrid Pockets Made Easy

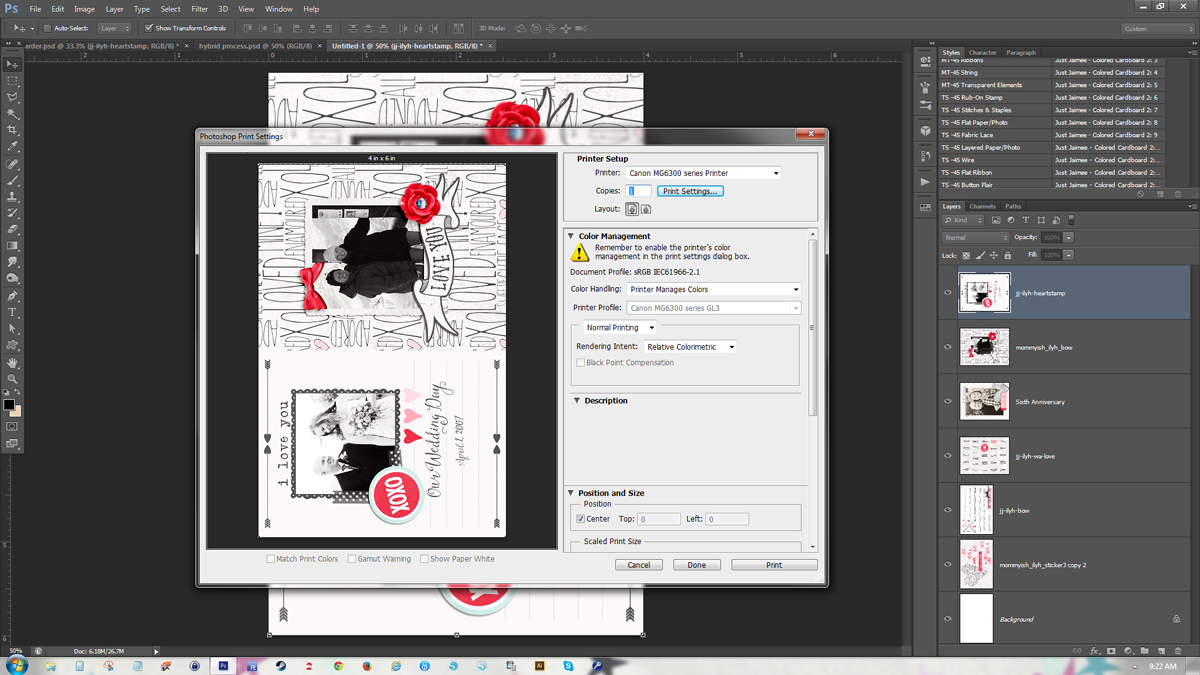
Step 4: Merge & Print

Once all the individual cards are ready it’s time to merge the layers. I hold down CTRL while clicking on each layer that I used for one of my cards. When they are all selected I hit CTRL+E to merge the selected layers. After I’ve merged all the cards I then create a new document sized to the print dimensions. I almost always print on 4×6” photo paper because it let’s me get away with the least amount of cutting. At this point I select & drag each card into my new document. The 3×4” cards fit 2 to a page nicely. Set your printer settings and print. I go down the layers list hiding the cards as I print them.

Tip: You only need to do the printer settings on the first print job. After that you can choose File>Print One Copy to bypass the print dialogue box!

Hybrid Pockets Made Easy

Step 5: Cut & Put Cards in Pockets

Cut your 2-Up 3×4” cards in half and pop it all into your pockets. All done!

Hybrid Pockets Made Easy
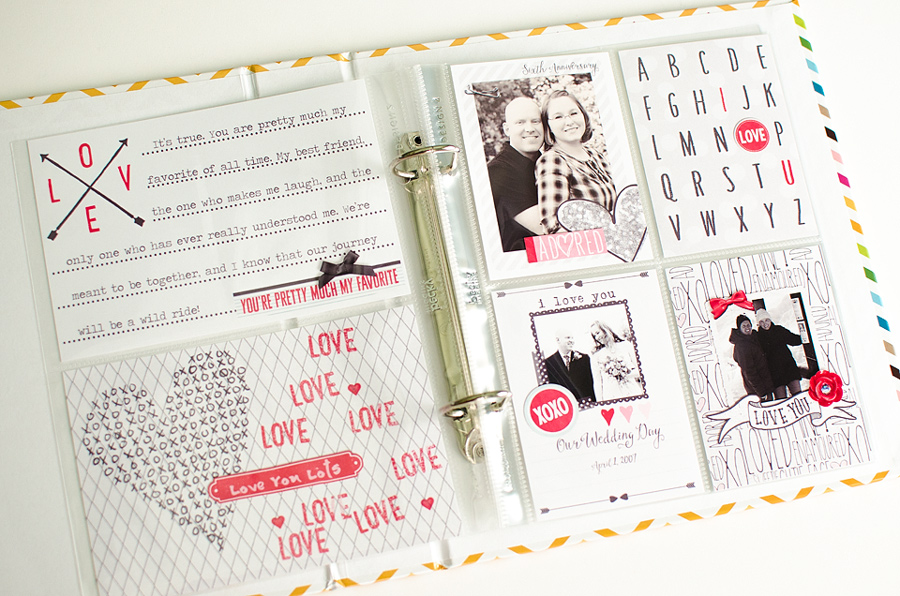
Real Life in Pockets | I Love You Harder by Mommyish and Just Jaimee


Hybrid style scrapbooking can be overwhelming at the start, but the instant gratification of having something tangible in your hands right away makes it well worth the effort in my book! I hope I’ve inspired you to give hybrid and/or pocket scrapbooking a try. I’d love to help you overcome any hurdles to hybrid that you’re facing. Leave a comment if you have a question or comment!


Amber About the Author: Amber Funk enjoys a vast assortment of interests such as scrapbooking, photography, getting crafty with her Silhouette Cameo, reading, and playing video games. She is a Wife and Mother of 2 living in Northern California and blogs her crafty adventures at http://perfectly-fabulous.com/

Hybrid gift tags

blogtemplate

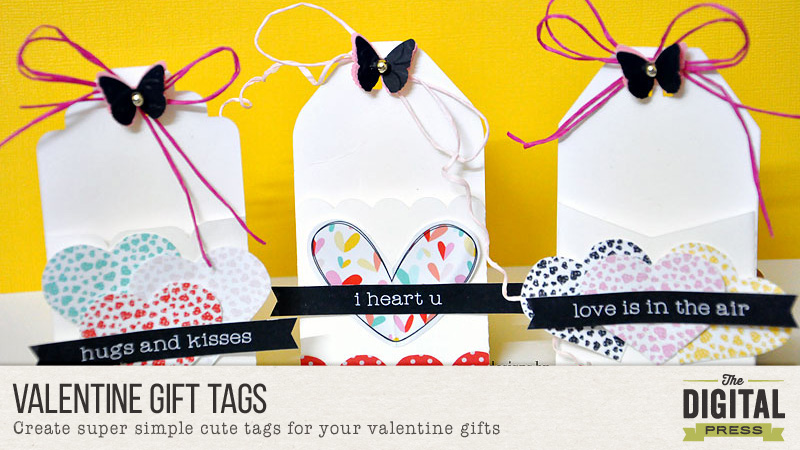
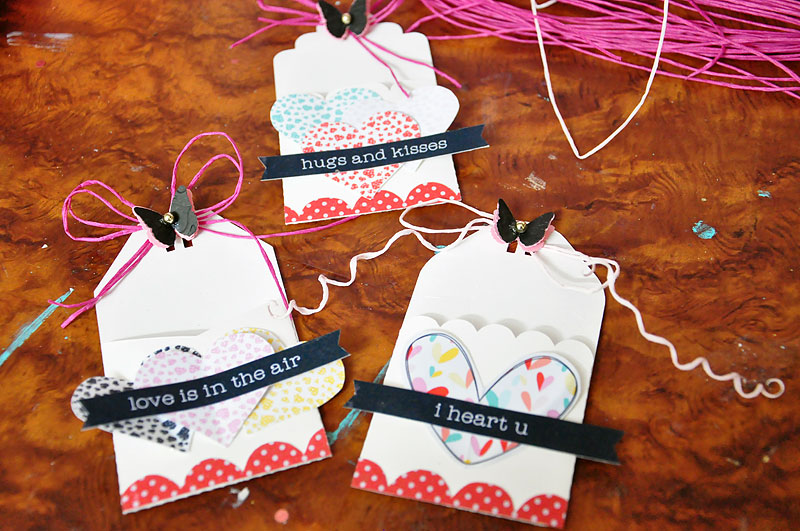
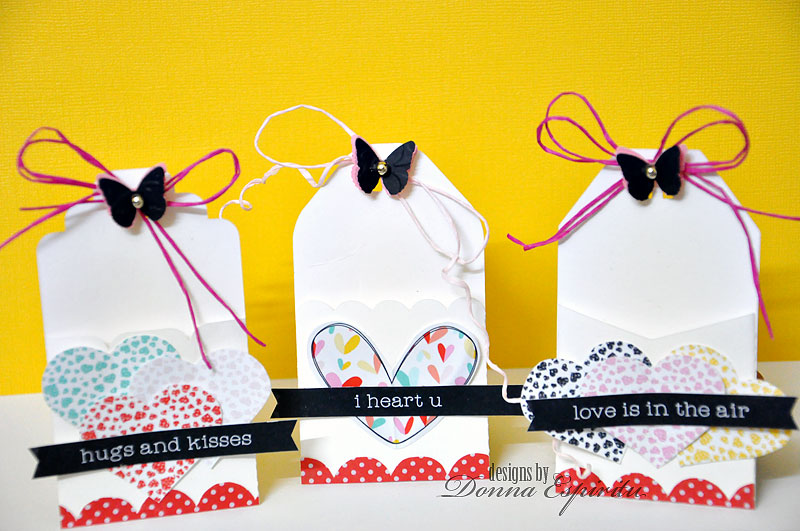
Hi folks! Donna here from the hybrid team and I will be sharing with you some cute tags I’ve created for Valentine’s. I used “Love is in the air” by Mari Koegelenberg and Mommyish and gift card tags template by Kelleigh Ratzlaff.

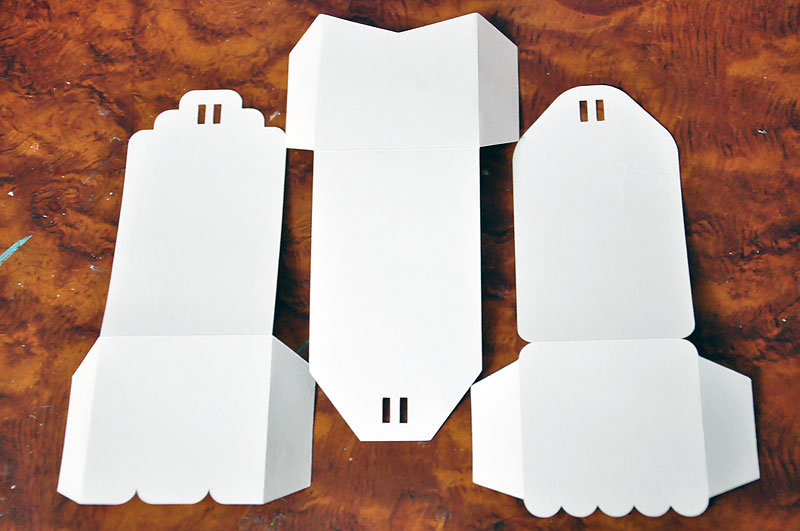
When I didn’t have an electronic cutting machine yet, I used to cut Kelleigh’s templates manually. Yes, even those tiny rectangular slits you see in the image below. One great tip I can tell you is use sharp and fine-tip scissors as much as possible for great results. A craft knife is also a handy tool to have for cutting besides a ruler and cutting mat.

For this project, I used both my machine and my hands. I used my Cameo to cut these templates.

donnaespiritu-valentine-tags1


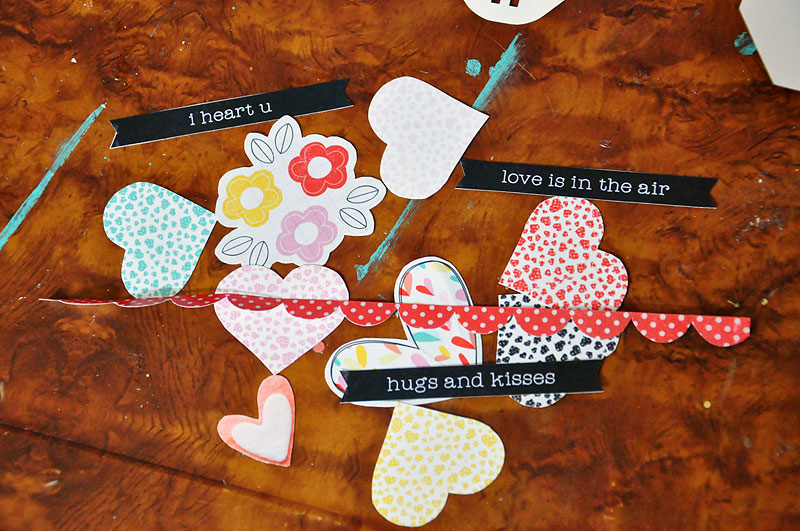
and manually cut these printed elements using my ever trusted fine-tip scissors by EK success. Clean up the edges first before using your cuts ups to your projects.

donnaespiritu-valentine-tags2


added some butterflies and twine to complete my gift tags. You can add dimension even without using foam tape. I folded the hearts in the middle and glued down just the middle part, same with the sentiments. So it looks like the edges of the sentiment floating. Instant dimension!

donnaespiritu-valentine-tags3


donnaespiritu-valentine-tags4

Happy heart’s day!

DonnaAbout the author: Donna Espiritu is a new mother to a little girl and wife to a very supportive husband. She is currently living in the Kingdom of Saudi Arabia with her family. When she is not scrapbooking, she likes to read some sci-fi/romantic/time-travel themed books or watching old episodes of some of her favorite tv shows.

Best Moments of 2014 Documented Hybrid ABC-Style


Best Moments of 2014 Documented Hybrid ABC-Style


Good morning! Brenda Smith here, sharing with you how I documented the best moments of 2014 in We R Memory Keepers 4×4 album. I documented our entire year with 12×12 pocket pages already, but wanted something more accessible that could be kept out as a coffee table-type album.

The first thing I did was create an A-Z list of moments corresponding with each letter. Some were more of a stretch than others (like Xmas for X), but I eventually filled out my list. Next, I went very basic with the title page. I knew I wanted to use the January Special Edition products for the entire album because the colors were vibrant and happy, so I picked this beautiful floral paper from Sugarplum Paperie.


Best Moments of 2014 Documented Hybrid ABC-Style


Next, since this album would obviously require several pages for the entire alphabet, I decided to create a simple yet visually appealing template for each page. I kept one page as a 4×4 protector with layered papers and one big photo and a few different elements and the other side as four 2×2 protectors with two smaller photos and two smaller pieces of paper with labels.

Best Moments of 2014 Documented Hybrid ABC-Style


Obviously to work with the opposite sides of the page protectors used, I have to alternate the sides the 4×4 and 2x2s are on. I used some wooden veneer alphabet to denote the letter. I really enjoyed using papers from several different designers, including Crafty Mess papers from Mommyish.

Best Moments of 2014 Documented Hybrid ABC-Style

I kept a 4×8 template in Photoshop for both layouts and simply clipped different papers, pictures, and word art to each new letter. This really sped up the process for me and I was able to finish this entire album in only two nights’ worth of work (which is really fast for me since I can be a slow scrapper). Also, isn’t that camera paper by Laura Passage so fun??

Best Moments of 2014 Documented Hybrid ABC-Style

One of the things I’ve learned with all the mini albums I’ve made is to vary the placement of dimensional embellishments to make the pages lay evenly. In this album, I altered the placement of the wood veneer letters in order to have the pages stack on top of each other evenly.

Best Moments of 2014 Documented Hybrid ABC-Style

I printed out each separate page as one layer on a 4×6 sheet of Canon Matte Photo Paper. I know there are some who prefer to print up each individual element and then layer on top of each other with glue, but I like to save time by shadowing in Photoshop and printing as a single layer.

Best Moments of 2014 Documented Hybrid ABC-Style


The January Special Edition products were perfect for an album of this type because I had several papers and embellishments to choose from that already coordinated perfectly. Yet another time-saving element for me because it took the guesswork out of making sure everything matched perfectly.

Best Moments of 2014 Documented Hybrid ABC-Style

One of the best things about this album (besides the small amount of time it took me to make) has been that it’s small enough for my kids to look through. They have both picked it up several times and reminisced over all the fun things we did last year. It makes my heart happy to see them remembering things so fondly.

I won’t bombard you with more pictures of this album as I’m sure you get the idea but will be posting them all in the gallery at some point. I hope I’ve encouraged you to try a similar style album and have given you a few ideas of how it can be done quickly.


brenda

About the Author: Brenda Smith is a mother of two littles and wife located in Southern California. When she is not scrapbooking, you can find her working full-time, trying to finish up her college degree with online classes, or sleeping because there are never enough hours in the day. Hybrid scrapping satisfies her addiction to technology and her addiction to paper and glue.


Pocket Scrapping and how I Challenged Myself to Complete One Month in a Day.

When it comes to pocket scrapbooking. I’m an embellisher. I can spend more time looking for that perfect addition to my page than I spend on any other part of the pocket scrapbooking process. It’s probably partially due to this reason that I’m not anywhere close to caught up. I began pocket scrapping in 2012. I am now the proud owner of partially unfinished 2012, 2013 and 2014 albums. And that’s ok. I don’t mind being “behind” because I’m still working toward documenting those memories and to me that’s the important part.

But then something happens and I ask myself…can I do an entire months worth of pocket scrapping in 24 hours? And so I gave it a go. I should go on to explain this was a normal everyday day. My husband went to work, I homeschooled (DD is a teenager so I realize that makes it easier), did some household chores (maybe a little less than normal), and prepared meals. I took phone calls, checked emails, and got lost on facebook more than once.

But I also focused on completing this project.
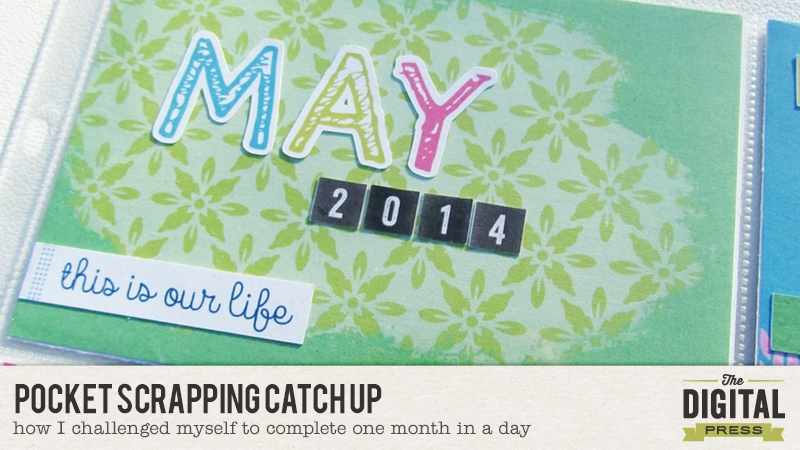
may 2014 blog header


May 2014 has been looming large. For some reason I’ve been scared to tackle it. It was a busy month, with lots of stuff going on but I didn’t have good notes. I decided that this was the month to take on. So finally I loaded up facebook, looked at my status reports from that month and cut and paste the ones that I want to document into a text file. I then quickly went through my photos for the month, jotting down notes on which ones I would use and just trying to get an idea of the types of product I would need.

Then I decided on the product. I went with a selection of items from the January Special Edition releases. The bright colors were perfect for this spring month and I knew there would be more than enough coordinating products to complete an entire month’s pages. I also decided that I wouldn’t embellish my pages with anything other than what I could print from the Special Edition products and a simple office date stamp. My next decision was that I was going to use just the Project Life Design A page protectors. I love variety and typically use different configurations, but this is my favorite and I knew it would take the guess work out of figuring out what journal cards to use where. Since I normally I create one page at a
time looking at an entire month (6 pages in this case) was a bit daunting so I decided to work on it in batches.

At 11:00 am or so my (imaginary) timer begins. My first step was to go through my notes and photos and plan out where I wanted each story and picture to be. This gave me an idea of what I was working with topic wise before I started printing out my journal cards and embellishments. I used 4×6 index cards and crudely sketched out a diagram for each page. I loved using index cards for this purpose because I could use the blank space below my sketch for notes as I worked on each page.
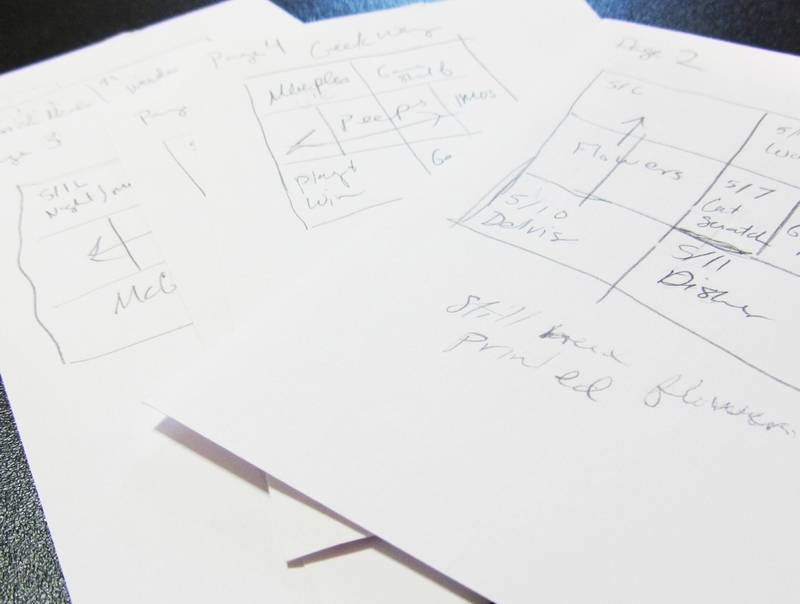
index cards

Now that I had an idea of what photos would go in which size spots I began editing and printing my photos. There were a lot of photos and I had to break this step up into a couple of sessions. This break was a perfect time to have lunch, get some laundry going and start my daughter on her afternoon assignments.

Next I began printing the cards for my pockets. I had a pretty good idea of how many I would need for each size so I kept tally marks as I went, to keep from printing more than I needed. Then I used my Silhouette to print and cut embellishments that I thought I might use. I printed off two pages worth of embellishments knowing that I probably wouldn’t use all of them but also knowing that I could set the unused pieces aside for another page down the line.

By this point my husband was home from work and wanted me to watch some TV with him. Instead of forgoing spending this time with him I set up the TV tray in the living room and set about cutting out all of my photos and journal cards. I typically like doing something while watching TV anyway so this worked out great. It took me about three epsisodes of the sitcom we were watching to get everything cut out and then it was time to prepare dinner.
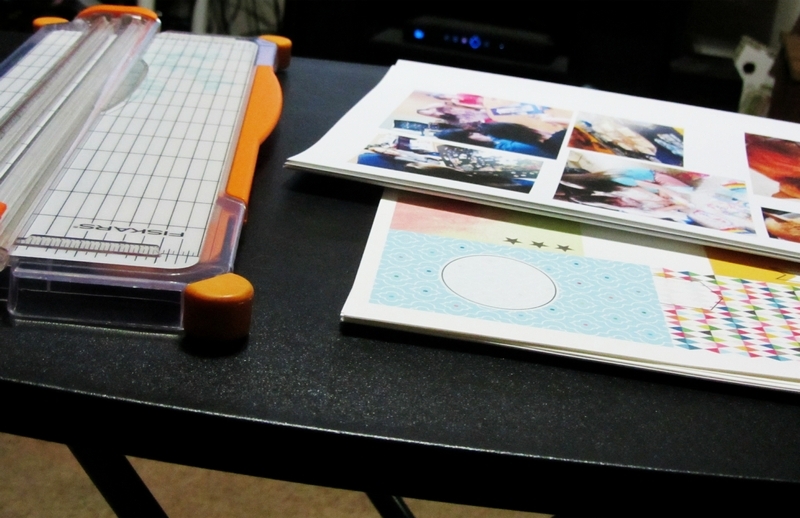
tv tray

After dinner I sorted through all of the photos and journal cards and placed the ones I thought I wanted to use together with each page’s index card. I continued working on this project while we watched a few more episodes and I was able to get the photos and embellishments adhered to the journal cards before my husband and daughter went to bed.

I typically stay up for a few hours after they go to bed so this was the perfect time for me to tackle the journaling. I was surprised that it only took me an little over an hour to get most of the journaling knocked out. For my last step of the evening I went through all of the cards I’d put together and made a list of any titles I wanted to print and cut out of the alphabets I’d chosen to use. I grabbed up the stack of cards so that I could make sure I’d get the sizing right and print and cut the titles. At this point I was done and decided to call it a night.
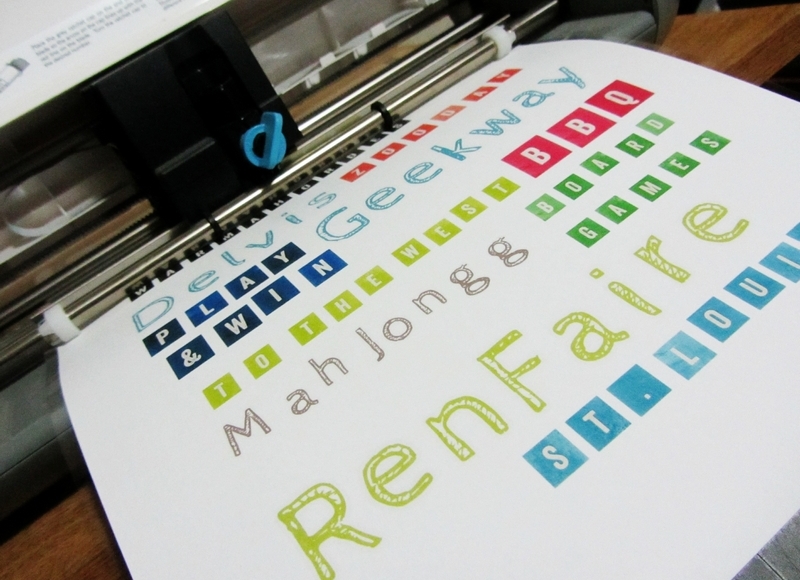
titles

Come morning, the only things I had left to do was adhere my titles, journal on a few of the cards that I was waiting on the titles for and print a photo that somehow I’d missed when I did my initial editing session. I was feeling good. Surely I could get this done by 11 am. Of course, life happens. I’d promised my daughter the day before that I’d make her something for breakfast that was not cereal, homeschool math was a little harder this morning, and I spent 20 minutes searching for my 2 way glue pen that I’d misplaced. Still I was able to get through this and slide my last card into the last pocket at about 12:30. Could I do it in 24 hours? No, but I could do it in 25.5 hours and to me that was just as good.

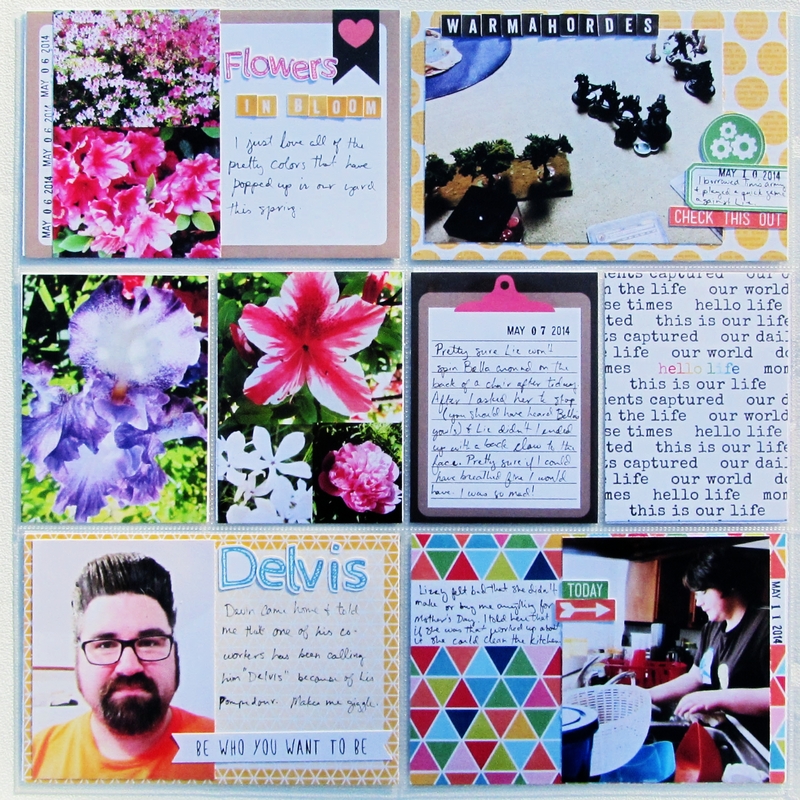
Here is a look at the pages that I created.

Page 1
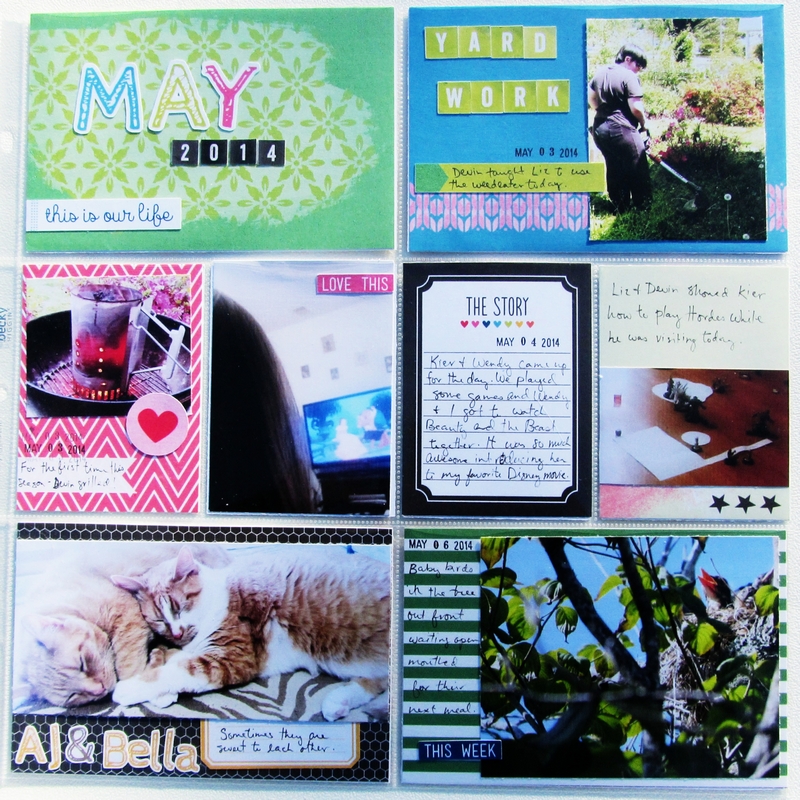
May 2014 Page 1
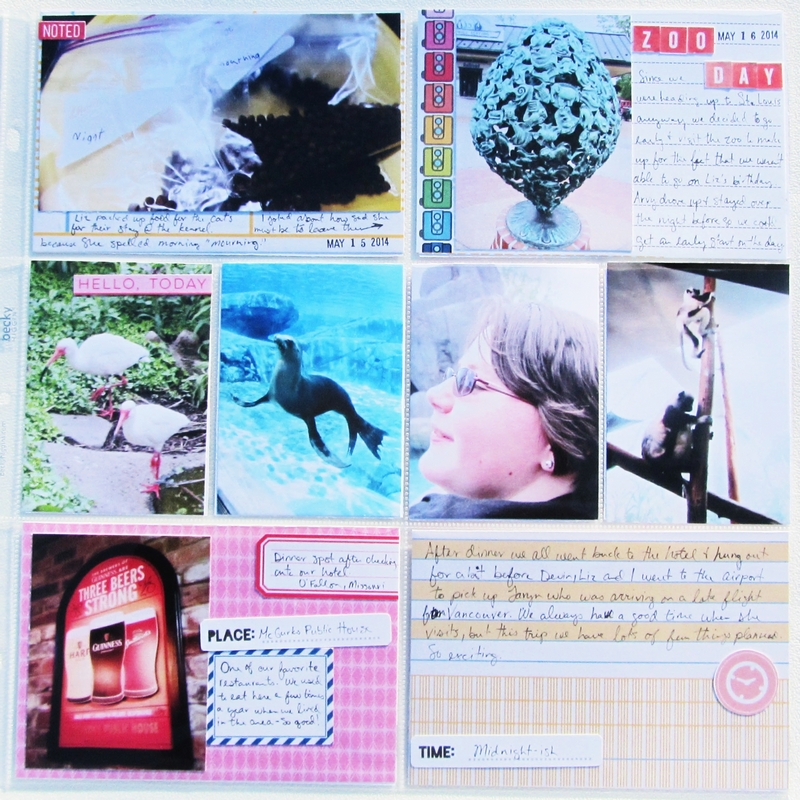
Page 2

May 2014 Page 2

Using collages is a quick and easy way to get more photos into a small space.
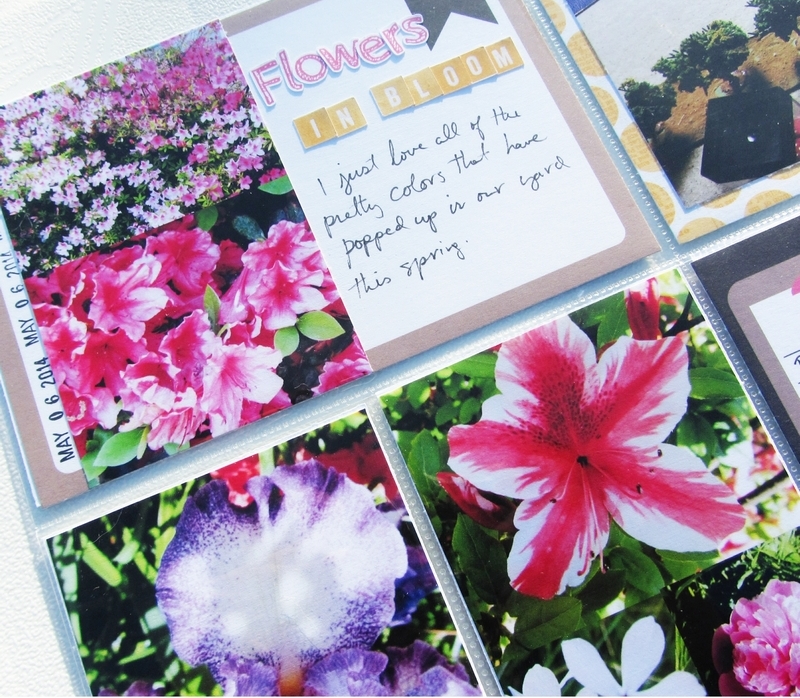
May 2014 Page 2 close

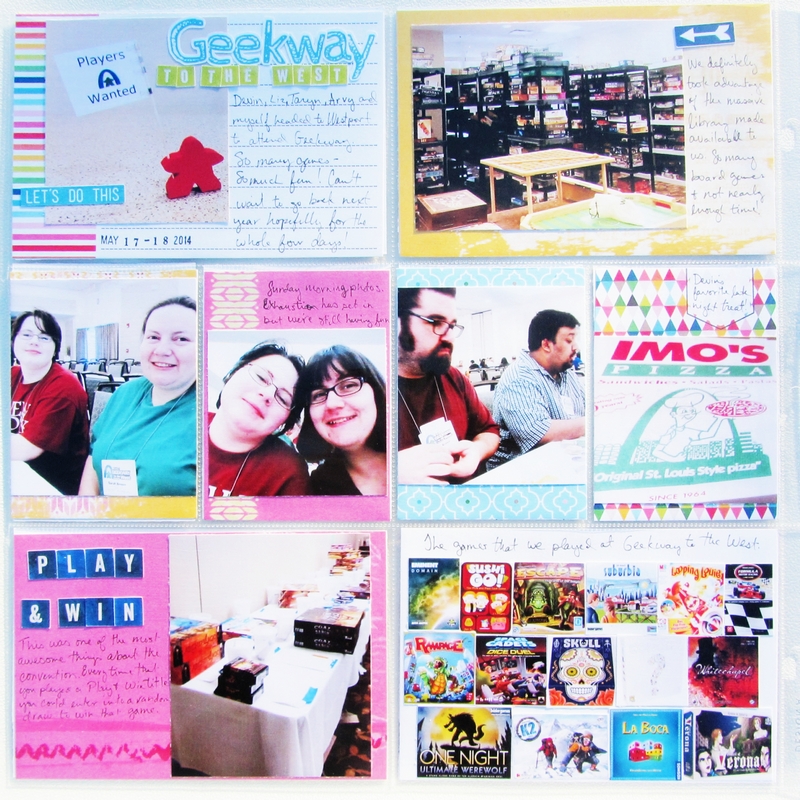
Page 3

May 2014 Page 3

I decided not to add much embellishment wise to the 3″x4″ photos on this page. I’d already talked about going to the zoo on this page and so I let the photos speak for themsleves.
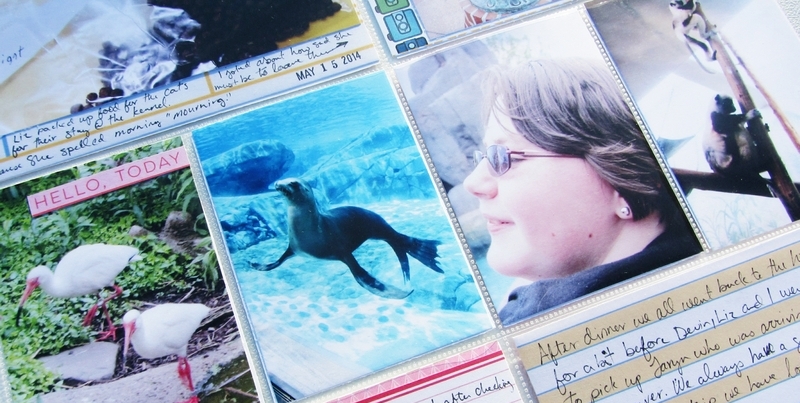
May 2014 Page 3 close

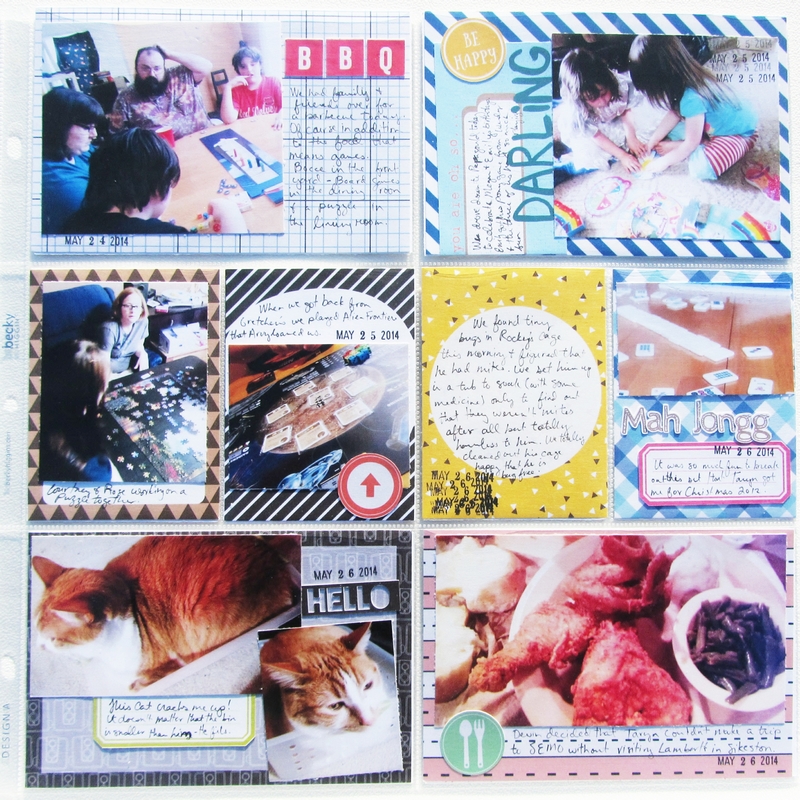
Page 4

May 2014 Page 4

I created cards from some of the solid papers by placing paint and stamps on them. These are perfect for matting these photos that aren’t quite 3″x4″.
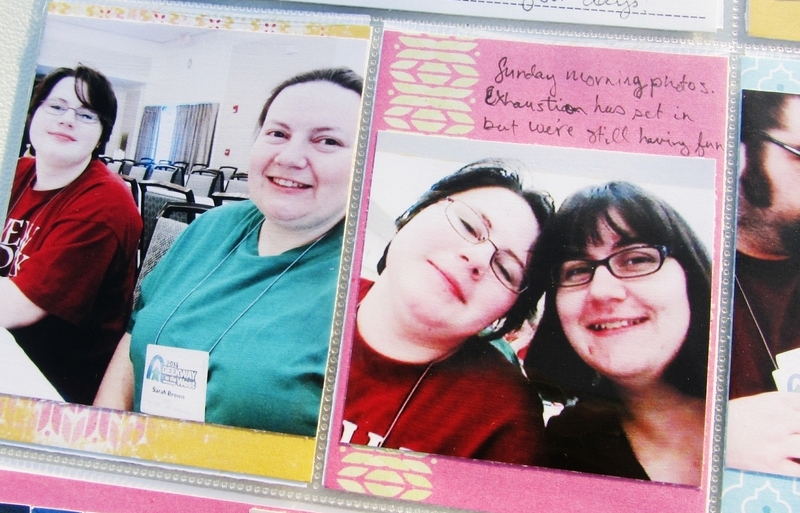
May 2014 Page 4 close

Page 5

May 2014 Page 5

I love using patterned papers for backgrounds as well. I desperately wanted to use the You are so Darling journal card with this photo, but I couldn’t make the photo size work with the card the way it originally was. Rather than taking the time to reprint the photo at a smaller size, I cut up the journal card, placed it on patterned paper and used it as a journal spot.
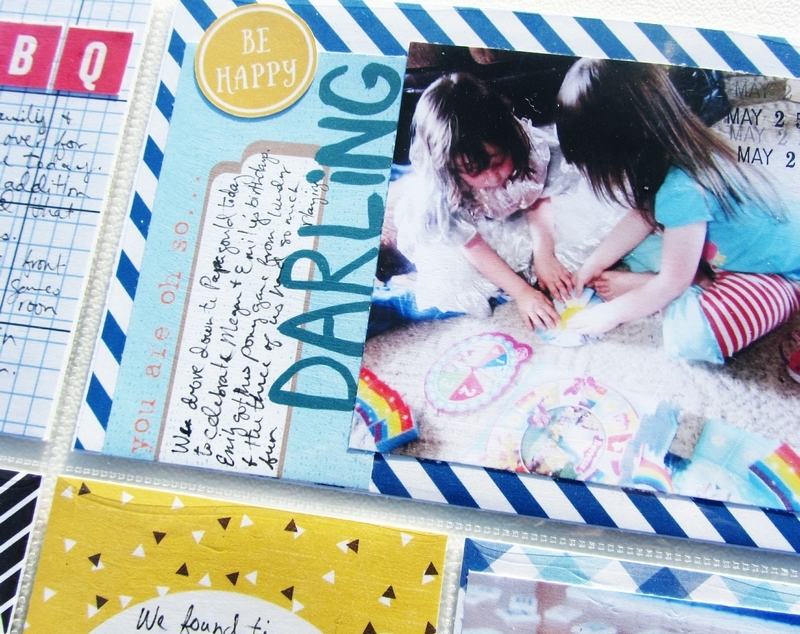
May 2014 Page 5 close

Page 6

May 2014 Page 6

One of my favorite things to use as journal cards is notebook paper. I used Danielle Engebretson’s Graph and Crafts papers for all four 4″x6″ pockets on this final page.
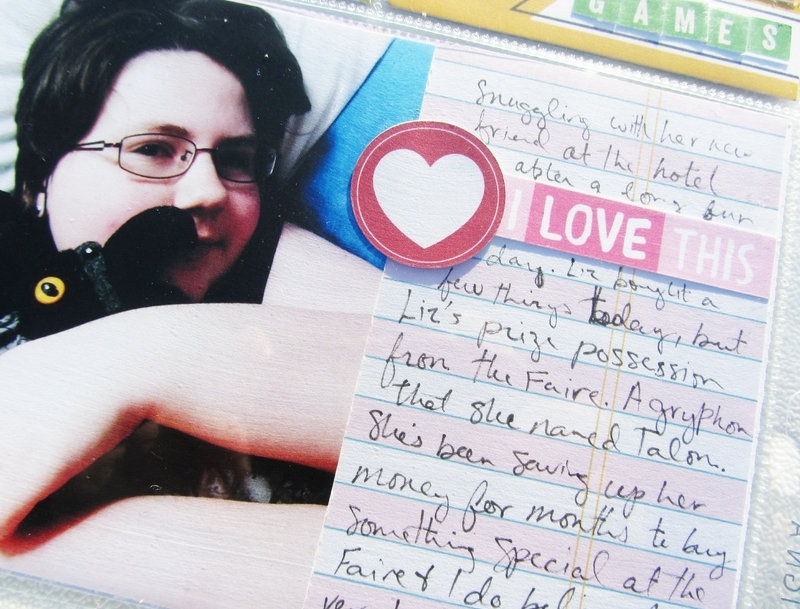
May 2014 Page 6 close

While I don’t think I’ll embrace this as a new way to tackle my pocket scrapping backlog, it was nice finding that I could accomplish all this in a little over a day’s time. I know for my next project I’ll be back to digging through my paper clips and wood veneer looking for that perfect piece to embellish my page, but for me this was an awesome challenge, and in the end I love the pages that I created.


sarah 150x150Sarah is a member of the Hybrid Creative Team at The Digital Press. She is a homeschool mom currently living in rural Missouri. Her passions are tabletop gaming and, of course, hybrid scrapbooking.