Category: Hybrid Crafting

Hybrid How-To | Make a Notebook Cover

Hello everyone, and welcome to another edition of our Hybrid How-To series on The Digital Press blog! Today I’m going to teach you how to use digital products to make a physical cover for your Traveler’s Notebooks (and/or for any other small book) by printing and using your favorite papers and digital word art from The Digital Press.

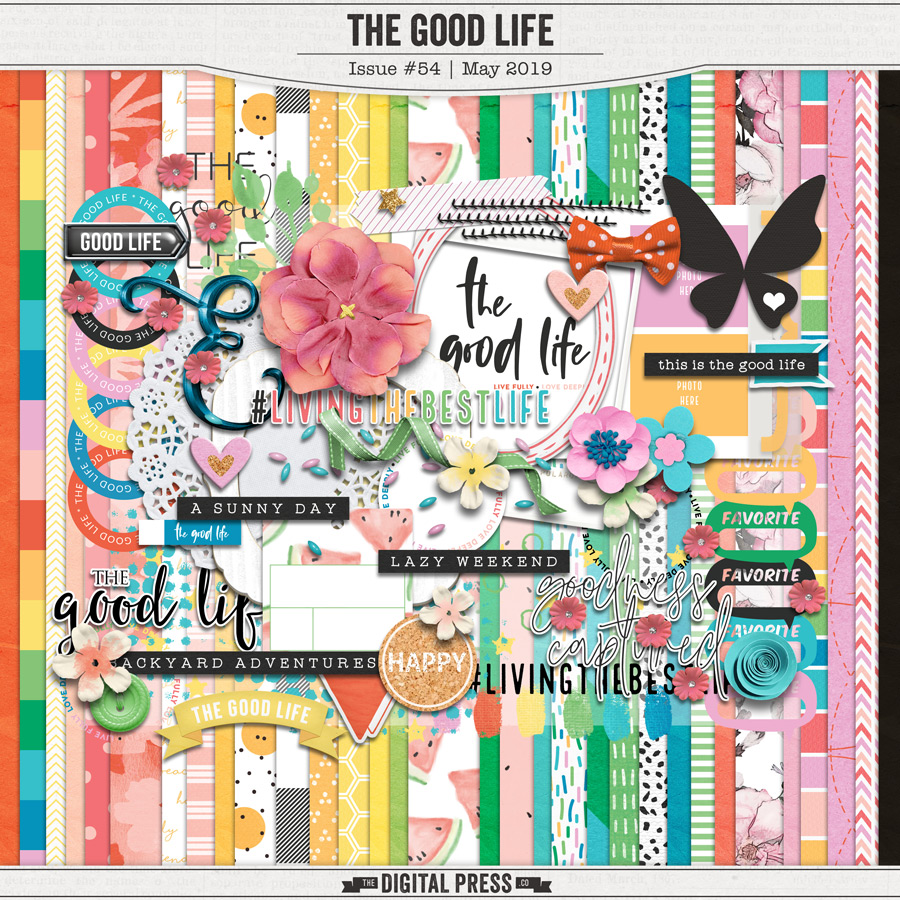
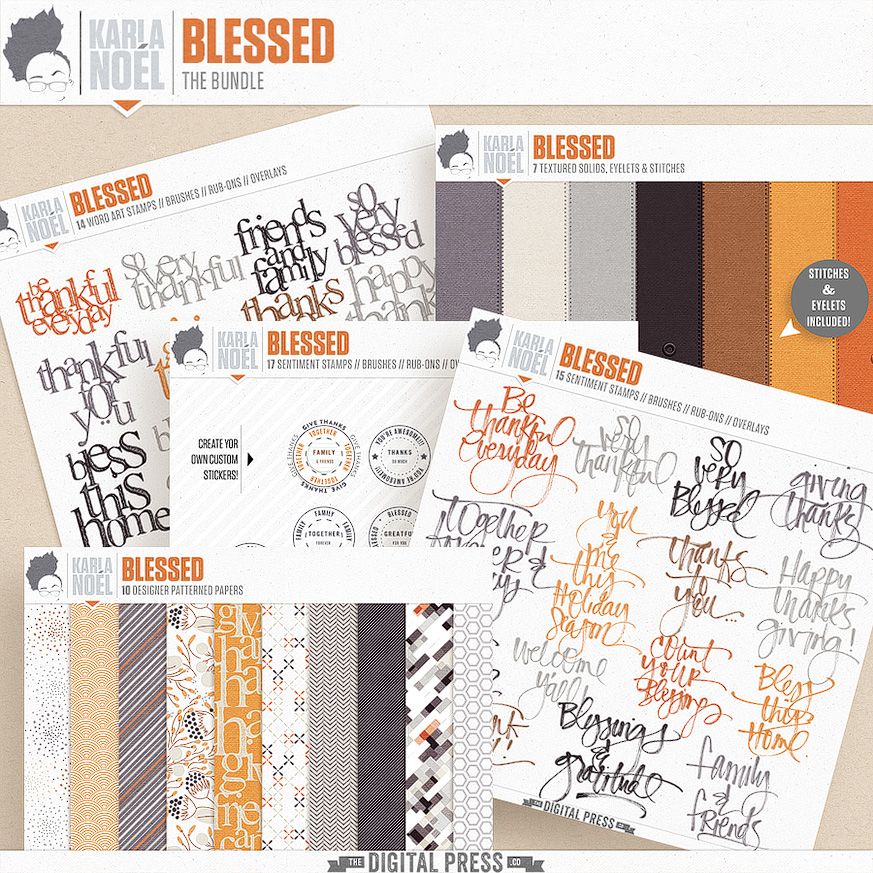
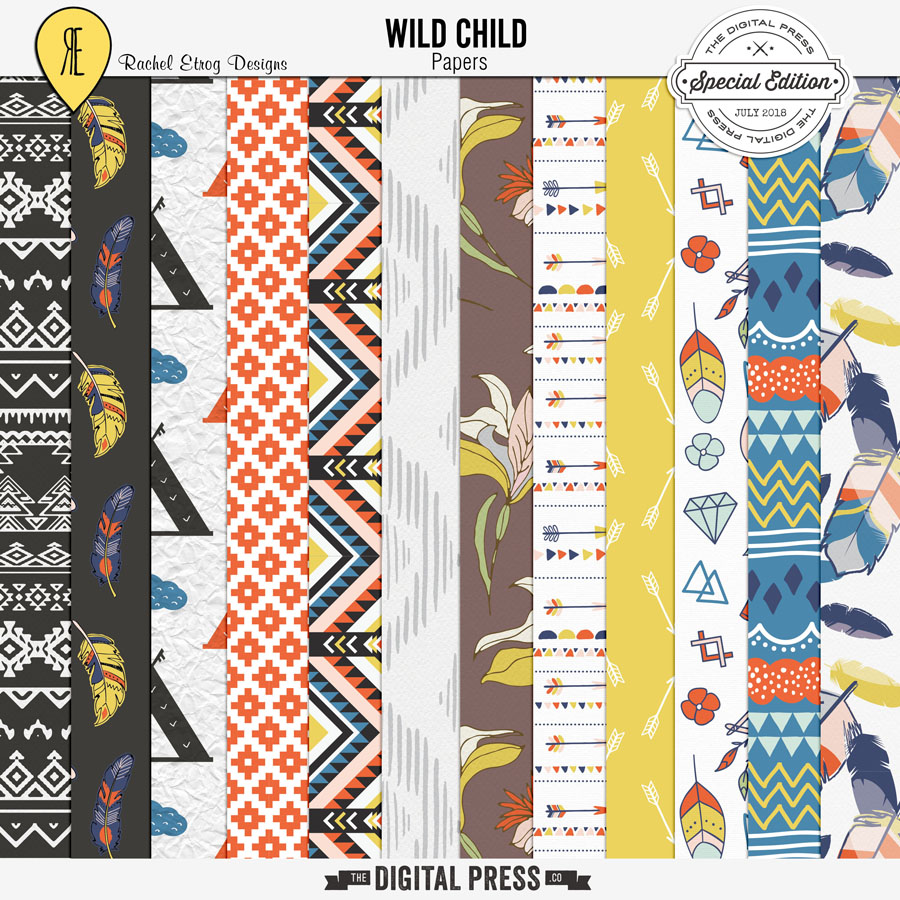
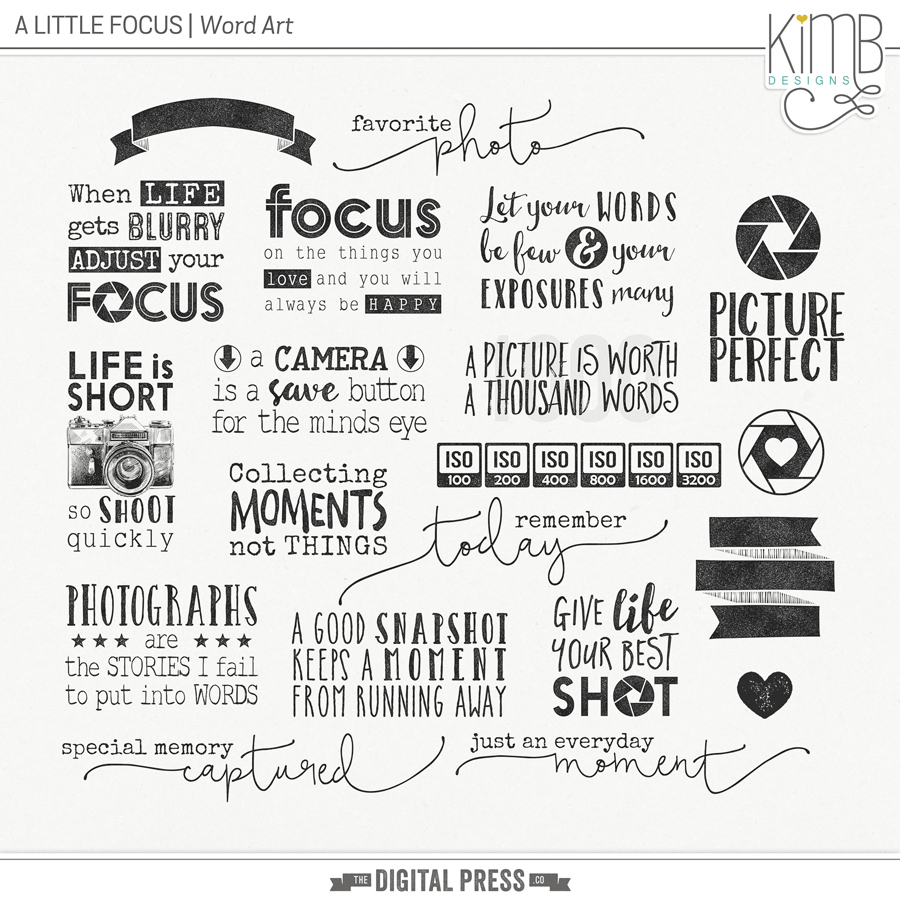
To give you a good idea of what can be created using the digital products you’ll find here at The Digital Press, I’ve selected a wide range of products to play with today. Here is a look at some of the gorgeous products I am using for today’s tutorial…

The Good Life — a TDP Designer collaboration

Blessed | Collection by Karla Noel
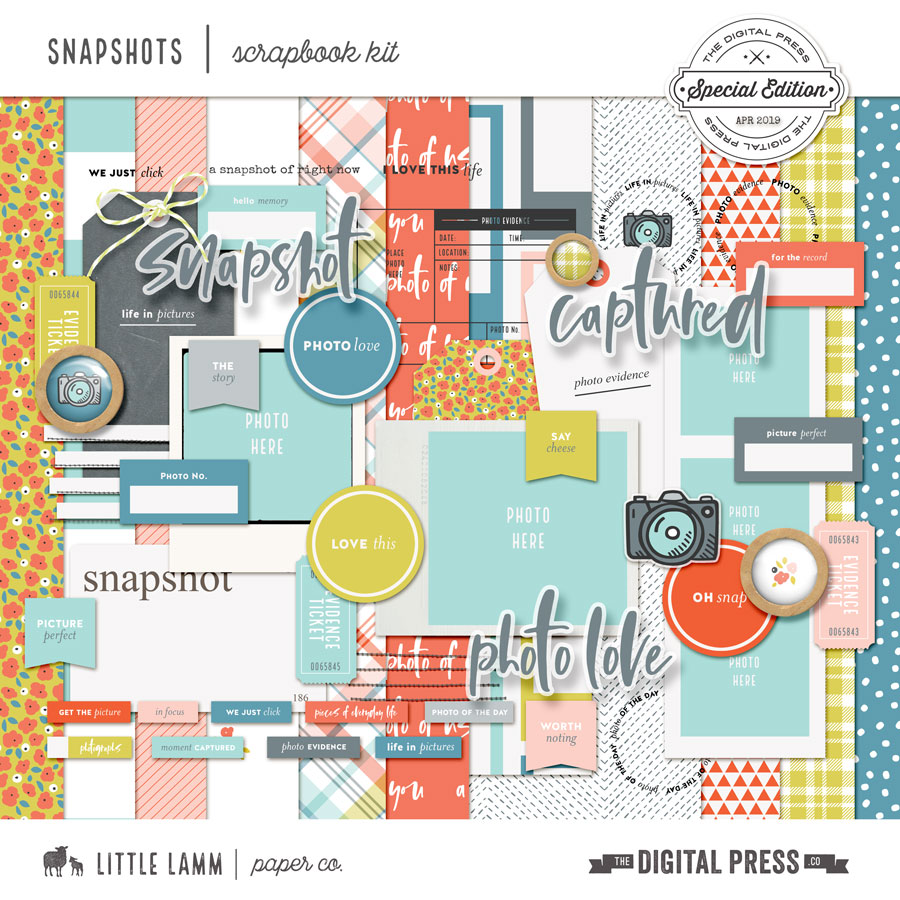
Snapshots | Kit by Little Lamm Paper Co.

Wild Child | Papers by Rachel Etrog Designs

A Little Focus | Word Art by KimB Designs

That’s a good selection, right? I love how much variation there is in the different types of products (and styles, too) that you can find when you go digital.

I started doing my memory keeping in a Traveler’s Notebook about a year and half ago. The inserts I use are easy to find at my local craft store, and they are inexpensive. When I went to get covers for the notebooks, however, I was disappointed — both by the lack of selection, and by the high price tags! So I started doing some research and playing around a little bit, and made a few of my own.

Here is a look at some of the tools I used  for this project (most were purchased at my local craft store or on Amazon)…
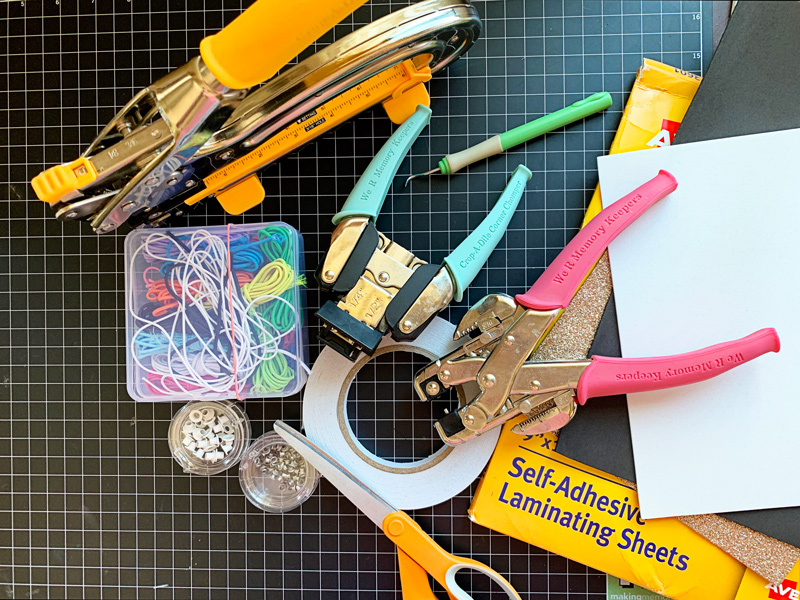
*A Few Supply Notes* The “fun foam” and Avery self-adhesive laminating sheets are 9″ x 12″ in size; you can also make these using vinyl, a laminating machine, and/or iron-on cloth webbing. The elastic cording is 2mm thick. Double-sided tape, eyelets, and a Crop-a-Dile (or some type of hole/eyelet puncher) are also necessary.

To begin, I printed my papers out on medium weight craft paper; the presentation paper that I normally use to print photos was a bit too heavy for this project, as you want something that will bend easily. I used a 8.5″ x 11″ sheet paper, which was just tall enough for my “standard” size Traveler’s Notebook (the 11″ was actually a little wide, so I ended up cutting about 1/2 inch off the width, once printed).
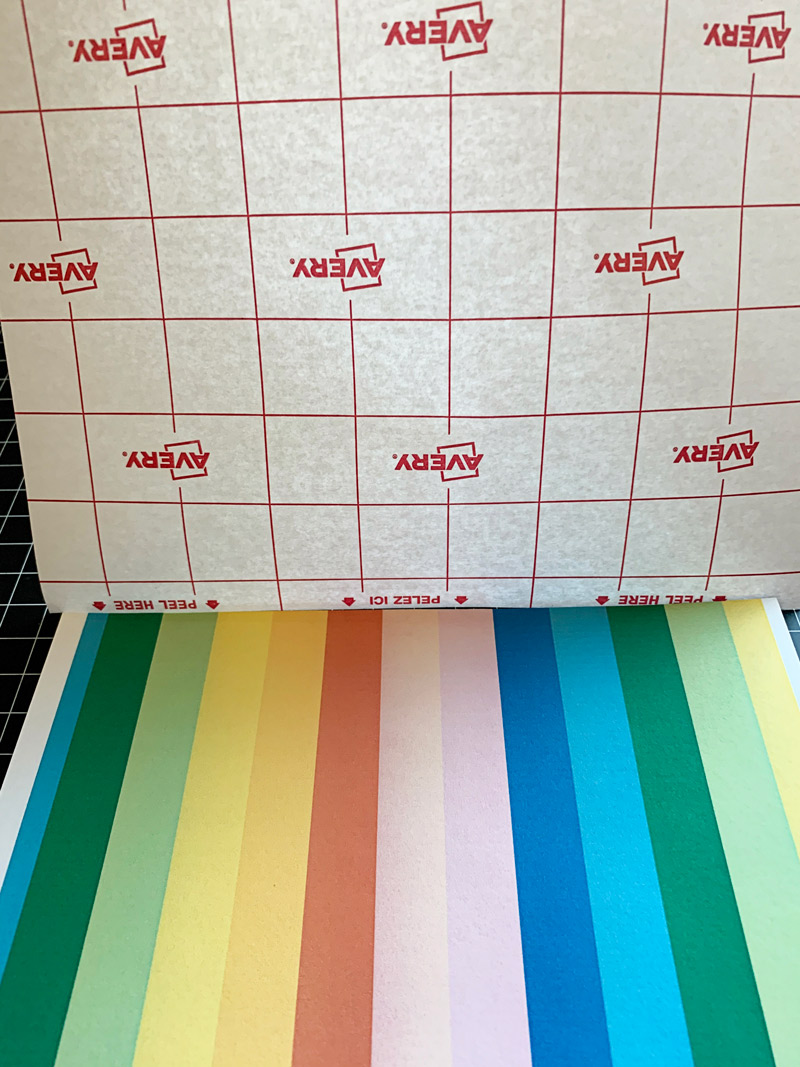
The next step is to adhere the self-laminating sheet to the printed side of your pattern paper. Smooth gently with your hand as you lay the adhesive laminate over your paper, and go slowly to avoid any bubbles or wrinkles.
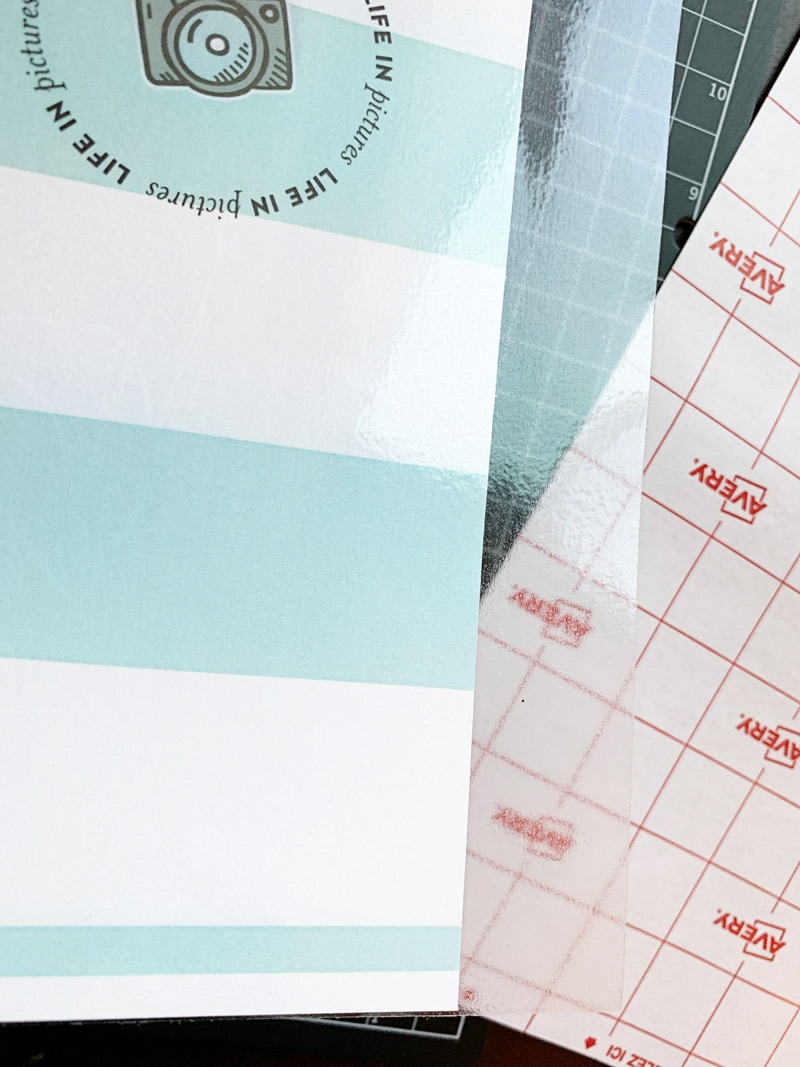
Cut off the excess laminating sheet so that it is even with the pattern paper. Now you are ready to add the foam to the other side of your paper. I used double-sided sticky tape for this, adhering it to the piece of foam first, as shown here…
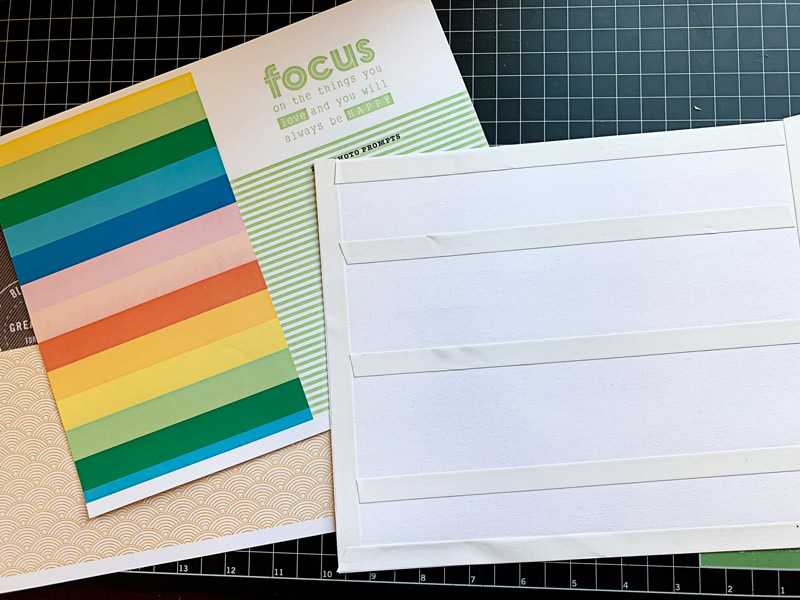
Pay extra attention to the edges and the corners, as shown above, as that is where it could separate if not taped all the way to the end.

Next, remove all of the tape protector and line up the foam piece with your paper and smooth out. Once adhered… you can cut the foam to fit your paper…
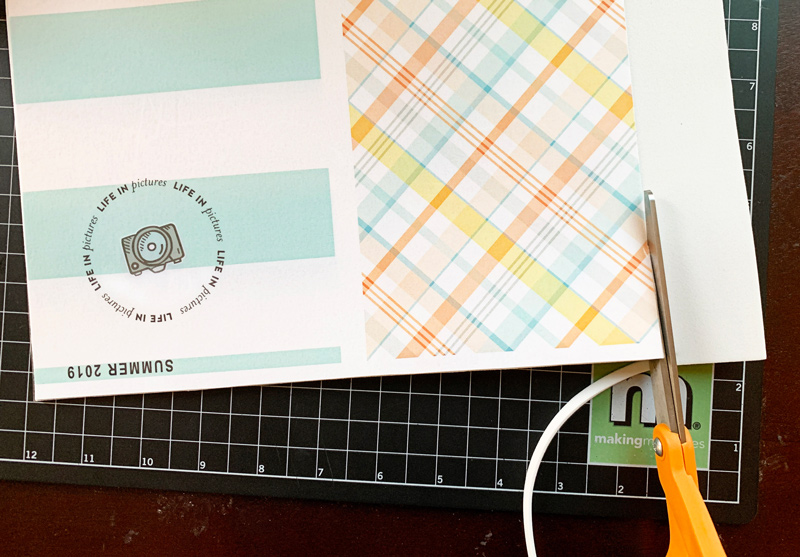
You now have your cover — approximately 8.5″ x 11″ (or whatever size you may have used, instead) with the pattern paper side laminated, and the other side adhered to the foam. This is a good time to trim it down if it is too wide, or if you have any uneven edges.

Next, you are going to punch holes for your eyelets. I punched a 1/8 inch hole using my Crop-A-Dile and my Big Bite for the center hole. You can either just measure and mark where you want to punch the holes using a pen, or you can make a paper template to set onto the foam to guide you as to where to punch the holes. I made my two holes about 1/2 inch down from each edge, and then the center hole about 4-1/2 inches down from the top.
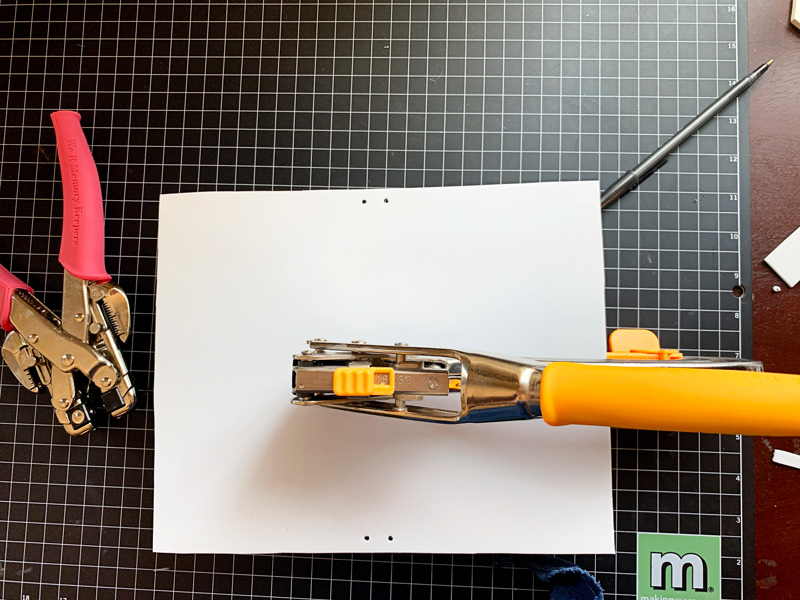
After punching the holes you are ready to set your eyelets. This is step can be a bit tricky depending on your eyelets. I had to redo a couple of mine because the eyelet wasn’t long enough to make it thru all of the layers (to fix, I just pulled out the funky eyelet and tried another eyelet from the same pack and it worked great).

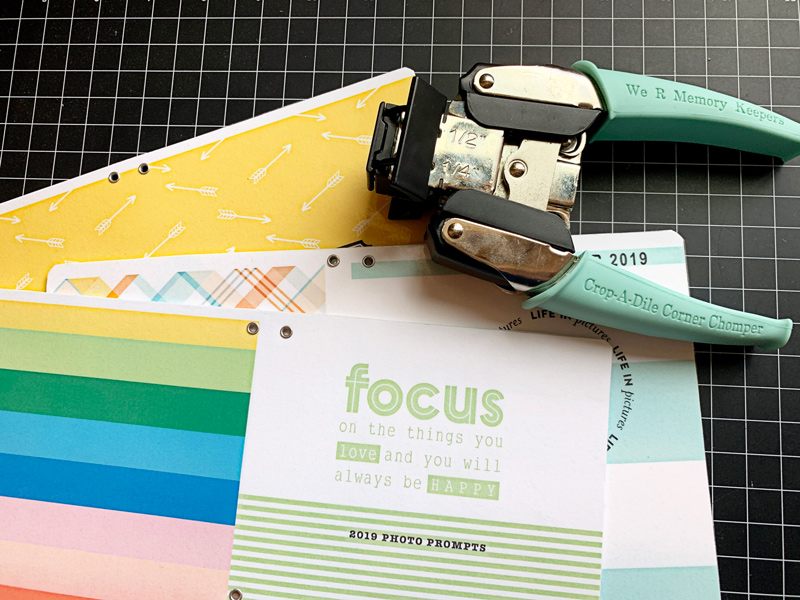
Once you set your eyelets, you can also use a corner edger/chomper to round your corners (see next image, below). I rounded mine to 1/4 inch on all four corners. This was a personal preference decision; I think it gives it a more finished look…
Now you are ready to thread your cording thru the eyelets. I cut the main piece of cording to about 20 inches. I started on the inside and left a “tail” of cord to go thru the first hole at the top, and then from the outside I threaded it through the second hole at the top, like this…
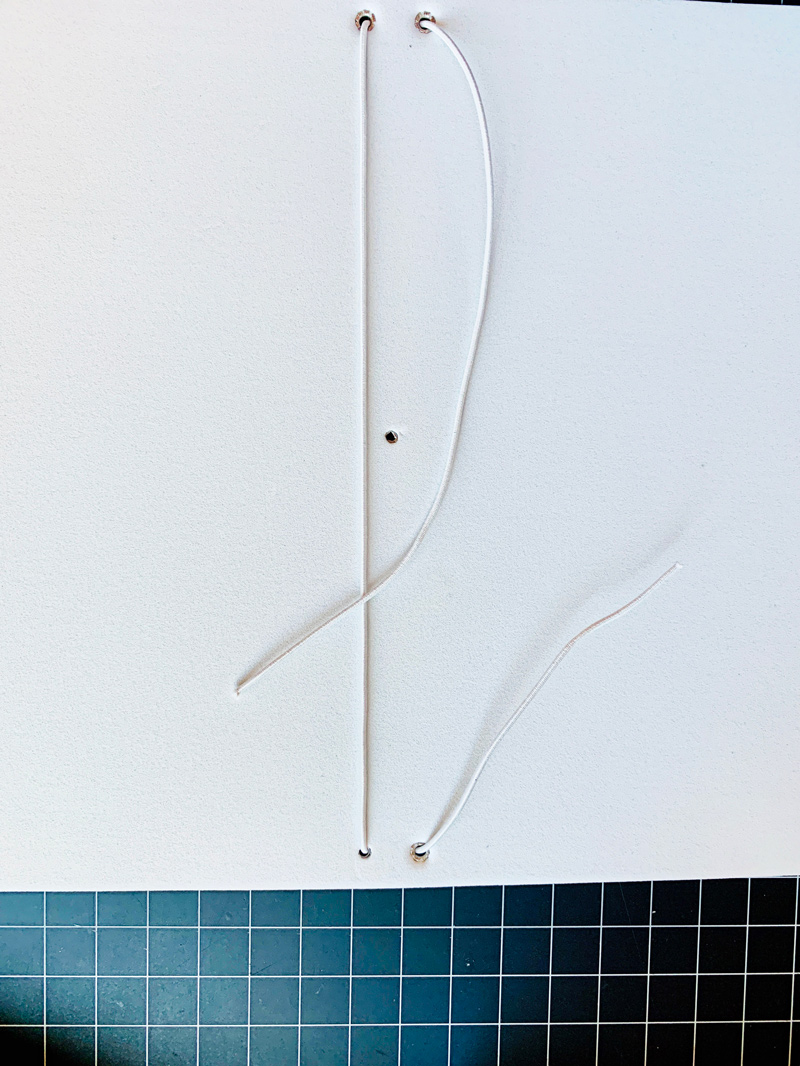
Once your cord is threaded through the eyelets, you will tie the two ends together. You’ll want this to be taut — but not so tight that your book curls up on you a lot. If you’re not sure, tie it loosely and put one of your inserts in to see if it feels right. When you are satisfied, tie your knot and trim the ends.
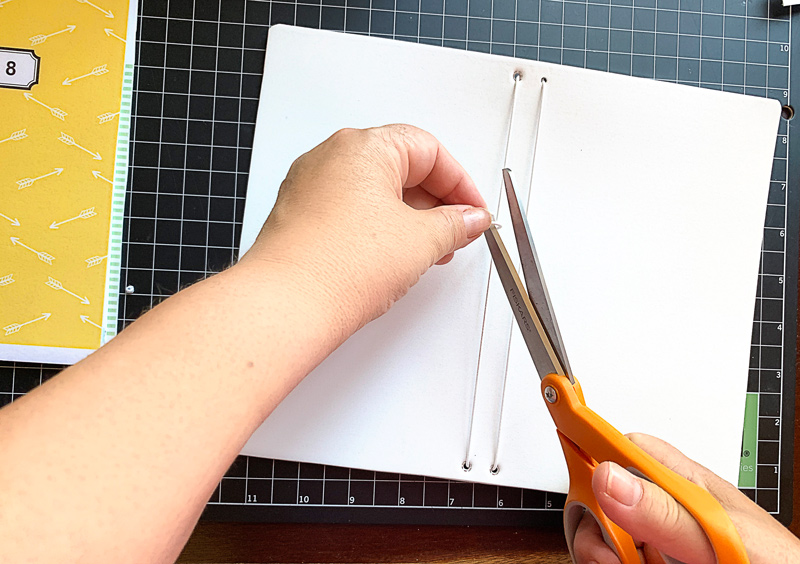
Next, you’ll want to thread the middle cord that actually goes around the book. For this one, I cut about 10 inches of cording. Before threading both ends thru the center hole, you may want to make a “tab” out of the fun foam like I did. I just cut a 3 inch rectangle of foam and rounded the corners, punched a hole on each end, and threaded the cord in and out of the holes.
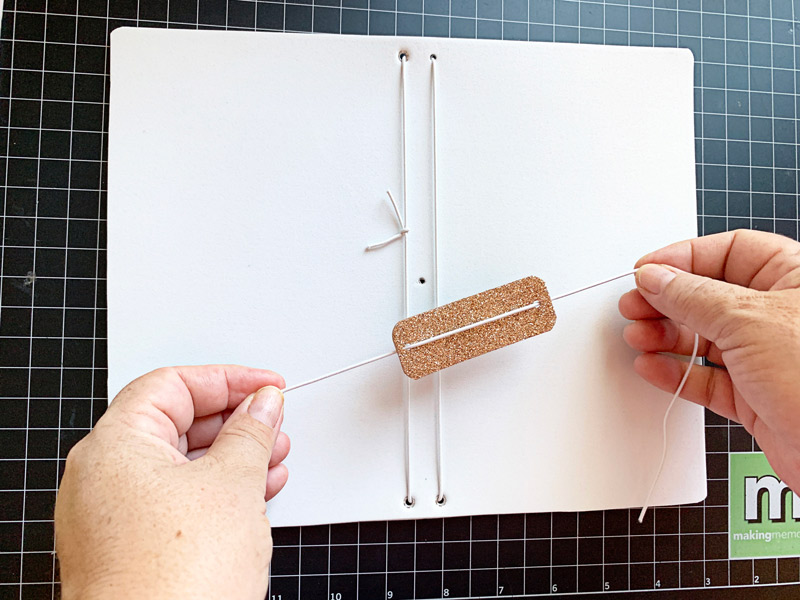
Then you are ready to take both ends from the outside to the inside of the center eyelet. Because you are pushing thru two cords this one may be tight – on 2 of mine it worked, and on two of them I went ahead and punched a bigger hole and used a bigger eyelet.
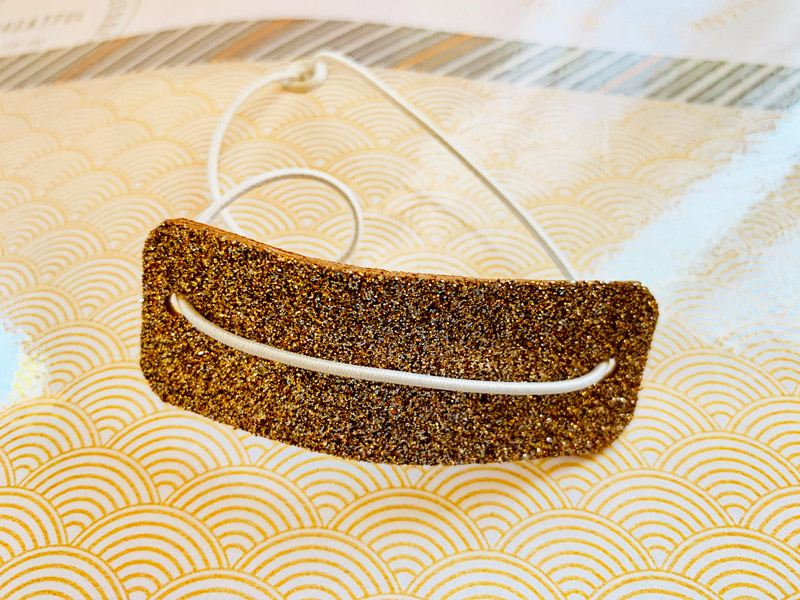
Once you get the threads in, you’ll tie a knot — making sure the cord is lose enough to fit over the top and around your notebook.
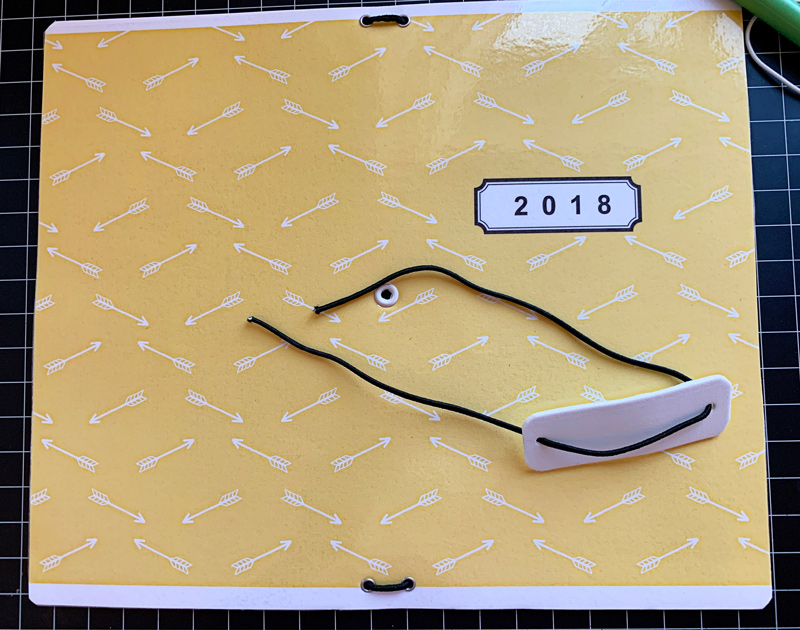
Here is a look at the finished notebooks without any inserts; they will lay much better once the inserts are placed inside…
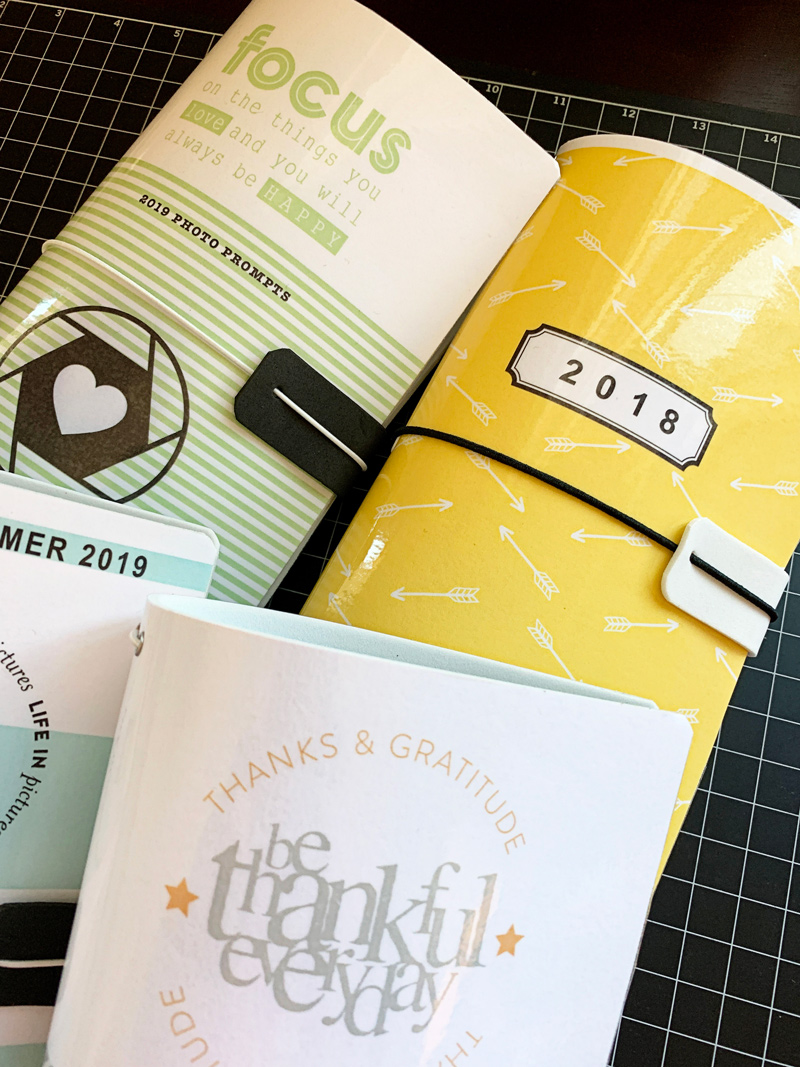
Here is a view from the back of the book; it’s sometimes nice to put different paper or word art here…
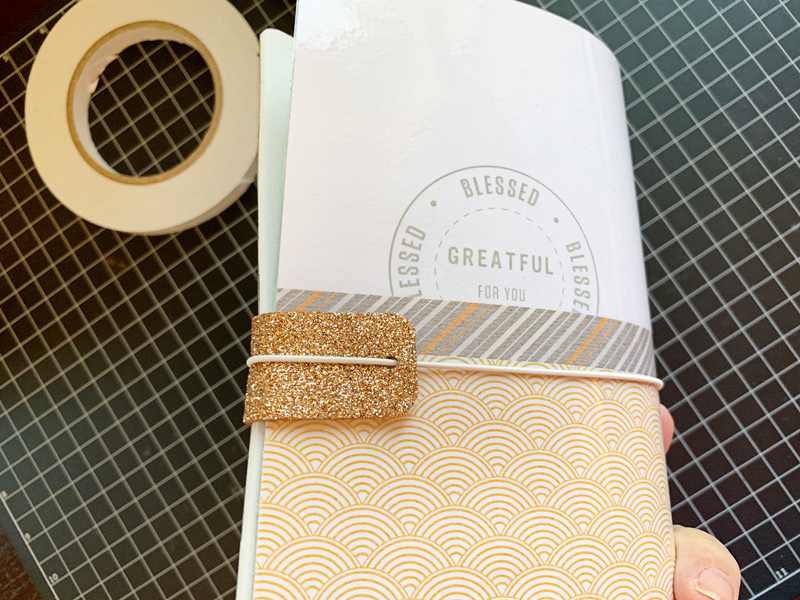
Next, you can add the inserts. My books get so bulky that I only add two insert books into mine, as you can see here…
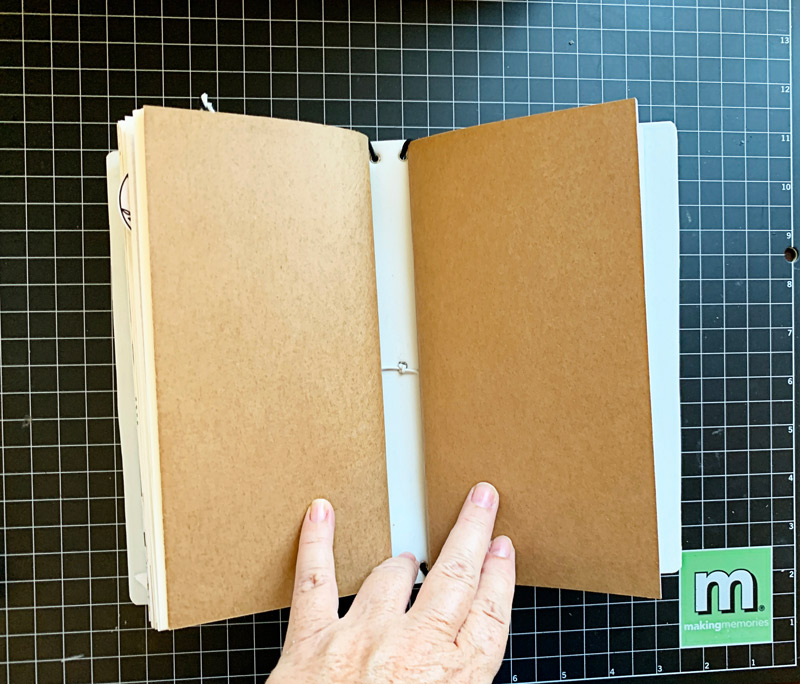
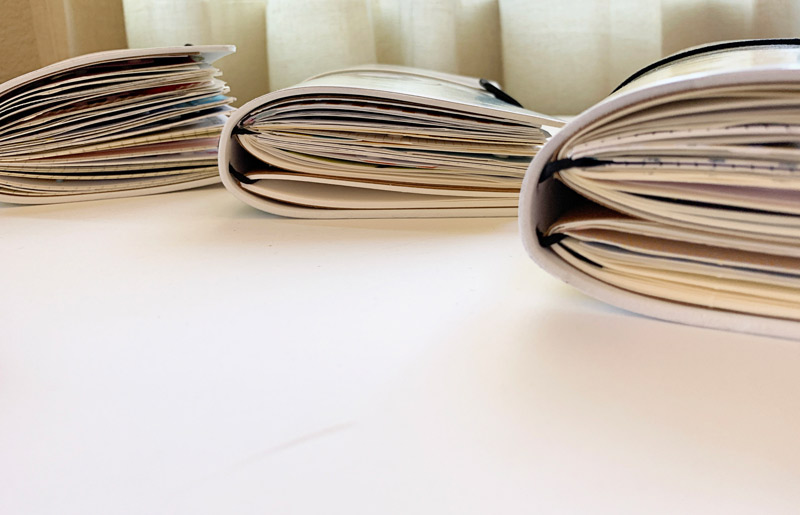
Here are a few photos that show my book after I added my completed inserts…
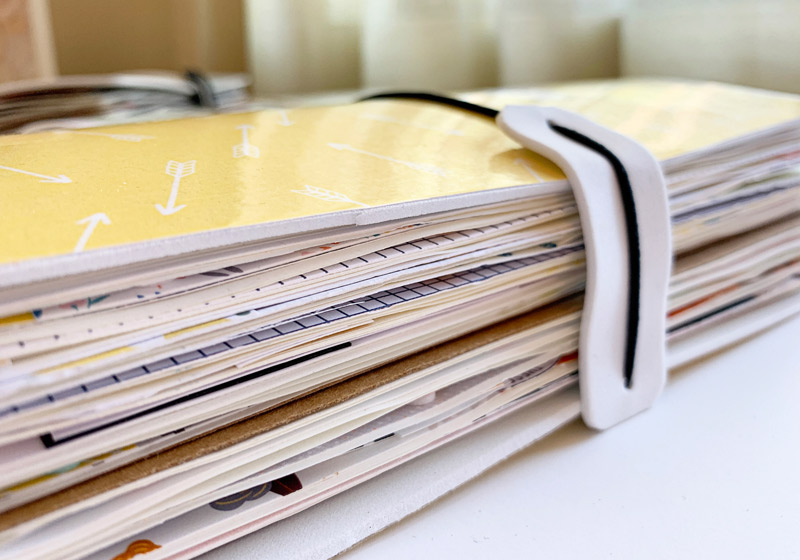
As you can see, they will actually hold quite a bit!
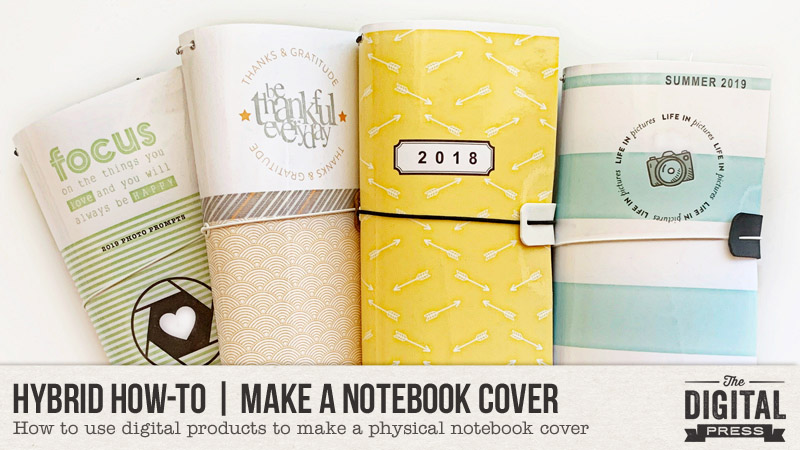
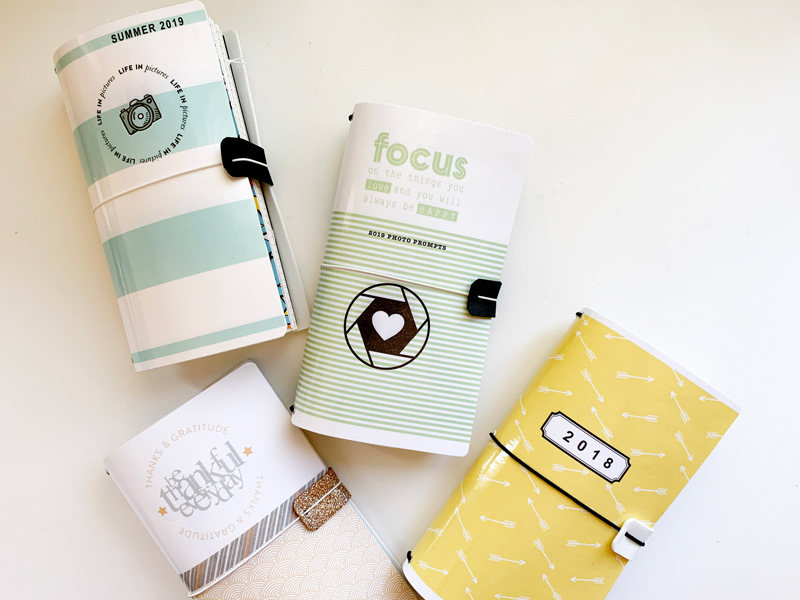
And finally, here’s a look at all of my completed notebooks with their new custom-made covers!
And that’s it! Super cute, and fun to make. I hope I’ve inspired you to use your own digital products to make a book cover! If you give this project a try, we would love to see pictures of your completed projects in the Hybrid Gallery at The Digital Press!

Happy crafting, everyone!


About the Author  KerriAnne is a homebody who resides in the desert SW. She started scrapbooking when her kids were little and hasn’t stopped despite the teenagers rolling their eyes and sticking out their tongues!  When not scrapping or being a chauffeur, she can be found consuming large amounts of iced coffee.

Hybrid How-To | Use of Patterned Papers

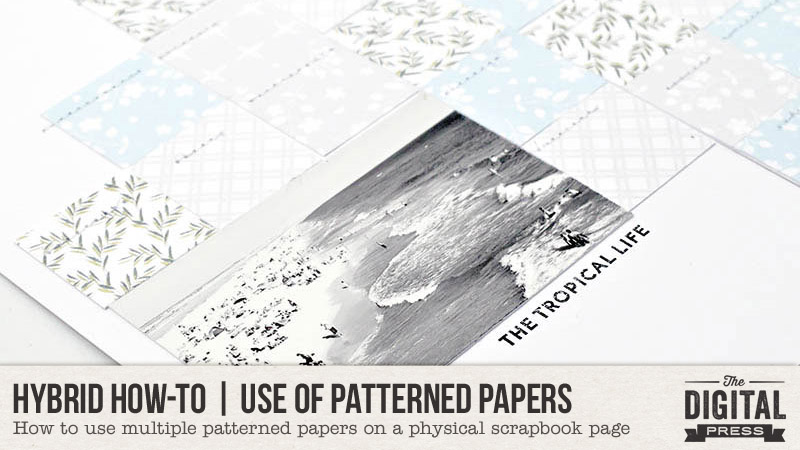
Hello everyone, and welcome to another edition of our Hybrid How-To series on The Digital Press blog! Today I am here to show you how to use multiple patterned papers from your favorite digital kit(s) on your next hybrid scrapbook page.

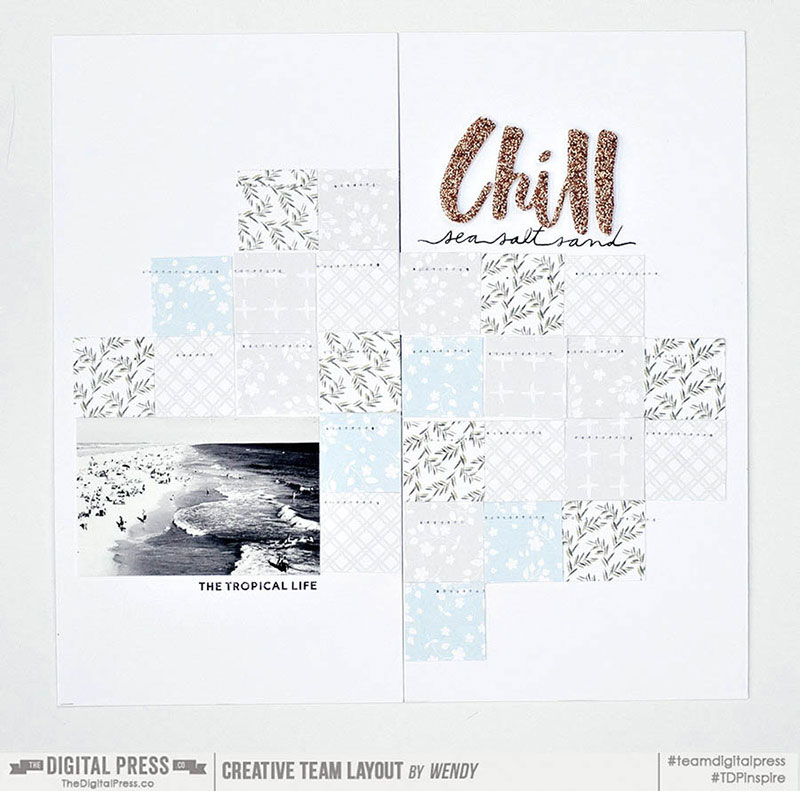
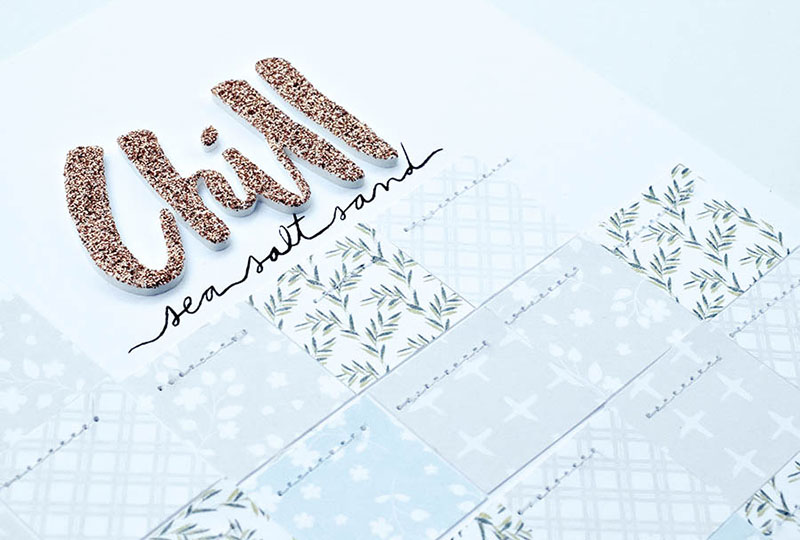
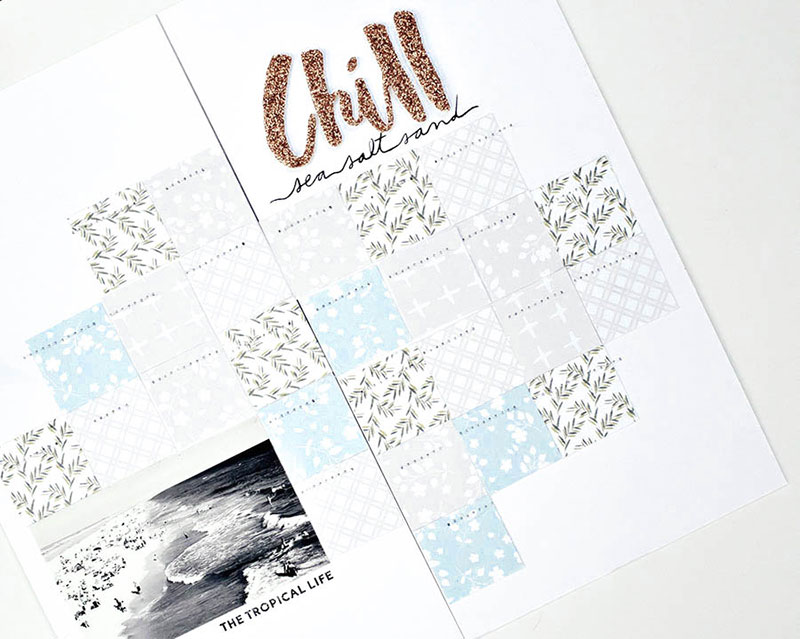
For the purpose of this tutorial, I added my patterned papers onto a Traveler’s Notebook spread. You can see the final result here…

If you are a lover of patterned papers, then this post is a shout out to YOU!

How many times do you find yourself completely in love with more than 1, 2, 3 (or more!) patterned papers in a collection… and wanting to use ALL of them on your layout? Decisions, decisions… right?! Well, let’s dive into how you can please your palate for all of your patterned paper dreams.

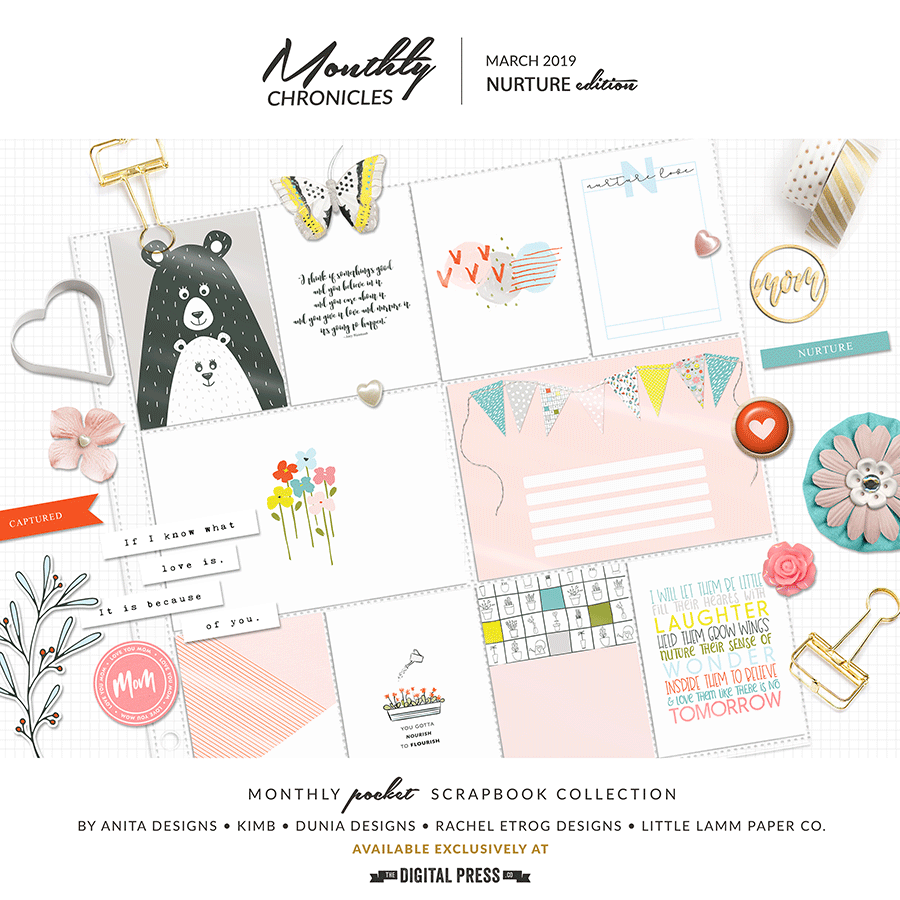
For my layout, I decided to use the Monthly Chronicles March 2019 Nurture collection, shown here…

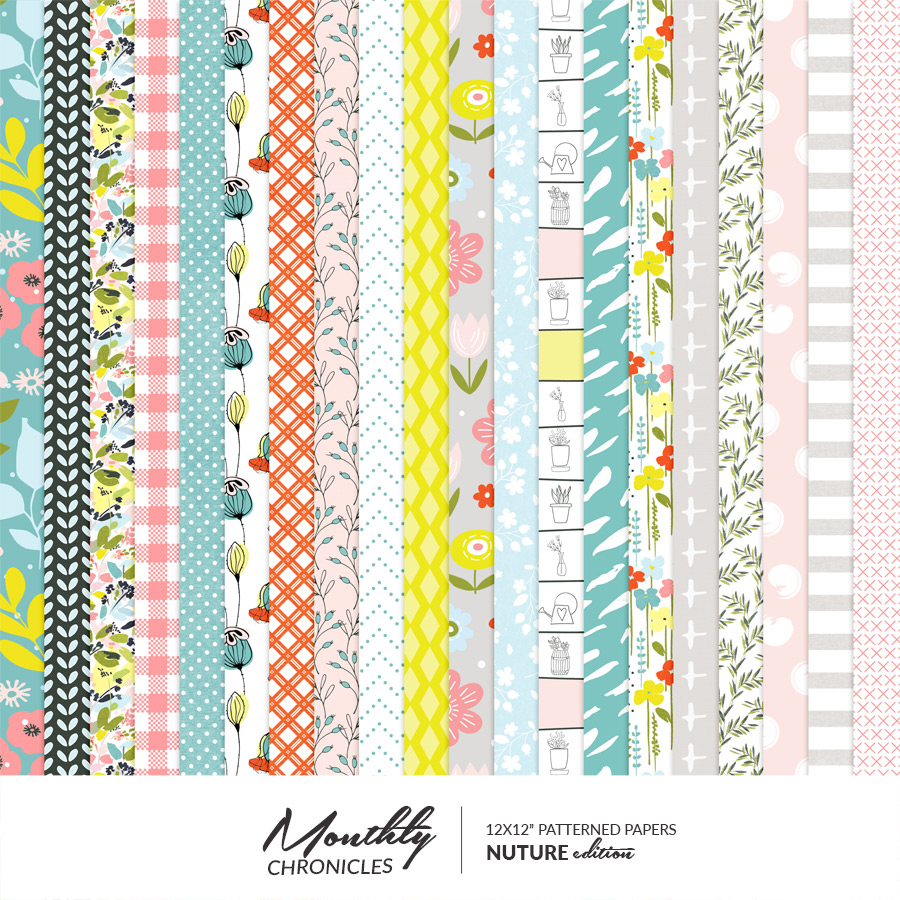
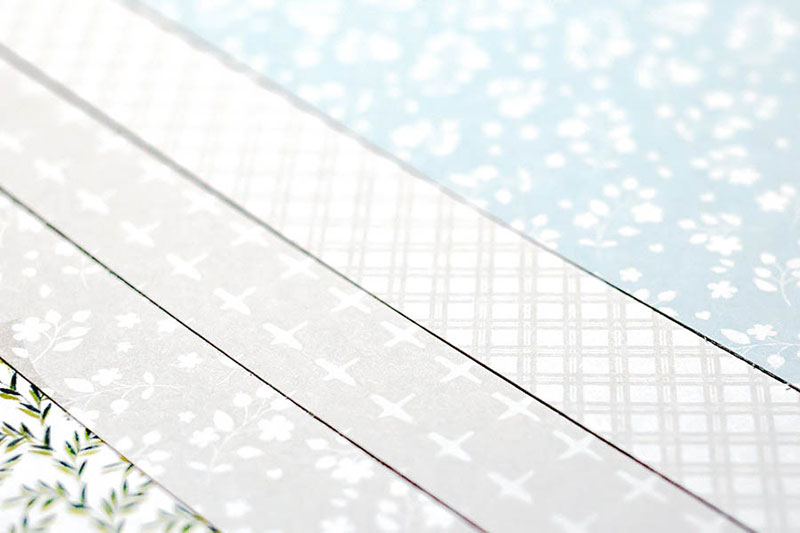
Here’s a better look at the papers that were available for me to choose from, within this collection…

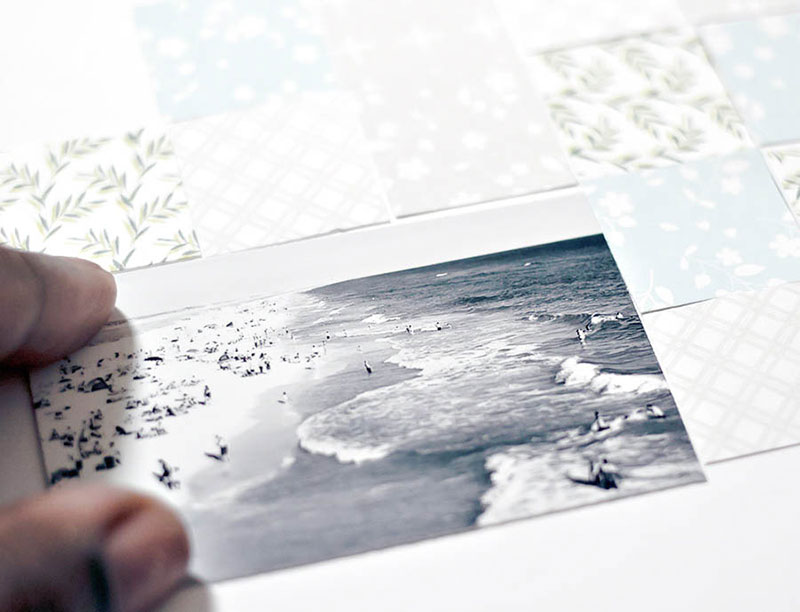
To begin my project, I used my paper trimmer and cut 1” strips of paper, as shown here…

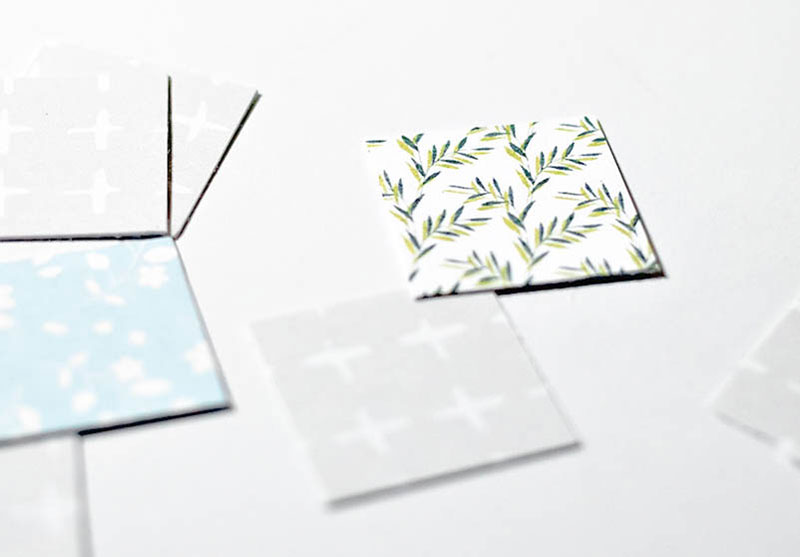
Then, I turned each stack of paper strips 90 degrees and used the trimmer again to cut the strips into 1″ x 1” squares.

The reason I love using small pieces in this way? You’ll find that you can maximize using multiple patterned papers on a layout by using a shape punch (i.e. square, circle, triangle…) to really spread the love to all your chosen patterned papers. You can also use your die cutting machine (i.e. Cricut Explore Air, Silhouette Cameo, Sizzix Big Shot, etc.), or even freehand with scissors to evenly cut out your preferred shapes.


Sprinkle Patterned Paper Mini Bits Here and There…

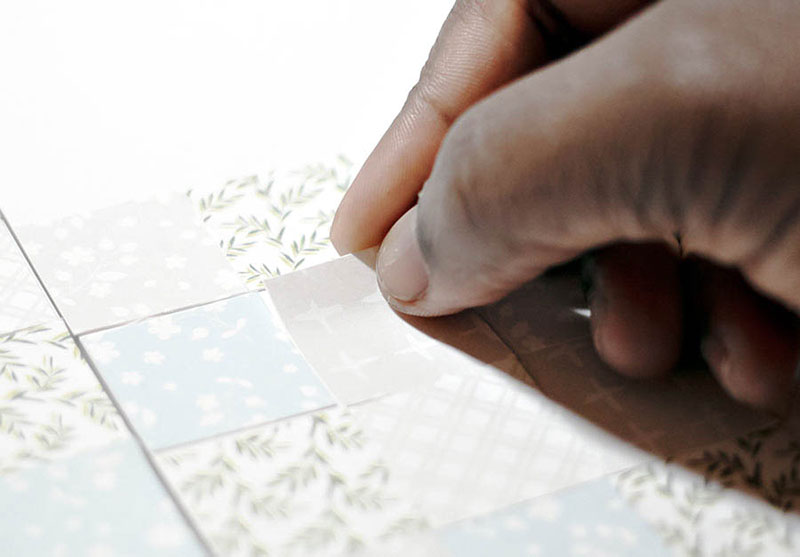
Once I had a sampling of paper pieces to work with, I staggered my patterned papers for a smooth flow in which the overall design is not in a block or predictable square format, if that makes sense (scroll up to my layout example image, above, and you’ll see what I mean). I prefer the eye to flow to different levels throughout the layout for interest and pop.

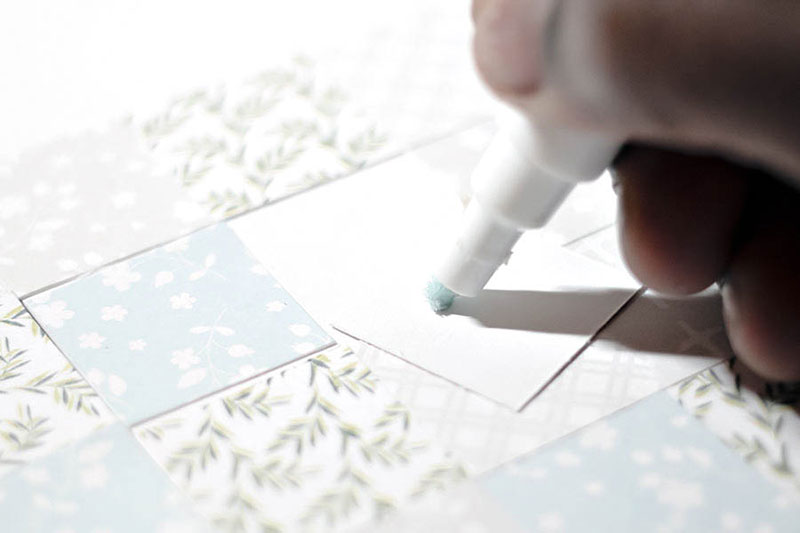
One important recommendation — I think it’s best to lay out your design FIRST, instead of immediately gluing down your papers with a permanent adhesive. You might want to change around a few squares or so here and there. Once you have permanently glued everything down, you are committed. 🙂


Choose a Dominant Patterned Paper as Your “Showcase” Paper…

A dominant paper would be one that has a busier, bolder or stronger pattern than the others you’ve chosen to use on your layout. For example, on my layout, I chose my dominant pattern paper as the fern/leaf paper. It was a bit bolder in color and pattern than my other papers, which were all more toned-down in neutrals or pastels and design flow. If you look at the final project image, up above, you’ll see that the squares of paper with the fern pattern just stand out as a tiny bit bolder/more noticeable.

You’ll want to be careful with your dominant paper so that you don’t use it too often in your layout. I like to design in “odd” numbers for balance and eye flow. So, I cut 7 squares for my dominant paper that would not overpower my other choice of papers.

Mix and Match Your Patterned Paper With Photo(s) and/or Journaling 

I chose a minimal flow for my overall design, and decided to have one photo as the focal point of my layout. Also, I toned down the photo by printing it in black and white for a smoother transition into the multiple patterned papers (as they are various colors within themselves).

If you add a color photo, you want to be careful with your dominant pattern paper choice, as well as the rest of the coordinating papers of choice on your layout. Otherwise, things can end up being too bold and overpower the photo itself.

Finally, you’ll see in this next image that I planned my layout design out ahead, in order to leave a space at the top for my title work in addition to the space for a photo at the bottom left…

Here’s one more look at the finished project…

Hopefully these ideas will be helpful the next time you consider printing out a few of your favorite digital papers to add to a physical project!

I challenge you to choose 3-4 of your favorite pattern papers from over in The Digital Press shop on your next layout! We can’t wait to see what you come up with after you try out my tips for inspiration. Load up some projects in the gallery and link us up in the comments, if you do!


About the Author  Wendy has a strong passion for the arts, lots of creative spirit, and is fearless in working with new products and techniques. During the day, she works full-time as an Audit Manager. Wendy and her family live on the Gulf coast of emerald waters in Navarre, Florida. Her husband is from Italy and is an amazing Executive Chef at an Italian restaurant in Navarre. Her daughter is a Yorkie named Principessa. Wendy has over 20 years of experience in the scrapbooking industry. She has been published several times in print and online scrapbook magazines, and has designed for several manufacturer’s creative teams. Wendy is currently designing for The Digital Press as a hybrid artist.   Also, Wendy is on the Creative Teams for Feed Your Craft, Sahin Designs, Everyday Explorers and Creative Memories. 
Hybrid How-To | Paper Lanterns

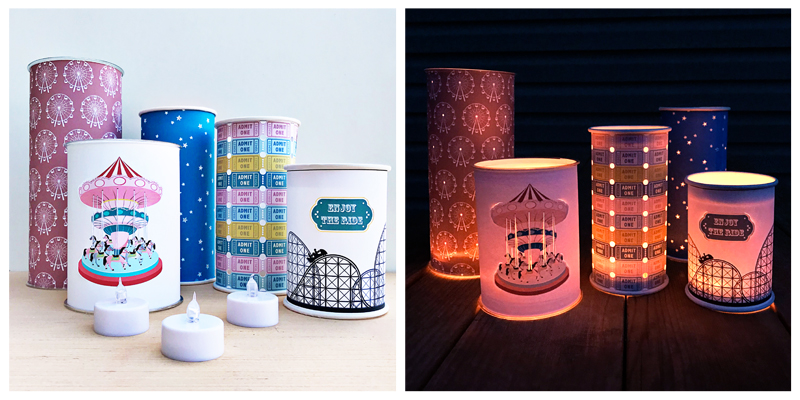
Hello, everyone! Kate here with another edition of our Hybrid How-To series here on The Digital Press blog! Today I’m here to show you how to make these cute paper lanterns that are perfect for your next backyard gathering.

Supplies Needed:

  • digital kit of your choice
  • lighter-weight cardstock (I found a package of 65 lb that worked great)
  • plastic or paper cups
  • x-acto knife
  • scissors
  • eyelet punch (not a plier kind, since you need to reach into the middle of the papers)
  • glue stick
  • LED tea lights

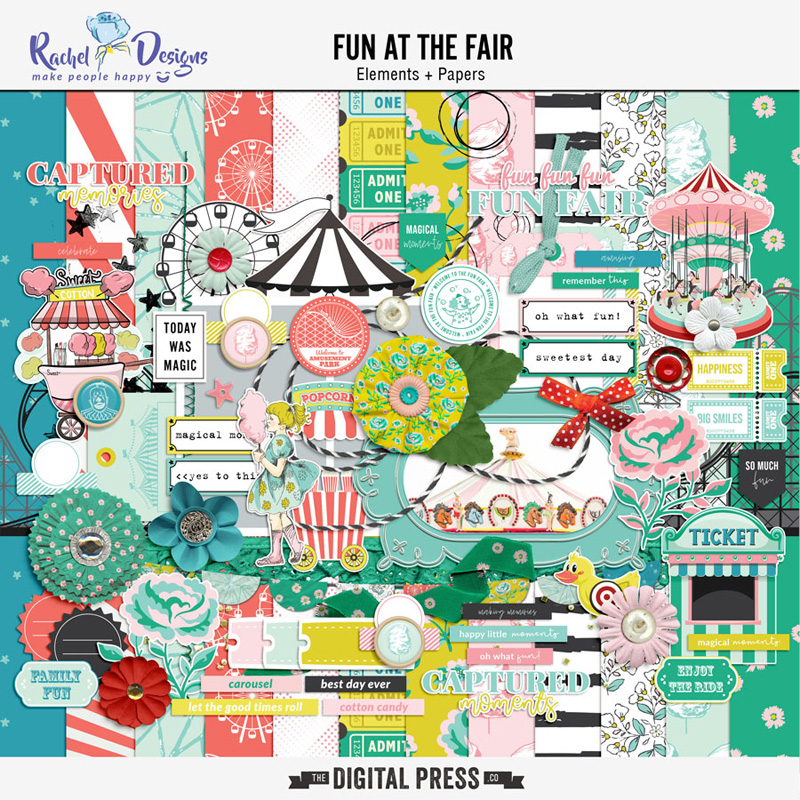
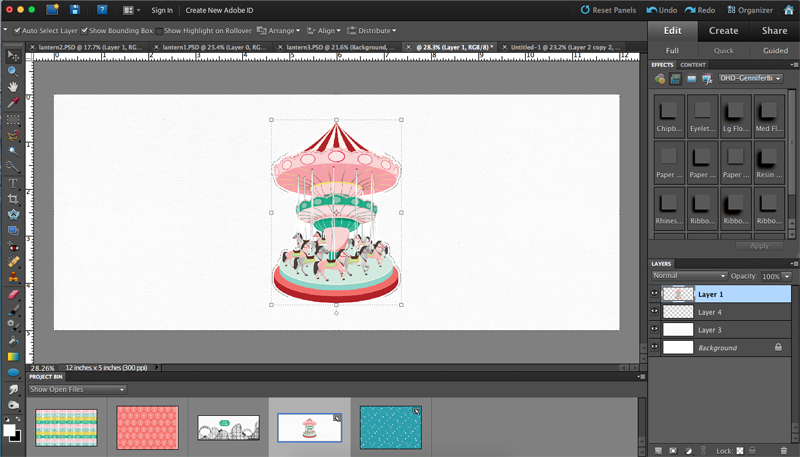
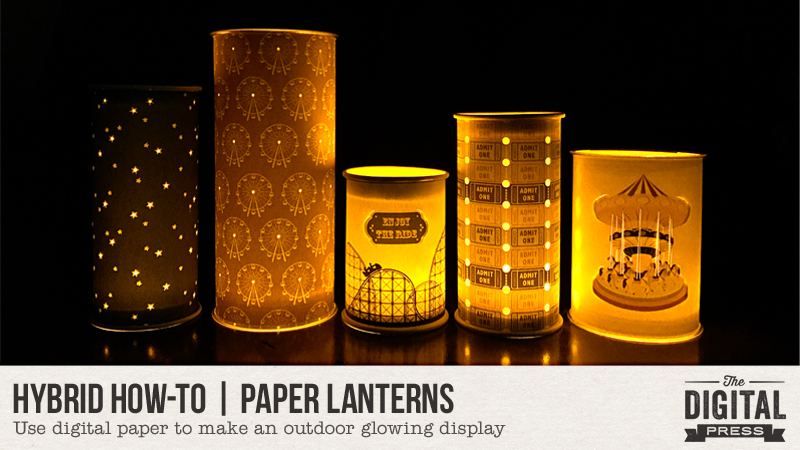
First, choose a digital kit with a theme that suits you. I chose Fun at the Fair by Rachel Etrog Designs for my lanterns, as shown here…

We have a concession stand we built for when we host movies on the back of our house; I thought this kit theme was perfect!

Next, measure around the thickest part of one of your cups. Add 1/2” to that (for overlap so you can glue it together). I chose two different-sized cups for my lanterns; thus, I had one that measured 10” and the other measured 12” after adding the 1/2” overlap.

I created a canvas to those specific sizes in Photoshop because I knew I wanted to design the lanterns using both the paper AND elements from the kit, but a photo-editing program isn’t necessary to do this project. You can also just keep it simple by printing off the papers and cutting them down to size.

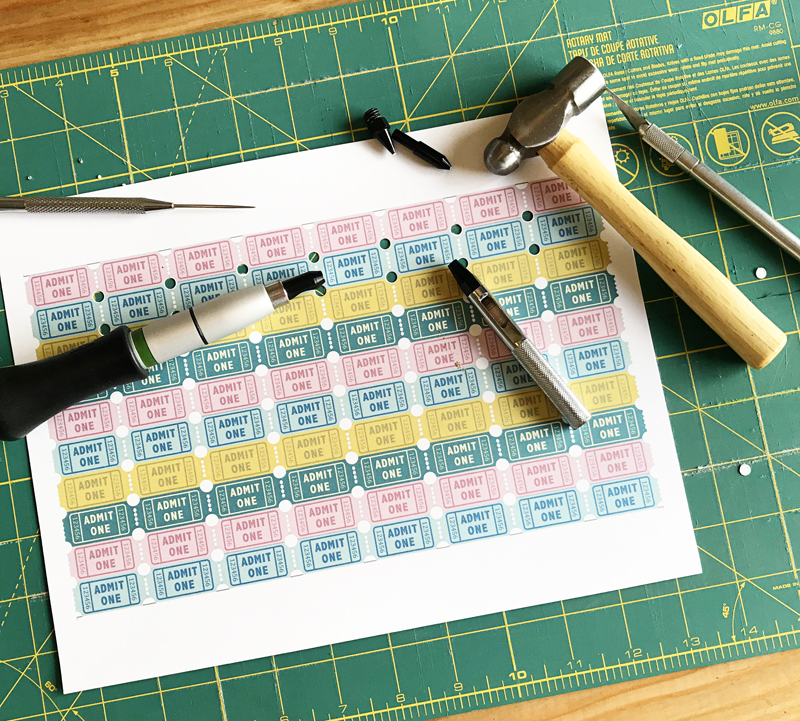
After everything is printed, take your punch or x-acto knife (or both!) and make holes or lines in the paper, depending on the pattern.  I have two different sizes available with my punch. I used the bigger one on the ticket paper I printed out, and I used the smaller one for the star paper and ferris wheel paper.

I also followed one of the roller coaster lines with my knife so light would shine through. I cut around either side of the carousel so it would pop out a little when I rolled it and then used the knife to cut the carousal poles.

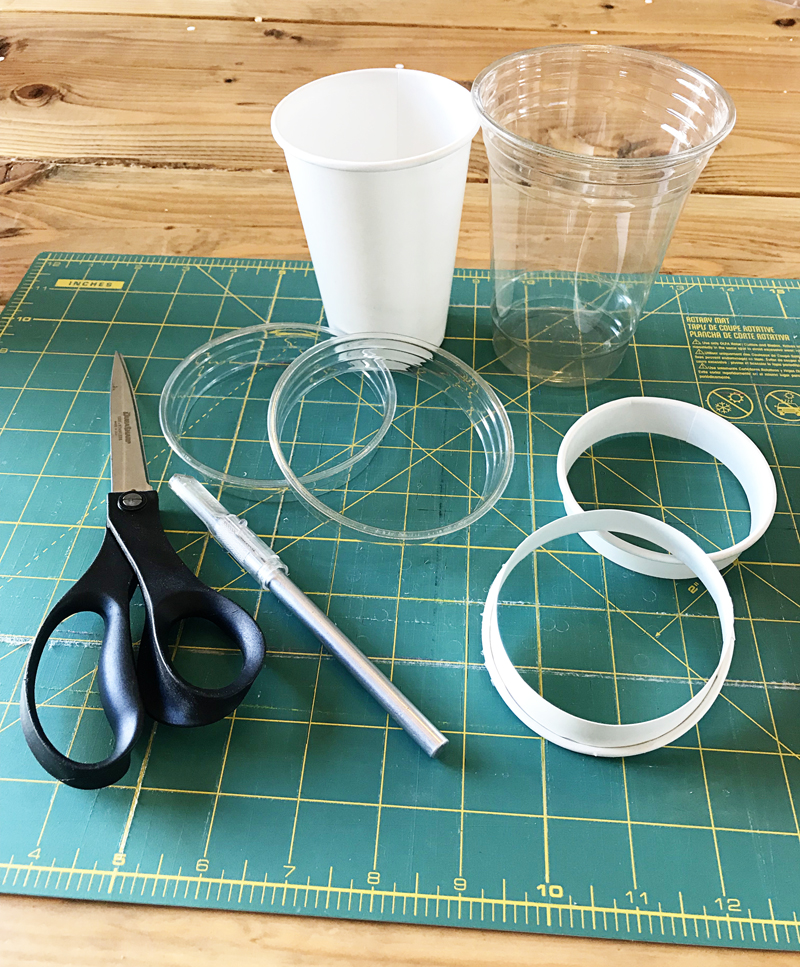
Next is to cut the rims off the cups. You need two per lantern to stabilize them and to help keep their shape. I punched through the cups with my knife and then used the scissors to finish cutting around the rim, leaving about 3/4” of the cup intact.

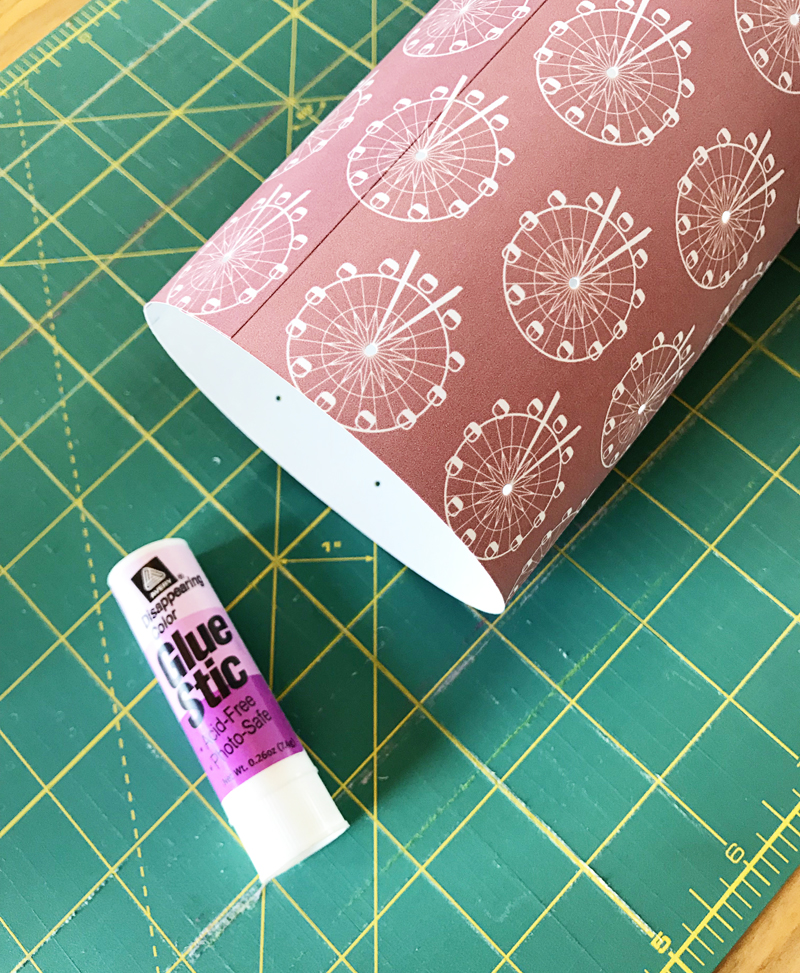
Make a tube with the paper and glue the seam together. I had two seams for my larger lanterns.

Insert the cup rims on the top and bottom. I was going to to glue them in, but they ended up tight enough that I didn’t have to do that.

Now all you do is place them over the LED tea lights. I really love how easy these were and how impressive they looked once it got dark! It was such a fun project and I hope you’ll give it a try.


Kate About the Author  Kate is on the hybrid team here at The Digital Press. She lives on the Utah/Colorado border with her husband, 5 kids, 10 chickens, a dog named Gracie, and a cat named Kit. She’s a city-born girl who found she’s really a country girl at heart. She can be found outside, barefoot, and probably in her garden.
Hybrid How-To | Happiness Jar

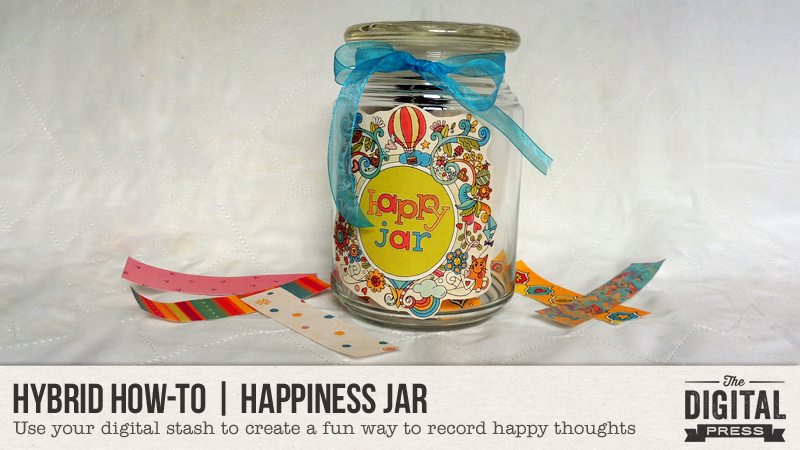
Hello everyone! It’s Donna here, and I’m excited to share another edition of our Hybrid How-To series with you here on The Digital Press blog! Today, I have a fun project for you that will allow you to capture and document your happy moments throughout the year… a Happiness Jar!

The idea behind the Happiness Jar is quite simple: on a daily, weekly, or monthly basis (your choice!), every family member writes down what they are happy about or thankful for… and places their written thoughts into the Happiness Jar. At the end of the year, it’s really fun and meaningful to empty out the jar together as a family and have fun reading/reminiscing about all those moments that brought you joy.

It’s a really easy project, too… so let’s get started!

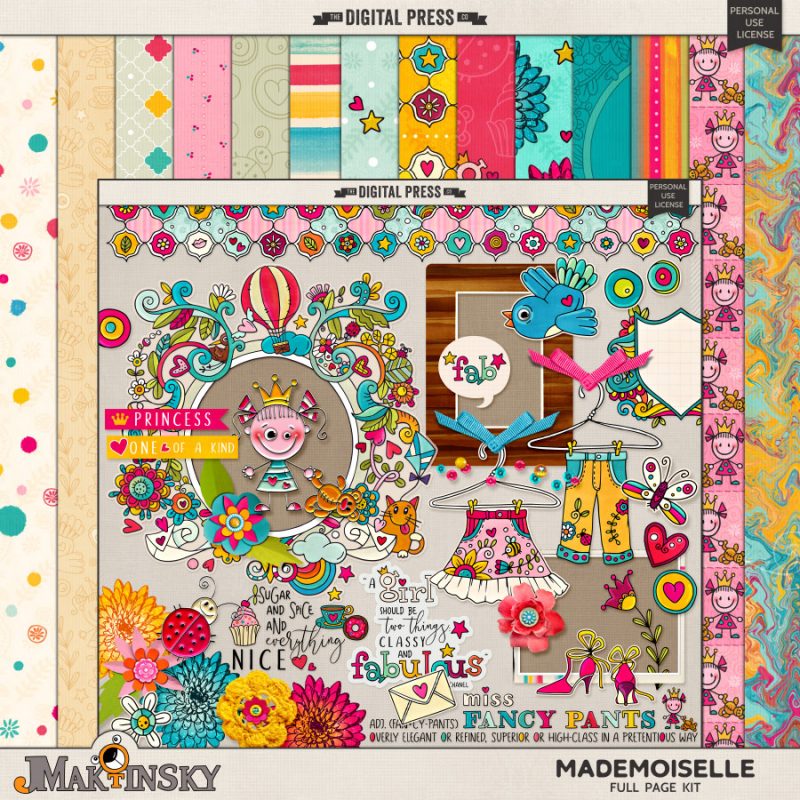
For my example, I will be using the digital kit Mademoiselle by Julia Makotinsky, shown here…

.

I love the fun, whimsical feel and the bright colors of this kit (and doesn’t that little bluebird element just scream “Bluebird of Happiness” to you?!).

SUPPLIES NEEDED:

  • digital scrapbooking kit(s) of your choice
  • photo editing software (I am using Photoshop Elements)
  • empty jar
  • printer/copy paper
  • label paper (could use Printer/copy paper & double-sided tape instead)
  • scissors or paper cutter
  • binder clip
  • ribbon (optional)

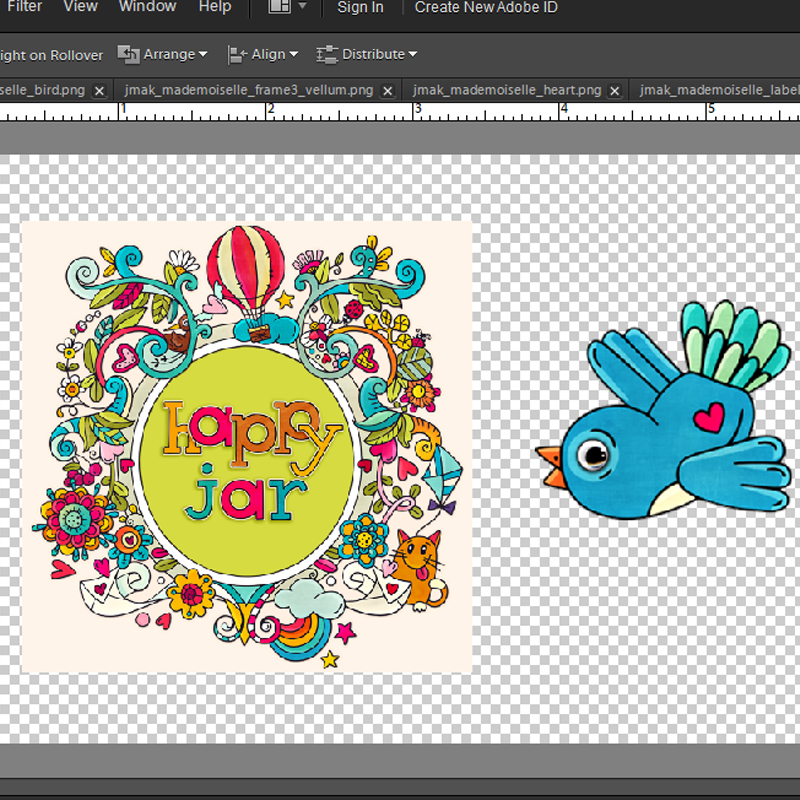
The first step is design the jar labels. I used an empty candle jar, but any style of jar will do. In my photo editing software, I designed labels for the front of the jar, as well as for the lid…

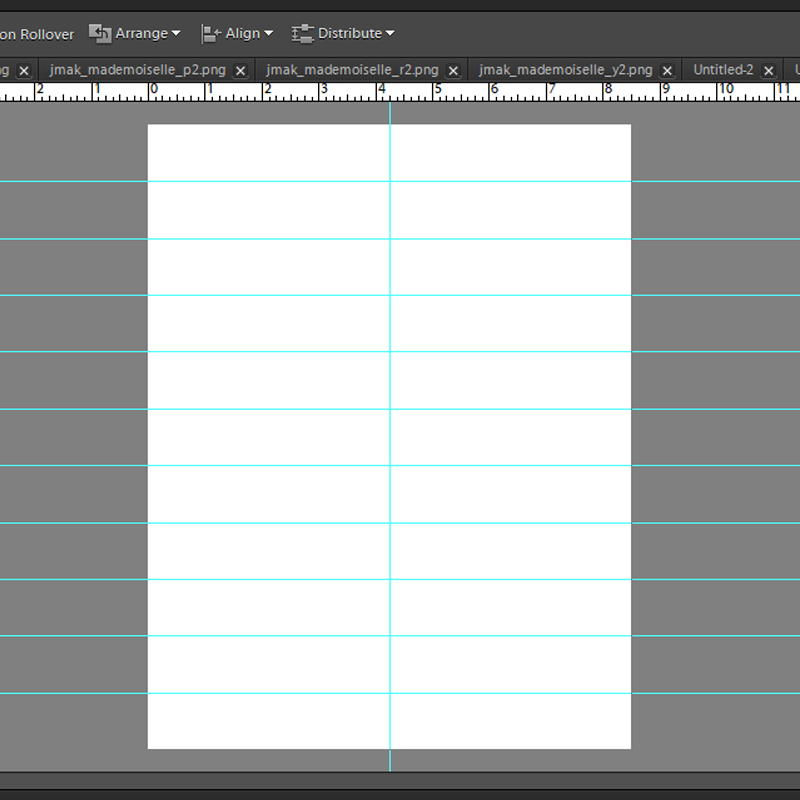
The next step is to create the strips of paper that you’ll use to write down your happy thoughts. You’ll need to do a little calculating here to determine how many strips of paper you’ll need. Since it’s just hubby and I, and we will do this weekly… I’ll need 104 strips of paper (52 weeks X 2 people = 104). The size of my paper strips are 1″ x 4.25″, meaning I can get 22 strips from one piece of 8.5″ x 11″ printer paper. This means I will need 5 sheets of printer paper (22 strips x 5 = 110)… so I chose 5 papers from the kit I am using and printed those papers out to add a decorative touch to the back side of each strip.

The image below shows where the strips should be cut on an 8.5″ x 11″ piece of paper…

If you are cutting with a scissors, you may want to include the lines on your papers before you print them out so you will have a cutting guide (optional). If you are using a paper cutter or cutting machine, having the printed cut lines isn’t necessary.

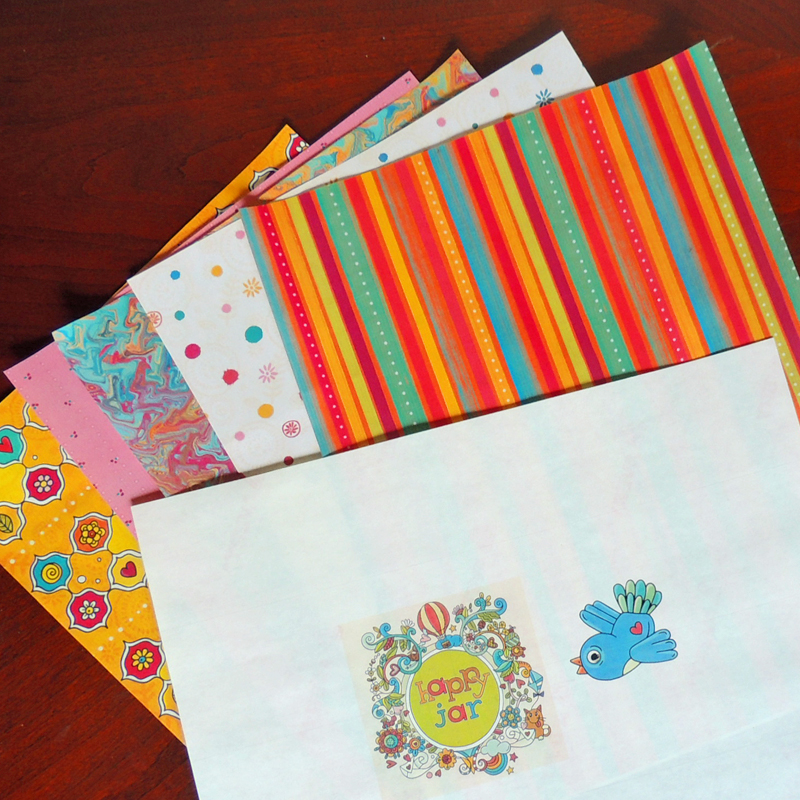
Here’s a look at my labels and papers printed out…

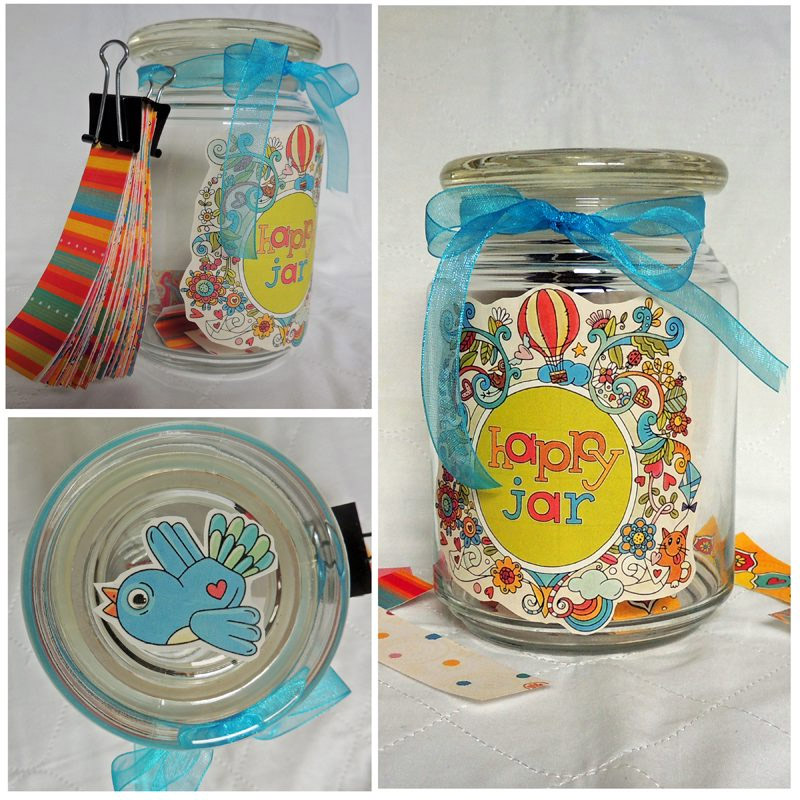
The final step is to assemble everything, as follows…

  • Cut out the jar labels and adhere them to the jar (if you used printer/copy paper, you can use double sided tape to adhere them)
  • Cut out the small paper strips (I used a paper cutter)
  • This last step is optional… but for myself, I didn’t want the little paper strips to get lost (which they certainly would, laying loose on my countertop all year!), so I used a binder clip and tied them to the neck of the jar with a ribbon. You could also keep your strips in a drawer or a little box, etc. and skip this last step… it’s up to you!

And that’s it! Your Happiness Jar is now ready to collect all your joyful moments. The entire project, from start to finish, took less than 2 hours.

I wanted to also share with you a few variations of this idea that could easily be adapted from this tutorial…

  • A “Mom, I’m Bored” Jar — start out with the jar full of fun ideas, and when the kiddos are bored let them pick from the jar to find inspiring ways to combat their boredom
  • A “Date Night” Jar — start out with the jar full of fun date ideas, and let date night be determined by the luck of the draw (this would also work for the “What do you want for dinner?” dilemma that occurs frequently at our house)
  • A “Journal Prompt” Jar — start out with the jar full of journaling prompts, so when the urge to write surfaces you’ll have something to write about
  • A “Scripture or Positive Thoughts” Jar — start out with the jar full of scriptures or positive thoughts, and pull one out when you need a little uplifting

I hope these ideas will inspire you to create your own jar! If you decide to make a happiness jar (or any variation, like those listed above), please let us see it! You can load your project into the gallery at TDP and leave a comment below with a link to your project… etc. I would love to see what you come up with!


DonnaAbout the Author Donna is a member of the hybrid team here at The Digital Press. She has been a digital scrapper and hybrid crafter for over 10 years, and loves the flexibility digital products provide. When she’s not scrapping you’ll find her in front of the TV, at the computer, or in the kitchen  cooking up something scrumptious. She has been married for 40 years to her husband, Sonny, and they live in South Florida with their sweet little dog, Roxy, and kitty siblings Cashmere and Velcro. She also enjoys swimming, gardening, traveling, and chocolate (of course!).

Hybrid How-To | Graduation Centerpiece

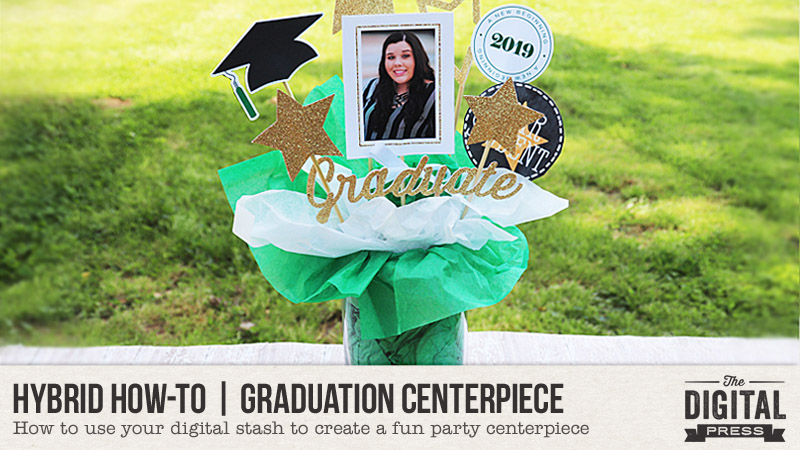
Hello everyone! It’s Tanya here, and I’m excited to bring another edition of our Hybrid How-To series to you here on The Digital Press blog! Today I’m going to show you how to use your digital supplies to make a really cute graduation centerpiece.

My niece is graduating from high school in May, so I thought it would be a great time do this project. I can’t wait to package it, up along with some gift money (of course… LOL), and send it to her. I’m so proud of myself… first, because I actually made a gift… and also because I’m getting it mailed off early! All of my family knows that I’m often super late on cards and birthday gifts; I have great intentions, but it never fails — I usually send things off 3 months later (or maybe 5 or 6 months? …that’s probably more accurate!).

This project idea can be used for any type of party… graduations, birthdays, showers… just to name a few. I used my Silhouette Cameo to do all of the designing and cutting, but it can also all be done with any photo editing program and a pair of scissors and/or punches.

SUPPLIES NEEDED:

  1. digital kits that go with the theme of your party (I chose graduation & party kits for my project)
  2. cardstock in different colors (I used white, black, and gold)
  3. double-sided tape
  4. paper cutter
  5. scissors
  6. wooden skewers (I found mine in the housewares section at Wal-Mart)
  7. tissue
  8. shredded tissue paper
  9. vase, bucket, or other container (I recycled a vase that came with flowers I received for my birthday; I saw the same vase at the Dollar Tree this weekend)

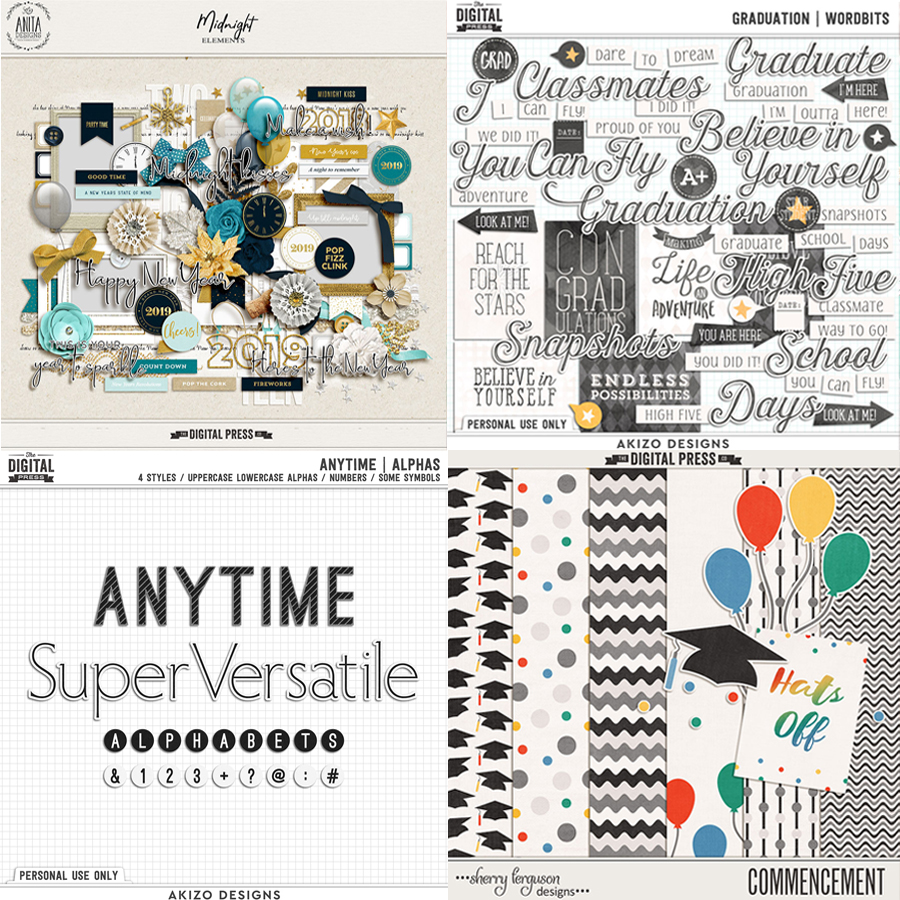
Here’s a look at the digital products I chose to use for my project…

Midnight Elements by Anita Designs, Graduation Bits and Anytime Alphas by Akizo Designs, and Commencement by Sherry Ferguson Designs (item retired since the time I created this project) ]

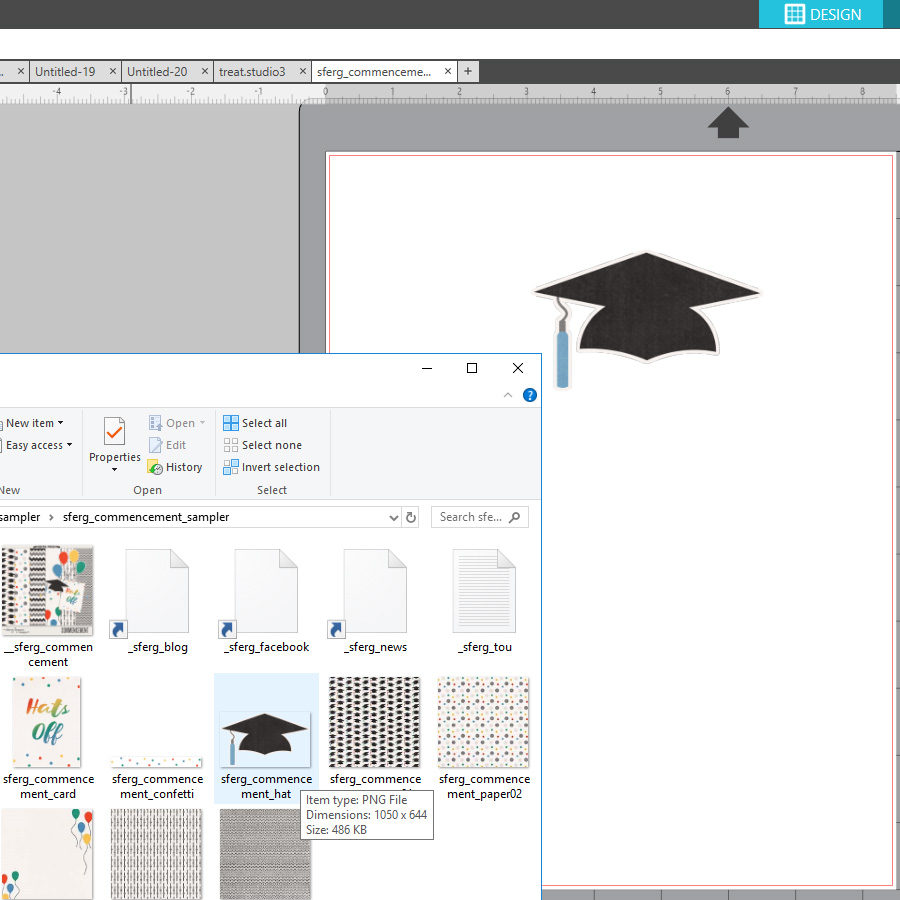
First, I opened the folder where my images were saved and dragged them to my work area. I continued to do this for all the images I wanted to use in this project…

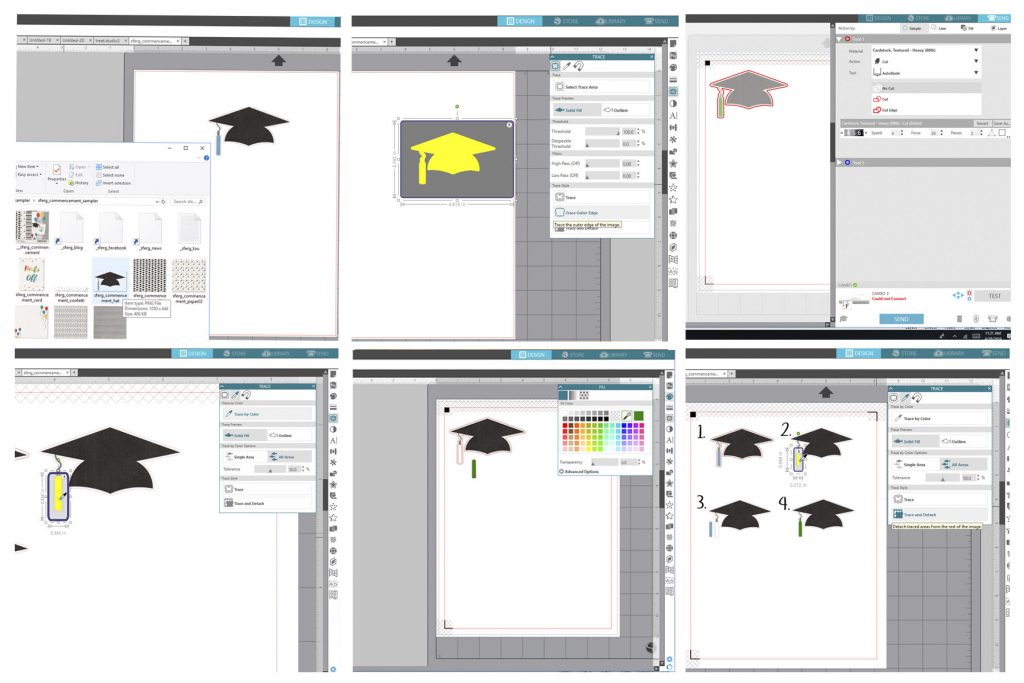
After opening the images in my work area, I chose one (the graduation cap, shown below) and traced the image so that it would have cut marks.

Additionally, the tassel was blue and I wanted it to be one of my niece’s school colors, instead… so I did a trace-by-color and pulled it off to the side. I recolored it (green), and then moved it back to the original spot. This sort of thing can also be achieved in Photoshop and other photo editing programs; I like to do it right in my Silhouette software to simplify things…

Continue to open and trace all of the images you want to use for your project, to create cut-marks.

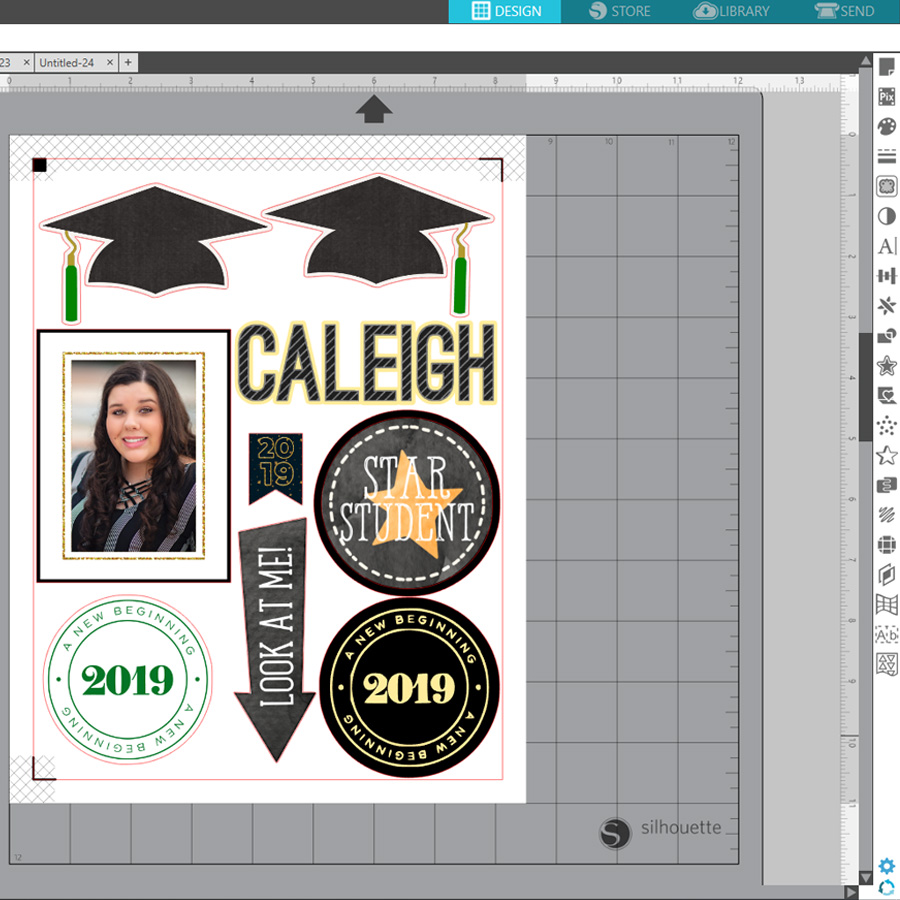
Here is what my page looked like before sending to my Cameo…

Later, I also created another page with stars and her school logo (the logo brought back many high school memories; I graduated at the same high school over 30 years ago… I’m telling my age here! LOL).

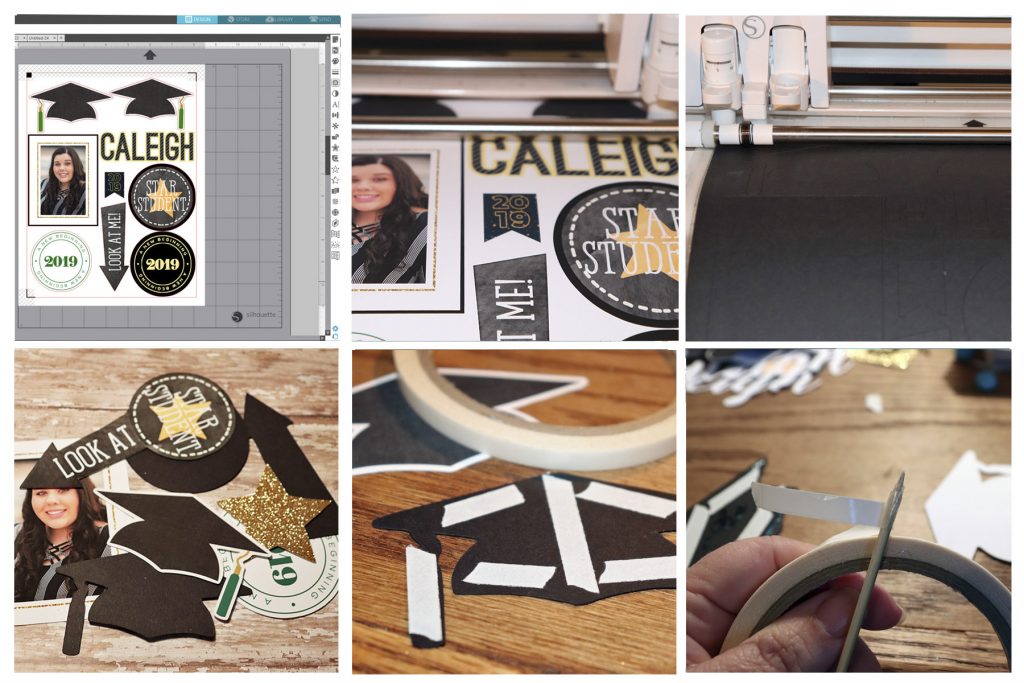
After arranging all of the images to maximize print and cut space, and making sure that I had the registration marks on (you can see the little black box and black lines in the image just above this)… the next step is to print and cut. To do this, send the file to your printer and then add your cutting mat and send through the Silhouette…

I did a second cut with just black cardstock (see above) in order to have a second layer to back each image that I cut out (if you do this, though, be sure to turn off registration marks for this particular cut). I find this extra step gives it all a more finished look.

After all of the elements were cut out, I added double-sided tape to the back piece. To ensure that my skewer would stick between the two pieces, I twisted double-sided tape around the skewer tip (see lower-right corner image, above); then, I sandwiched the skewer between the top and bottom pieces. TIP: be sure to press it firmly all the way around so that it looks finished.

And finally… it’s time to put it all together!  🙂  This was definitely the fun part!

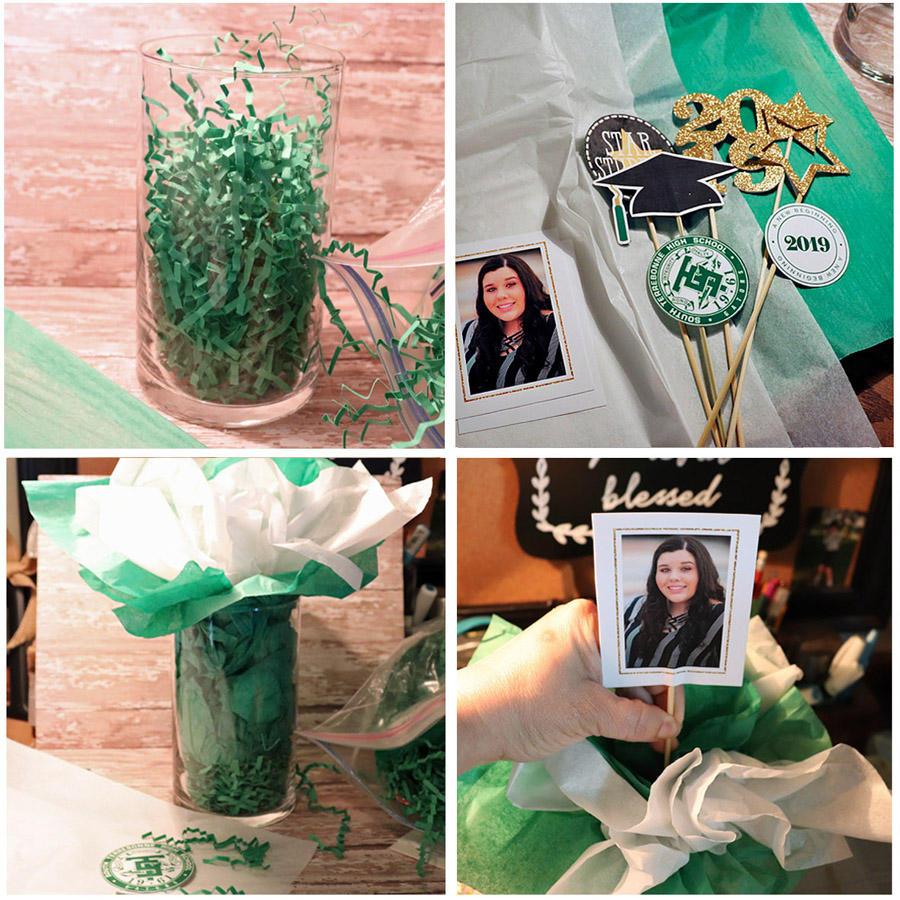
As you can see, above, I put shredded paper in the bottom of the vase and then put some in the middle of the tissue paper, as well. This gave it some substance to ensure the skewers stayed in place. After finishing the project, however, I noticed that it probably wasn’t necessary to put the shredded paper in the bottom (it is a decision that probably just comes down to personal preference).

Next… just add the pieces. I started with the photo, front and center, and then arranged the other pieces around it. I also figured out that the point part of the skewer is best to go towards the bottom; it’s easier to stab it into the tissue that way.

Here’s a look at the final result…

I loooove how it came out! I can’t wait until she sees it, and I hope she loves it as much as I do and will use it at her graduation party (I know that she will; she is such a beautiful, sweet, caring, loving, smart girl!). She got a full scholarship for college. I’m so proud of her!

I have so many ideas running around in my head for more of these cute centerpieces. There are kits in the store at TDP for every occasion… and I’m off to do some ‘window shopping!’  🙂

I hope that you have enjoyed this tutorial and that I have inspired you to create some of your own centerpieces. If you do, we would love to see them posted in the hybrid gallery here at TDP!


Tanya

About the Author  Tanya is a member of the hybrid creative team here at The Digital Press. She has been paper and hybrid crafting for at least 18 years now, and loves creating and sharing those creations with others. Her all-time favorite tool is her Silhouette Cameo. She has been married for 30 years to her high school sweetheart, Richard, and has two sons: Chris, 27 and Chance, 23. She also enjoys crocheting, photography, and woodworking.


Hybrid How To | Bucket List in a Traveler’s Notebook

Hello Everyone!

In this post I’m going to show you a work in progress I started recently using my traveler’s notebook with the amazing products we have here at The Digital Press. It’s my Bucket List Traveler’s Notebook. It’s super simple to do and so much fun.

Let me start by reiterating, I know this is not a finished project like you usually see on the blog from our amazing hybrid team. That’s one of my favorite aspects of this amazing hobby we share, it can be as “done” or “not done” as you want it to be. It’s all up to you.

One of the biggest reason I turned to traveler’s notebooks is because life has been super unpredictable and stressful lately for me and I need a little more distraction than a 12×12″ page can do for me. And I’ve found an easy pick me up in those moments when I need a break from overthinking everything is to look at places I’d like to be instead of the stress filled place I’m in at that moment. Rather than getting stuck in a parade of pictures (and ads) online that don’t relax me, I’ve made my own happy place to peruse till I feel ready to tackle the world.  And best part I gave myself license to get creative in my notebook. Whether it be hand drawn doodles or notes on a journaling card or whatever bits and bobs hit the spot.

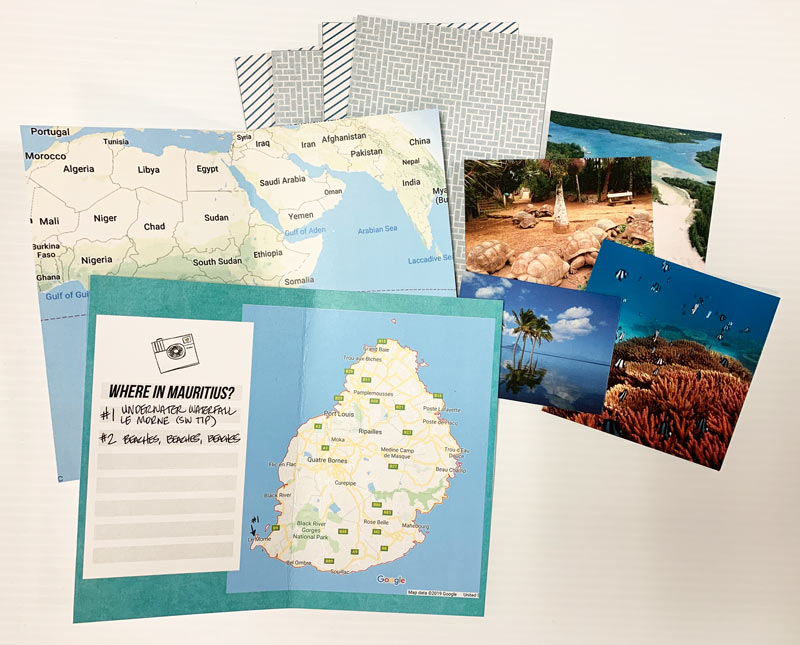
For this Bucket List Traveler’s Notebook I started by collecting screenshots from Google Maps of the my most recent place of interest, the island of Mauritius. (I know the likelihood of ever getting there is 1 in 5 million-billion, but that means there’s still a chance, right?!?) It’s fun to dream and that’s what this notebook is all about.

I have templates for my traveler’s notebook set up in a layered photoshop file so that I can start clipping and printing as quickly as possible… and I waste less ink because I’m not throwing away lots of page that got printed on but didn’t get used once I cut things down to size.

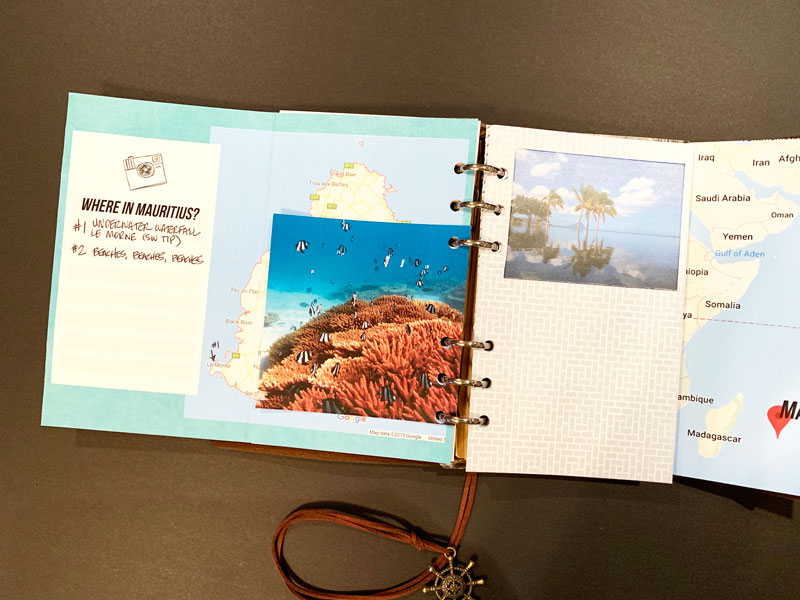
To get started, I printed a couple pages on one side with light bright fun papers that I could write on as I made my plans. Then I found maps on Google first of the island itself and a second zoomed out. Then printed them on to the front of the pages I printed earlier. Here’s what I started the project with, my double sided Google map prints, photos from travel websites and few pages with papers clipped to them.

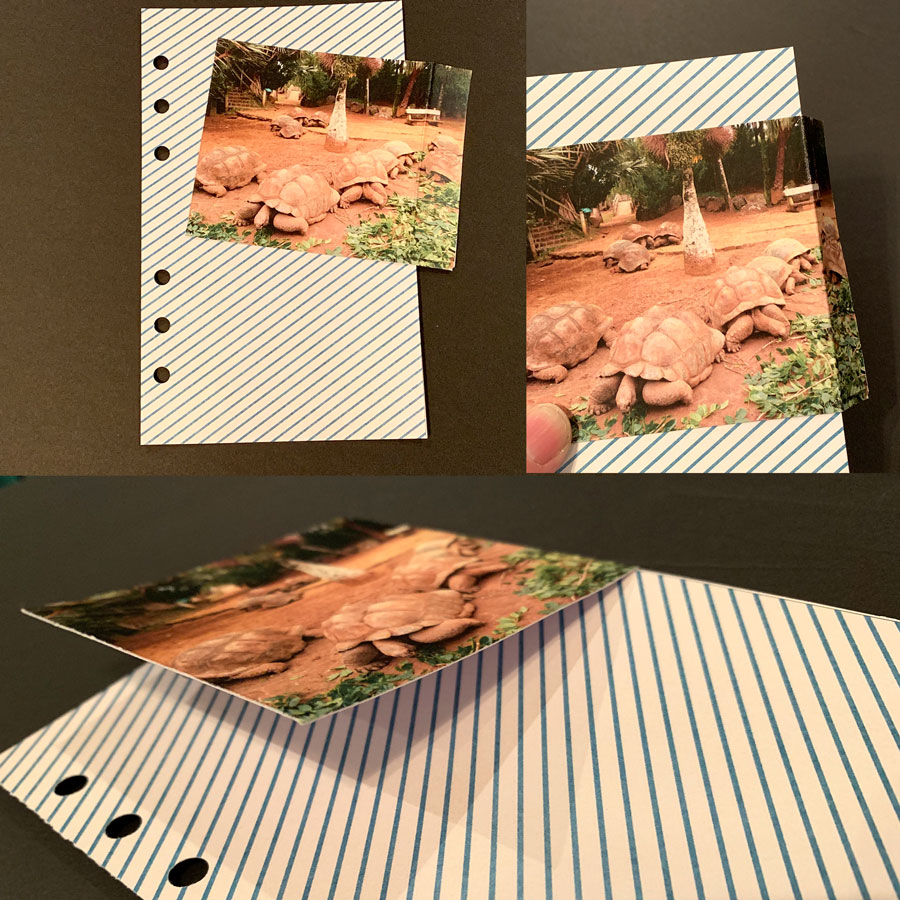
Now the fun begins. I quickly realized in my rush to get started that a couple of my picture were too large for the pages I’d printed. But that’s ok (remember, it’s a work in progress) to remedy this I creased one side and made a flap to hide notes or journaling under.

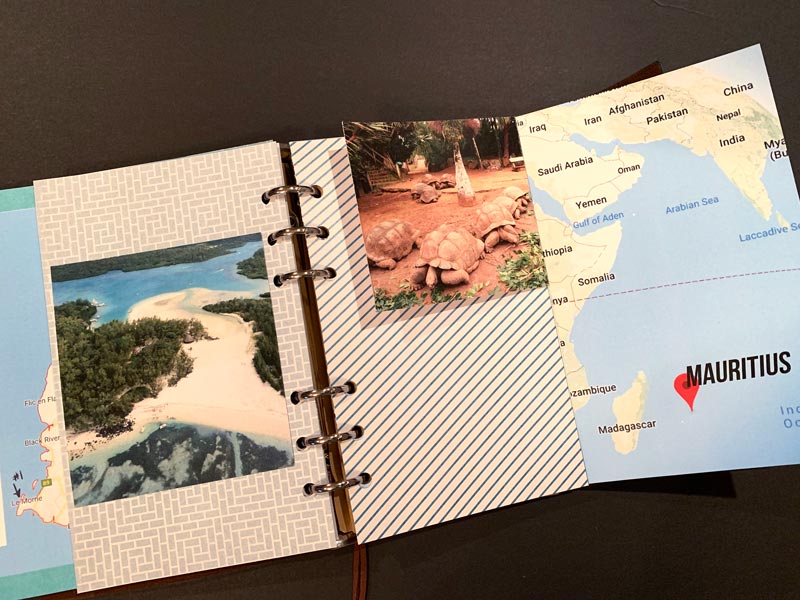
Now it’s just layering in embellishments, photos and etc till I get it where I want.


And here’s a second view.

I’m pretty happy with the start I’ve made on my notebook. My next step is to learn a little more about the island and print some journaling cards to fill in the empty spots with destinations and other ideas to fill my time while I’m “on the island”. 😉

I hope this has inspired you to create your own traveler’s notebook, in whatever theme you want or a bucket list of your own, and most importantly to give yourself permission have a work in progress to inspire your own dreams and while away some creative time.

Make sure you check out the shop at The Digital Press for the dreamy traveler’s notebook products our amazing designers have created for you to start your own notebooks with. Thank you for reading!


SandyPieAbout the author Sandy (or SandyPie as she is known in digiland) is a hybrid scrapbook enabler and nerdy introvert. When she not scrapbooking, working, or playing Pokemon Go… she is trying to survive the day with her husband, two teenage boys and four cats. Wish her luck!