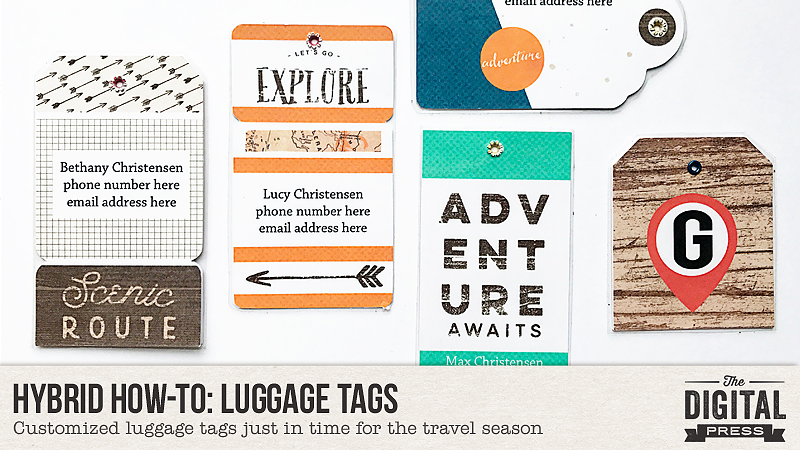
Hi everyone! It’s Kate here, with another edition of our Hybrid How-To series. Travel season is on the way, and I thought it would be fun today to show you how I made these cute hybrid luggage tags for my kids.
SUPPLIES
- Digital scrapbooking kit of your choice (I used Happy Camper by Mari Koegelenberg)
- Photo editing program like Photoshop (PS) or Photoshop Elements (PSE)
- Cardstock
- Self-seal laminating sheets
- Scissors
INSTRUCTIONS
1. In PSE, I built my luggage tag templates (if you’d like to use mine, you can DOWNLOAD THEM HERE).
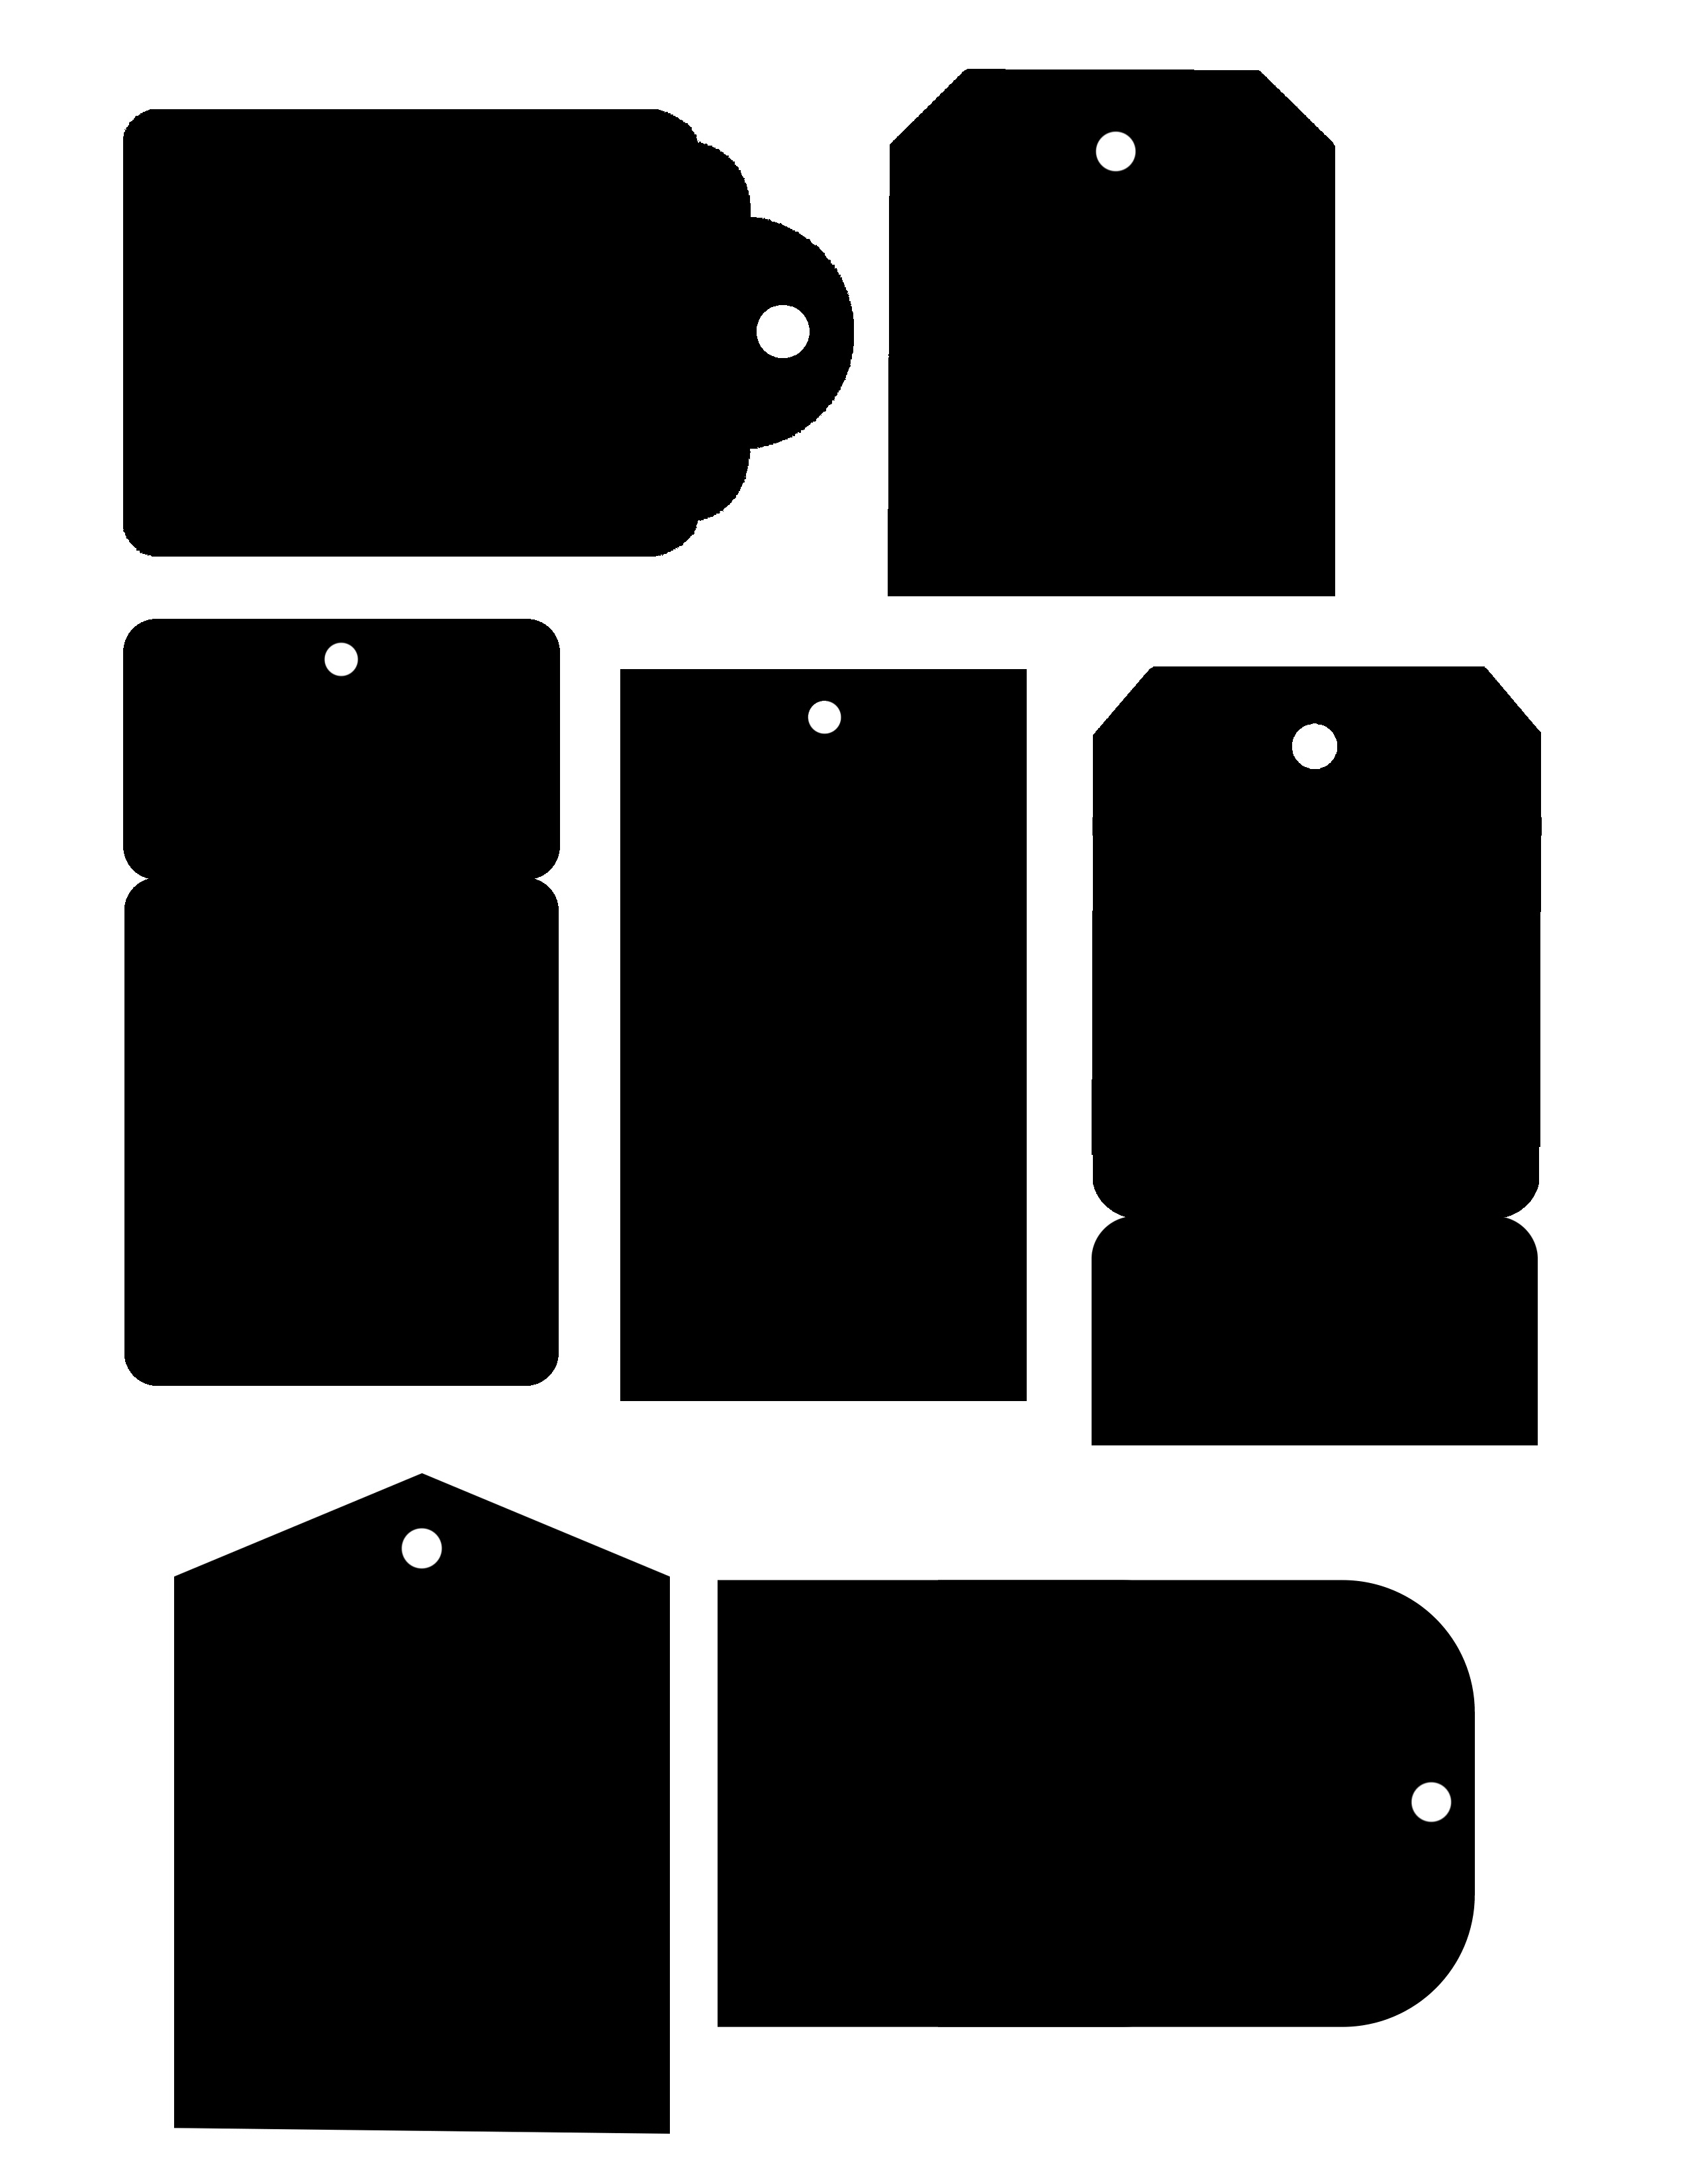
2. Add digital paper and elements to each of the tags, by using each PNG tag shape as a clipping mask (Ctrl-G in PSE or Ctrl-Alt-G in PS). Make sure you duplicate the templates so you can create a front and back for each tag. You can also add text to one side of each tag, if desired. Once you have them ready, send them to the printer and cut them out.
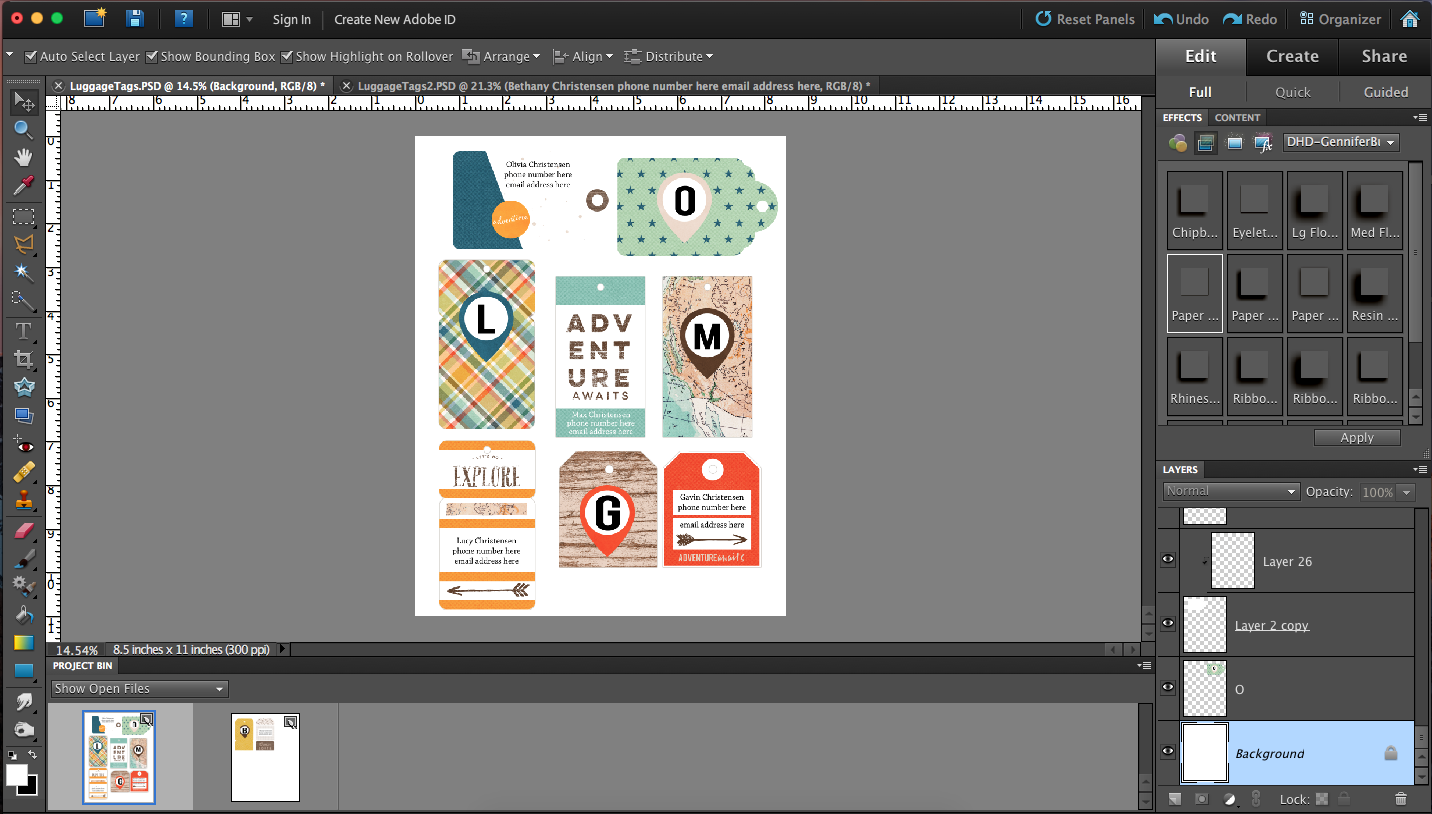
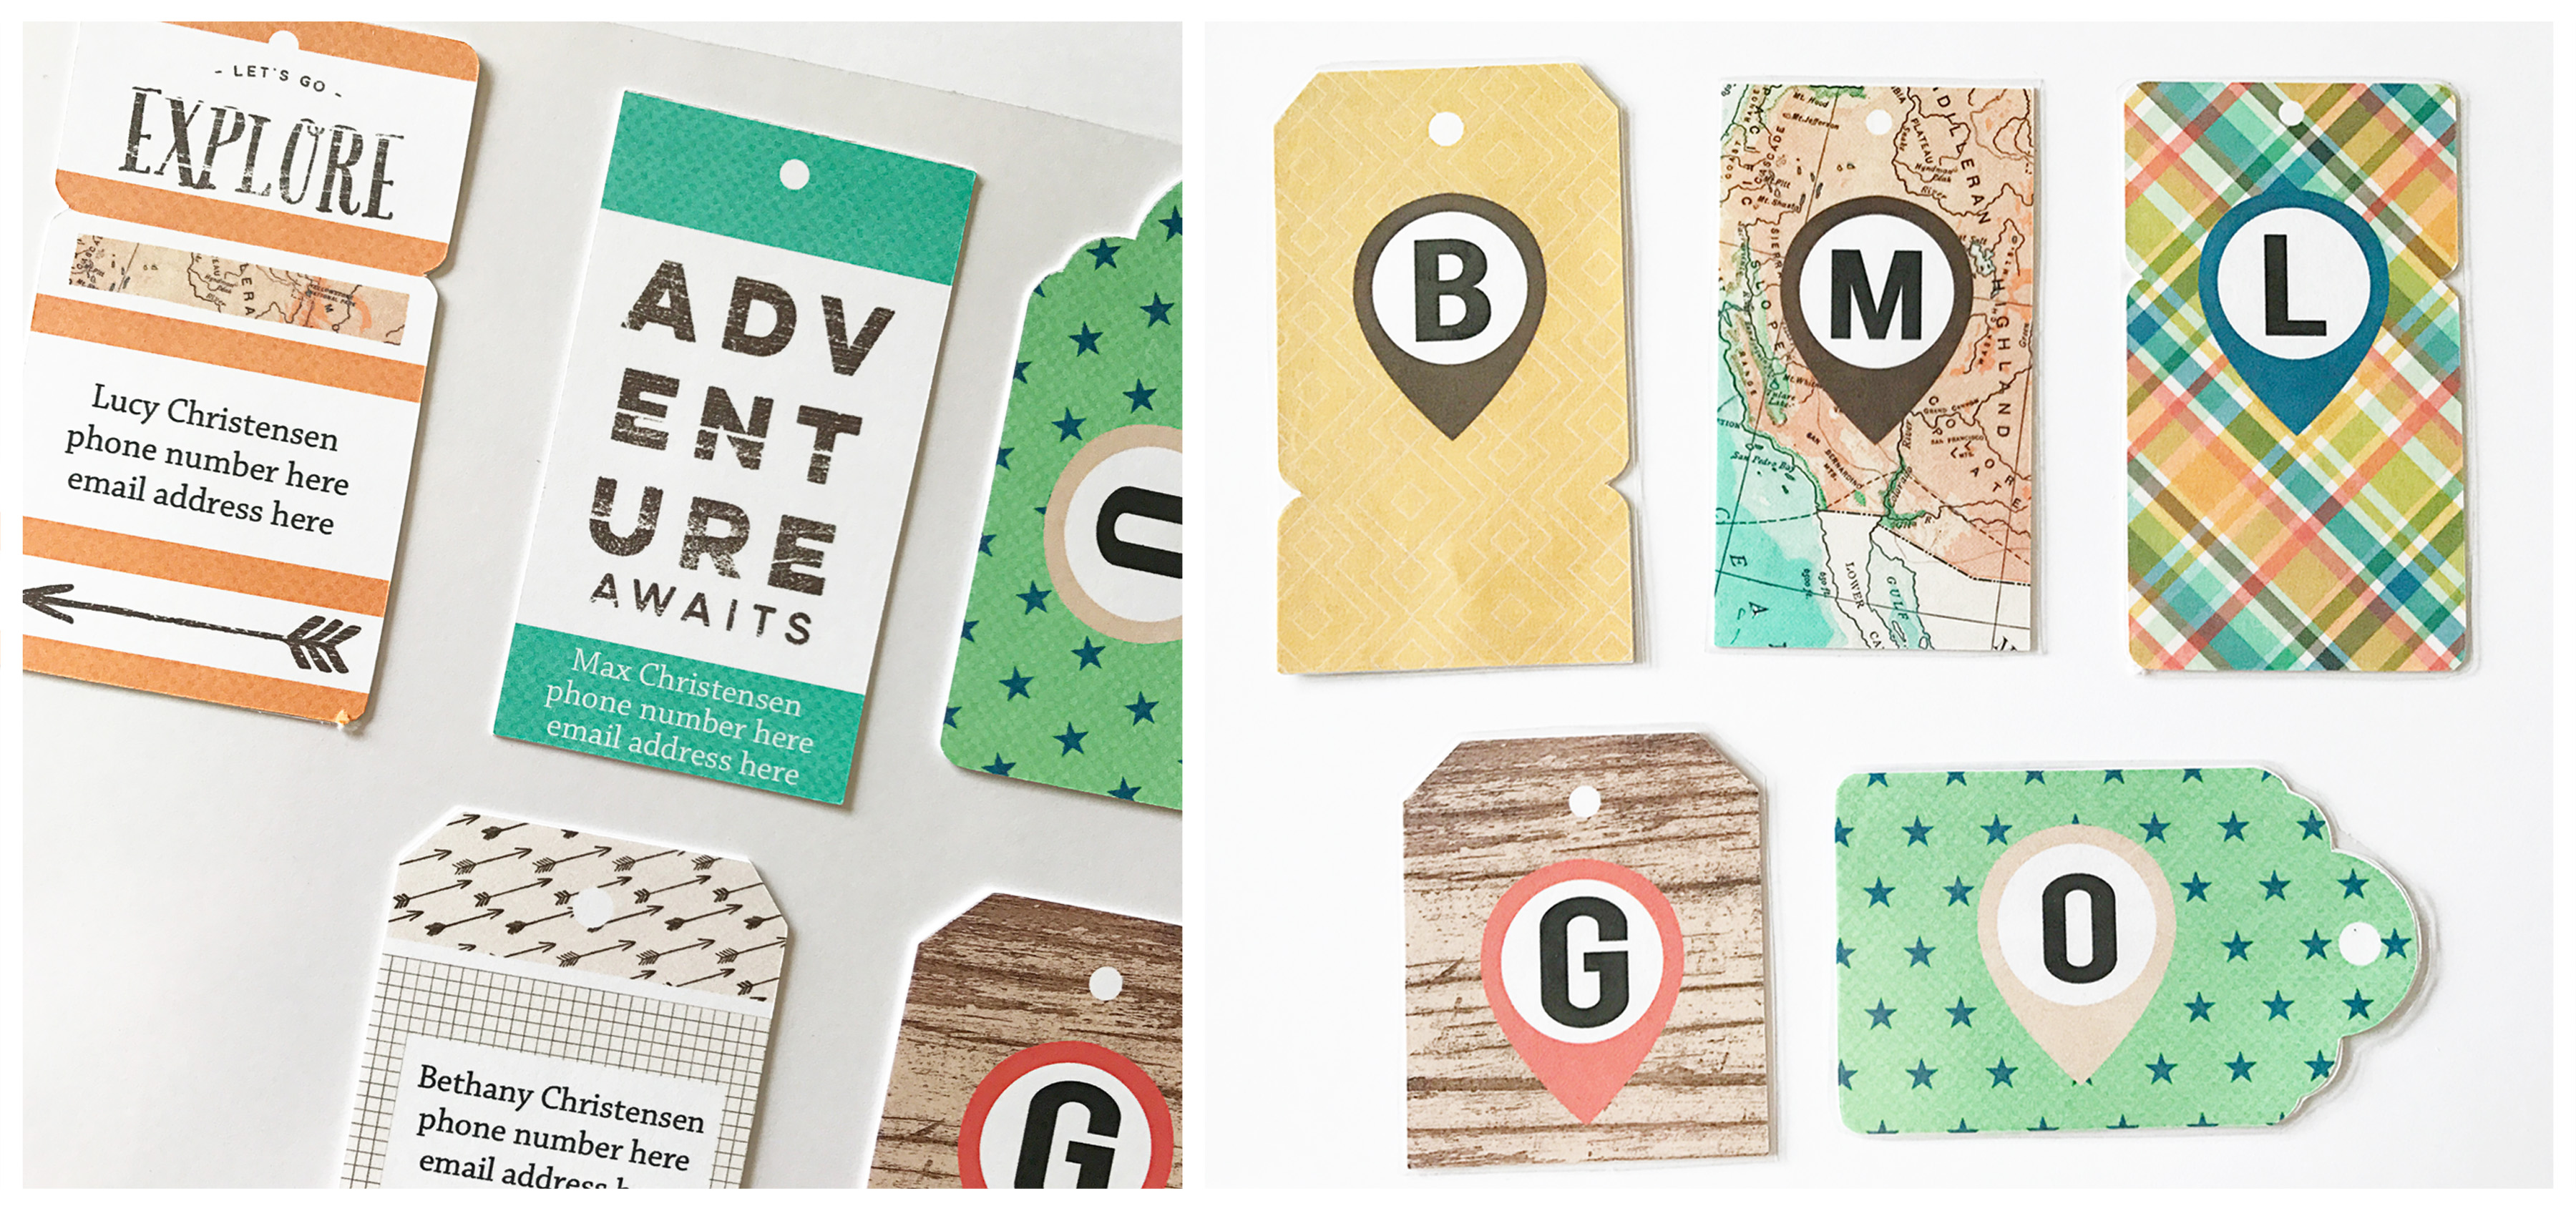
3. The next step is to adhere the front of the tag to the back of the tag. I used thin glue dots for this (don’t use anything too thick, or it shows up through the cardstock once you laminate).
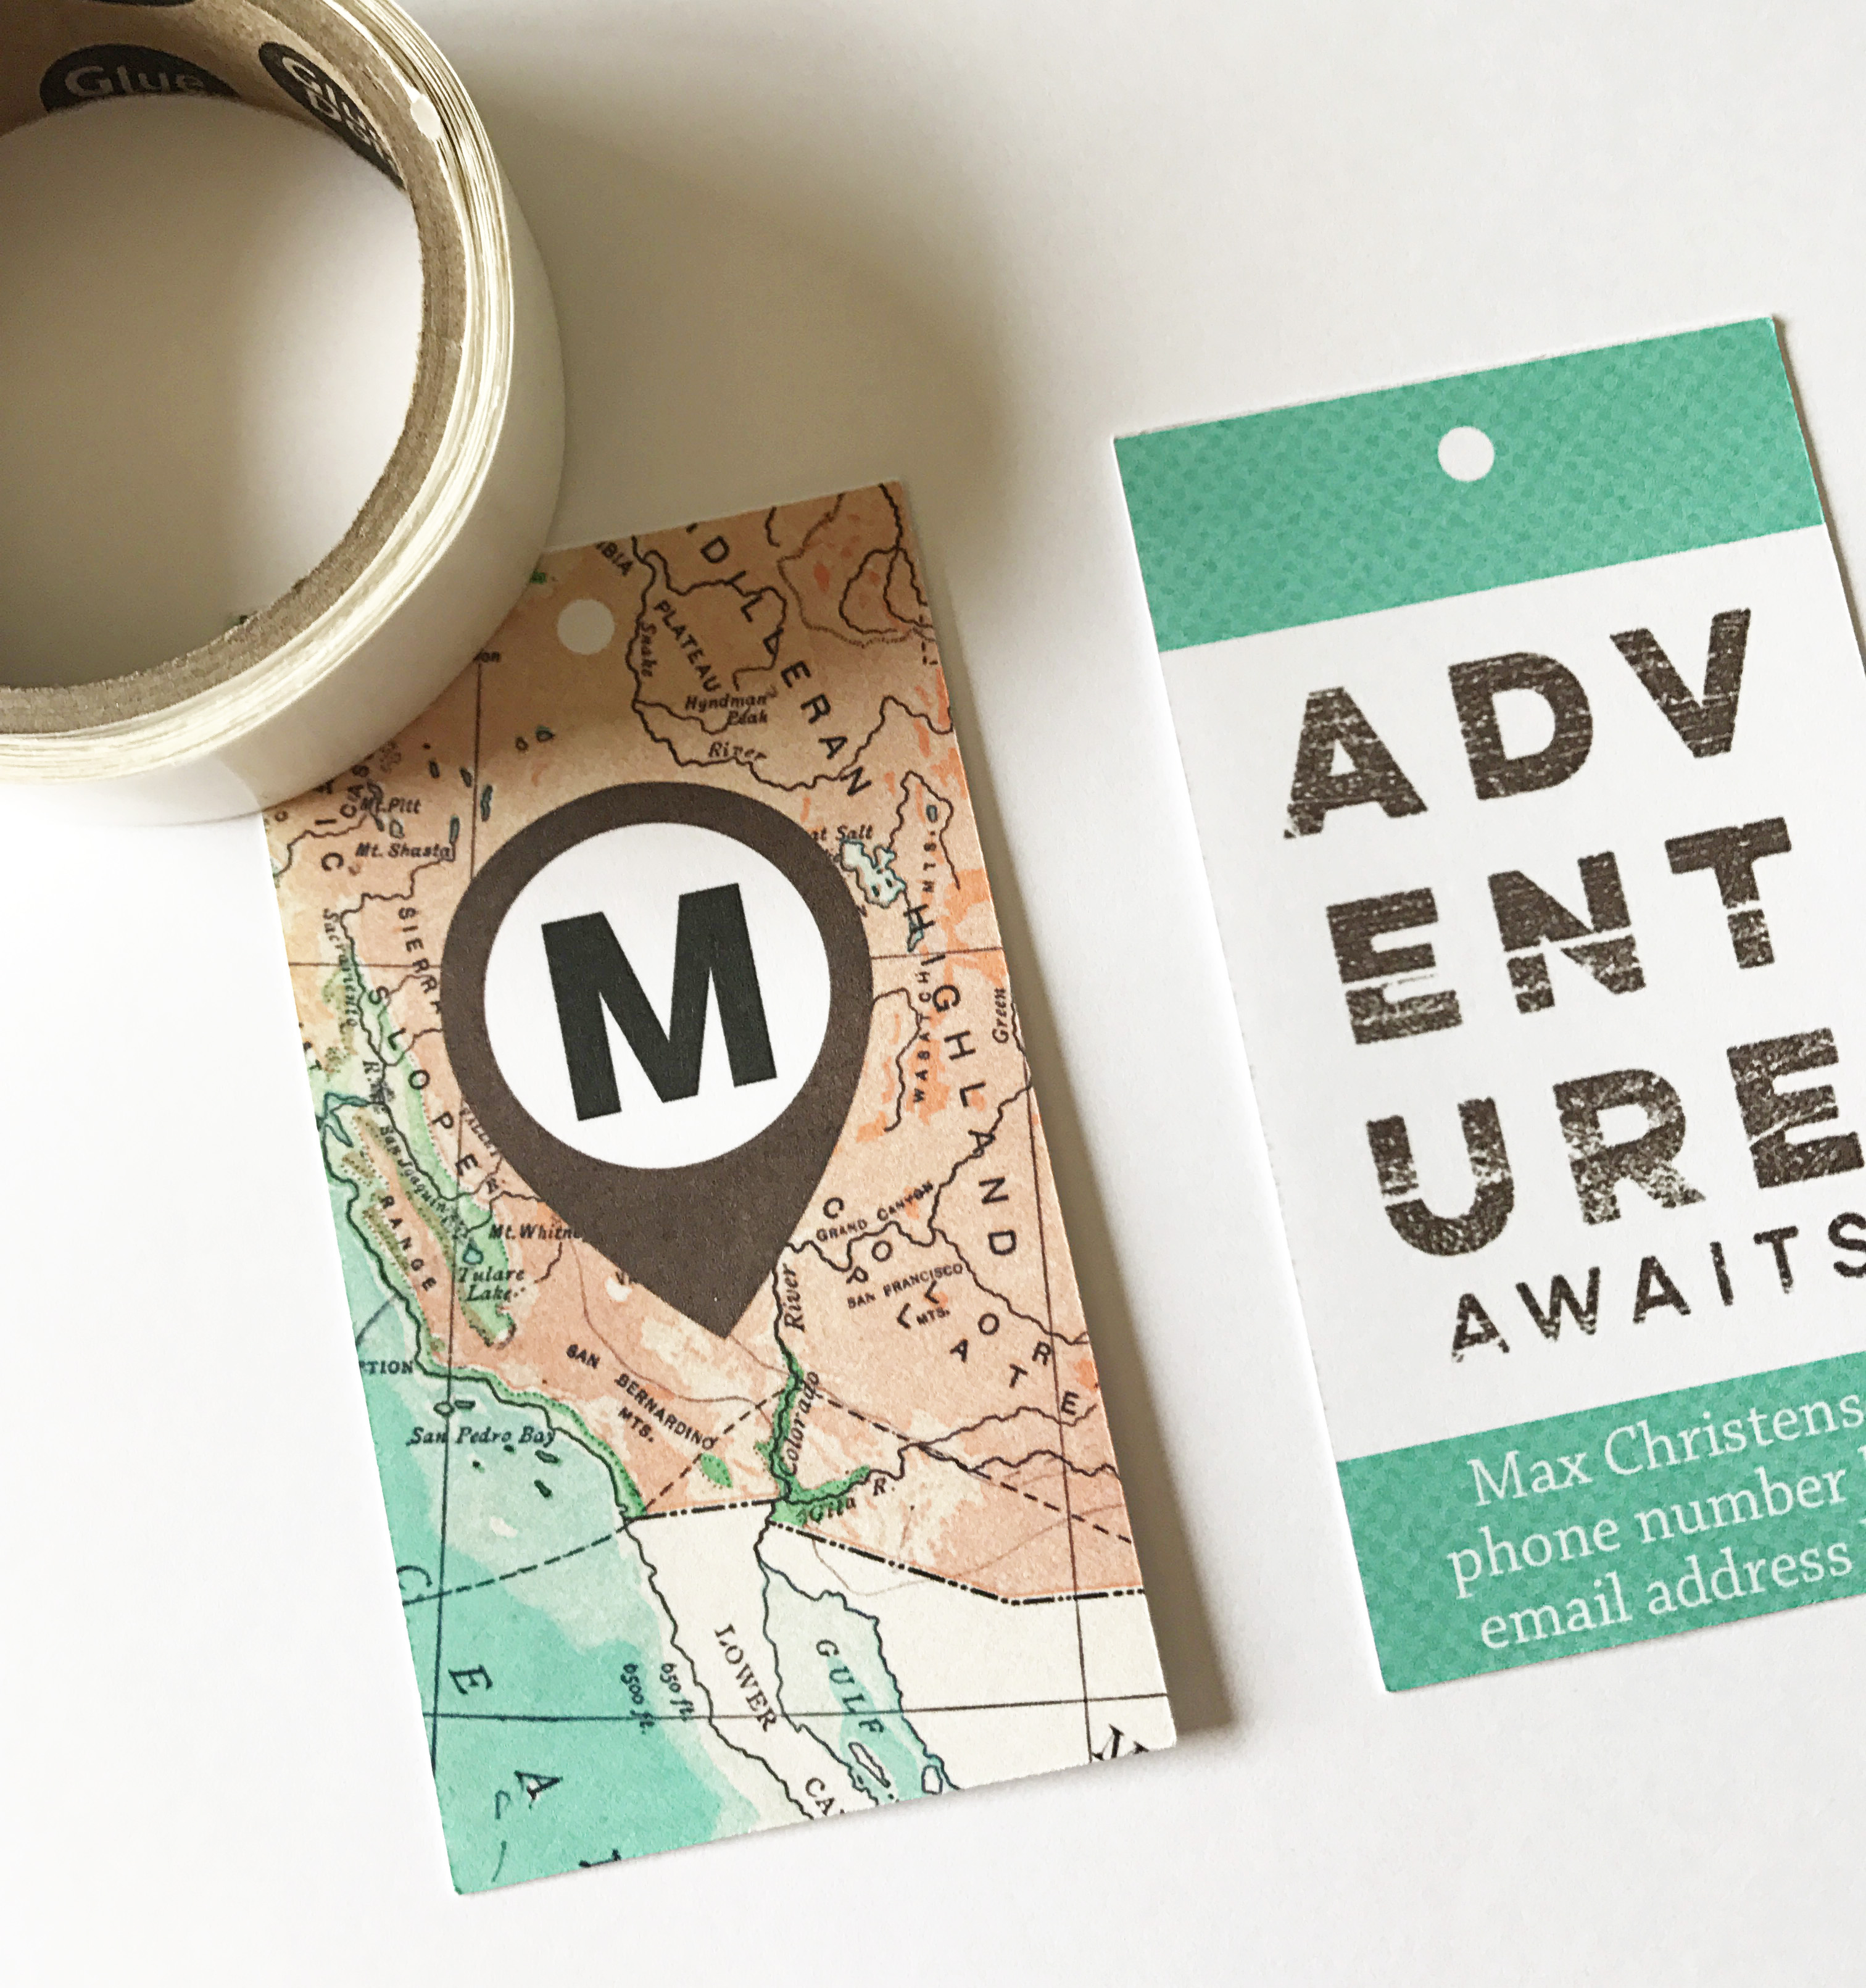
4. Place your tags on a self-seal laminating sheet, and add another sheet to the top. Using your nail or a smoothing tool, smooth out the bubbles — especially along the edges of the tags. Cut them out, leaving a little bit of lamination for the edges.
5. At this point, you can just punch a hole and add some string or ribbon for attaching to the luggage. I chose to add a colorful eyelet to each.
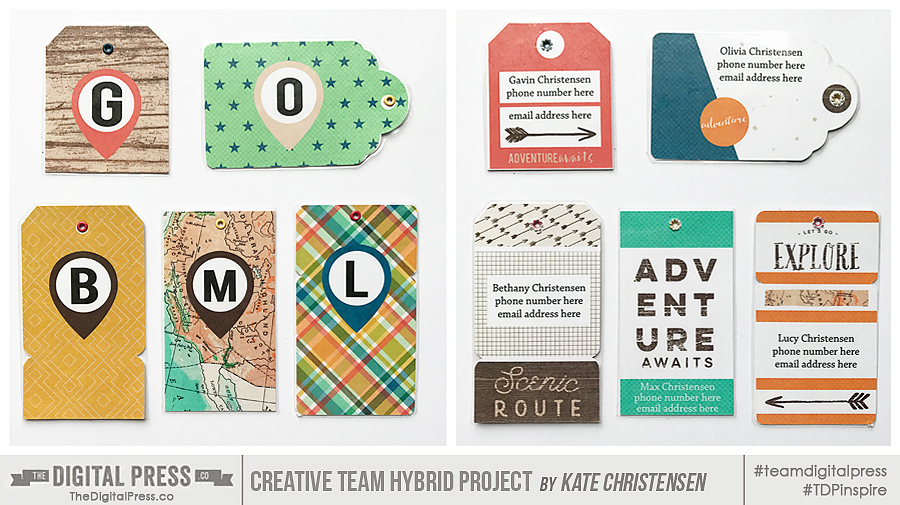
And that’s all there is to it! Easy, right? 🙂
If you want to give this project a try, you can earn TDP challenge points if you post a photo of your finished project in the May 2017 Hybrid Challenge thread in The Digital Press forum.
 About the Author Kate is on the hybrid team here at The Digital Press. She lives on the Utah/Colorado border with her husband, 5 kids, 10 chickens, and a dog named Gracie. She’s a city-born girl who found she’s really a country girl at heart. She can be found outside, barefoot, and probably in her garden.










 About the Author Andrea Albuquerque is part of the Hybrid Creative Team here at Digital Press. Andrea has been a scrapper since 2010 and a photographer since 2012. Although she adores the flexibility and creativity of digital, she can’t resist playing with paper, paint, and embellishments… so hybrid scrapping is the perfect medium for her! She lives in Brazil with her hubby.
 About the Author Morag Cutts is part of the Hybrid Creative Team here at Digital Press. Morag has been an avid scrapper and photographer for ten years. Although she adores the flexibility and creativity of digital, Morag can’t resist playing with paper and embellishments – so hybrid scrapping is the perfect medium for her! Morag lives in the UK with her hubby, two kids and recently adopted puppy.