Category: Tutorials

Tutorial Tuesday | Combining Patterned Papers

Hello everyone, and welcome to another edition of Tutorial Tuesday! I’m here today to share some tips on combining patterned papers on your layouts in visually pleasing ways.

Patterned paper is one of my all-time favorite things… but I avoided using much of it for a long time because I was intimidated by the idea of “how to use it correctly.” I tended to use just one pattern per layout in order to not have to worry about the patterns clashing, or about matching more than one pattern, etc. The fact is that combining patterned paper on one layout can be a challenge! Over the years, though, I’ve become more and more comfortable combining patterned papers… so I want to share a few tips that have helped me to be more comfortable using patterned papers together. Before we get to the tips, I want to remind you to have FUN with patterned paper… it is all about experimenting and trying different things!

Tip #1: Keep It Simple

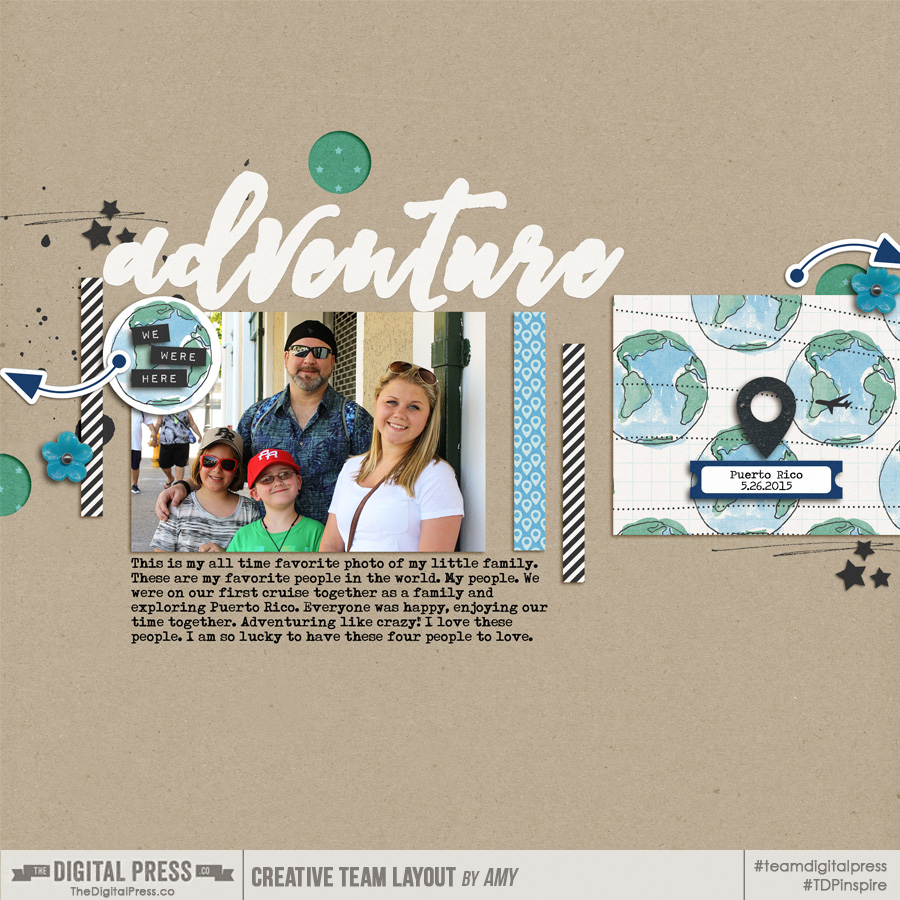
Try to remember that a designer designs the patterned papers together for a given kit because they go well together. Use that to your advantage and use the papers from one kit together since they are likely to go together easily. Using patterns from different kits can be difficult since lining up color schemes and patterns can be challenging. This layout is one that I created using Dawn by Designs’ Globe Trotter kit. The patterned papers in this kit go so well together – each one complements the others. The papers that Dawn by Designs created were perfectly suited to one another and made this page all the more special!
Tip #2: Focus on Neutrals

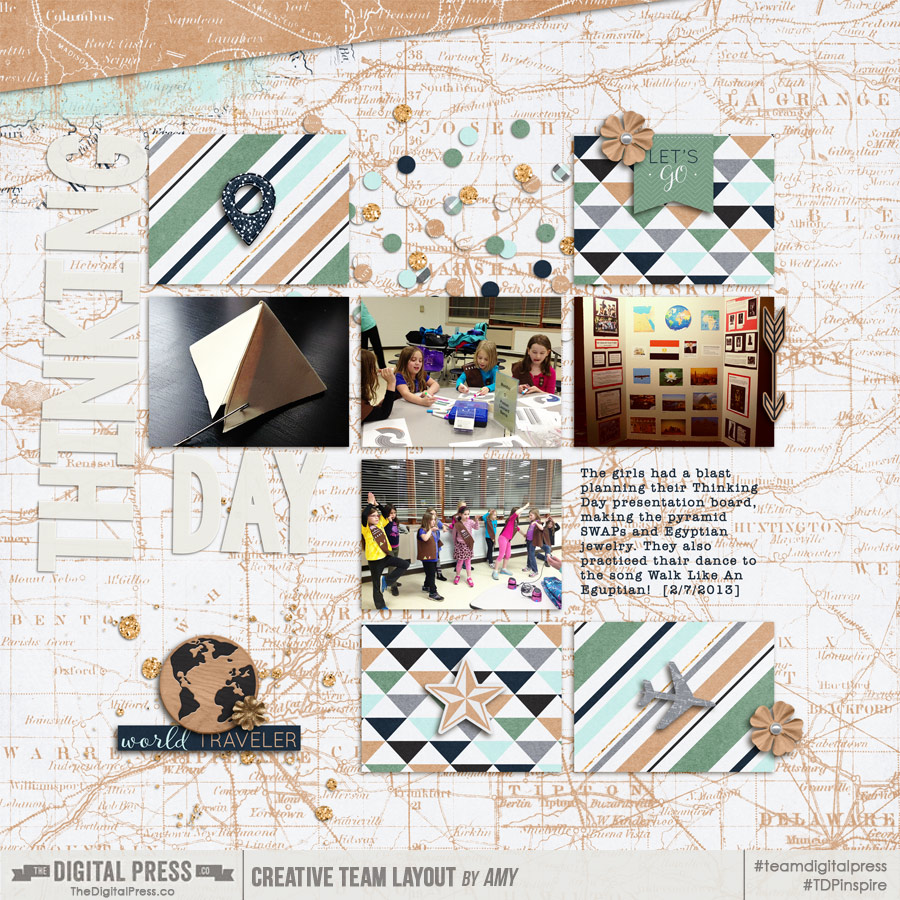
I have found that using one pattern as a neutral to ground the other patterned papers is a great way to balance the patterns on your page. Your neutral pattern can be any pattern that you feel like will help the other patterns come together cohesively. I’d recommend using a large pattern that incorporates most of the colors you plan to use so it can act as an anchor for the rest of the patterns. Another option is to choose a pattern that contains the more neutral colors of the overall color palette which allows you to add other more colorful patterns without your page looking busy. For this layout, I chose a large map pattern that uses the neutral colors of the overall palette in order to add the more colorful patterns throughout the page. That map pattern really anchored the page and kept the page cohesive.
Tip #3: Choose a star!

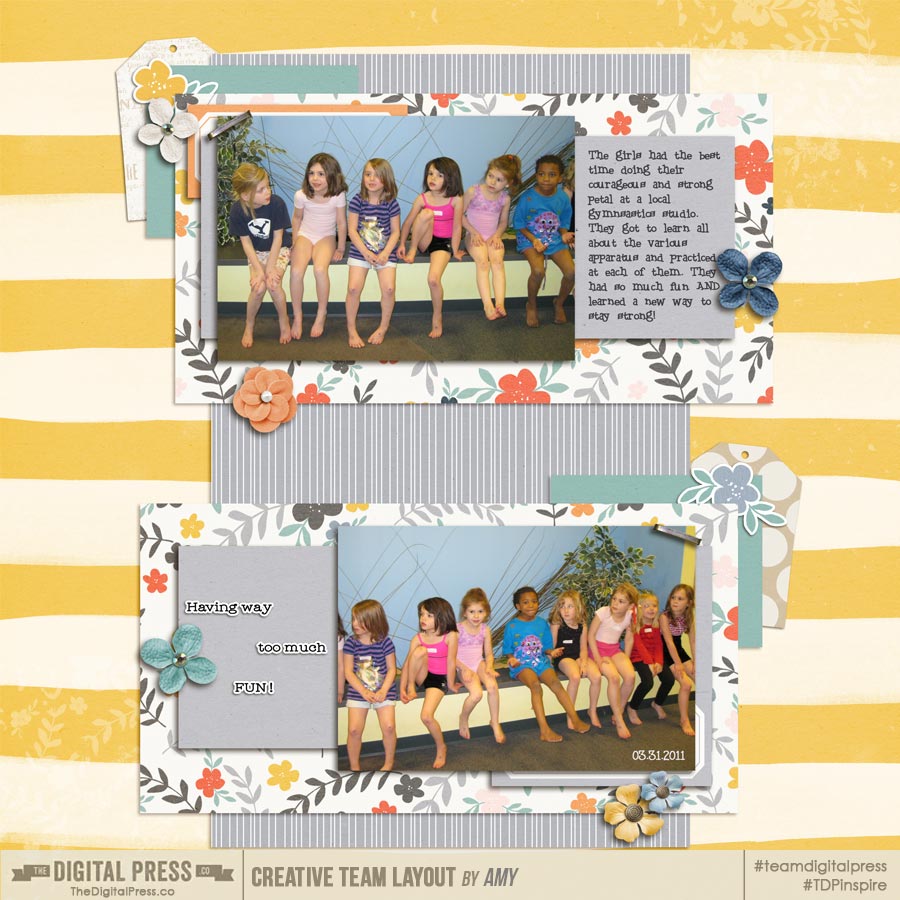
Choose one bold pattern to be the star of your page and then add a couple of medium patterns to support the main bold pattern. You can then add subtle patterns or solids to round off your page and bring it all together. For this page, I chose the very bold yellow stripe to be the focus of the page but added the medium patterns (grey stripe, flower pattern) which came together nicely with the bold yellow stripe. Lastly, I added a few smaller bits of solid colors to bring the various patterns together.
Tip #4 – Just Go For It!

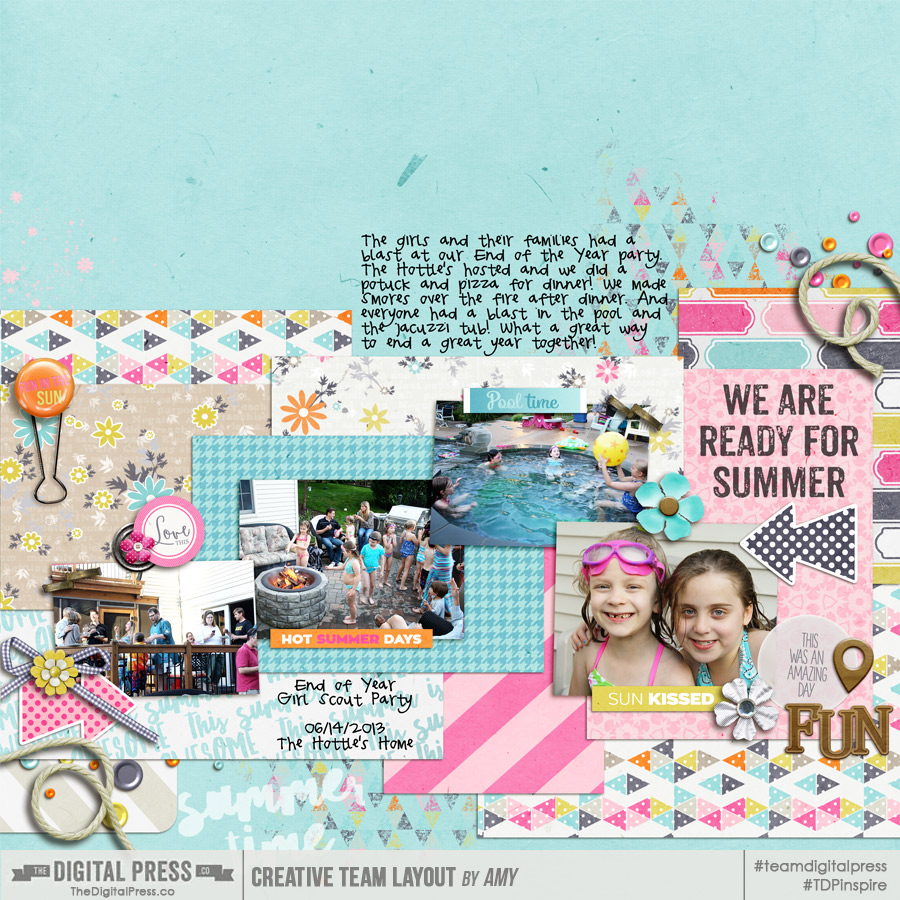
I suggest you also give yourself the freedom to just go for it! Use a solid for the base of your page but layer a variety of patterns in different sizes across the page. In my opinion, contrast is key with this method. If the patterns or colors are too similar or of the same intensity, the page won’t look as cohesive as it could. While creating this page, I decided to use a blue solid as my base but then layer a variety of patterns over top of the solid. I made sure to put the patterns down in a way that really added as much contrast as possible which made the patterns work better together than if I’d layered them differently.
Tip #5 – Use Simple Shapes

Using simple shapes with patterned papers will help frame your page and keep it from looking busy. The simple shape such as a square, circle or a rectangle will help balance the boldness of the patterns and make your page look a lot more cohesive. With this page, I decided to frame my photo with squares of patterned papers in order to keep the page from looking off balance. The simple shapes of bold patterns can really ground  your page and make it visually pleasing to the eye.
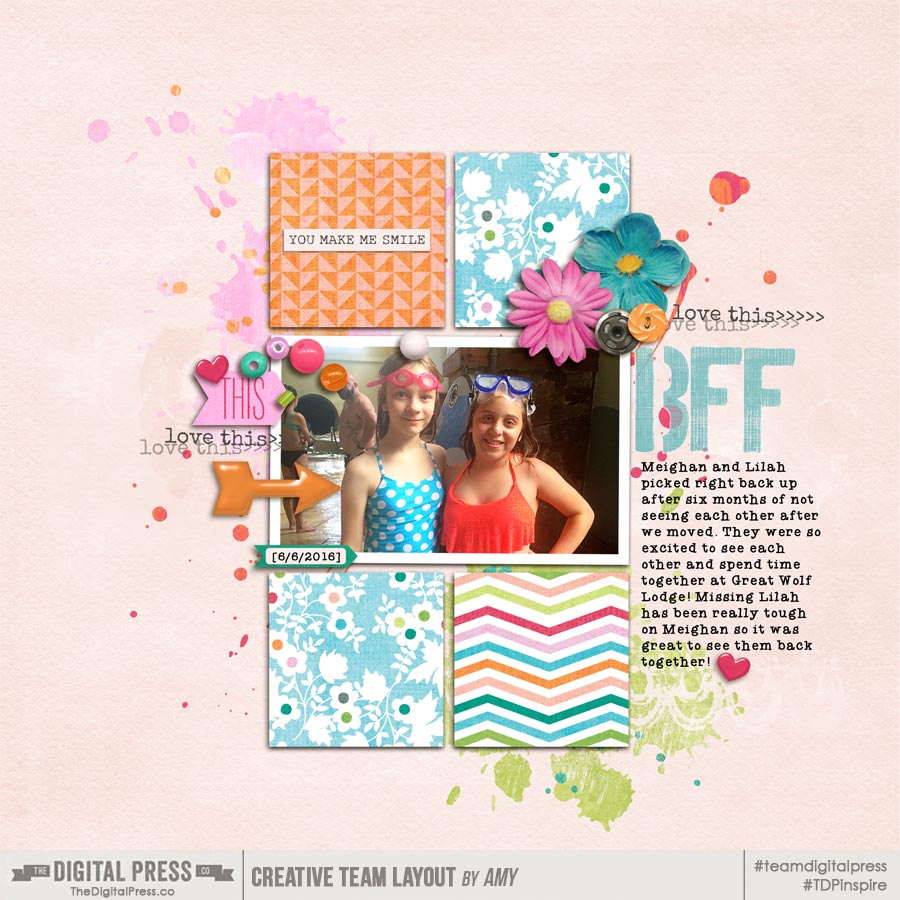
I really hope that these five tips will help you to increase your comfort with using patterned papers together on your scrapbook projects. Don’t shy away from the bold patterns … in fact, embrace the boldness and showcase them by using these tips! I think part of the joy of creating scrapbook projects is getting to use all of the patterned papers that I love, regardless of how bold they are! Trying some of these approaches to combining patterned papers will give you more options for using lots of different patterned papers on one project without feeling like it looks like a crazy mess! The most important thing to remember is that using patterns is supposed to be fun. Give it a try and see what you can come up with! I bet that you’ll find it to be much easier than you expected! Good luck!


Amy

About the Author  Amy lives in Richmond, Virginia with her husband of  17 years and their 12 year old boy/girl twins. Their 21-year-old daughter has recently begun graduate school at Clemson! Amy has been scrapbooking since the early 1990s but discovered digital scrapbooking in 2005 when her twins were born and has primarily scrapped digitally since that time. She is passionate about telling her family’s stories and documenting their life together! Amy is a huge reader (mostly literary fiction), and is a pop culture junkie! She also LOVES all things beauty & makeup!

Tutorial Tuesday | Titles Matter

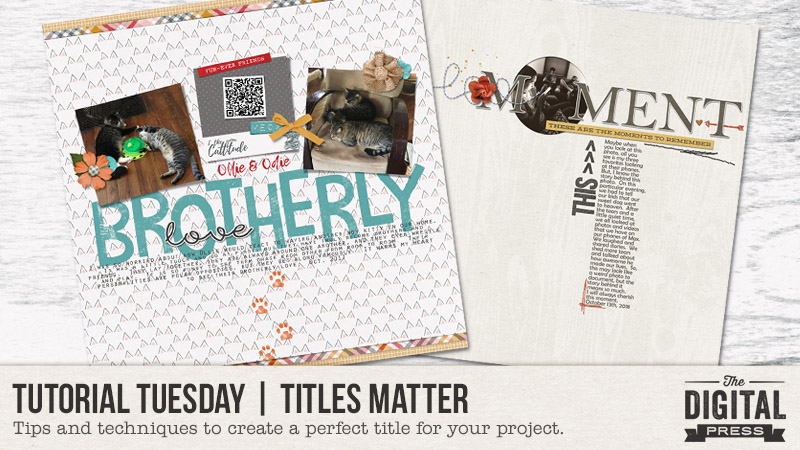
Welcome to another edition of Tutorial Tuesday here on The Digital Press blog! Today I’m going to talk about using titles in your digital or hybrid scrapbook pages. Titles actually do matter. Why, you ask? The title gives your page a clear and concise connection between your photos and your journaling. Basically, it ties together the ingredients in your memory-keeping. It can often create balance in your layout, and it can even be the focal point of your project.

Titling my projects is something that I sometimes struggle with, but as I learn more about the elements of a balanced scrapbook page, I realize it’s an important piece of the whole and not to be ignored. In that spirit, I have for you a few tips and techniques that can assist you in creating a unique and clever title.

  1. Keep it short. A long, wordy title can easily dominate a page or project without intention. Remember, you want to create balance… so the title should be just a few words to let the viewer know at a glance what to expect from the project. Your journaling will then explain in more detail what the story is and how it connects to the photos.
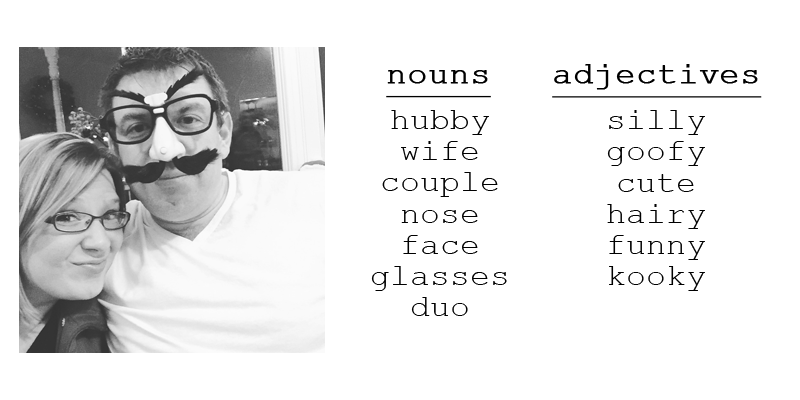
  2. Keep it simple. This goes hand in hand with number 1. You want to keep it simple so the title doesn’t monopolize the entire page. One way to do this is to use the technique of ‘word mining’. This is basically making a list of nouns, verbs, adjectives, and adverbs describing your photo. You can be as specific or generic as you want, or you could start more general and get more specific. Here’s a simple example so you can see what I mean. After jotting down your words, you can come up with a title using any combination, like “Hairy Hubby” or “Kooky Duo”… 
  3. Use the tools available. Pinterest has countless pins that can be used for title inspiration. When I mean countless, I mean it. There are so many ideas and themes and quotes, the mind boggles. The other valuable tool that I absolutely treasure and use all the time is an online thesaurus. It’s literally as simple as typing in a word and hitting enter. You will get loads of synonyms for that particular word. Word of advice, though… maybe don’t use it on every word (like Joey… high five to those that got that without watching the video!).

Once you have figured out what your title is going to be, you just need to figure out how you are going to incorporate it into your project. Speaking for myself, as I start to plan my layout I often use a ‘place holder’ for my title. In other words, I typically just type ‘title here’ on my draft page, and as my layout evolves I can move it and size it to create balance. You can use alpha sets or fonts to create titles (for more on mixing fonts for titles, check out Tutorial Tuesday | Combining Fonts). Titles can even be shadowed or distressed to look like stamps. They can be very large or small depending on how many photos you have on your project. You can even use word art or pre-designed titles. The possibilities are truly endless.

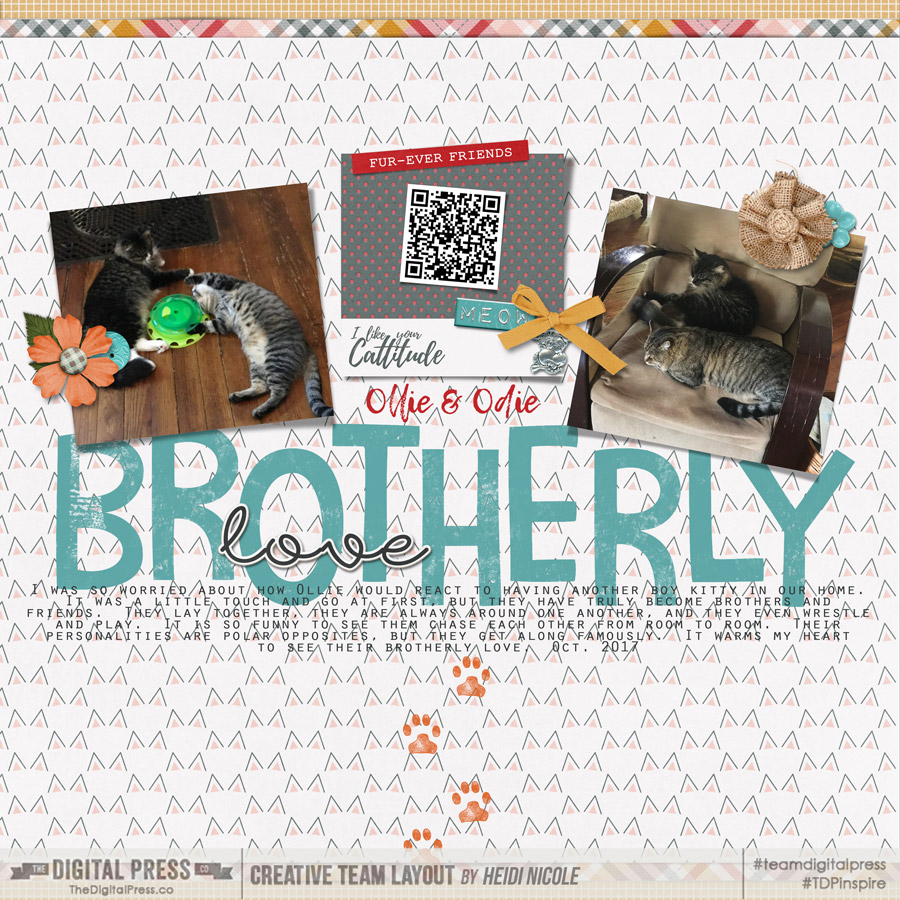
I’m going to show you two examples today. The first uses a large stamped title…

[ credits: Purfect Tales by Anita Designs and ninigoesdigi Kit and Cards and Alpha Stash No. 5 by Tracie Stroud ]

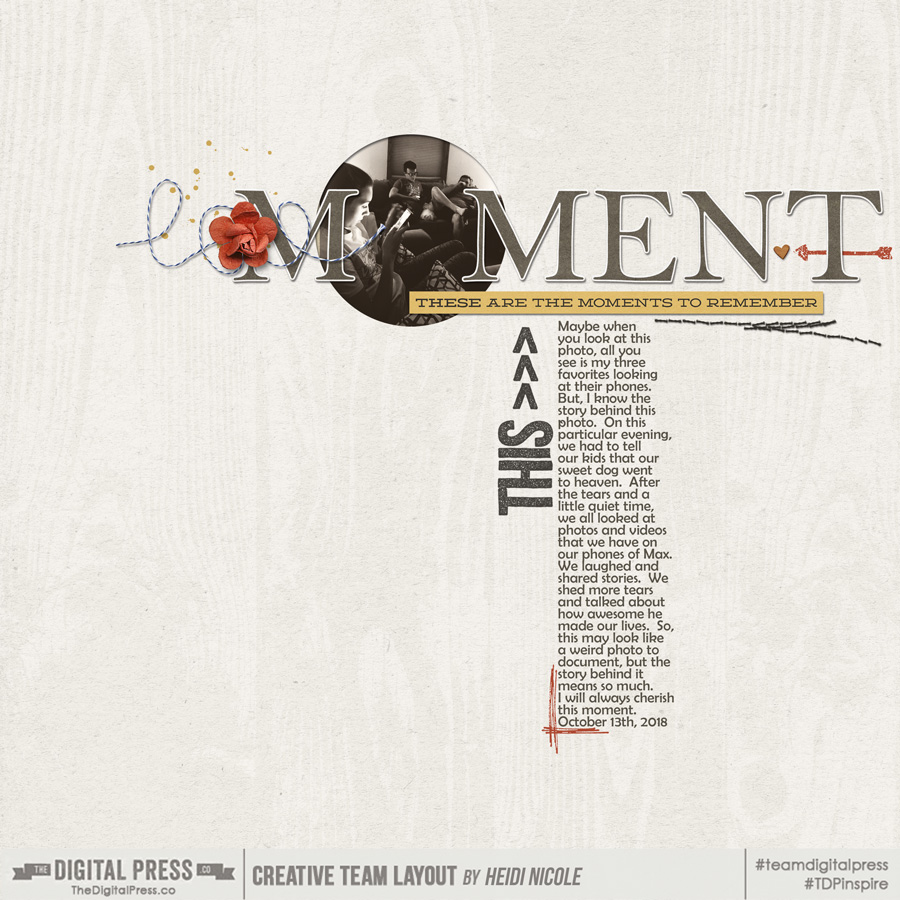
The second example uses a cutout technique inside my title (if you want to learn more about creating a cutout, please check out TDP CT member Corrin’s Tutorial Tuesday | Creating a Cut-Out)…

[ credits: Tender Little Moments | Digital Kit by Dawn by Design ]

As you can see, the title in each layout becomes part of the layout… which creates a complete, balanced, design that is easy on the eye.

My hope is that using these tips and examples will inspire you to create a catchy title for your next digital project! Maybe you are a rock star and you always title your layouts, but if you are anything like me… it will take a little bit of effort (and trial and error) to create a beautifully-titled page. Either way, we can learn from one another and inspire each other… and with that, I hope to “see you” in the gallery at TDP!


About the Author:  Heidi Nicole is happily married to an amazing man, a step mama to 2 wonderful kiddos, and mama to 3 sweet and sassy furbabies.  She’s a radiation therapist by day and creator of pretty things by night (she’s pretty confident that she’s hit super hero status, but refuses to wear a cape.)  She loves cats and huskies, coffee, audio books, FRIENDS reruns, St. Louis Blues hockey, cooking, baking, and traveling.  Oh, and wine… she really likes wine.  She lives a normal and happy life, and enjoys all the absolutely extraordinary people she gets to share it with on a daily basis!

Hybrid How-To | Using Journal Cards to Design Hybrid Layouts

Hello everyone! It’s the third Saturday of the month, and therefore it’s time for another edition of our Hybrid How-To series here on The Digital Press blog!

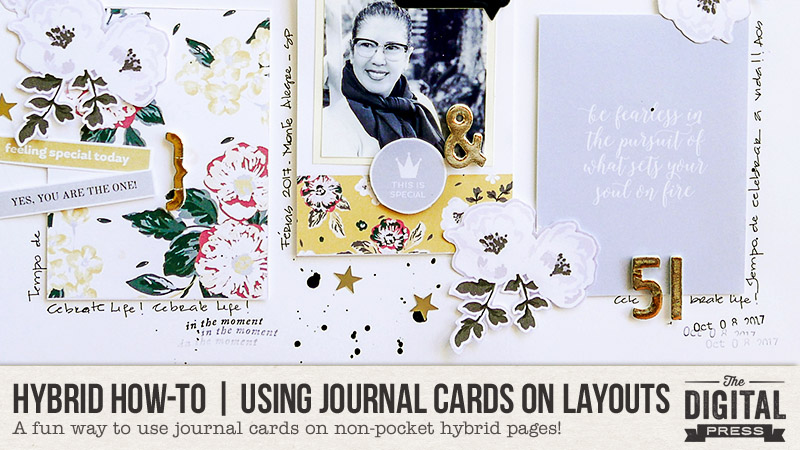
Today, I’m going to show you how to use digital journal cards in a fun way — to help create non-pocket-style hybrid layouts!

Supplies Needed

  • 12×12 white cardstock (or any other color and size, as you prefer)
  • Any physical supplies/embellishments you might want to add (I used enamel stickers, gold foam stickers, and little gold stars)
  • Stamps and spray paints
  • Digital kit of your choice (I used Limited Edition By Sahin Designs)

Instructions

First, I always start my project in Photoshop. I opened a new document in Photoshop and used a canvas that was the same size (12×12) as my eventual physical layout.

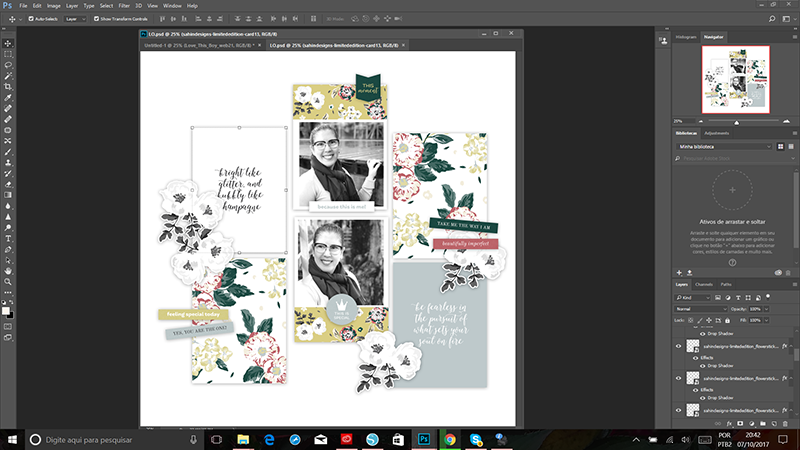
Next, I chose to work with a grid design for my page. By dragging different cards and elements from my digital kit onto my canvas in Photoshop, I made a digital version of the layout. I love to work this way; it’s easy and quick, and a great way to see the final result before I actually glue things together.

Here is a screenshot of my workspace in Photoshop…

I had so much fun arranging my cards, photos and elements until I became happy with the result. I really love this process. But when the digital version is done, the even more fun part starts. It’s time to cut and paste!

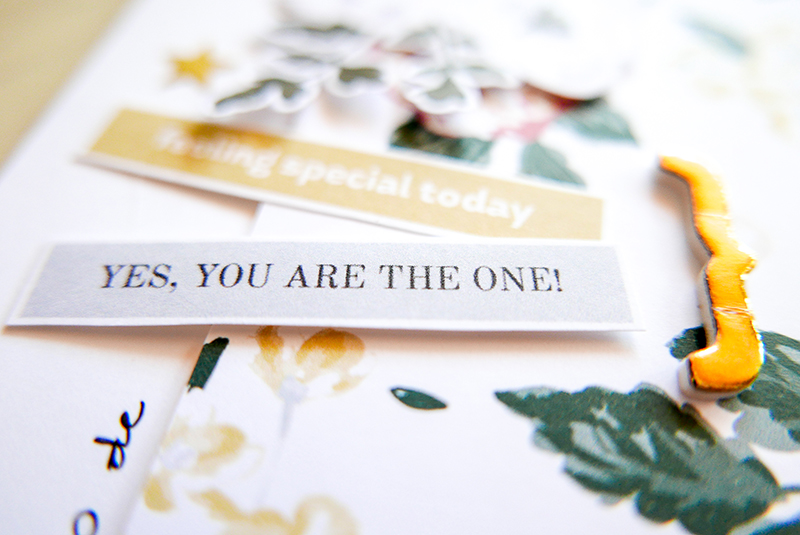
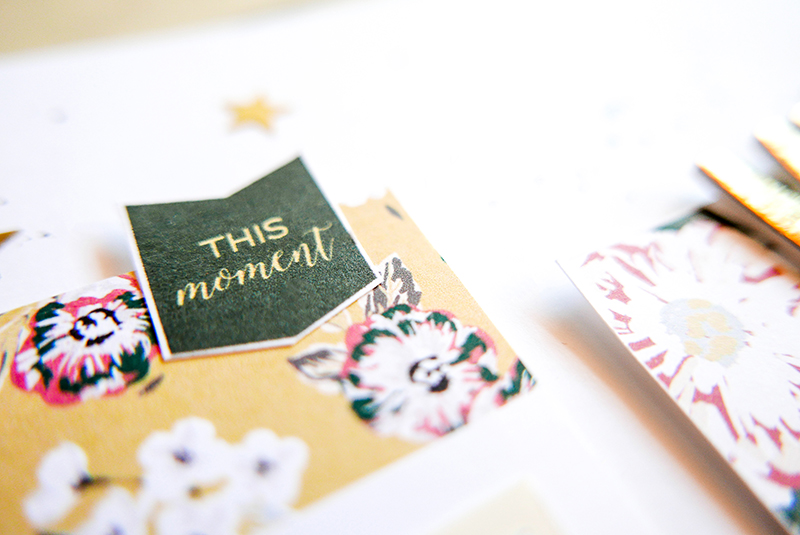
At this point, we will have to use different adhesives and try to give dimension to our project. It really brings interest to the page. For some elements I used regular double sided tape, and for others, I used foam tape (raised/dimensional). I also used foam tape for the journal cards. I think it helps them to pop up on the page and have more focus.

Here is a close-up look, showing these different dimensions in the layout as I worked…

Here’s another look…

Once all things are glued, it’s time to bring our page to life and give it texture with some physical elements, stamps and paint splatters.

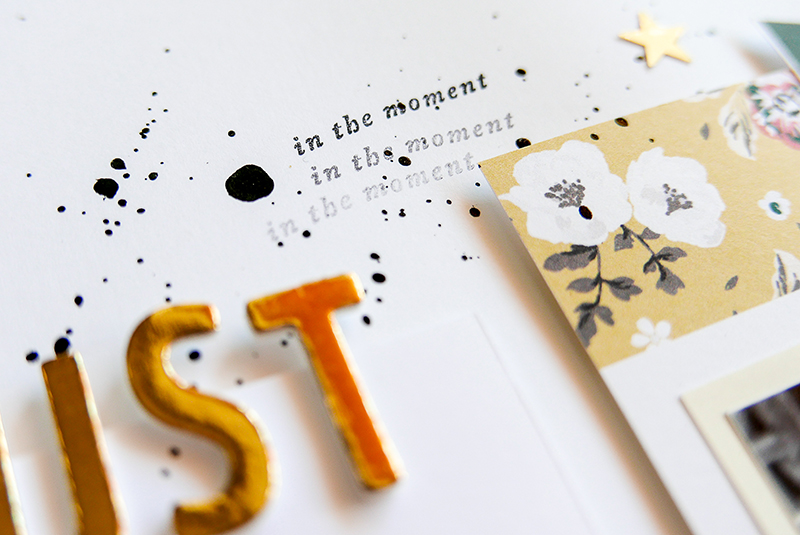
I love to use small stamps and use the ghosting technique which consists in stamp more than one time without put more ink on the stamp. It brings a lovely texture to the project. I also like to add contrast to the page by adding some paint splatters in black.

All these add-ons and the physical embellishments give more interest to the page. I really love this part of the process.

In order to embellish my page, I used some gold foam tickers for my title, an epoxi speech bubble, and some little gold stars.

Here is another close-ups view (note the stamps and paint)…

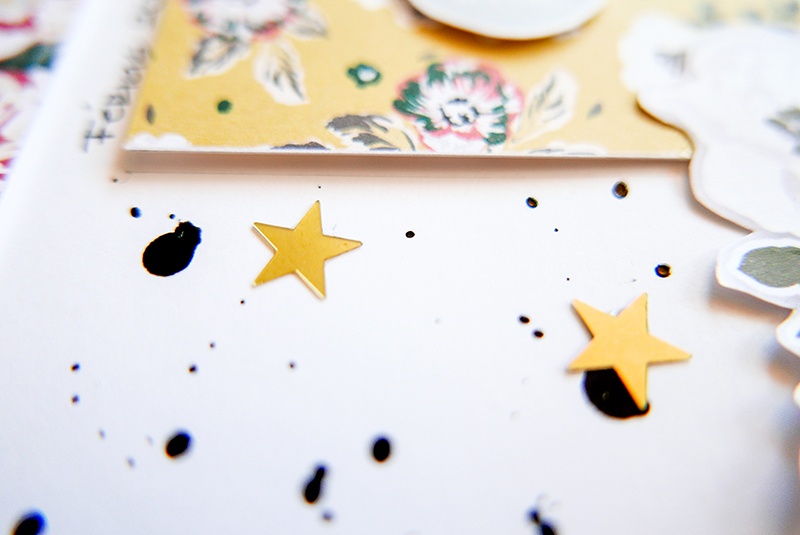
And here’s a good look at the pretty gold star embellishments I added…

_1020908

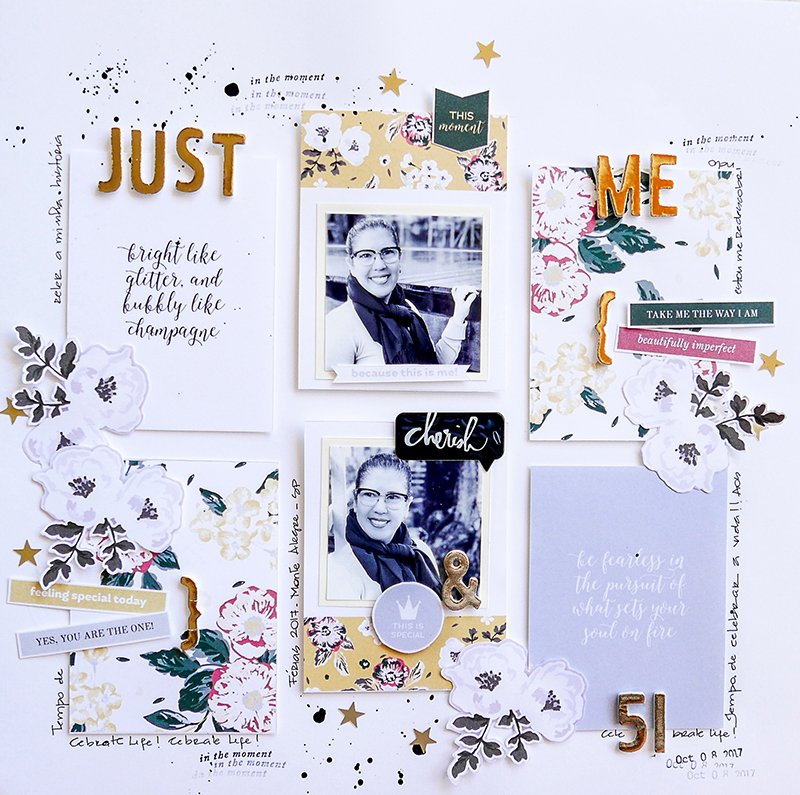
I chose to write my journalling along the cards to ensure that my page will be cohesive. Here is a look at the final result…

As you can see, using digital journal cards is a fun and easy way to make a beautiful, quick, and cohesive layout.

If you’d like to give this a try, too, don’t forget that you can earn challenge points at The Digital Press! Come visit the CROSSWORD SECTION in The Digital Press forum, and you’ll find this month’s Hybrid Challenge thread (*NOTE* for each month’s Hybrid Challenge at TDP, you get to choose one of the two (2) “Hybrid How-To” tutorial posts from here on the blog for that month, and then you get to make your own version of that chosen project). If you choose to give today’s project a try… all you have to do is make a hybrid layout using digital journal cards and elements that have been printed and cut into a physical format (similar to mine, but it doesn’t have to be identical in size or format — you can do what works for you!).

Give it a shot, and share your final results with us! We can’t wait to see what you come up with. 🙂 Have a great weekend… and happy scrapping!


About the Author  Andrea Albuquerque is part of the Hybrid Creative Team here at Digital Press. Andrea has been a scrapper since 2010 and a photographer since 2012. Although she adores the flexibility and creativity of digital, she can’t resist playing with paper, paint, and embellishments… so hybrid scrapping is the perfect medium for her! She lives in Brazil with her hubby.
Tutorial Tuesday | Transforming Templates

BlogHeaderTemplate

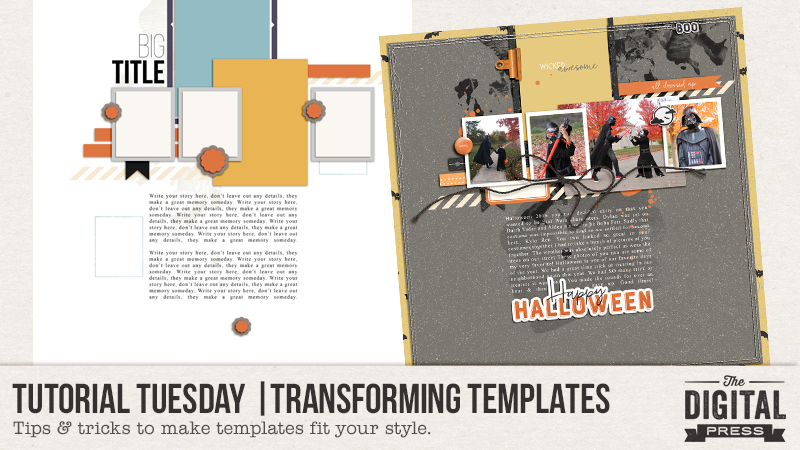
Welcome to another edition of Tutorial Tuesday here on The Digital Press blog! Today, I thought it would be helpful if I shared a few ways that you can creatively transform templates to fit your scrapbooking needs! These tips and tricks will help you get the most bang for your buck when purchasing and using templates!

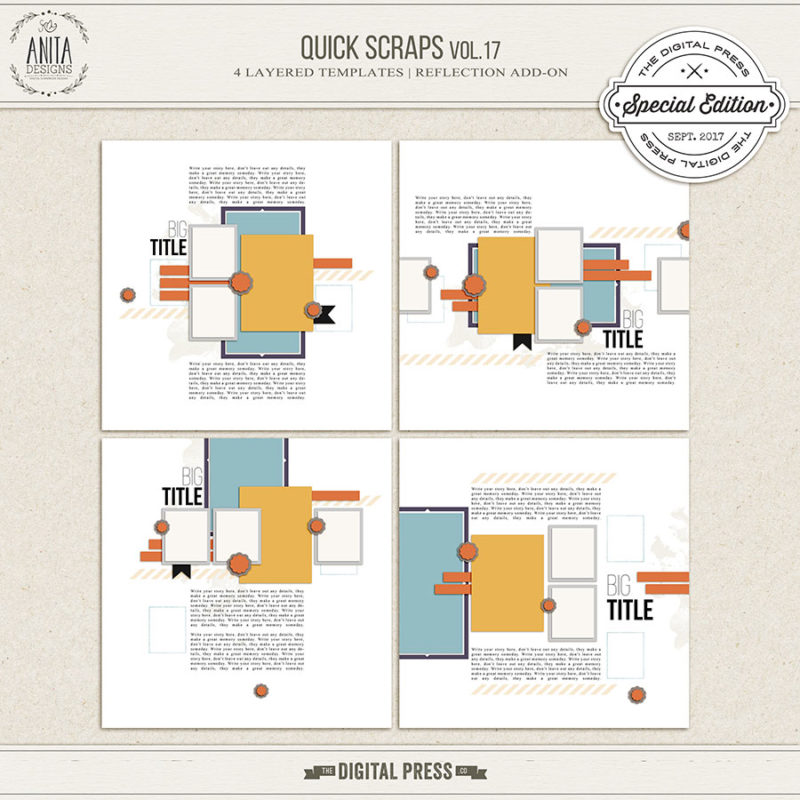
More often than not I find I have more photos that I want to scrapbook, than the template allows for. To remedy this I often add in more photos in places on the template that are suggested to be papers. For this layout I use Anita Designs Quick Scraps Vol. 17:

ad_quickscraps17_preview

I altered the bottom left template by rotating & adding a photo to the spot that could have been background paper. I love the look of the larger unframed bottom photo behind the three framed photos. It gives the layout more dimension, helps tell the story & visually leads your eye across the page.

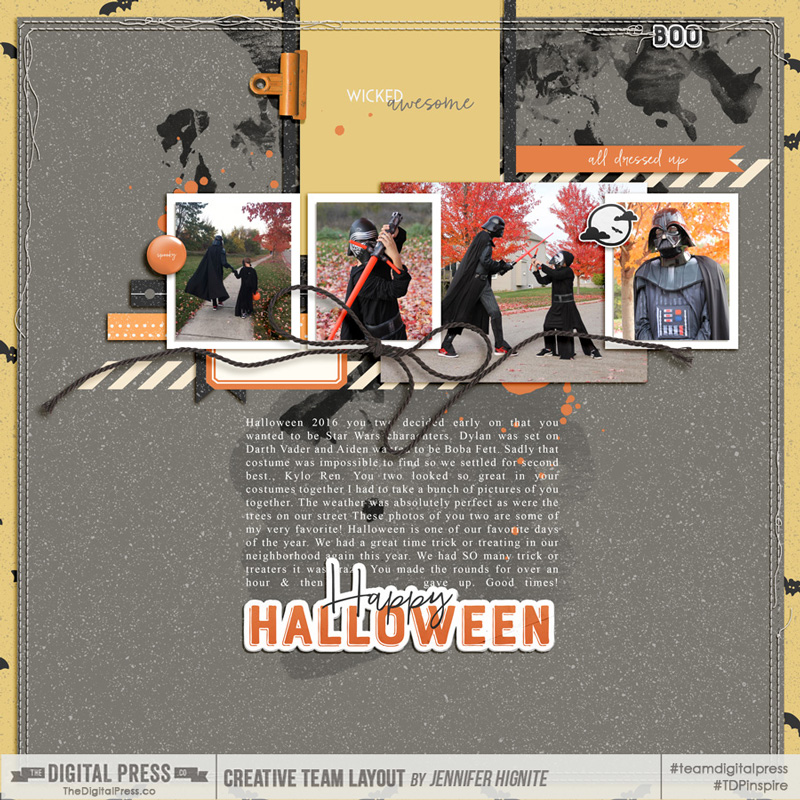
wicked-awesome_webJH

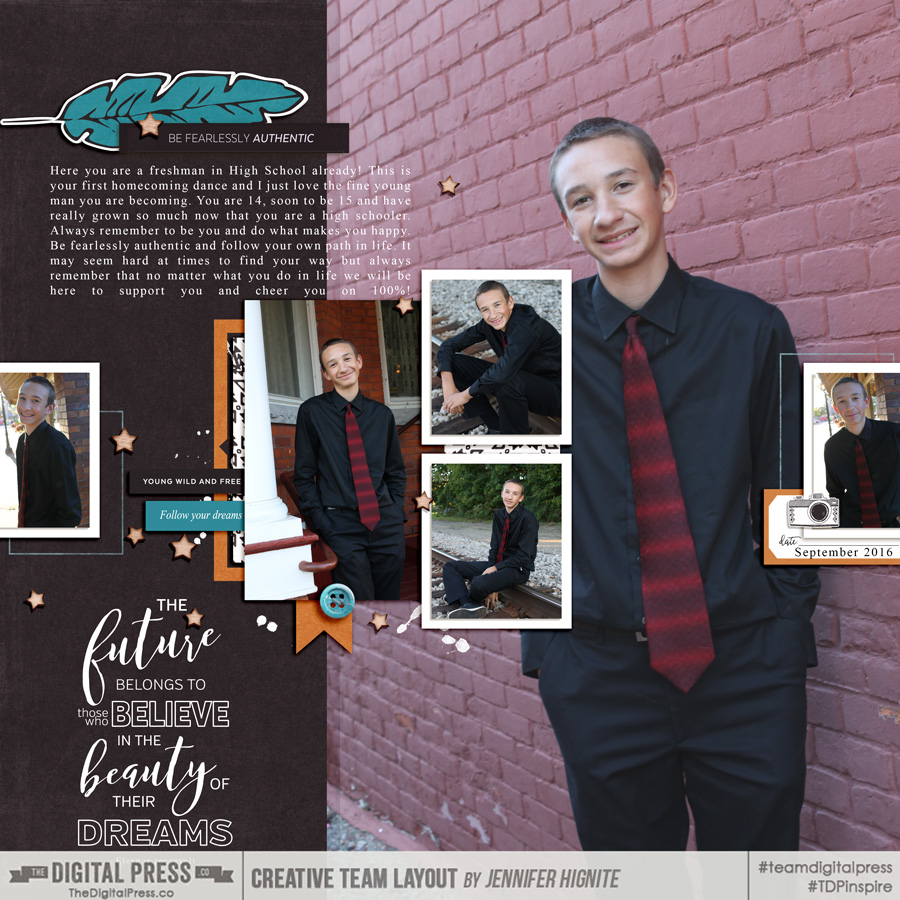
For this layout I used another template from the same pack (the top right template) and added a large photo underneath the layers of the template. Large photos help showcase the subject of a page and  are a a great way to catch the eye of the reader.

young-wild-and-free_web

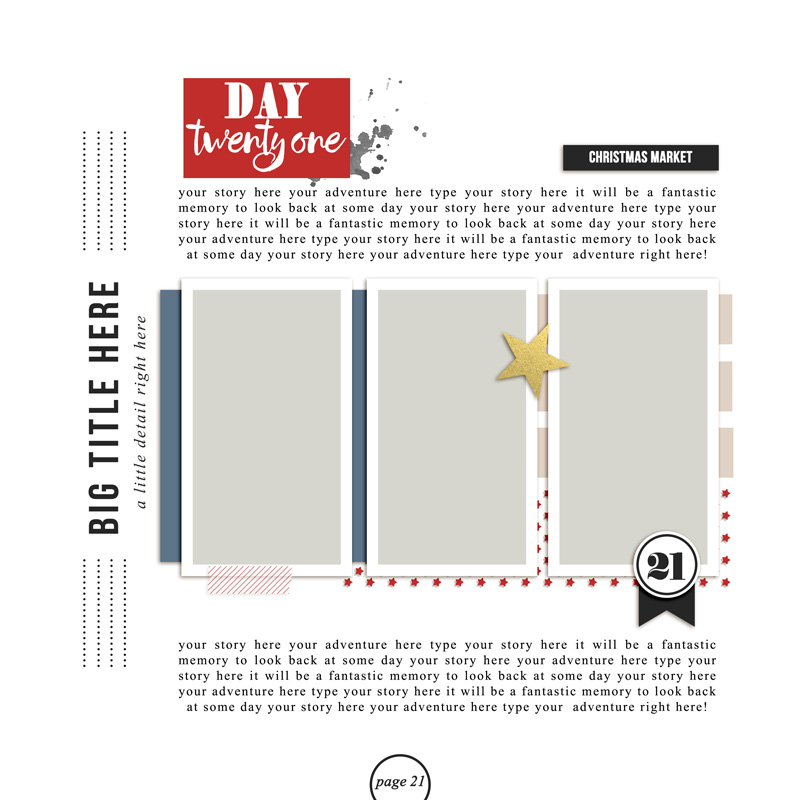
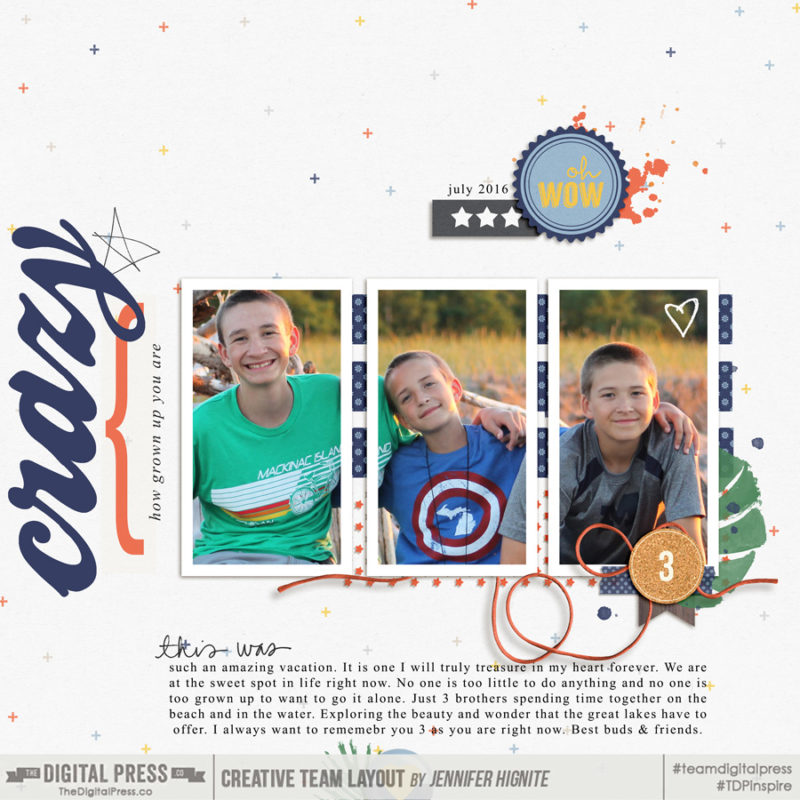
Another way to use templates is to break up your single photo to fit multiple spots. For this layout I used another template by Anita Designs A December Story Captured (template 21)

ad_adecstorycapt2016_tp21

I placed a single photo in the three photo slots in the template. To get this look I merged the three photo layers (Command +E) in the template and then placed my photo on top of that layout and clipped it (Command +G) to the frames.  A super easy and unique look to make a template work to tell your story!

crazy_webJH

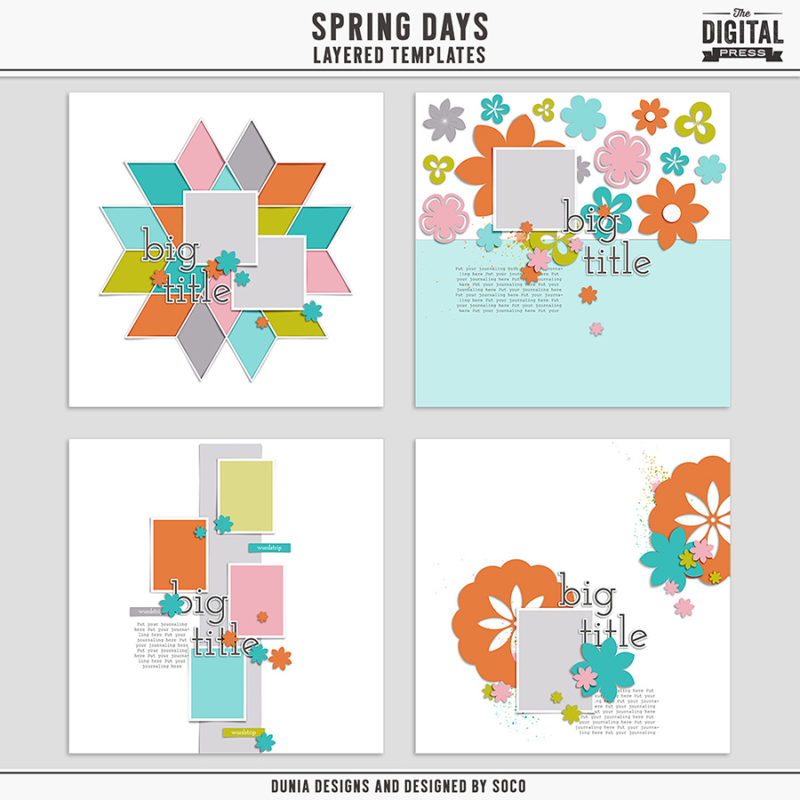
You can also rotate and delete parts of a template to make them work for your layout. I did exactly that with the bottom left template by Dunia Designs:_dunia_soco_springdays_templates

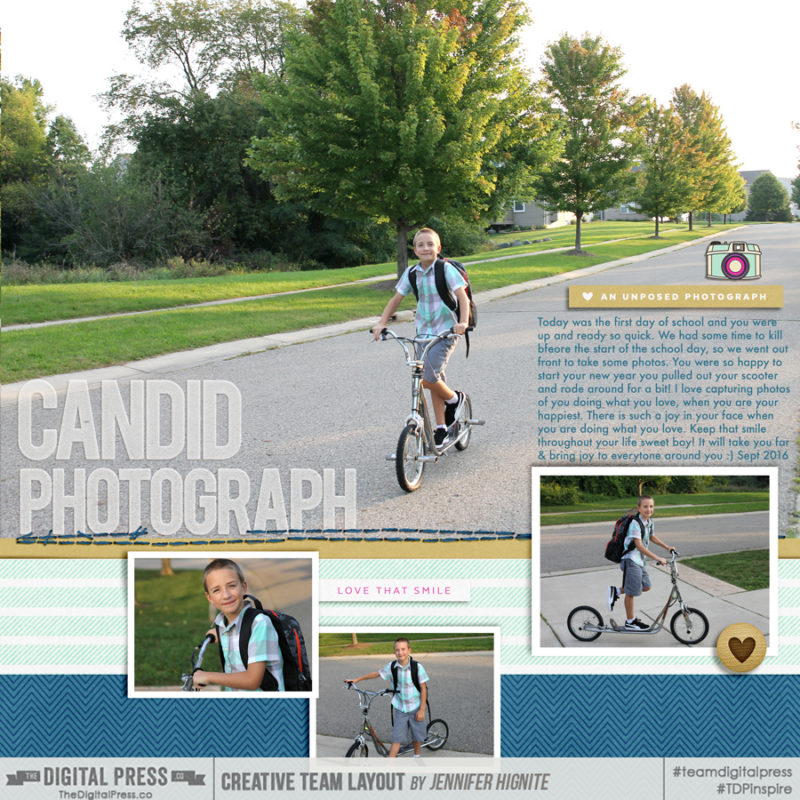
Again a large photo takes center stage of the layout. I rotated the entire template and moved everything to the bottom quarter to make more room to showcase the large photo. You can always move and tweak a template to make it work. Start with the end in mind and you can make your vision come to life with a few little changes!

candid-photograph_web

Remember just because a template is set up one way by a designer, it doesn’t mean you have to keep it that way! Change those templates up and make them work for you and your personal style! Happy Scrapbooking!


JenniferHigniteJennifer Hignite is a mom of three boys and new homeowner with her fiance in the mitten state of Michigan. When she is not scrapbooking, she enjoys photography, watching her boys play sports, decorating, and shopping at Target.
Tutorial Tuesday | Customizing Your Workspace

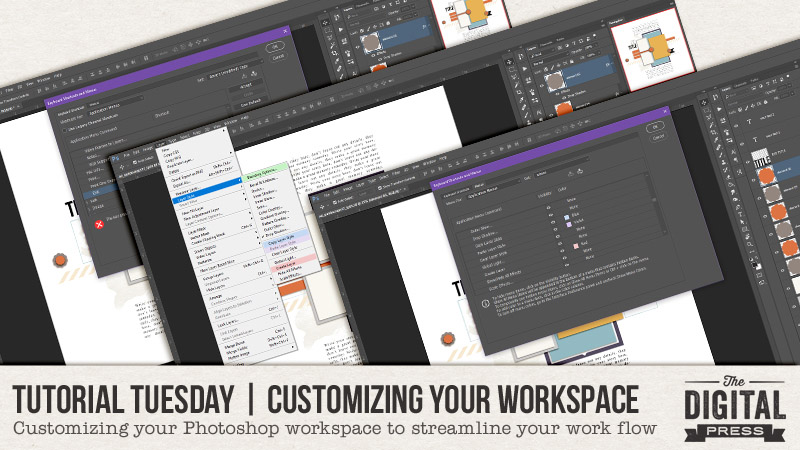
Welcome to another edition of Tutorial Tuesday here on The Digital Press blog! Today, I thought it would be helpful if I shared a few ways that you can streamline your work flow by customizing settings/etc. in your Photoshop workspace.

I have set up my own Photoshop workspace (in Photoshop CC) panels & shortcuts… in order to help me spend less time working, so I can scrap faster! Faster is always better in my busy life! Once you customize your own workspace, you will love how much faster and easier you can whip out those beautiful works of art!

Rather than try to explain this in a wordy block of text… I thought it would be helpful, instead, to spend a few minutes walking your through my process (and my workspace) in a handy video format, instead! 🙂

*NOTE* in the video, above, when talking about the “Warp SHORTCUT” – I said “shadow” instead! Whoops! (so wordy this video was!) 😉


Amie About the Author  Amie is a craft-loving dental hygienist who lives in Washington state. She loves her husband, her two kids (ages 9 & 6), and her English Bulldog… as well as coffee, baking cupcakes, daffodils, glitter & sprinkles, reading a good book, and lip gloss — not necessarily in that order.
Hybrid How-To | Customizing Digital Elements

One of the key things that attracts me to hybrid memory-keeping are all of the wonderful digital embellishments that can be used (and/or tweaked to work for any project!). Namely, the ability to print and cut digital elements many times over is definitely a huge bonus for crafters on a budget (one purchase = endless uses!). Even better, though, is the fact that if you need to alter an element slightly to make it fit into one of your projects — with digital elements, you can do this! Today, I am going to show you how to take a standard digital element and customize it for your project.

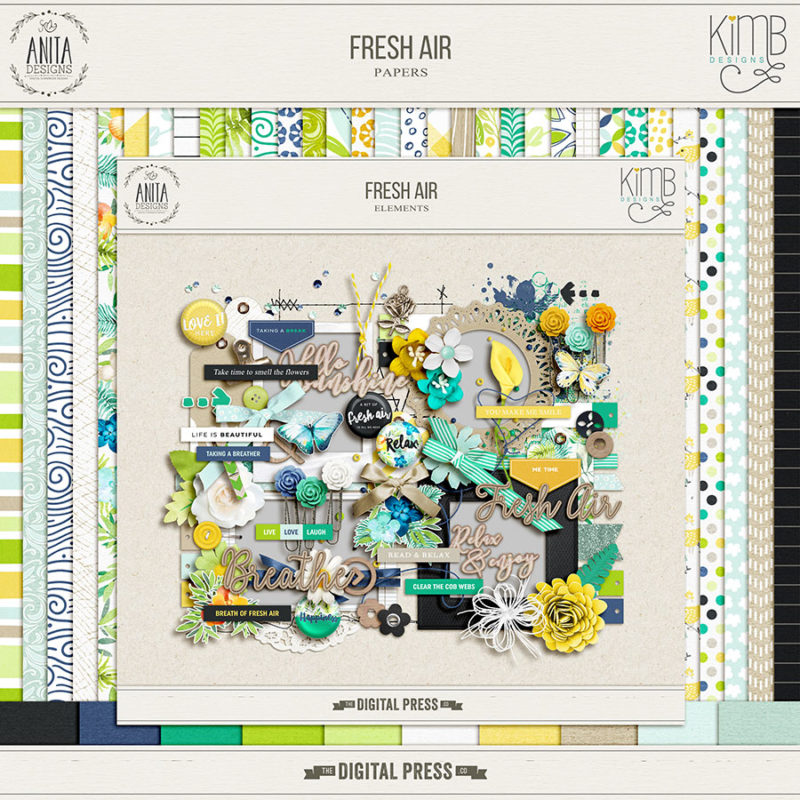
The first step is to choose a digital kit from the amazing selection at The Digital Press. I chose the gorgeous Fresh Air collection designed by Anita Designs and Kim B Designs, because I love the color combination and the clean lines…

For my projects, I wanted to use one of the tags found in this collection (see below). The “Love” tag in the kit is gorgeous — but I wanted a shorter version for my project, so it would fit better into the space I had available. This next simple editing trick works wonders for tags that have a plain section.

Shorten a Tag

You will need photo editing software such as Photoshop (PS) or Photoshop Elements (PSE) — but there are plenty of alternative applications (there’s even a free online PS tool/version).

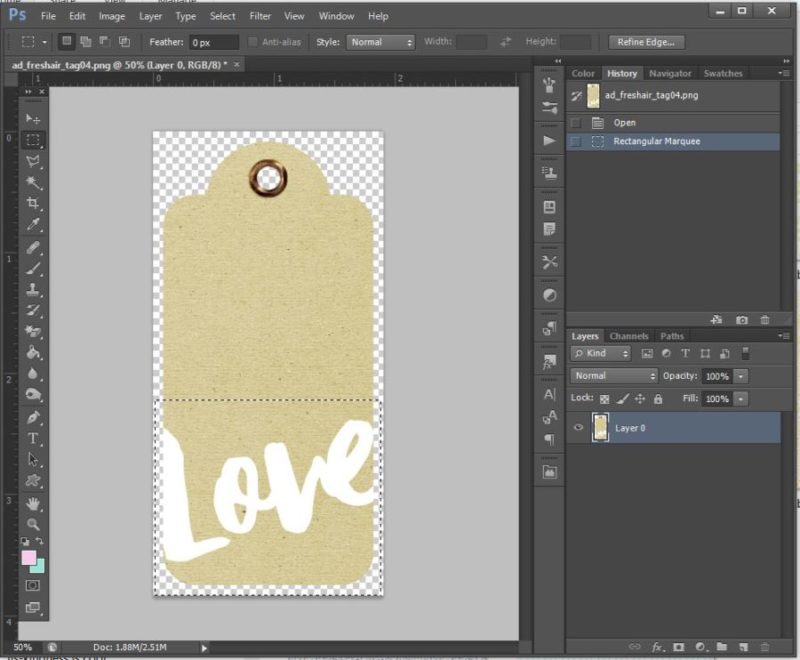
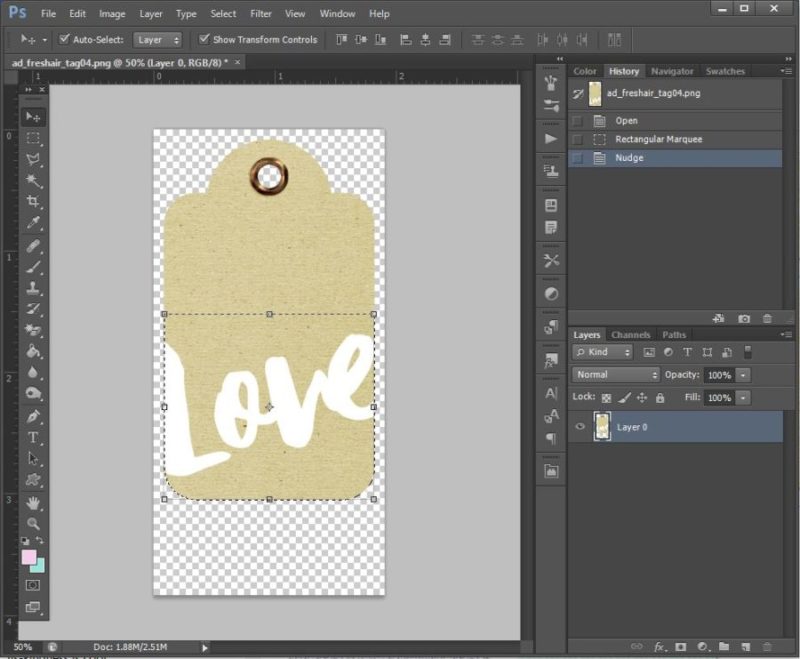
  1. Open your tag in the editor and select the marquee tool (shortcut key + m + the dashed rectangle on the left).
  2. Now select an area to move. We will shorten the tag by moving the lower section up towards the top of the tag. Drag the mouse to select an area as shown below…

3. Switch to the move tool (shortcut key =+ v).
4. Using the arrow keys, move the selected area up; you should see the tag becoming shorter as you move it…

Voila! The tag is now shorter — and it’s just right for my project! This techinique is very simple but very effective.

*TIP* don’t forget to “Save As” a new document, or you will actually overwrite the original file — which you don’t want to do!

Cookie Cut Your Own Tag

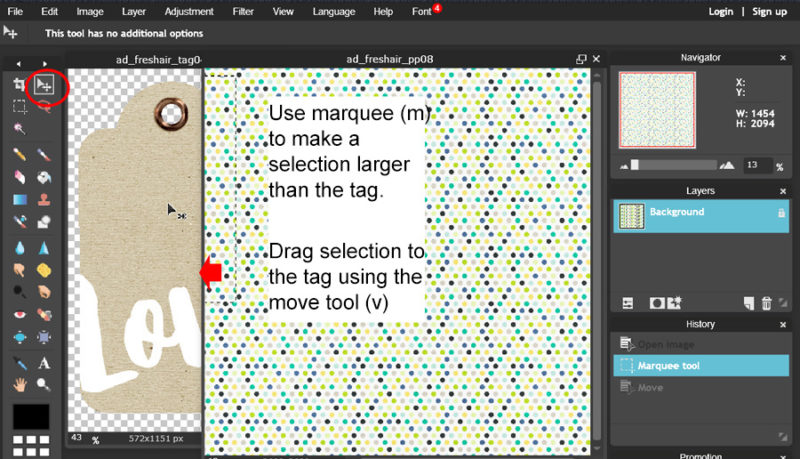
Next up, how about making your own version of the tag? We will use a cookie cutter effect to create another tag from patterned paper. This time I’ll use the free online Photoshop tool to demonstrate…

  1. Open a tag and paper; the paper can be patterned or plain.
  2. On the patterned paper window, make a selection larger than your tag using the marquee tool (m).
  3. Now click and hold on the selected area to drag the paper selection across to the original tag. There will be 2 layers in the tag window.
  4. Close the patterned paper.

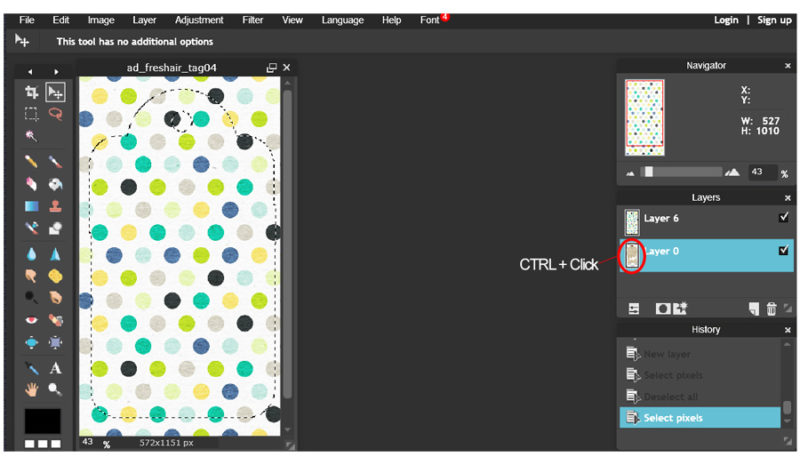
5. In the tag window, Ctrl+click on the icon on the tag layer (layer 0 as shown above). This selects the image outline. You will see the “marching ants” around the outside of the tag.
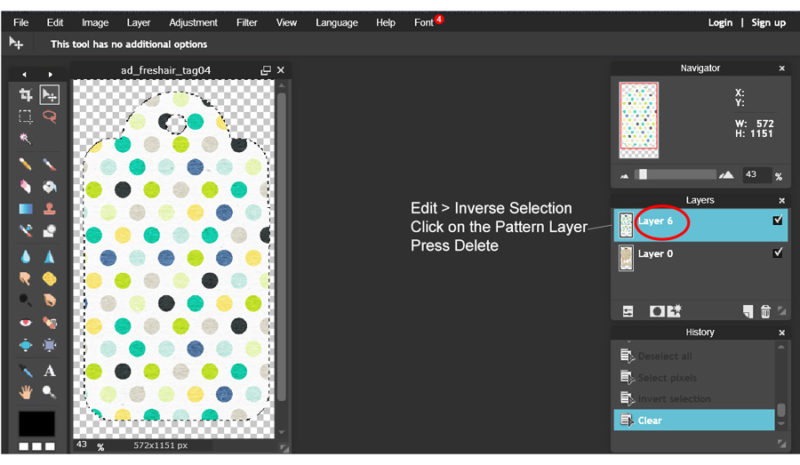
6. The current selection is the tag itself but we only want to cut the ‘excess paper’ outside of the tag. To invert the selection, Edit > Invert Selection. This selects everything except the tag shape.
7. To cut out the patterned paper in the shape of the tag, click the patterned paper layer.
8. Click Delete to delete the selected area. The excess paper is deleted leaving only the tag behind.

Ta-da! Your new tag is ready to decorate… but again, don’t forget to save as a new document first (so you don’t overwrite your original file).

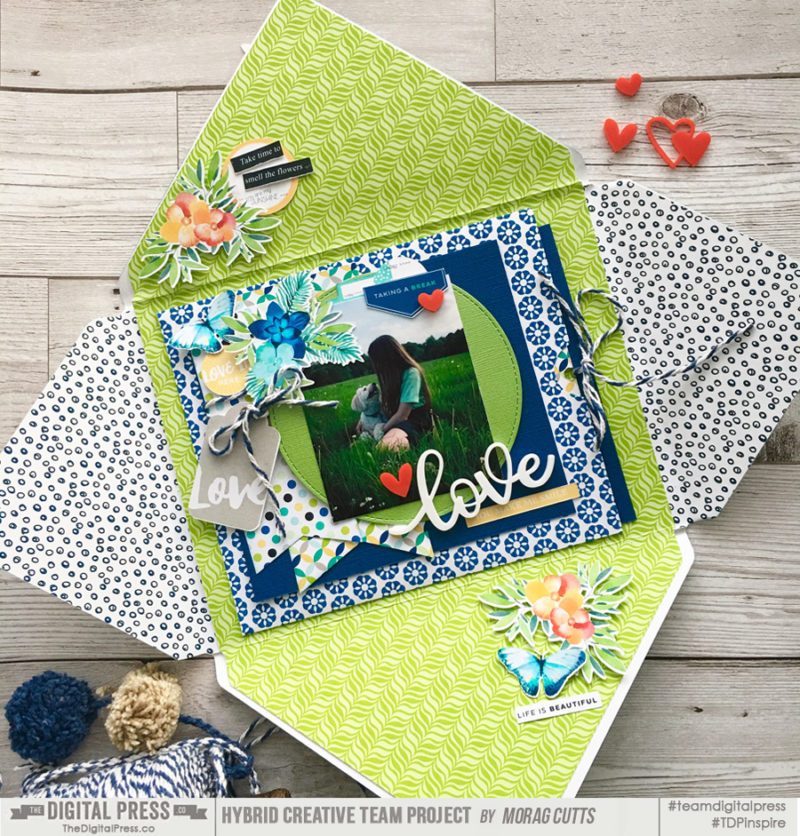
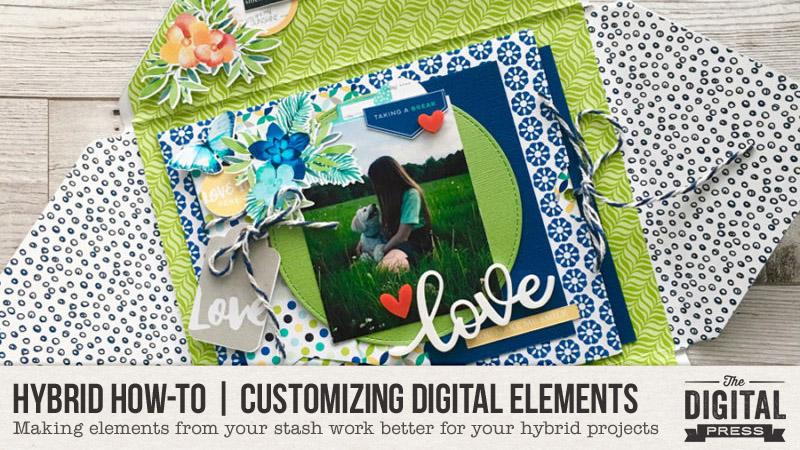
Here’s a look at my finished project, which is a decorated envelope (happy mail!)…

I used patterned papers from the kit to make an ‘envelope’. There are plenty of free envelope templates on the internet to use as a guide.

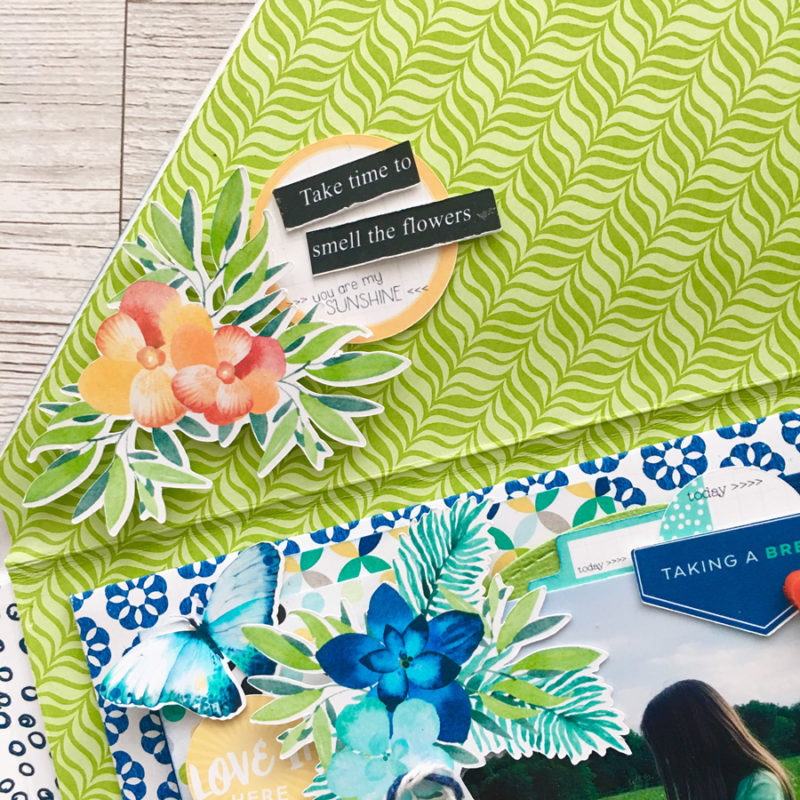
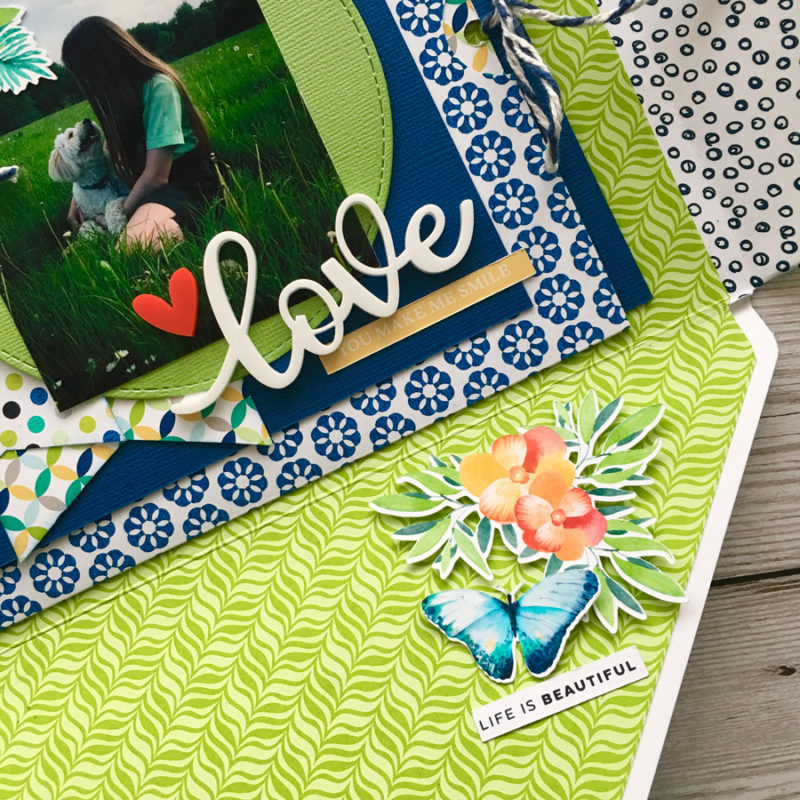
Here’s another closer-up view…

I only have singled-sided printing paper, so I lined the envelope with different papers. I really like the additional interest this created. It also made the project a bit more sturdy. A simple pocket holds a tag (for a message or for adding journaling). To finish off, I fussy-cut some flowers and butterflies and added tags and labels…

I hope that with a few of these ideas, I have inspired you to use elements from your own digital stash and tweak them around to make them work better for your own projects (and maybe even inspire you to try making your own happy mail and embellish with customised elements?). I think receiving a project like this would really make someone’s day!


Morag Cutts is part of the Hybrid Creative Team here at Digital Press. Morag has been an avid scrapper and photographer for ten years.  Although she adores the flexibility and creativity of digital, Morag can’t resist playing with paper and embellishments – so hybrid scrapping is the perfect medium for her!  Morag lives in the UK with her hubby, two kids and puppy.