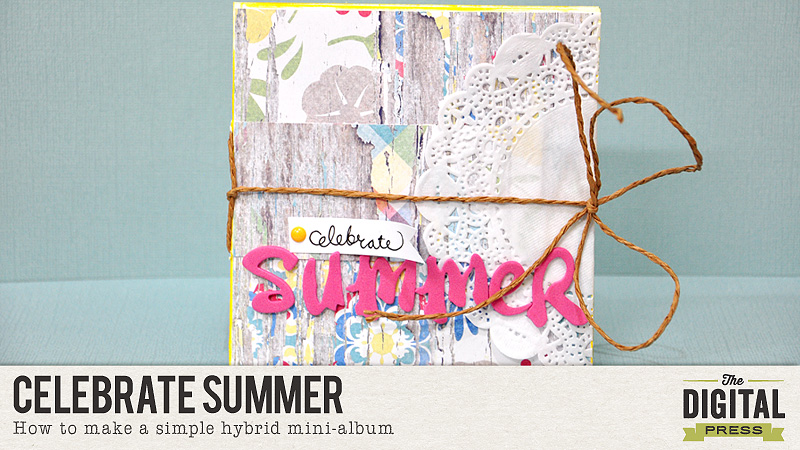
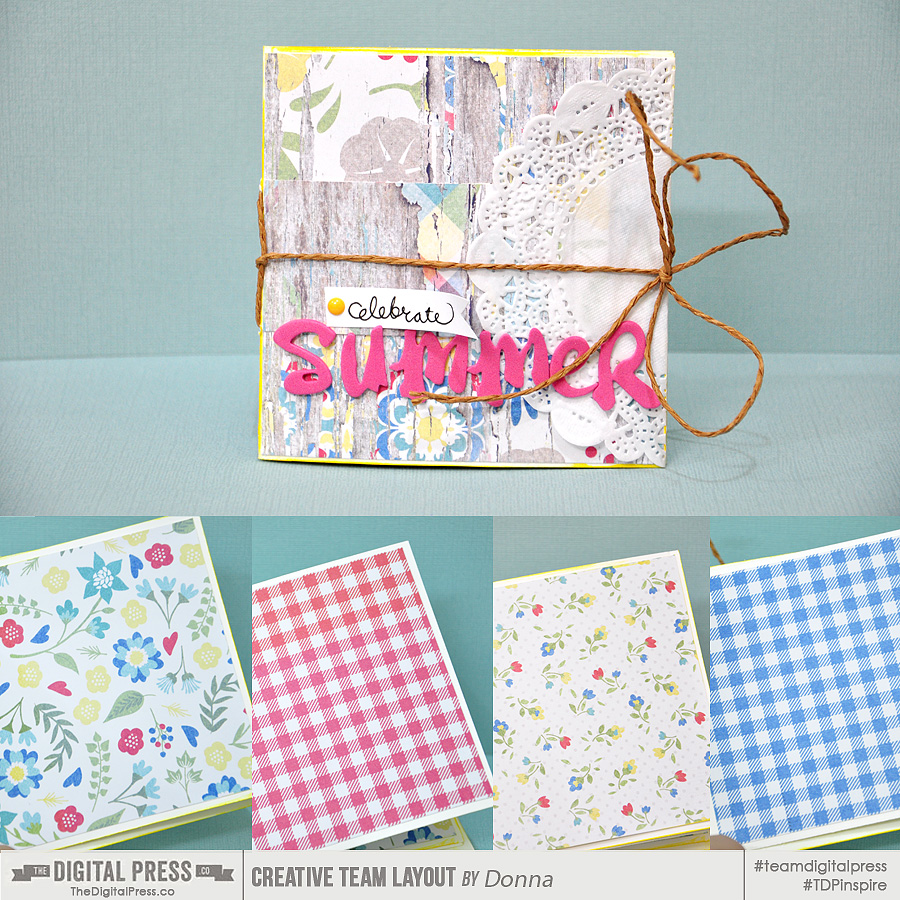
Donna here to show you how to make a hybrid mini-album for some of your summer photos
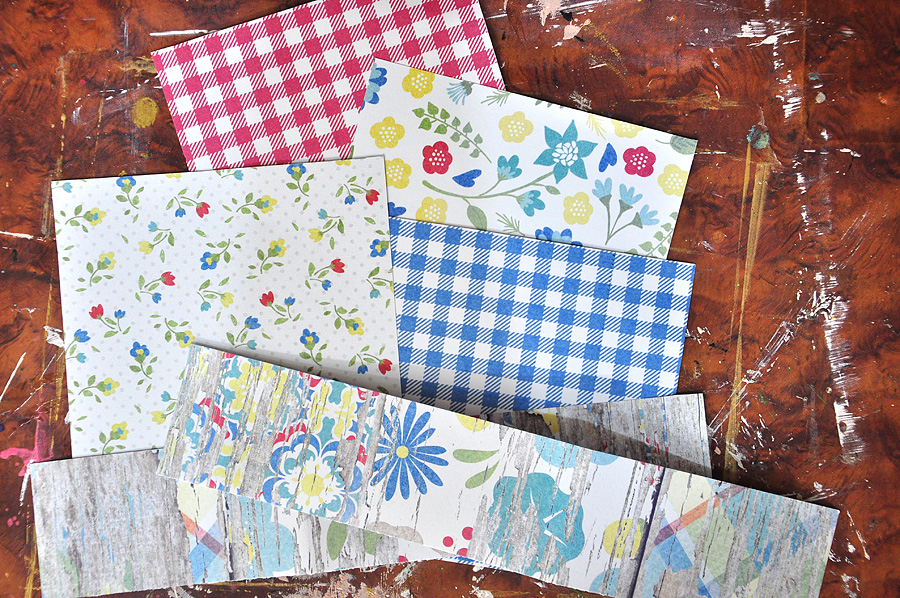
1. Print and cut papers from your chosen digital kit. I used the paper pack from Kim B Designs’ “Simply The Best”. Since I will be adhering my printed papers on cardstock, I used a 120 gsm photo paper. The size of the square pieces were a little less than 4 inches by 4 inches and the strips were approx. 3inches by 8 inches (I cut them in two before taking this photo).
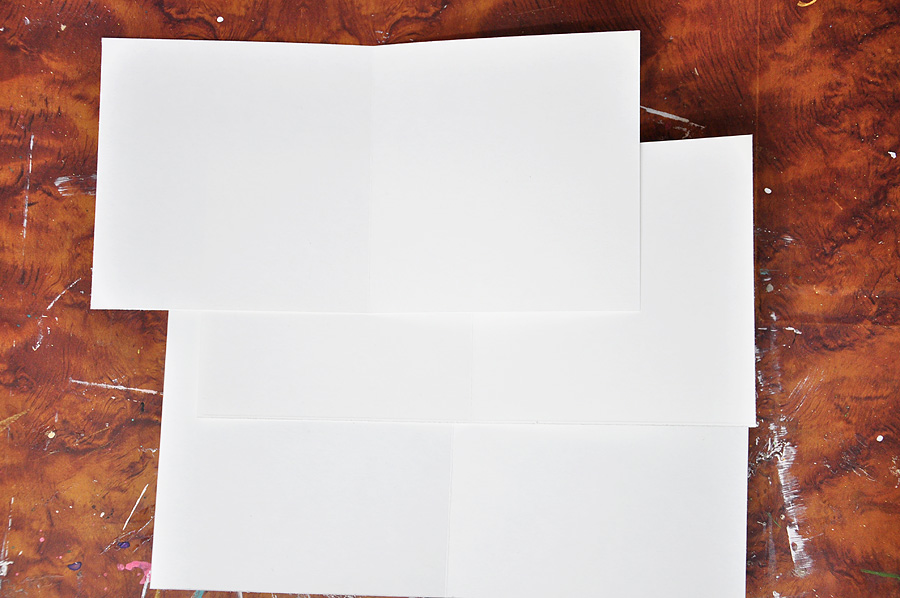
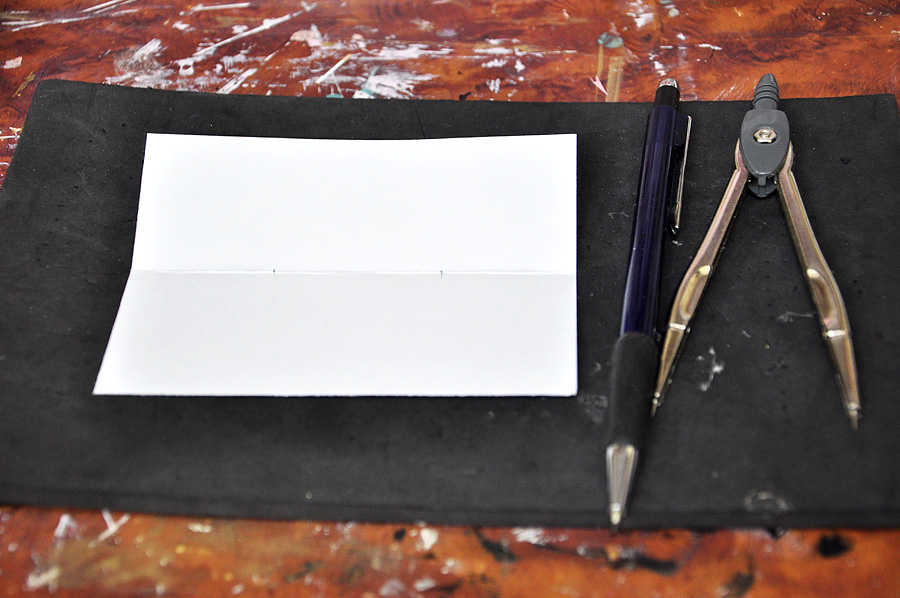
2. Cut 1 piece of 4.25 inches by 10.5 inches cardstock, 2 pieces of 4 inches by 8 inches cardstock and score in the middle as seen in the image below.
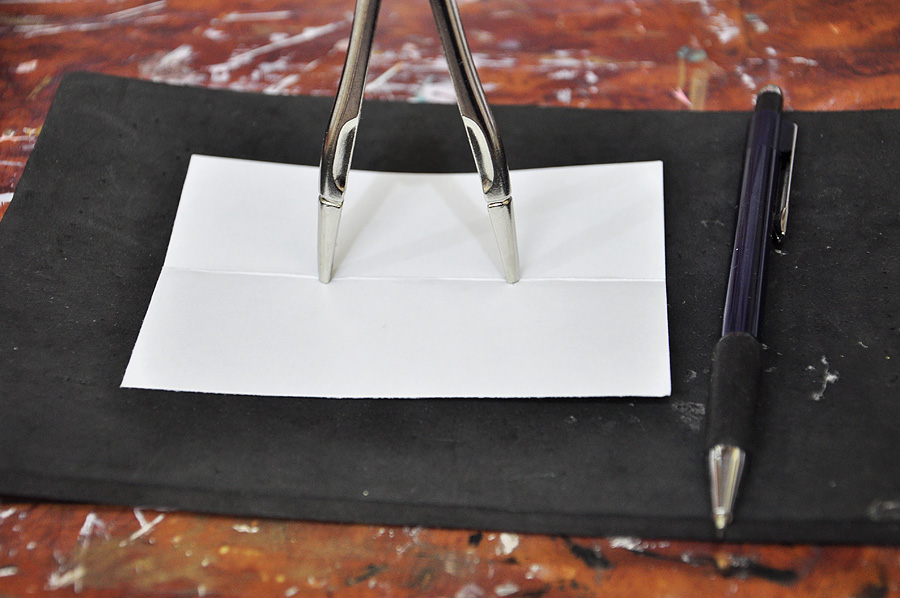
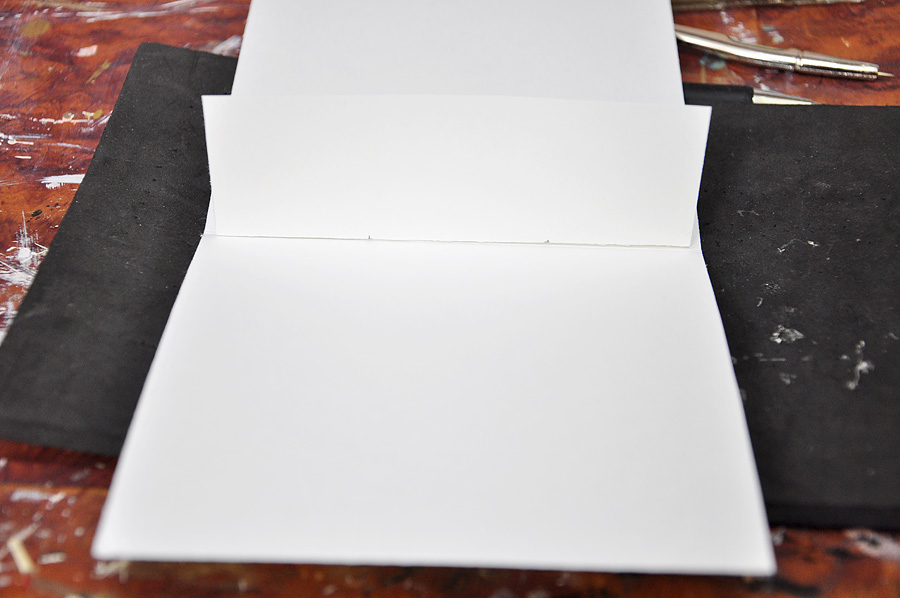
3. Punch holes in the middle of these scored cardstocks. I use my compass to do this and a piece of paper scored in the middle as guide where to punch the holes.
This will ensure holes will be aligned when the pages are assembled.
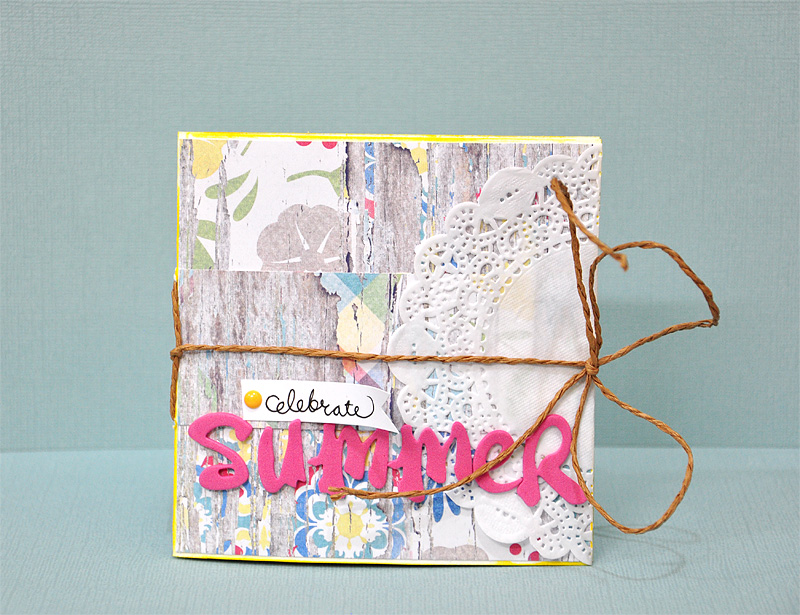
4. Use some twine (or in my case, a brown paper twine) and tie around the album. Decorate the front cover. I used a doily, some thickers, handwritten sub-title and an enamel dot. The edges were inked with distress stain.
Hope this mini-album get you inspired to create one. I would use this with Instagram photos, perfect for it’s square size.
Thanks for dropping by!
Happy crafting,

About the author: Donna Espiritu is a mom to a little girl who just turned 8 months and wife to a very supportive husband. She is currently living in the Kingdom of Saudi Arabia with them. When she is not scrapbooking, she likes to read books/e-books (sci-fi/romantic/time-travel) or watching old episodes of some of her favorite TV shows.

This is absolutely gorgeous!!! You totally make me want to dive in and make one even though I seem to be hybrid-challenged. 🙂
you can do it! this is one of the easiest hybrid mini-album i did. 🙂