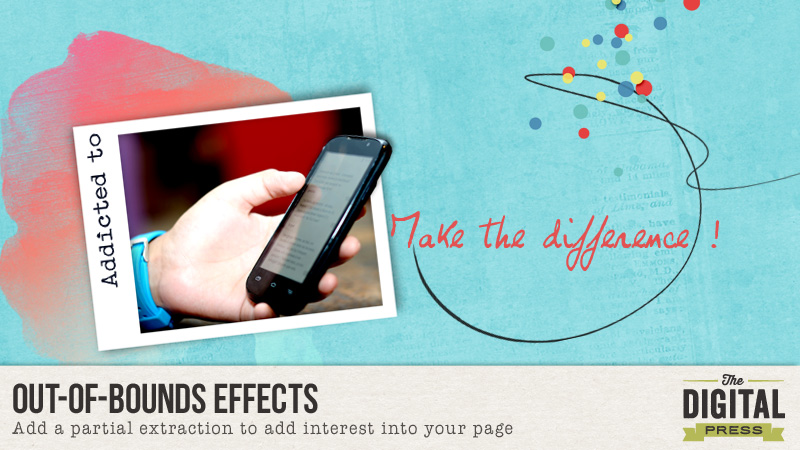
Hi everyone, it’s Tuesday! Time to share some tips … Digital is digital, however we can liven up our page by giving it a kind of natural look. To help us to add more interest, let’s make a partial extraction of our photo. You can follow me step by step – I made a page just to show you my very simple way to do this.
Let’s begin with a simple framed photo. Put part of your photo out of the frame with the steps below:
- Duplicate this first photo. If you want to put an effect on your photo, please do this before proceeding. Now we have two photos.
- Hide the duplicated layer. Then crop the first photo to fit into the frame using the selection marquee, then invert it by going to the menu bar and selecting Select, Invert and hitting your delete button.
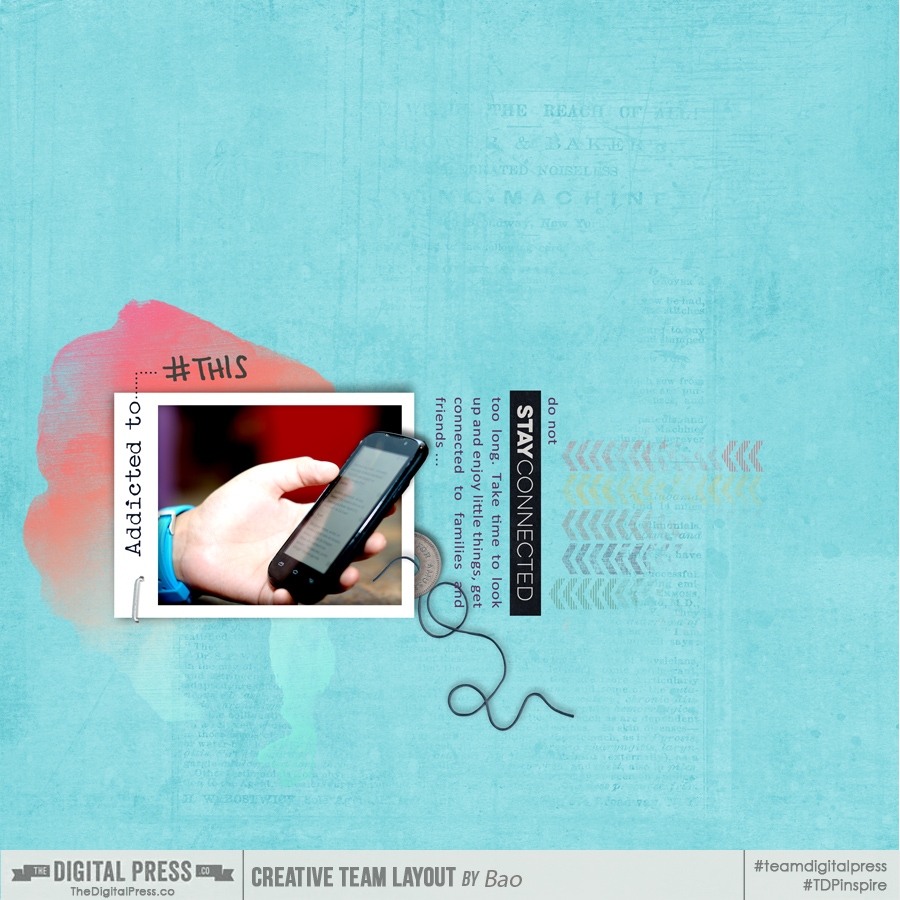
- Then select the duplicated layer. With the polygonal lasso tool, crop the part of the photo you want to be on and out of frame. Invert the selection and delete the remaining part of the photo.
- Put a shadow on the cropped photo to get natural shadow effect. You may have to tweak the shadow so it does not show on top of the original photo.
- Complete the page with everything you want : journaling, elements, brushes and so on. Mine is like this at the end :
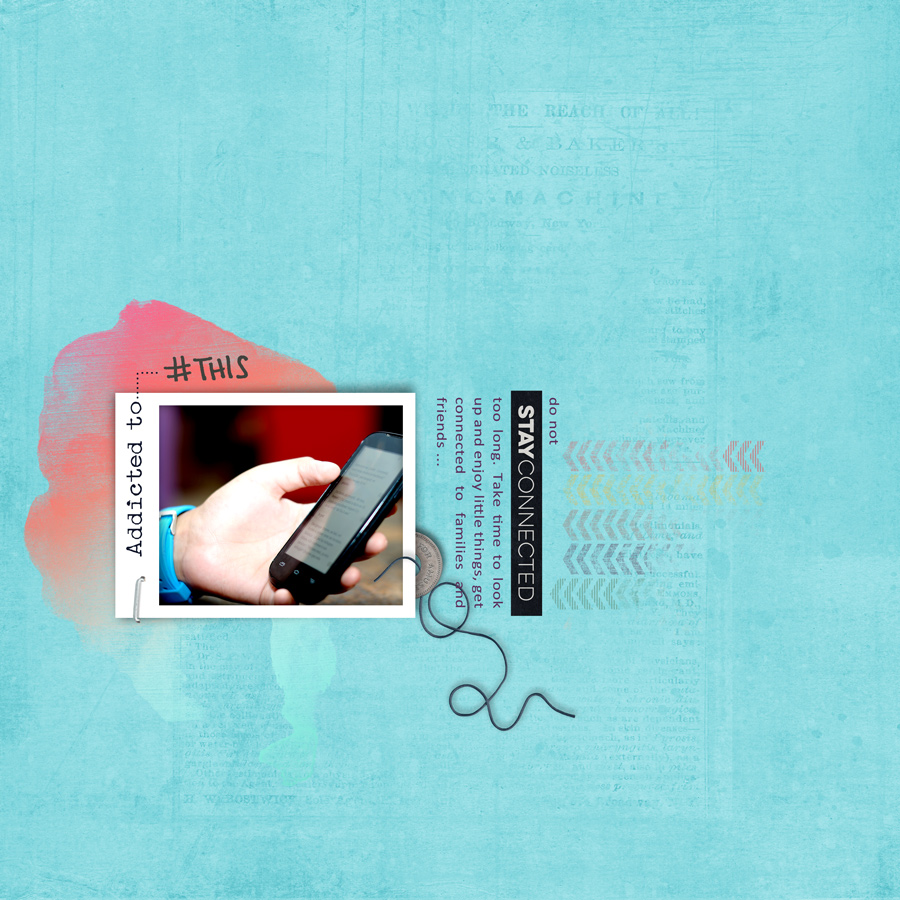
To show you the difference, my page would have been like this without adding in the out-of-bounds effect with partial extraction 😉 Not the same effect definitely.
 About the Author : Bao is a Creative Team member at The Digital Press. She has been a digiscrapper for about ten years now. She joined The Digital Press in March and enjoys being active on the site. Her style tends to be clean & simple. Most of the the time she scraps her family’s photos. She loves, however, to scrap other subjects such as flowers, nature, the environment, foods … She says hello to all of you from her big island named Madagascar, and feel blessed to live there.


Easy to follow tutorial….thx so much!
I can’t wait to try this. Thank you!
thank you!