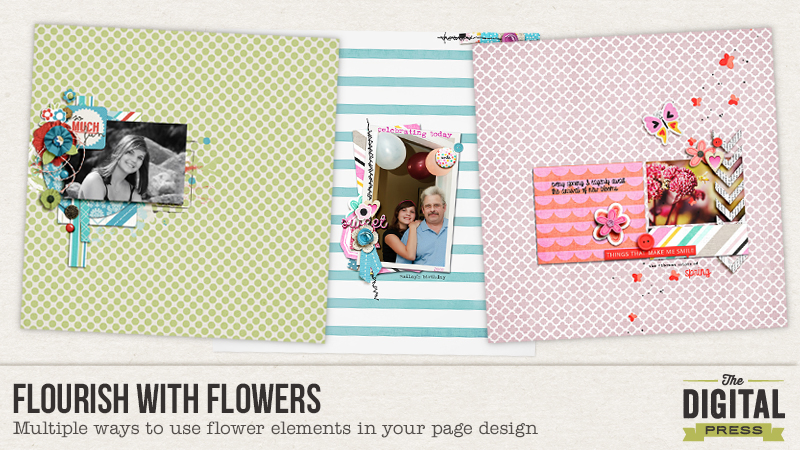
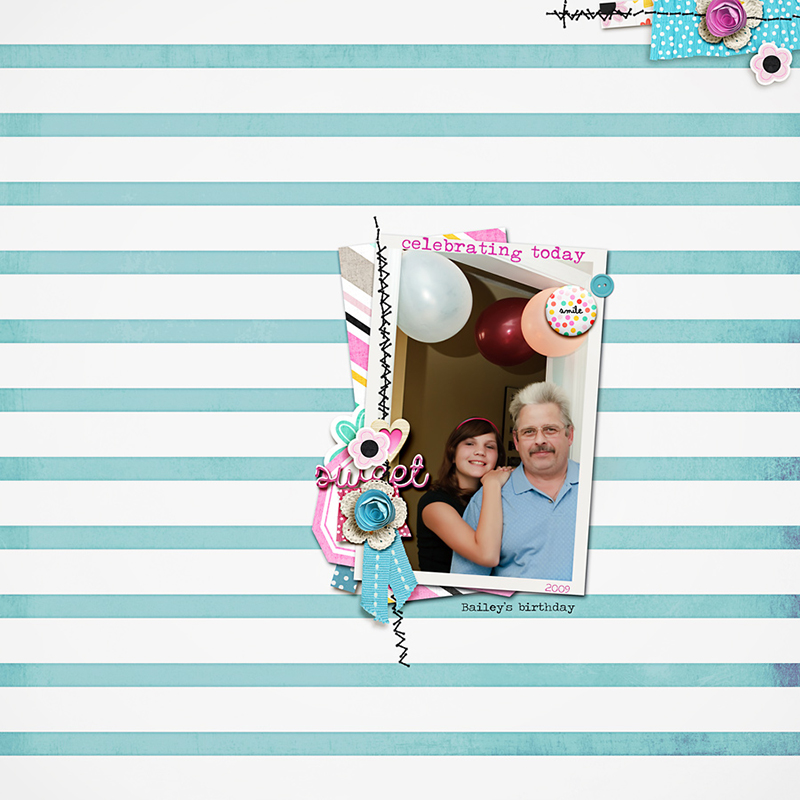
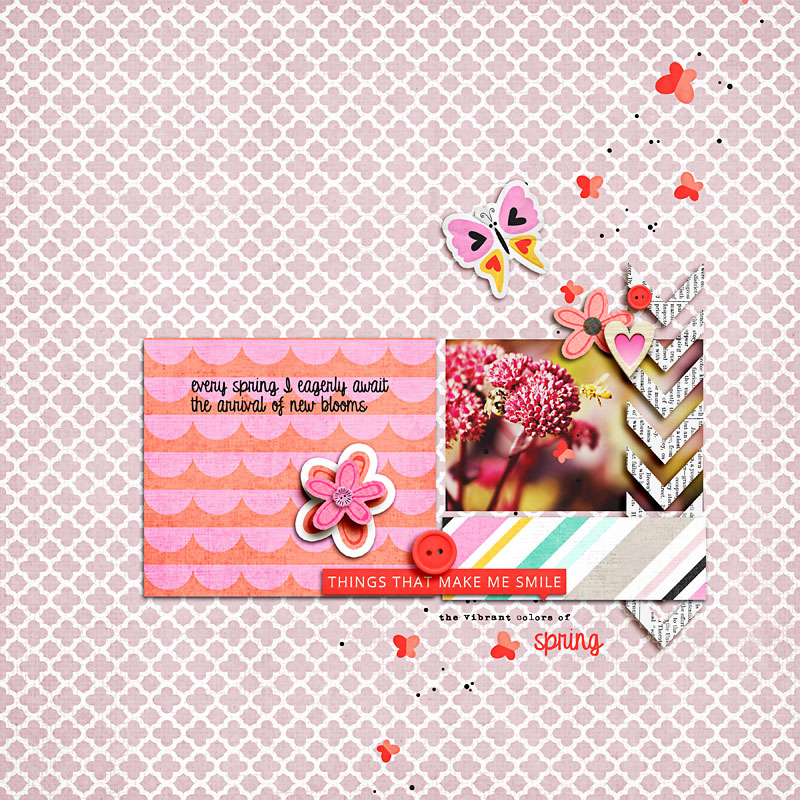
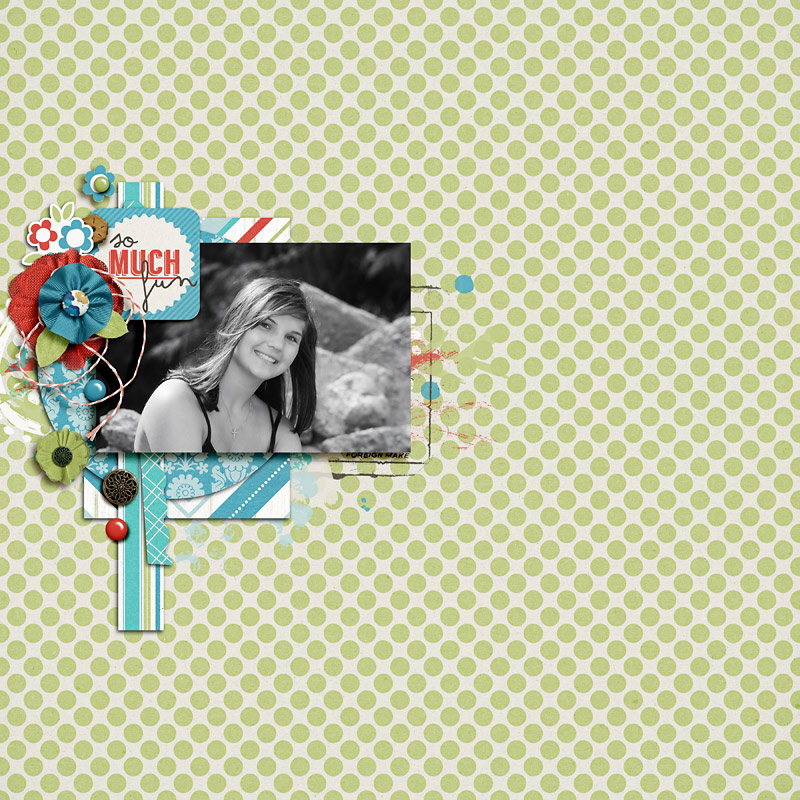
 Not only are flowers a beautiful addition to any page, they are a versatile element that can be used in a multitude of ways. A quick and easy way to use flowers over and over again on your page is to resize and color them. I use the shortcut “control + T” for the transform tool and hold down the shift key while pulling a corner to enlarge or decrease the size. (The shift key ensures a uniform re-sizing.) I select the move tool (shortcut key V), hold down the ALT key and with your mouse, move a new copy of the flower onto your page. You can skip that step and just select the flower again from your folder but I find selecting and copying the flower layer so much faster and easier. I most often recolor with a hue/sat adjustment or if changing a single color, I sometimes use a replacement color adjustment layer.
  Flowers can be reconstructed, extracting parts of it to build up multiple layers. I use the original flower in it’s entirety for the base layer. I might even add a white stroke around it to give it a flat sticker look. There are many ways to select and extract but I like using the quick select tool (make sure the + box is ticked in the options bar but change to the – box if you need to erase some of your selection, moving the mouse over the area to be added/subtracted). Select a portion of the flower (you’ll see marching ants around your selection), then right click mouse and select “layer via copy”. Now you can recolor, resize, whatever you want to do with this layer, moving it overtop the original flower to build up a layer or anywhere else on your page.
  Regardless of how you use and manipulate your flower elements, adding drop shadow styles will give depth and dimension. On a single flower I will add a darker, semi-hard shadow, which looks realistic. On a thicker, bulkier flower or rolled flower, I will add a slightly lighter toned, softer shadow. I like to put the shadow on its own layer. Apply a drop shadow style. In the layer palette, hover over FX, right click your mouse and select “create layer”. This will put the shadow onto its own layer so you can manipulate it, separate from the element layer. I always choose Control + T (transform tool) and then choose warp so I can pull the shadow or puppet warp which is a bit trickier to use but Google it, watch a few videos, and you might hooked on using that also. I hope that these ideas spark your creativity and you try some of these ideas out on your next page.
  Head over to our challenge forum and check out my Flourish With Flowers challenge along with the other creative challenges for this month. I look forward to seeing what you create! Happy scrapping!
 Rae Clevett is part of the Creative Team at The Digital Press. She lives on the west coast of BC with her hubby and Labradoodle, Taz. Her favorite way to start the day is to grab a coffee and sit down to scrap a page or two with Taz lying beside her in his dog bed or under the table.

Fantastic tutorial. I feel like I just got a birthday present!