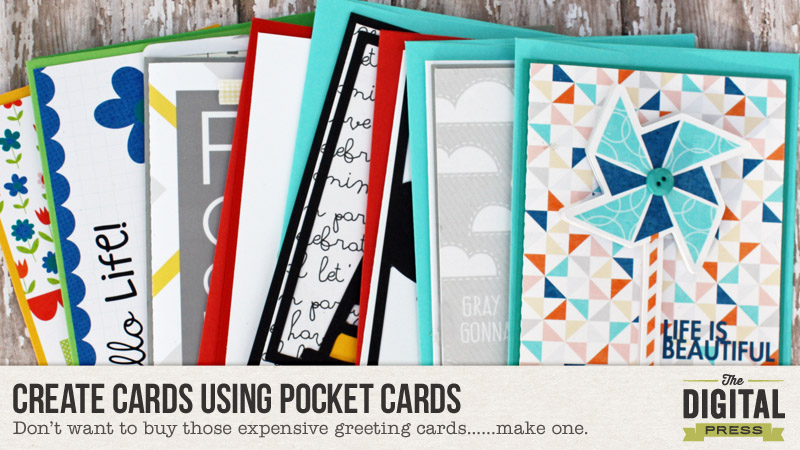
Are you ever in that situation where you are running out the door and suddenly remember you forgot to get a birthday card for the party your child is going to? Or a “Thank You” card for a gift someone gave you, maybe even just a “cheering up” card? I don’t know about you, but cards are VERY expensive and I hate buying them. So, I want to show you how to make greeting cards to build up your stash so that you will always have one on hand. No more excuses for not giving someone a card.
If you are crafter you probably already have most of the items on hand. Even if you are mostly a scrapper, you still probably have the basics. Most digital kits these days will either come with a few pocket cards or have a pocket card edition to the kit. I love pocket cards because they are so versatile. Since I’m an hybrid gal, I immediately see them as cards. I love giving people homemade cards even if it’s just to brighten their day.
Here is what you will need:
- Digital pocket cards
- White cardstock
- Colored cardstock
- double sided tape
- glue pen
- embellishments
- Pop dots
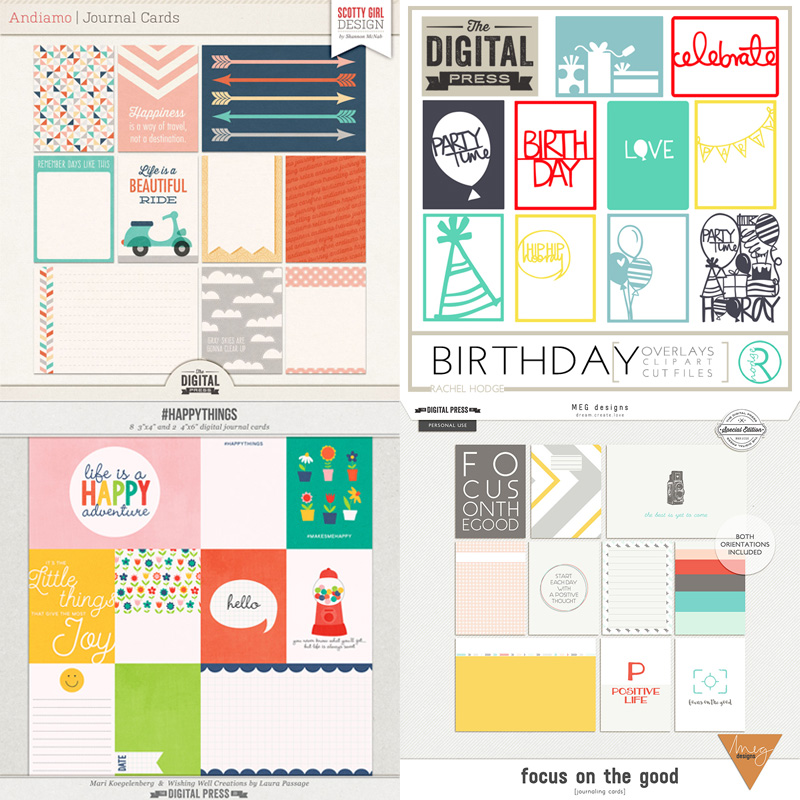
Here are the pocket cards I used for this project, but any of them will work. You probably already own several. There is definitely one out there for EVERY occasion.
Andiamo Journal Cards, Birthday Card Set, #Happythings Journal Cards,
Focus On the Good Journaling Cards
You can use any photo editing program you have to create these cards. You do not have to have a cutting machine, however, I did use mine because I’m a little obsessed with it. You can be as simple or as fancy as you would like. I did a little of both.
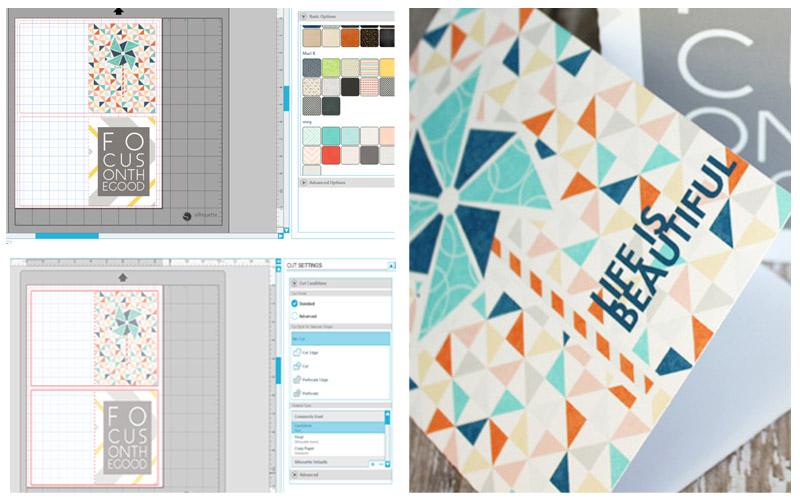
Some pocket cards are fine without adding anything to them. Some just need a saying or an additional element. I like dimension so I usually cut out extra elements.
For some of my cards, I started out by drawing out a 5″ x 8″ triangle. At the 4″ mark, I drew a dashed line – this is if you are going to use a cutting machine, if not, just use the ruler in your editing program and open and place your pocket card at the 4″ mark. Two cards fit to a page. That is it… print the card, cut with your paper trimmer and fold. It really is that simple. If you want it to be a little fancier, add some cute elements from the coordinating kit……go one step farther and add a piece of coordinating cardstock to the back.
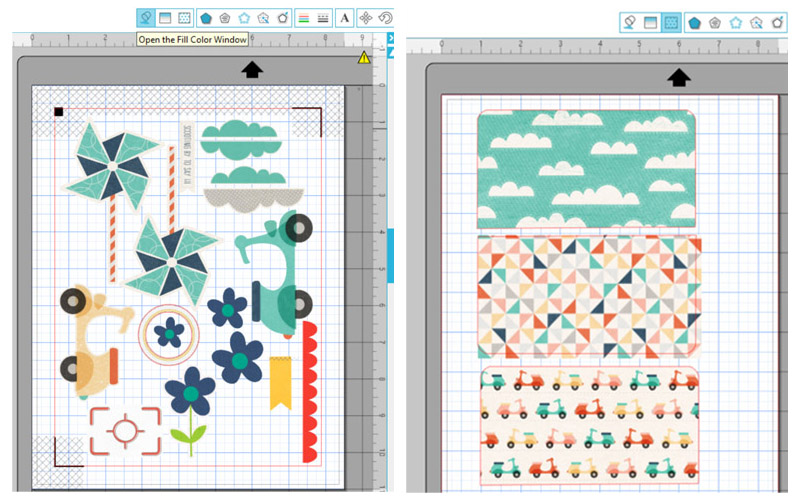
For that extra little touch, I added several elements to a page to do quite a few cards. I did a print and cut with my Silhouette, but a pair of scissors will work just as good….I’m just not that great with them. I also love to add matching inserts for the envelopes.
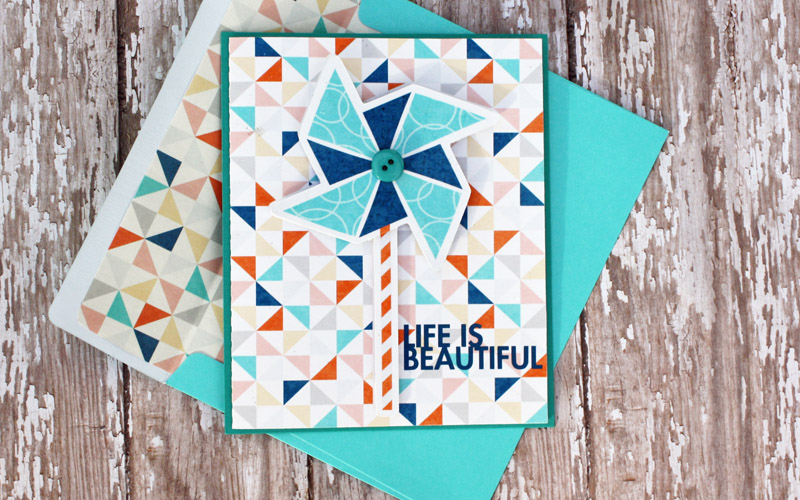
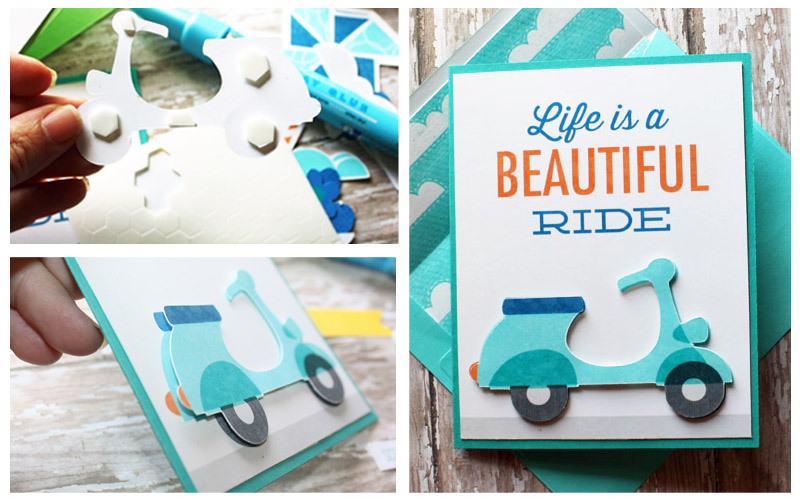
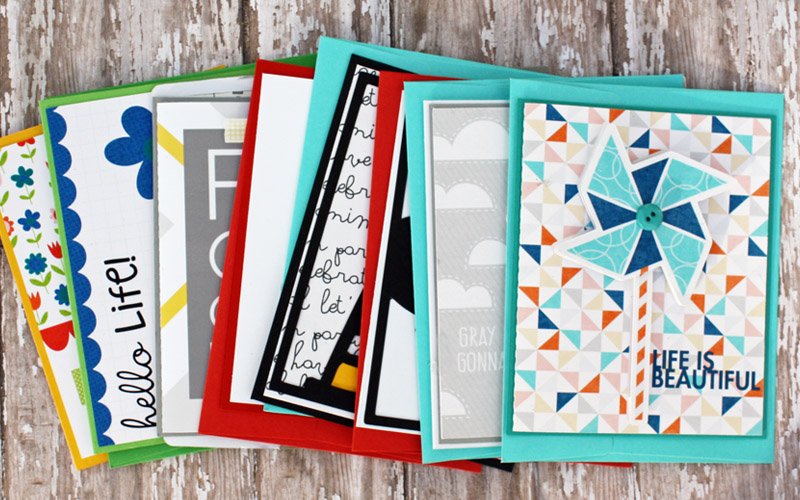
I took the same card above and added the extra elements I cut out with pop dots. I also added a piece of cardstock to the back and a button to finish off. Cute, isn’t it?!
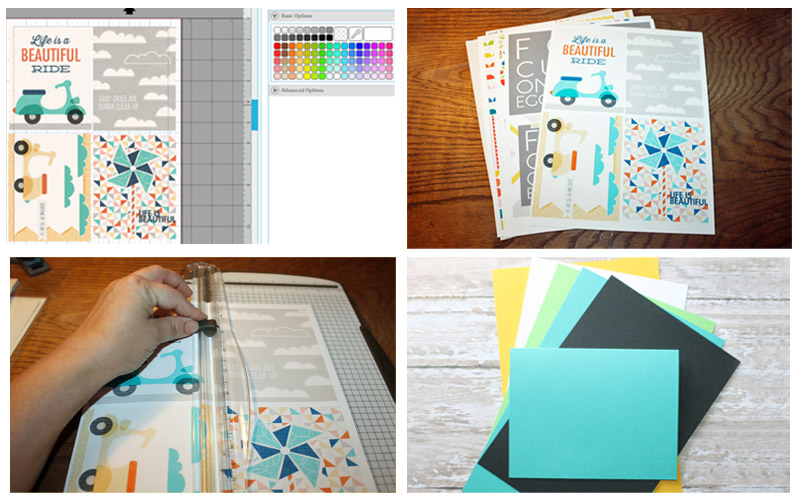
Another way is to just cut several pocket cards for the fronts of the cards. You can get four pocket cards to a page. After cutting with your paper trimmer add to a piece folded cardstock with double sided tape or your adhesive of choice. Again, keep it simple or fancy it up a little.
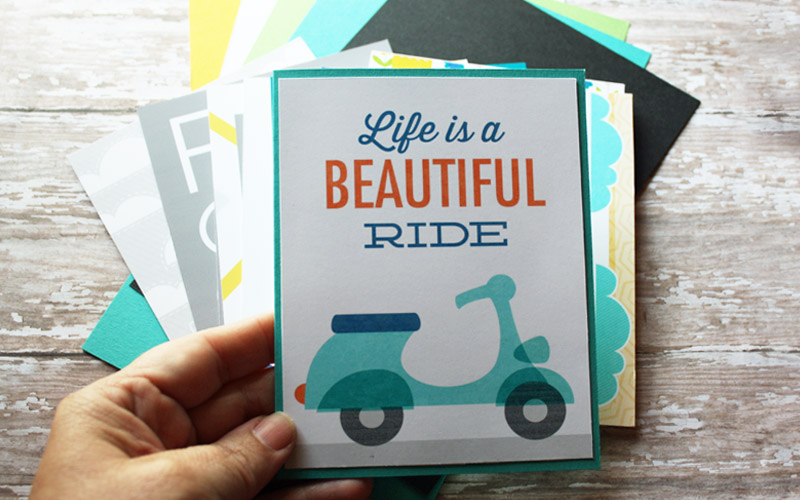
Here is a front added to a piece of folded cardstock. It is fine just the way it is, but of course I had to take up a notch.
Here is the same card with another scooter cut out and added to the top with pop dots. It adds an extra little touch.
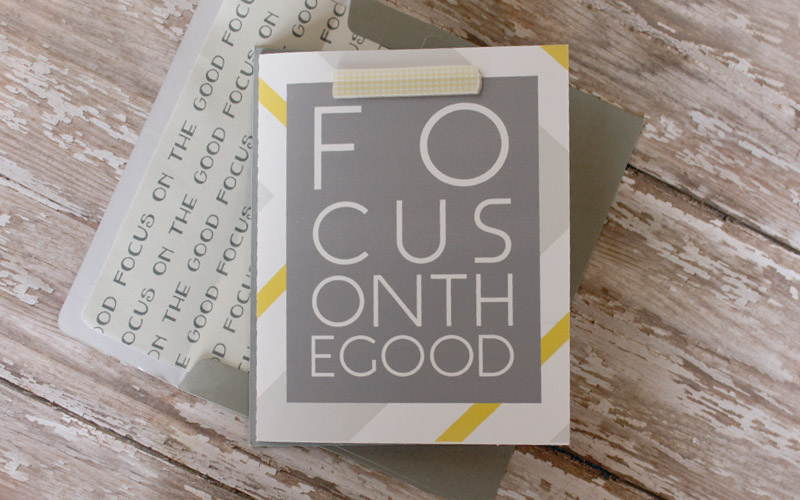
 Here I cut the card and added a piece of grey cardstock, cut out the washi tape and added with pop dots.
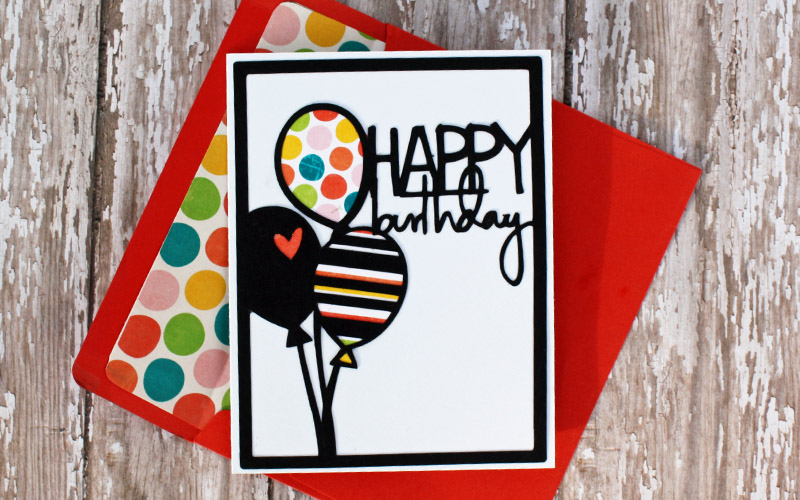
This card is done a little different than the others. You do have to have a cutting machine to get the same affect. I’m sure that you could do something similar in your photo editing program.
First, open the cutting files in the program that your cutting machine uses. I have a Silhouette Cameo, the program I am using is Silhouette Studio Designer Edition.
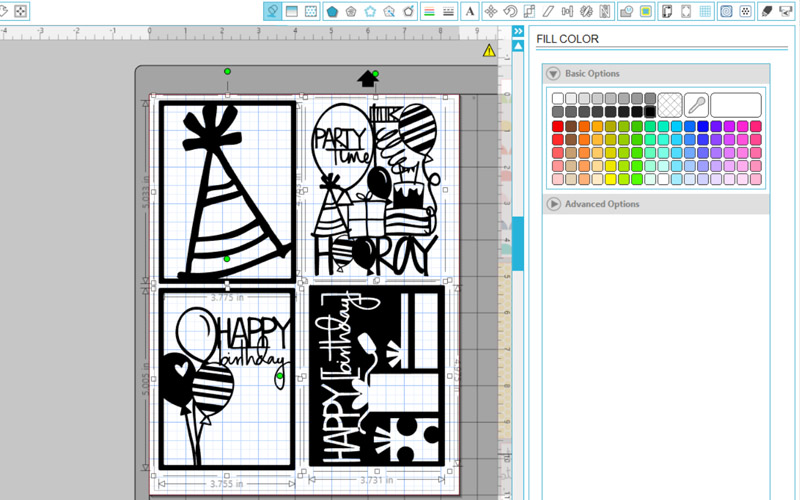
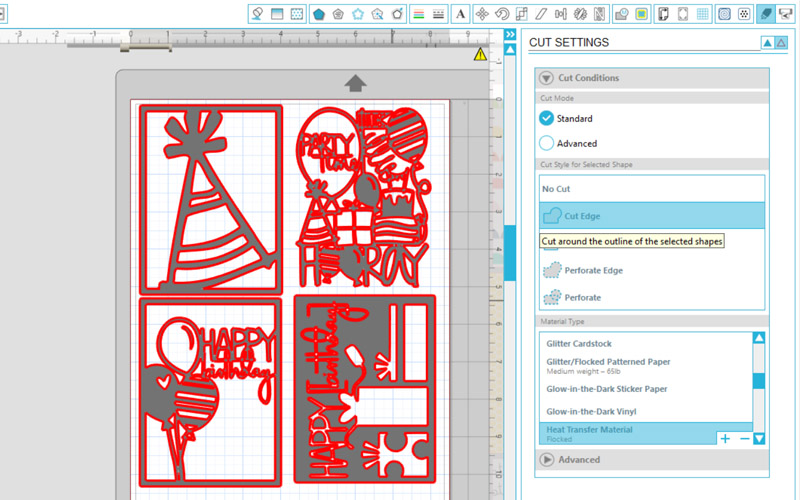
Next, make sure that your cutting lines are turned on and choose cardstock material type. Now add cardstock to your mat and send through your machine. It did take me a couple of times to get a clean cut. I had to change my mat and slow down my cutting speed.
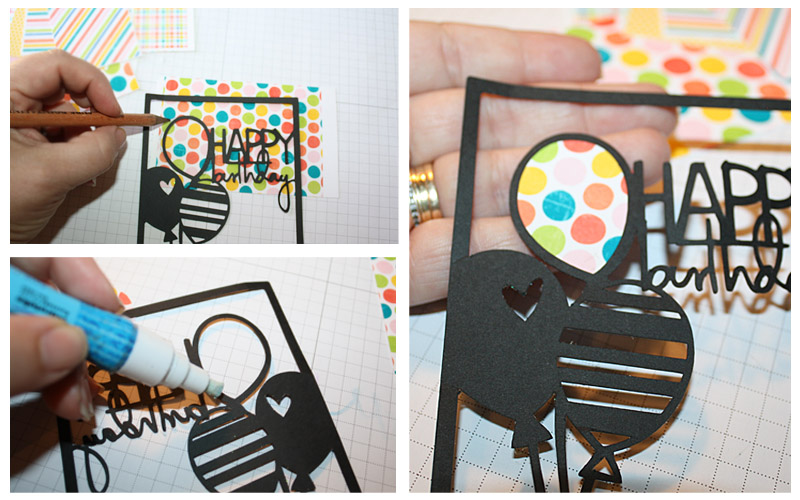
This is a good card to use up some of those scraps that you have on hand. I just took a piece and traced the balloon with a pencil. Cut to the inside of your trace marks and glue down with a glue pen. Add to the top of your card base and your done.
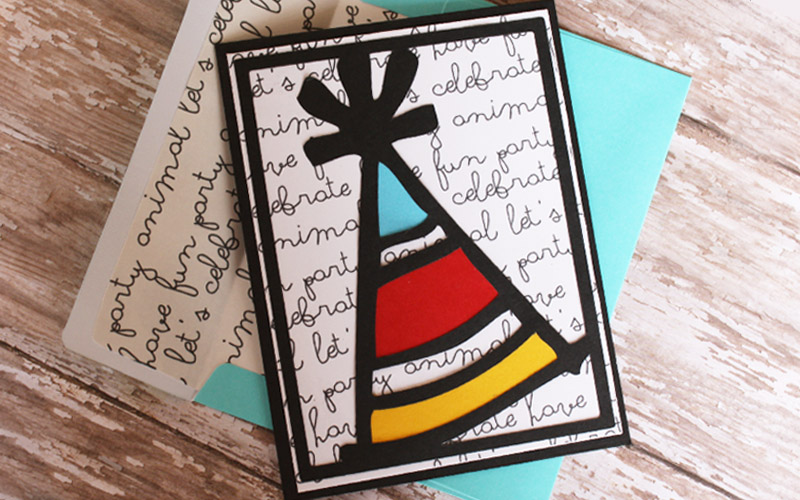
 I really like how this one turned out. I used cardstock scraps that I had on hand.
I hope this tutorial has inspired you! If you’d like to give it a try, please join me in the forum and have fun creating some cards. You can earn points toward this month’s challenges! I can’t wait to see your creations.
 About the Author Tanya is a part of the hybrid team here at The Digital Press. She has been hybrid crafting for at least 12 years now, and loves creating and sharing those creations with others. Her all-time favorite tool is her Silhouette Cameo. She has been married for 26 years and has two sons: Chris, 24 and Chance, 20. She also enjoys crocheting, photography and woodworking.

These are so cute: ) love the colors and designs. Would love to see these on shelves at stores. Would definitely buy
What a great tutorial! Thank you so much for writing and sharing it. The next time I need a card, I am going to use your tutorial.
Thanks Jennifer. So glad you like them. I do it for fun and to relieve stress…lol. I love what I do.
Ohmygoodness… so totally adorable. I envy your talent. 🙂
Thanks Pam!! I’m so glad you liked it!
Thanks Kimberlee. You can so do this!!