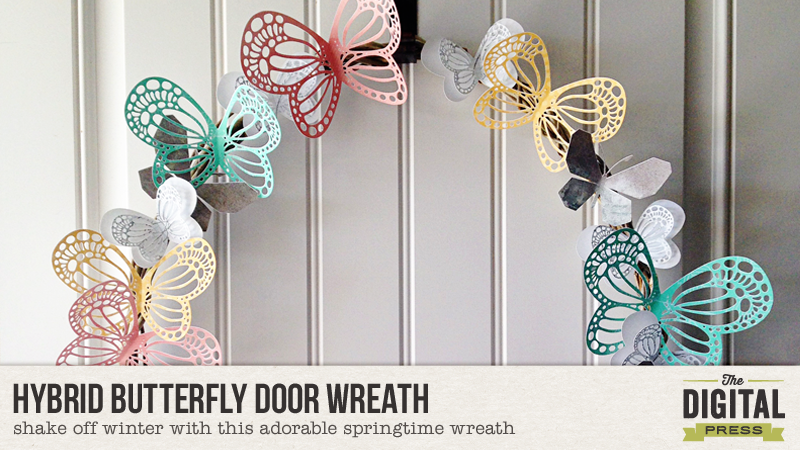
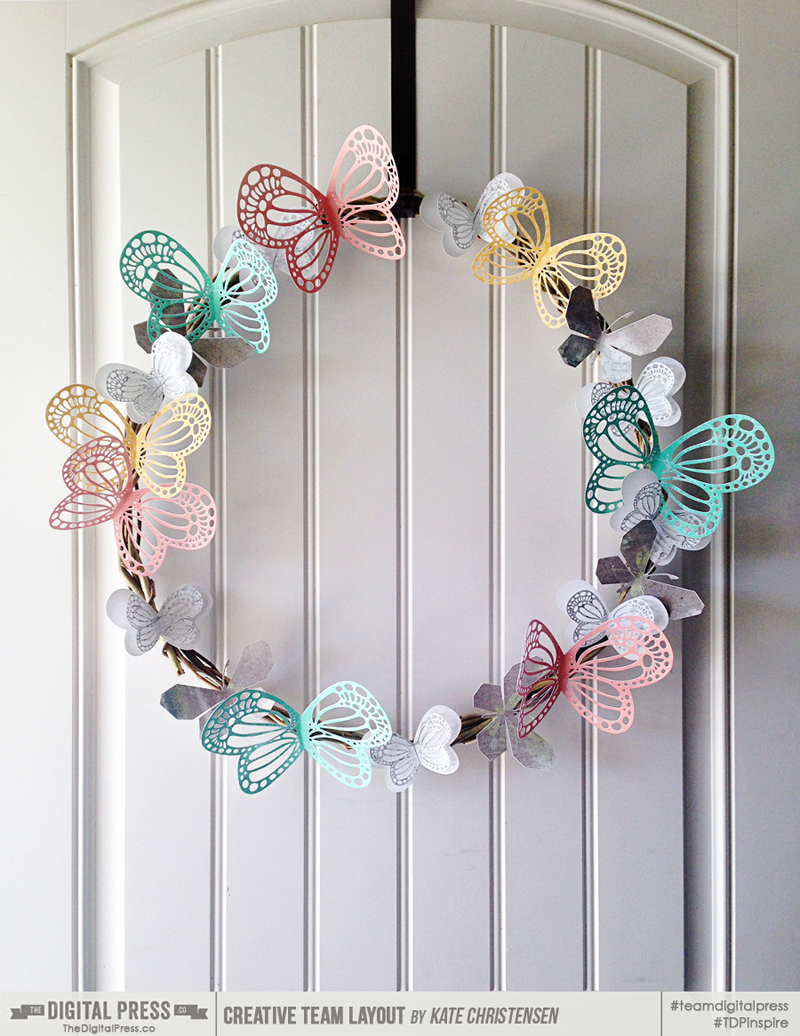
Did everyone pick up the March 2016 Collaboration kit, Fly Away? It comes with a beautiful butterfly cut file that I knew I wanted to use as soon as I saw it. I thought it would make a great wreath for my front door. It’s a super easy project, too… so let’s dive in!
Supplies Needed
- Digital Kit of your choice (I used the new TDP collab Fly Away)
- Cutting Machine
- Cardstock
- Wreath of your choice
- Hot Glue Gun & Gluesticks
Instructions
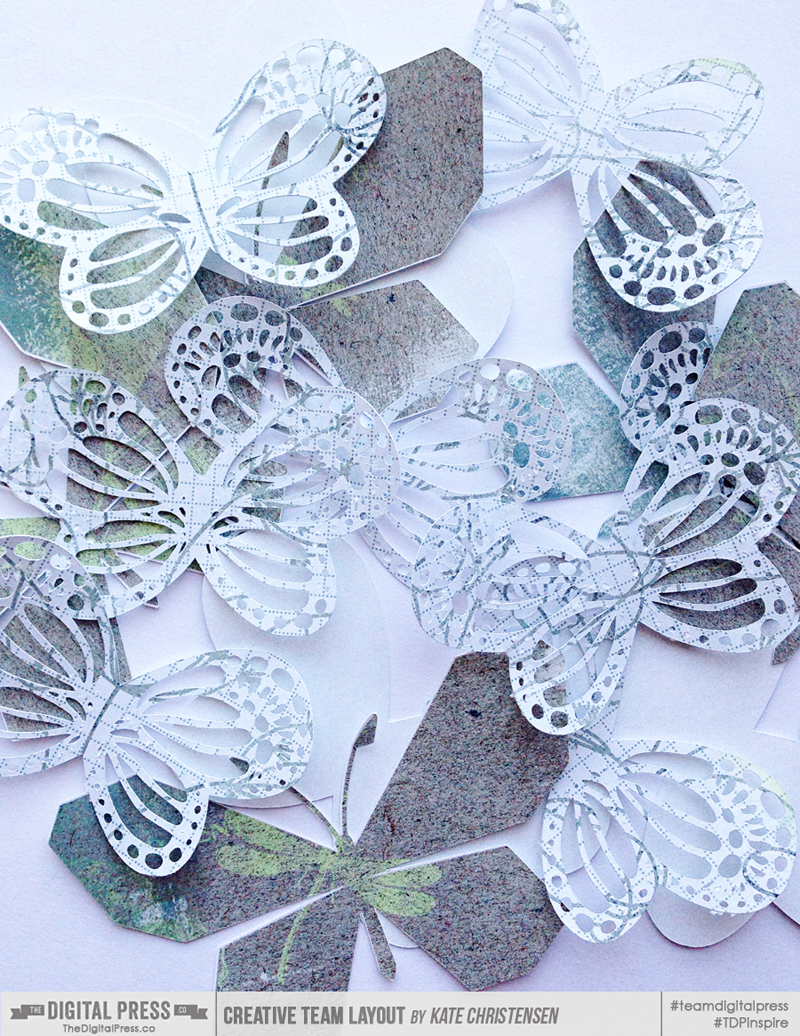
The first thing I did was cut the butterflies. I wanted them in a variety of colors and sizes. I primarily used the cut file for my butterflies… but I also pulled in a butterfly element from the main kit and clipped paper to it.
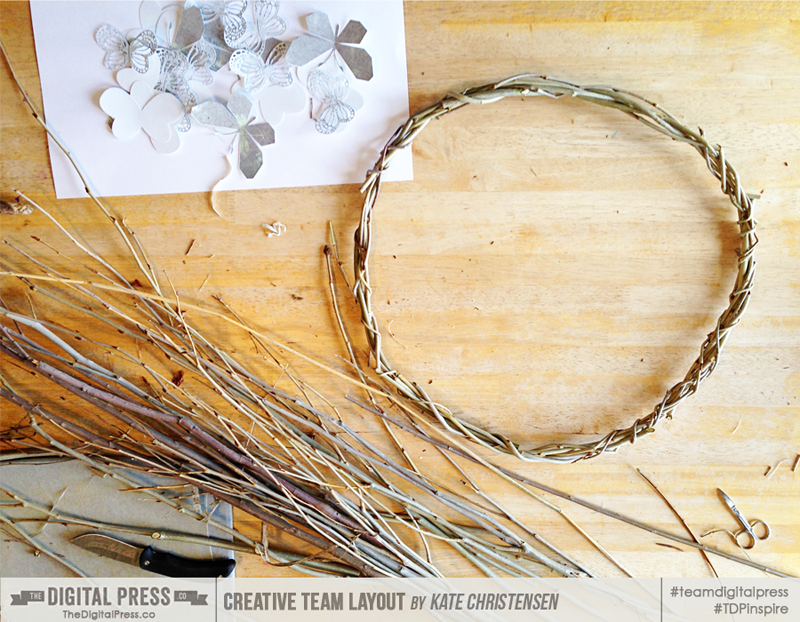
This is how I do wreaths at my house. I use young Willow or River Birch branches and twist them around each other (tucking in the ends) until I have a sturdy, circular wreath. I find that twist ties really help to secure the first layer. It’s super easy (but you can also buy ready-made wreaths at your local craft store).
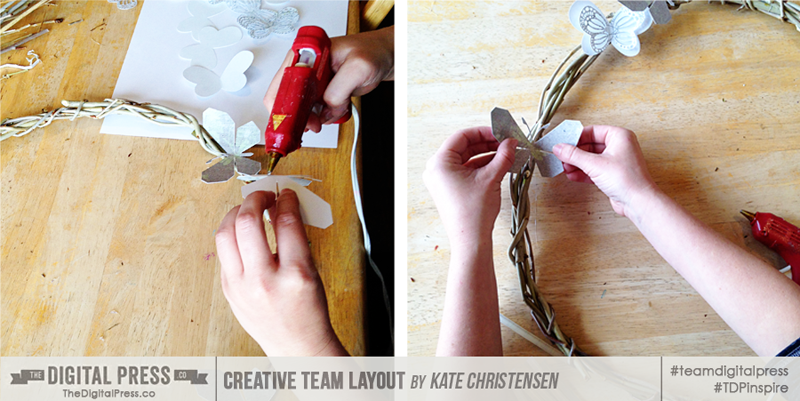
After that was done, I started attaching the butterflies with hot glue. I didn’t think too hard about placement; I basically just spread out the larger butterflies first, and then went from there.
The whole project took an afternoon and I just love how it looks on my front door!
Ready to try out your own wreath? Join us in the forum for a fun challenge to make your own Spring wreath!
(*NOTE* this post was originally published in 2016 and the challenge is no longer active)
 About the Author: Kate is on the hybrid team here at The Digital Press. She lives on the Utah/Colorado border with her husband, 5 kids, 10 chickens, and a dog named Gracie. She’s a city-born girl who found she’s really a country girl at heart. She can be found outside, barefoot, and probably in her garden.

Kate, this is so beautiful. I have the kit and need a new wreath…..THANKS for sharing!