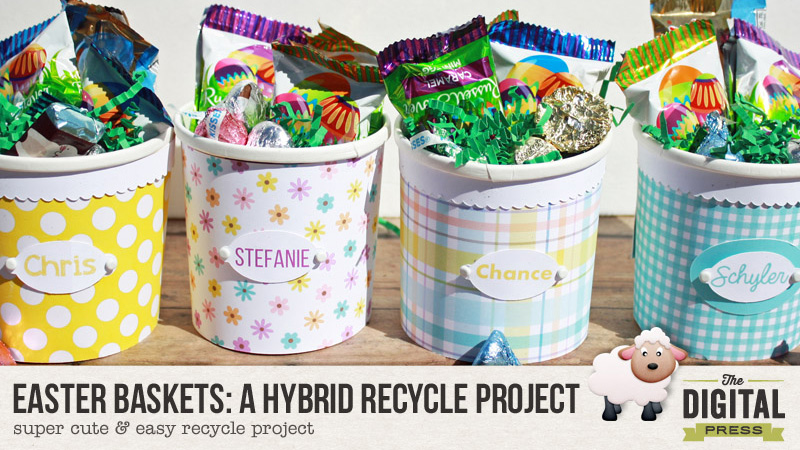
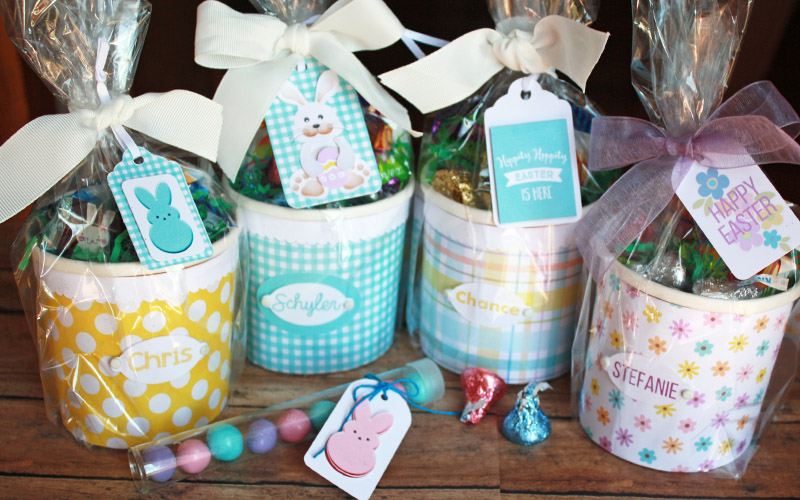
Since we just celebrated the first day of Spring, I thought it fun to start it off with bright Spring colors! One of my favorite things to do is take recycled containers and turn them into treasures. One of my co-workers has McDonald’s oatmeal every morning. Every time she threw the container away, I couldn’t help to think what cute little Easter baskets they would make, so I started collecting them. I used them to make mini Easter baskets for my kiddos.
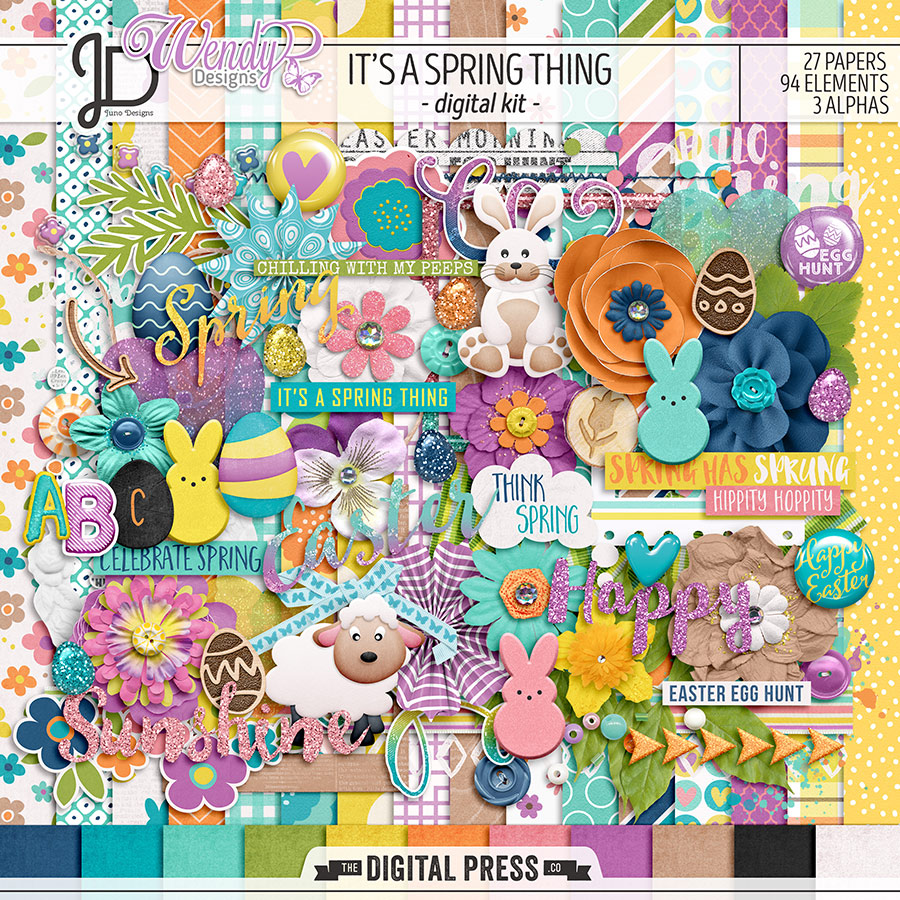
Since it’s an Easter project, I wanted to used an Easter themed kit. When I saw this new kit, It’s a Spring Thing by Juno Designs and Wendy P Designs, I knew it would be perfect to use.
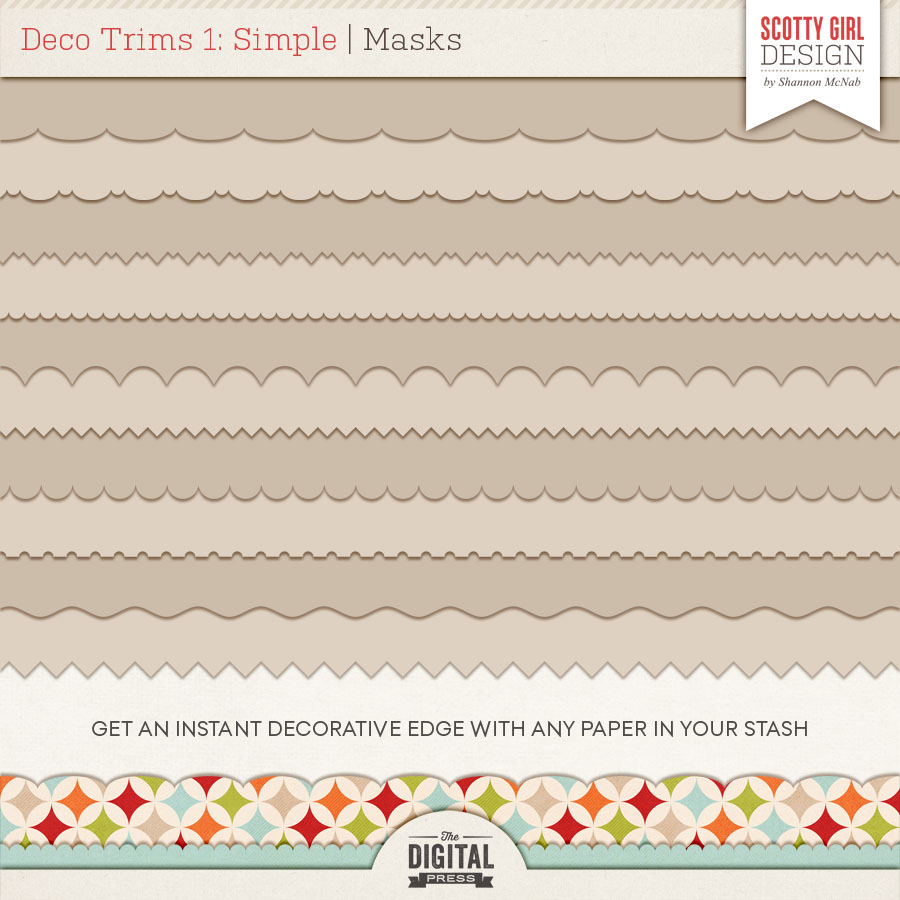
I also used the Deco Trims: Simple by Scotty Girl Designs. I loved using the scallop for a fun edge around the top of my baskets.
I used my Silhouette Cameo to do this project, but you can easily use your favorite photo editing program and a pair of scissors.
Let’s get started!!
SUPPLY LIST
- Recycled oatmeal containers from McDonald’s
- White cardstock
- Ribbon
- Scissors
- Glitter – optional
- Double sided tape
- Glue pen
- Pop dots
- Green Easter Grass
- Assortment of candy

Step 1: If using a Silhouette, open the scallop from deco trims and do a trace. I had to trace so that I could fill the image with the papers from the kit. To do this, open Select Trace Area, uncheck High Pass Filter and move the Threshold bar to the right until the image is completely yellow. Next select the Trace Outer Edge option.
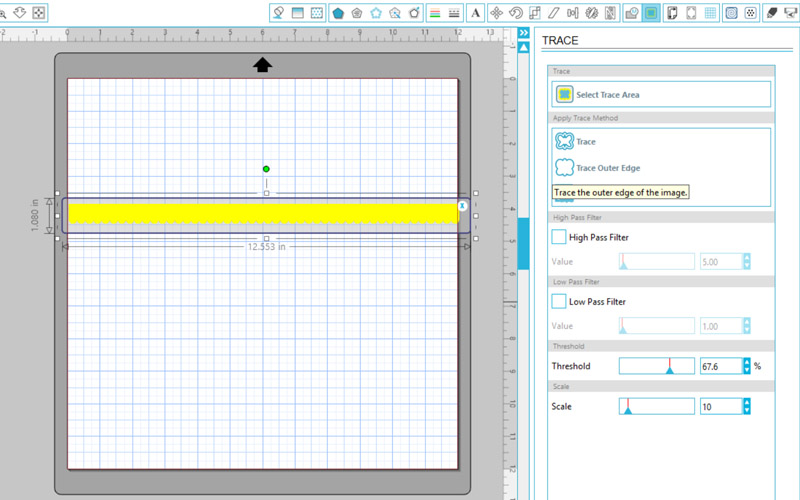
After the image is traced, move it off to the side.
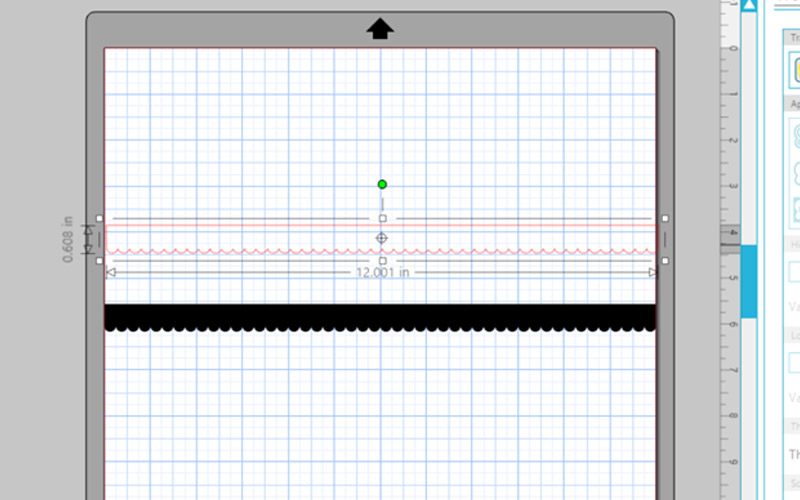
Now pick the paper that you want to use from the kit and fill the image. The Fill Pattern section is where you would enlarge the print and move it around as well.
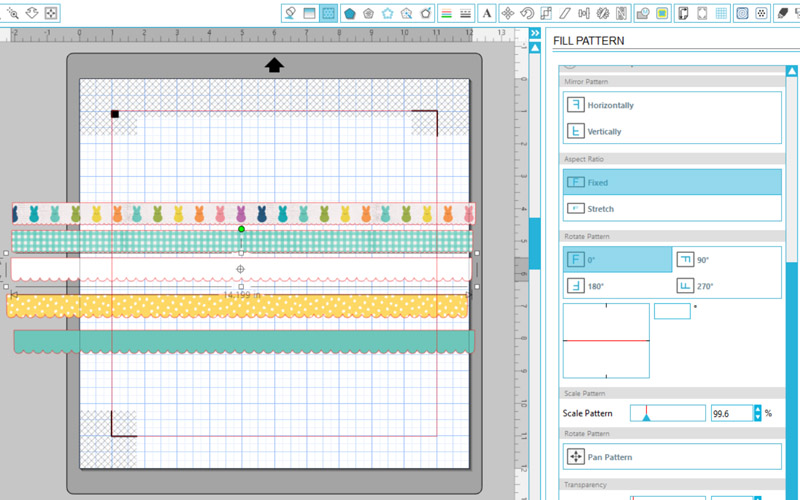
To make the band around the container, you will draw out a rectangle at least 10.5 in long x 3 in wide. Fill that shape with the paper of your choice. After printing, I simply used my paper trimmer to cut the band.
 Now choose the elements that you want to embellish your basket with. I made a name tag to put in the middle of the basket and tied off with a cute tag. Make sure that you have the registration marks on and double check to make sure that cut lines are on in the right places. Send through printer and then through your Silhouette machine to cut.

Step 2: Gather pieces and start assembling. I first wrapped the band and the scalloped trim around the container with double sided tape. I gave dimension to my tags by cutting additional pieces with a pair of scissors and assembled with pop dots.
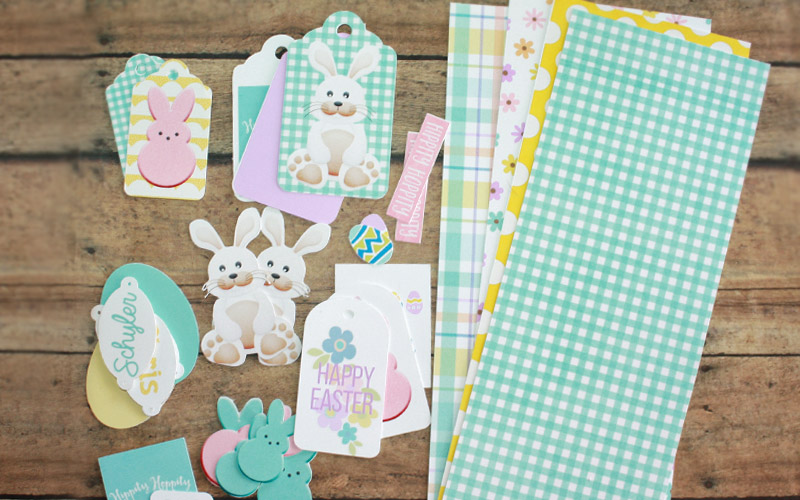
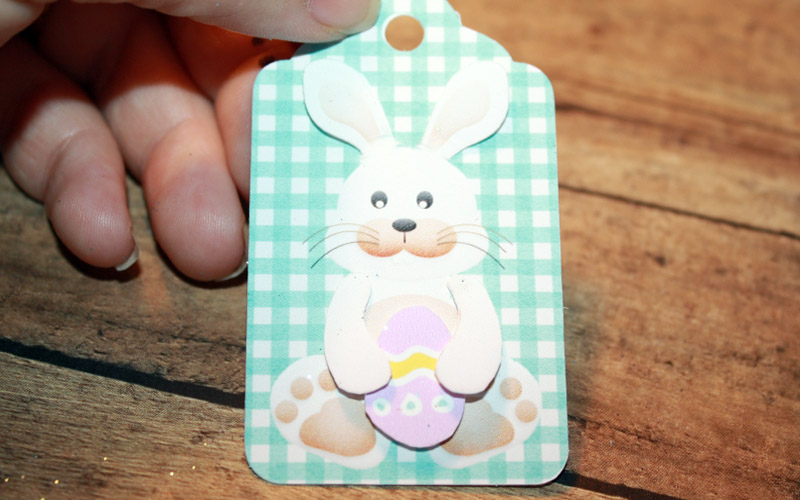
Final Step: Fill with Easter grass and fill with candy…..you can eat the ones that fall out…hehehe! (I later added a gift card to the baskets) After filling, I wrapped with a cellophane bag and tied it off with ribbon and added the tags.
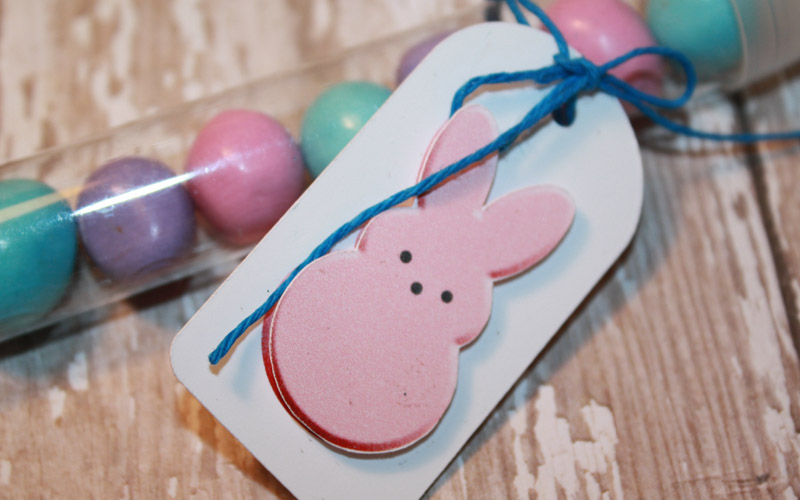
I also made some treats for my co-workers. I made this simple tag and tied it to the little tubes that I filled with M&M’s.
I hope that everyone has enjoyed this tutorial and has a Happy Easter!!
Hugs, Tanya
About the Author  Tanya is a part of the hybrid team here at The Digital Press. She has been hybrid crafting for at least 10 years now, and loves creating and sharing those creations with others. Her all-time favorite tool is her Silhouette Cameo. She has been married for 26 years and has two sons: Chris, 23 and Chance, 19. She also enjoys crocheting, photography and woodworking.

Super cute idea. I love that she recycled the mcdonalds oatmeal containers. I want one: ) the colors are also really pretty