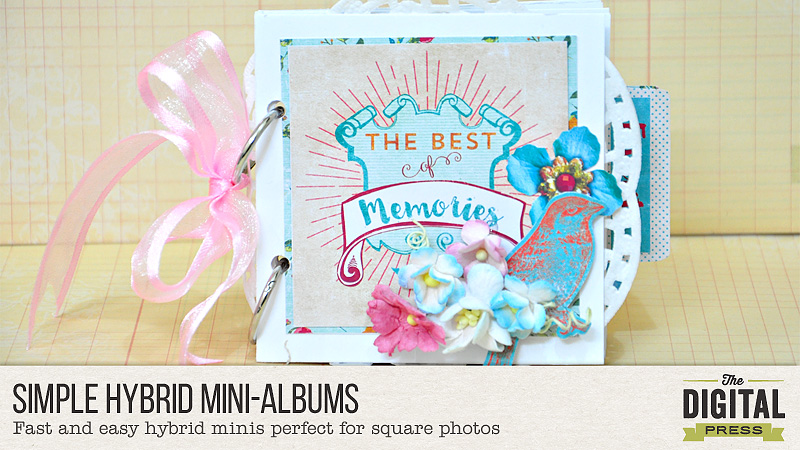
Hello everyone. Donna here to share a simple and cute mini-album with step-by-step tutorial.
Since Instagram became famous, I noticed most of my photos were cropped in square, ready for IG posting. So, for today, I want to share with you a couple of mini-albums to use for square pictures.
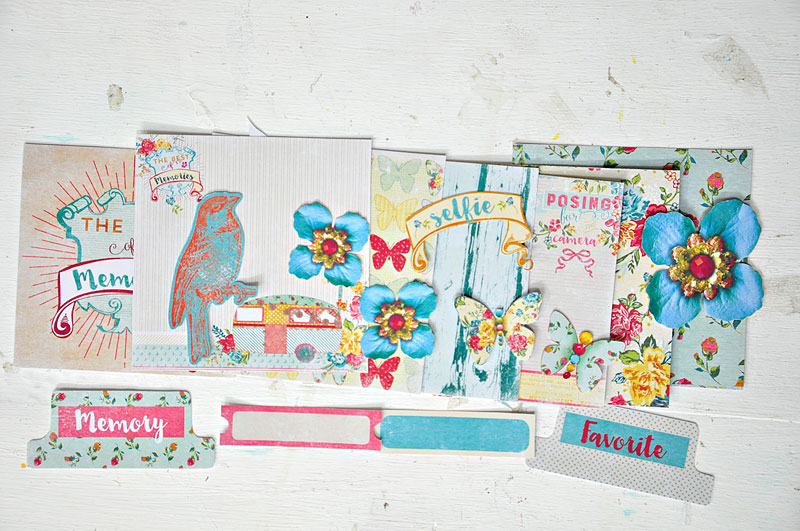
1. First step is to print and cut your chose digital papers/elements to use. Papers size: 4×4 inches, resized to 8×8/6×6. Elements were resized as well.
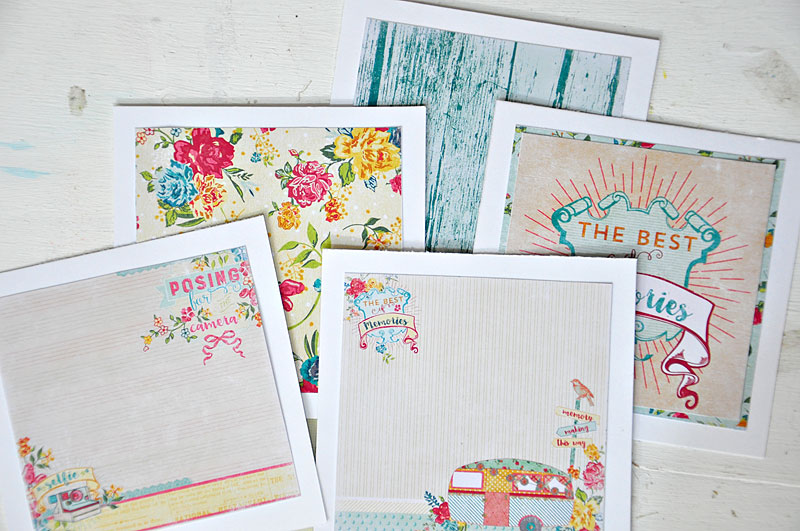
2. Adhere papers to cardstock. Approximately, cardstock is 4.5 x 4.5 inches.
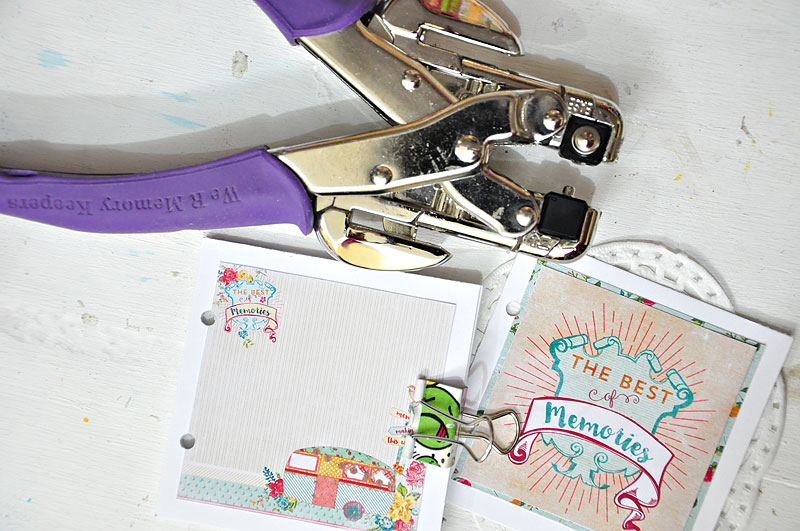
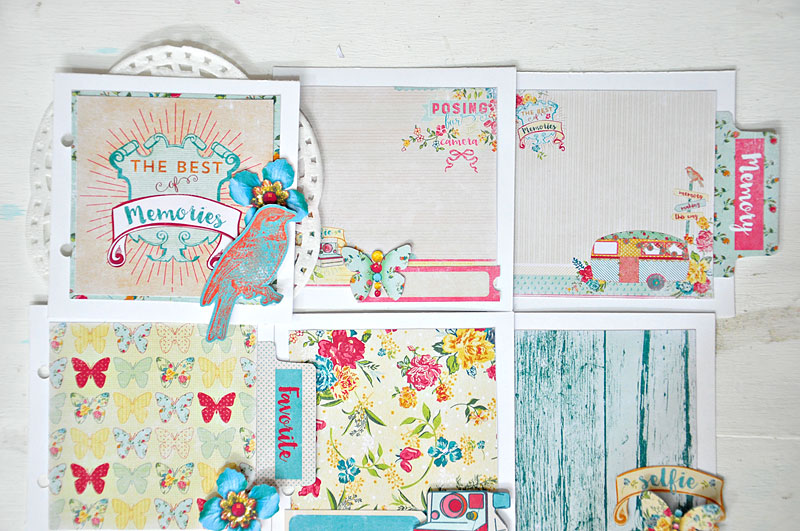
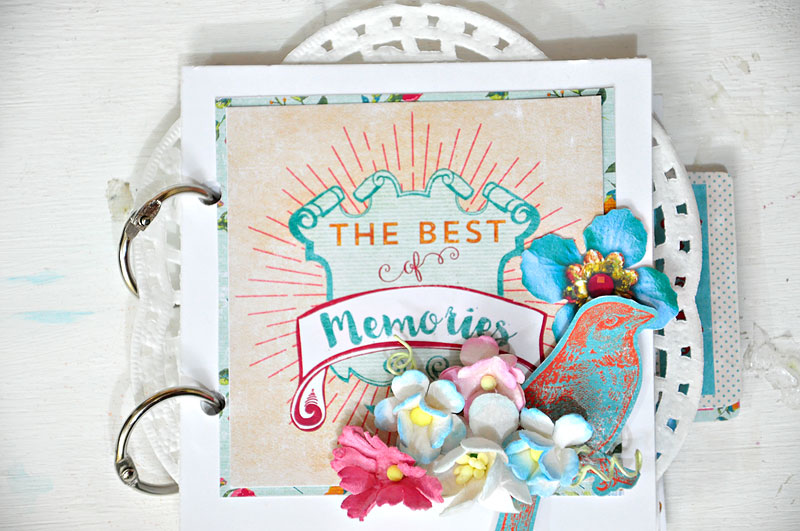
3. Punch two holes as seen in the image. I used my Crop-a-dile to punch several layers simultaneously. I also used a doily on the first page/cover.
4. Adhere everything as seen in the image. use foam dots/tapes on some of the embellishments for dimension.
5. I just added some flowers from my stash to decorate the front page/cover.
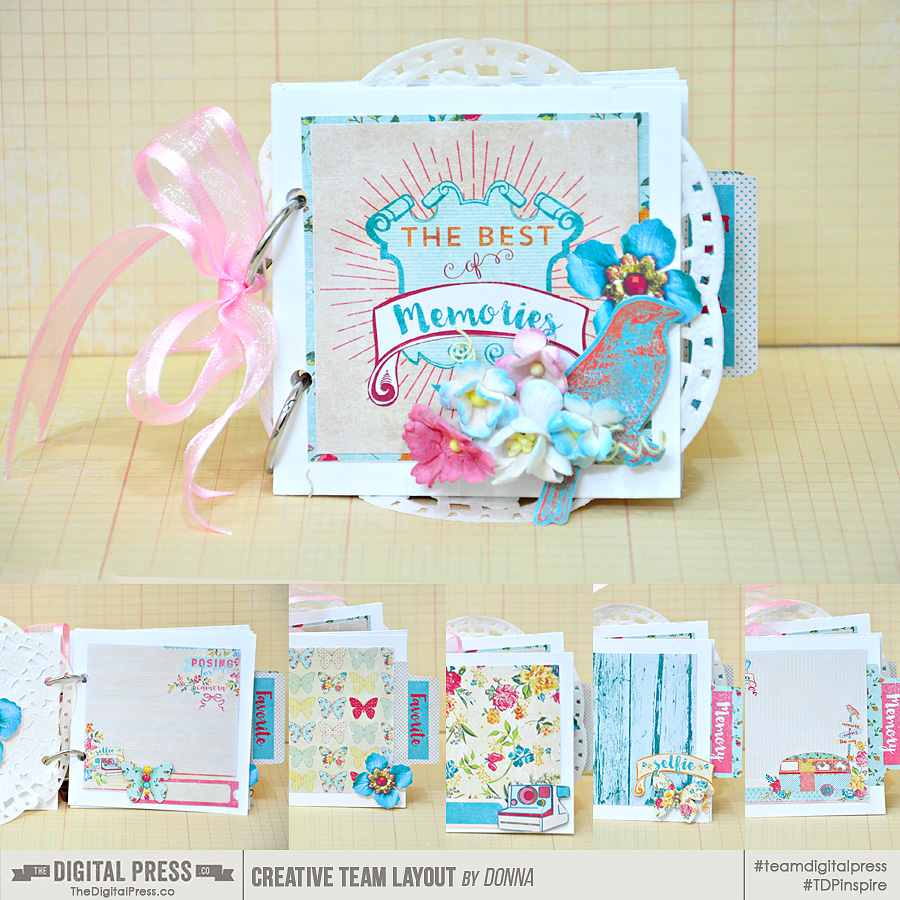
This is how it looks like with a pink sheer ribbon tied to one of the metal rings. I used Danielle Engebretson’s REMINISCENT papers and elements
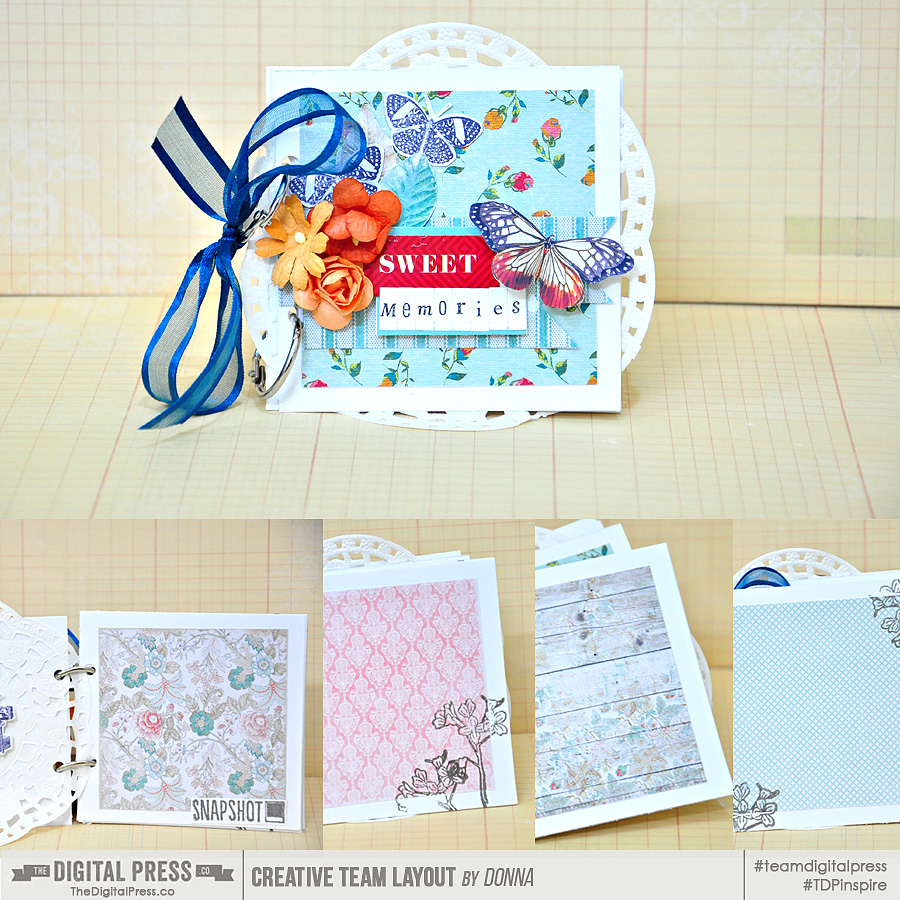
I also created another one with fewer pages, using YESTERDAY ONCE MORE papers and elements. I just added some stickers, alpha stickers, flowers, stamps and sheer ribbon from my stash.
That’s it! I hope you liked my project and tutorial. Thanks for dropping by, happy crafting!

About the author: Donna Espiritu is a mom to a little girl who just turned 10 months and wife to a very supportive husband. She is currently living in the Kingdom of Saudi Arabia with them. When she is not scrapbooking, she likes to read books/e-books (sci-fi/romantic/time-travel) or watching old episodes of some of her favorite TV shows.

