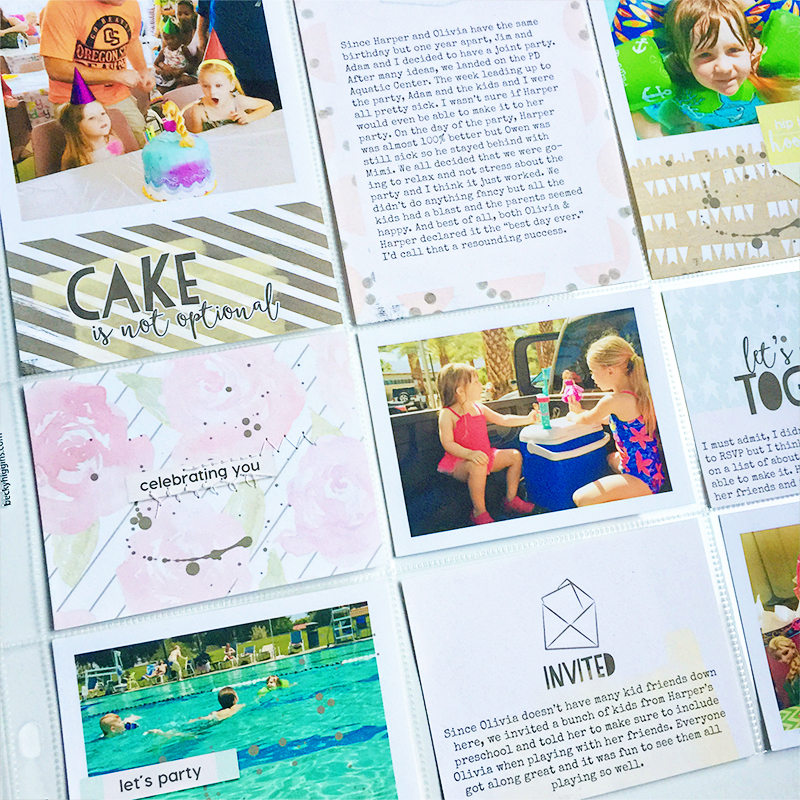
As a hybrid and paper scrapper, one of the questions I am asked most often is how I take pictures of my projects. It has taken me a good portion of my scrapping life to finally get the process streamlined and to a point that I am happy with it. To save you all the lengthy process of trial and error, I have a few tips that might help you. Today, my layout I’m working with is made using Little Lamm and Co.’s It’s My Party.
Natural Light
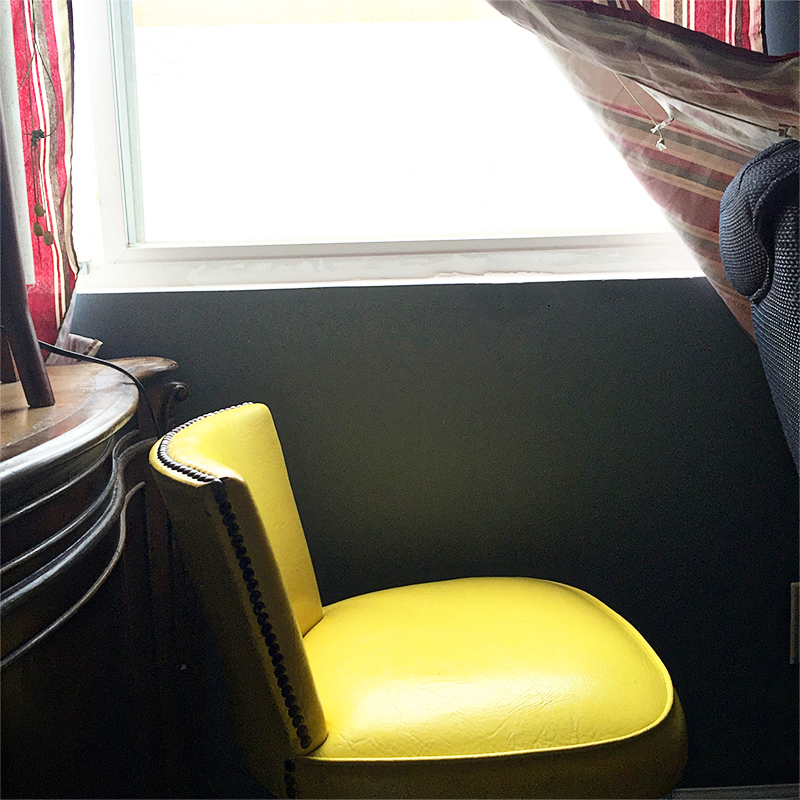
Obviously, natural light will be your greatest ally when photographing your projects. You do not want direct sunlight because of the harsh tones and glare, but if you are able to find a place within your home with the most natural, indirect sunlight, you’ll be well on your way to good photos. I recently moved from my dungeon-dark old house to a house bursting with natural light (at least by contrast), so photographing my projects has become infinitely easier. In the library/computer room, I have set a chair just underneath the window for taking my photos.
White Foam-Core Board
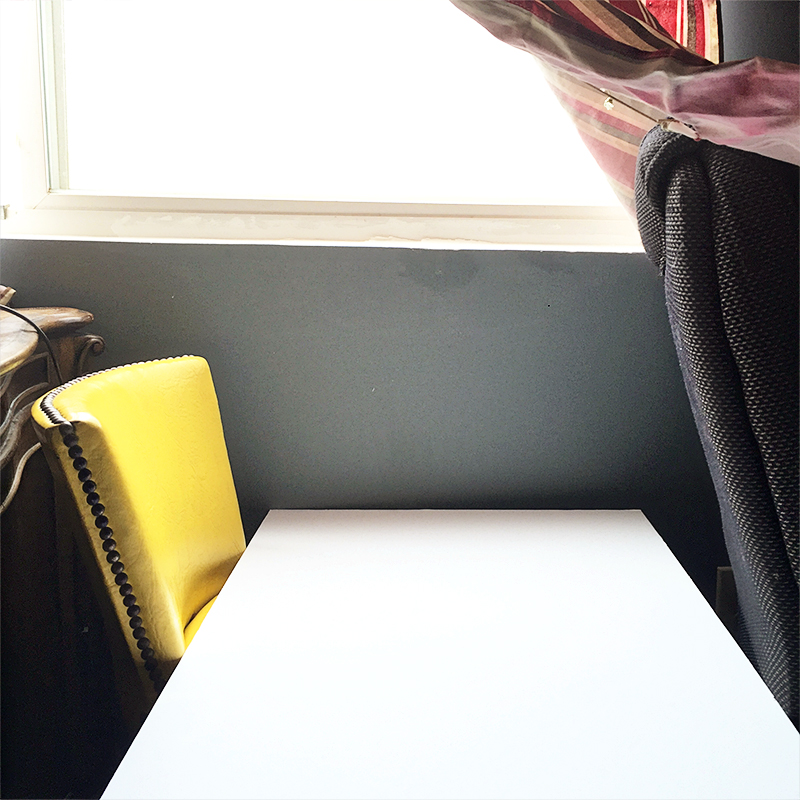
One of my secret weapons is a white foam-core board like you can find in the school presentation section at craft stores and office supply stores. They cost approximately $3 and last as long as you can keep them white. I place the board on top of the chair and then lay my project on top. I find that this allows the natural light to reflect off of the crisp white board without any weird color casts. Plus, if I need to adjust the temperature of the photo in post-processing, I have a true white neutral I can select for automatic temperature correction.
On occasion, I use an additional white board on the opposite side of my light source. So for me, it goes window, white board laying down with project on top, white board standing up against the edge of the bottom white board, and then me as the photographer. If I find I am not getting enough light on my project, I use the standing white board to bounce the light back on to my project.
Page Protectors
If I am photographing a pocket page, I take my cards out of the page protectors and lay them directly on top. This way, I still get the look and feel of the page protectors themselves without any of the glare of the plastic sleeves.
Camera
I do not use my DSLR for taking photos and this is probably mostly due to laziness, but also because I have found that my iPhone 6 Plus camera works perfectly. When photographing 12×12 layouts or pocket pages, I set my iPhone to the square setting. If the coloring still seems a little dark, tap on the screen until the sun icon pops up. Then slide your finger up while this icon is on the screen to bump up the brightness. Conversely, you can swipe your finger down if you want it to be darker.
Position
When photographing my projects, I try to stand directly above the project with my camera. I try to make the camera completely parallel with the project so there are no weird angles or distortion with the photo. I usually end up taking about 5-10 photos just to make sure I get one that will work. Then I’ll take a few closeups if I’ll be doing a blog post. I typically keep the camera on the square setting when taking closeups, but that is just personal preference.
Processing
I have used both my computer and my phone for post-processing the photos. On my iPhone, I use the app PicTapGo. My go-to filters for project photos are Brightside (increases brightness), Auto Color, Crispity (sharpness), Cool it Down (I use only if I deem the photo to have too much of a yellow overtone), and Sweet Tooth or Sugar Rush (depending on the colors of my project) to increase the saturation. The fun thing about PicTapGo is that all of these filters are on a sliding scale. I hardly ever use any filter at its full strength, so it’s just a matter of playing around with the levels until you find what looks best. However, once you discover a combination of all these filters that works best for your lighting situation, you can save the recipe within the app and apply it to all future photos with the click of a button. For computer processing, I use the RadLab add on for Photoshop (it’s also compatible with PSE). RadLab is made by the same people who make PicTapGo so my method is very much the same. I bump up the brightness, decrease the warmth, and increase the sharpness, contrast, and saturation.
Ottlite
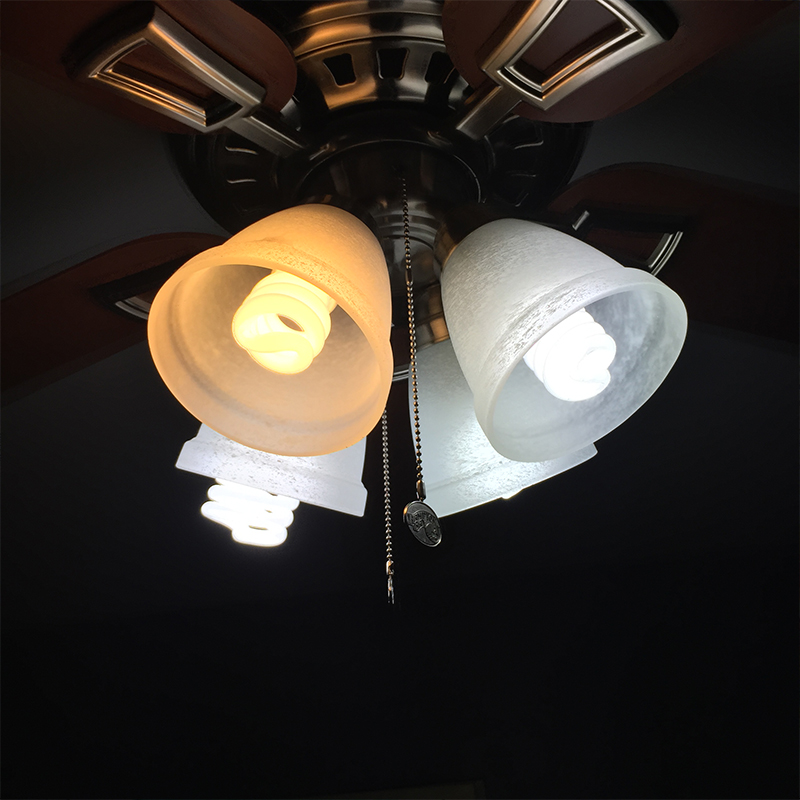
I mentioned before that my previous house had next to no natural light. Additionally, I am usually a late-night, last-minute type of scrapper so sometimes my photos have to be taken when there’s no natural light. Typical lightbulbs have a very yellow color cast and even with post-processing, I cannot make my photos look right. I discovered Ottlite, which is a brand of light bulbs and lamps that is supposed to be the closest to natural light you can get from an artificial light source. I have a desktop Ottlite Lamp that I scrap with and have attempted to use for the purpose of nighttime photos, but it is not quite bright enough. Ott lamps themselves can be quite costly, even with the use of a coupon but they also offer light bulbs that you can use with your own light fixtures. I went to my local big box craft store and bought three Ottlite bulbs for my ceiling fan. I waited for a sale and got all three bulbs for under $25.
As you can see, the Ott bulbs give off much less yellow light compared to a traditional bulb. My husband jokes that it looks like an operating room when these bulbs are in use, but I find it provides the right color and brightness of light needed for my photos.
Here is a photo of my layout taken under regular light and without using any of the tips mentioned above:
And here is the photo of the same layout following all the tips shared above:
I am by no means a professional photographer but this is the process that works for me. If you have any tips to add, please share in the comments. I would love to hear your tried and true methods.

About the Author: Brenda Smith is a mother of two littles and wife located in Southern California. When she is not scrapbooking, you can find her working full-time, trying to finish up her college degree with online classes, or sleeping because there are never enough hours in the day. Hybrid scrapping satisfies her addiction to technology and her addiction to paper and glue.


