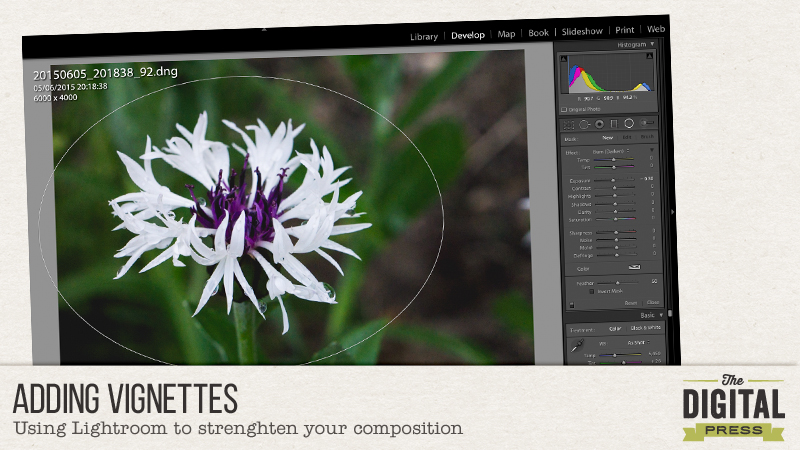
In photography, a vignette means adding a (usually) darker border which fades into the photograph. It draws the eye in to the center of the image where the subject is by framing it.
I normally add vignettes in Lightroom. There are two ways to go about this – first the vignette tool and secondly by using a radial filter.
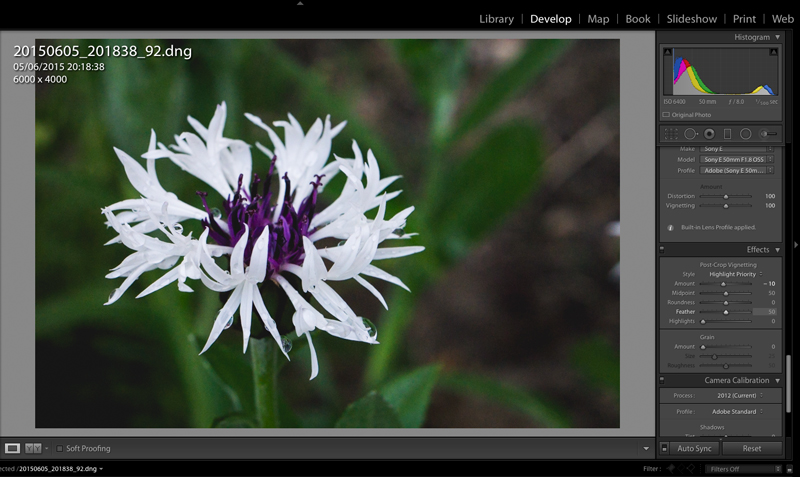
The Vignette tool is found in the ‘lens corrections’ section of the develop module. This is because it can be used for removing optical vignettes that we don’t want as well as adding them.
The options are :
Amount – how dark or light the edges are.
Midpoint – how far towards the center the vignette appears, effectively the size of the vignette.
The post-crop options are used if you’ve already cropped the image, otherwise you might not be able to see the effect.

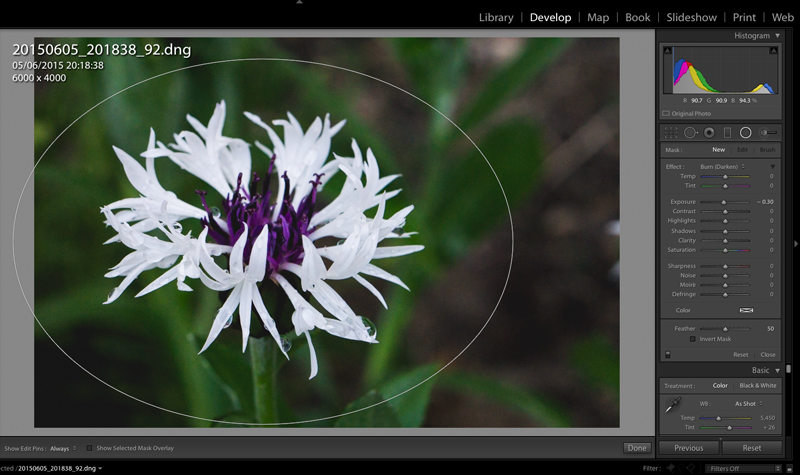
I actually much prefer to use the radial filter tool as it is much more flexible. It is also found in the Develop module, right at the top of the sections and it has lots of options. The reason I much prefer it is because I can decide exactly where I want to center the vignette and I can easily change it’s size and proportions.
To add a radial filter, select the tool – it looks like a circle. Set the effect to ‘Burn (darken), then click where you want to center your effect and drag it out until it’s the right size. Once it’s in place, you can drag the edges around to change the proportions of the circle (or oval!) until it’s perfect.
Depending on the image, it’s easy to adjust the darkness of the vignette by increasing or decreasing the exposure change.
Here you can see the final effect:

![]() About the Author: Jude Toone is part of the Creative Team at The Digital Press. She lives in the UK with her husband and two fantastic girls. She’s loves travelling and would be off in her campervan every weekend if she could get away with it and loves time spent exploring new places and trying new experiences – and photographing them! She also spends too much time on the computer and still doesn’t go running as often as she says she’s going to.
About the Author: Jude Toone is part of the Creative Team at The Digital Press. She lives in the UK with her husband and two fantastic girls. She’s loves travelling and would be off in her campervan every weekend if she could get away with it and loves time spent exploring new places and trying new experiences – and photographing them! She also spends too much time on the computer and still doesn’t go running as often as she says she’s going to.

