It’s beginning to look a lot like Christmas! Most people have their trees up, sparkling with lights… and now they’re wondering about the best way to get some great photos. Getting great photos of holiday lights is easier than you might think! Here is a simple tutorial to get those great shots.
First, I need to tell you a little about bokeh.
Bokeh is defined as “the way the lens renders out-of-focus points of light.” So what does this mean, exactly? In general, it means that while the in-focus parts of a photo are beautiful, the parts that are out-of-focus are just as beautiful. How do we apply this to our holiday lights? Easy peasy… we do what we never plan to do: we take a purposely out-of-focus shot.
The secret to shooting bokeh lies in its definition: out-of-focus points of light. You need four things to shoot great holiday bokeh: (1) pin-point highlights (twinkly lights on the tree), (2) low ambient light (your only light source should be the tree lights themselves), (3) a lens able to open to a large aperture (f/2.8 or wider), and (4) a short focal distance (or rather — enough distance between the lights and where your lens is actually focused).
TIPS:
- If you have a tripod, use it; if not, rest your camera on a steady surface.
- Turn off all other lights and use a higher ISO. I recommend ISO 800.
- Use your widest aperture. I recommend f/2.8 or wider.
- Keep your shutter speed high enough to avoid camera shake if you aren’t using a tripod. This will vary based on the amount ambient light available. I used SS 1/400.
- MANUAL focus! The key here is to manually take your lens out of focus to force your lens to a shorter focal distance.
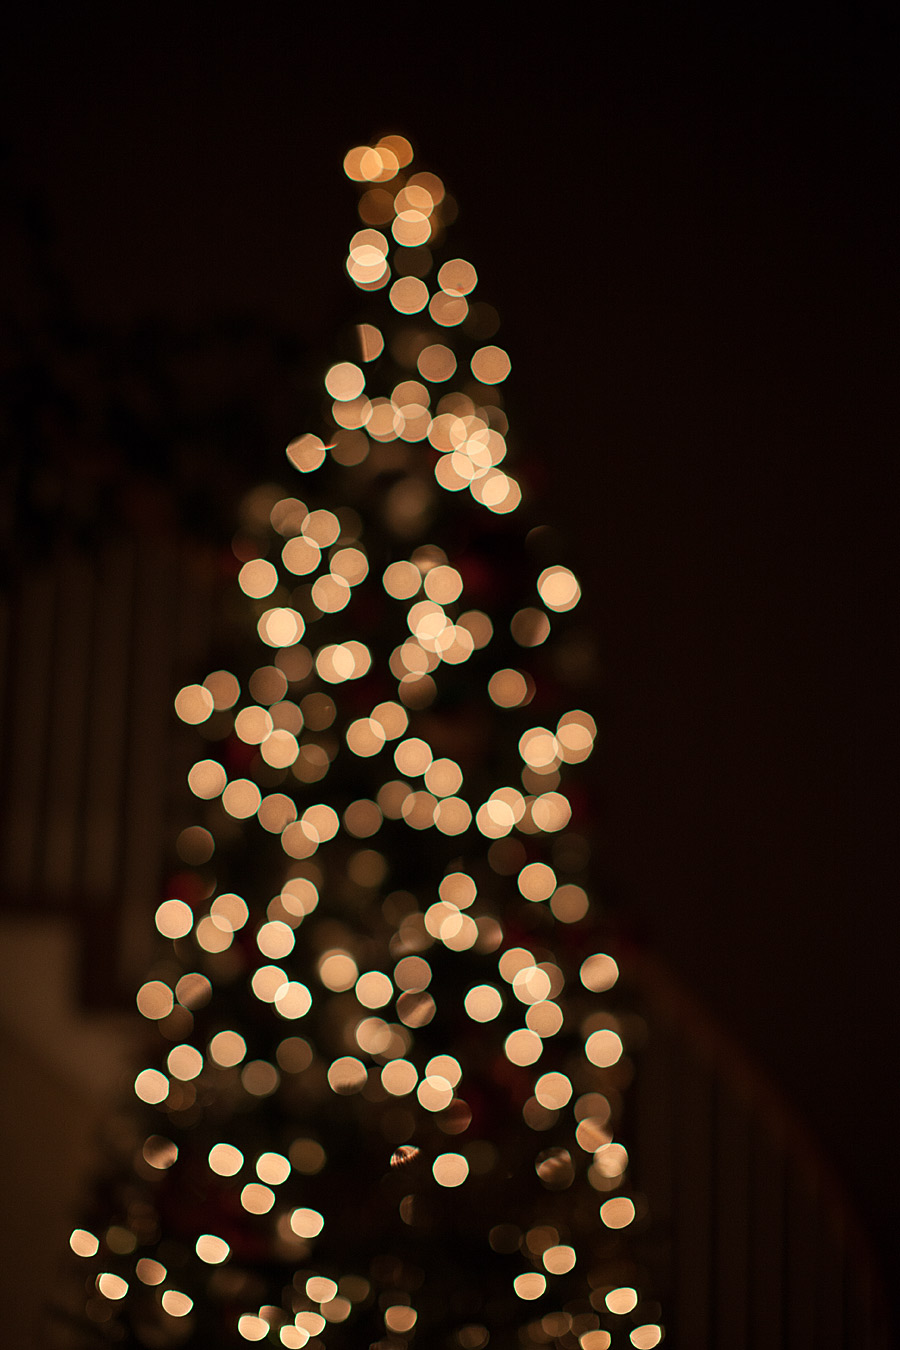
Here is my example:
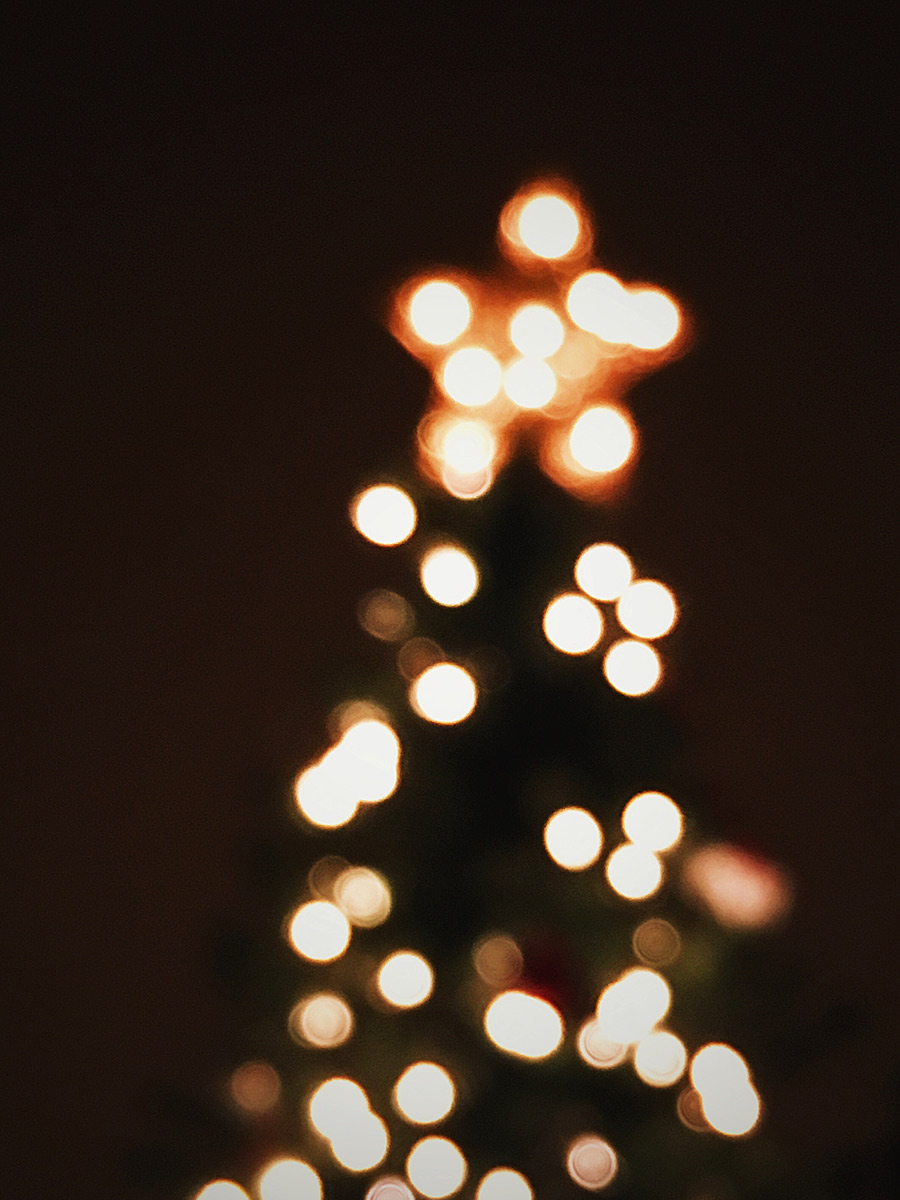
Don’t have a DSLR? No worries! You can still get great bokeh photos with a point and shoot camera (or even a cell phone camera). The key here is to trick your P&S (or phone) into taking a photo at a shorter focal distance. The answer? Put your camera on macro mode. Macro mode has a little tulip icon. I have an iPhone 6S and use the Camera+ app, which also has a macro mode.
Here is an example using my iPhone:
BONUS TIP:
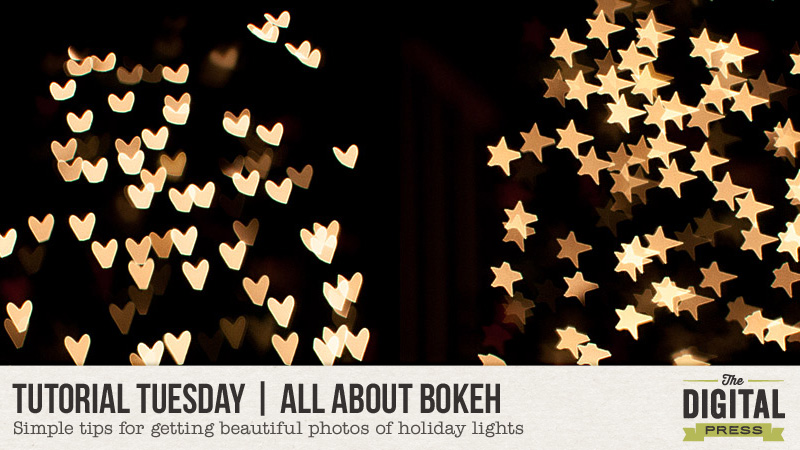
Want to get even more creative? Try making shaped bokeh!
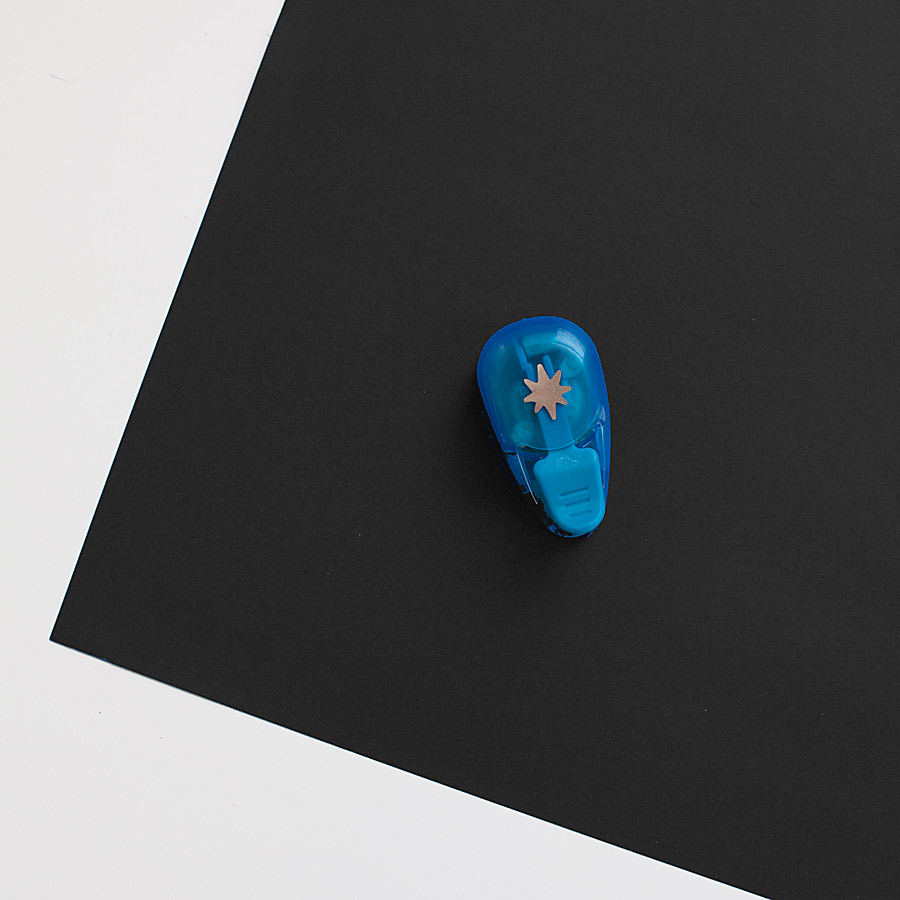
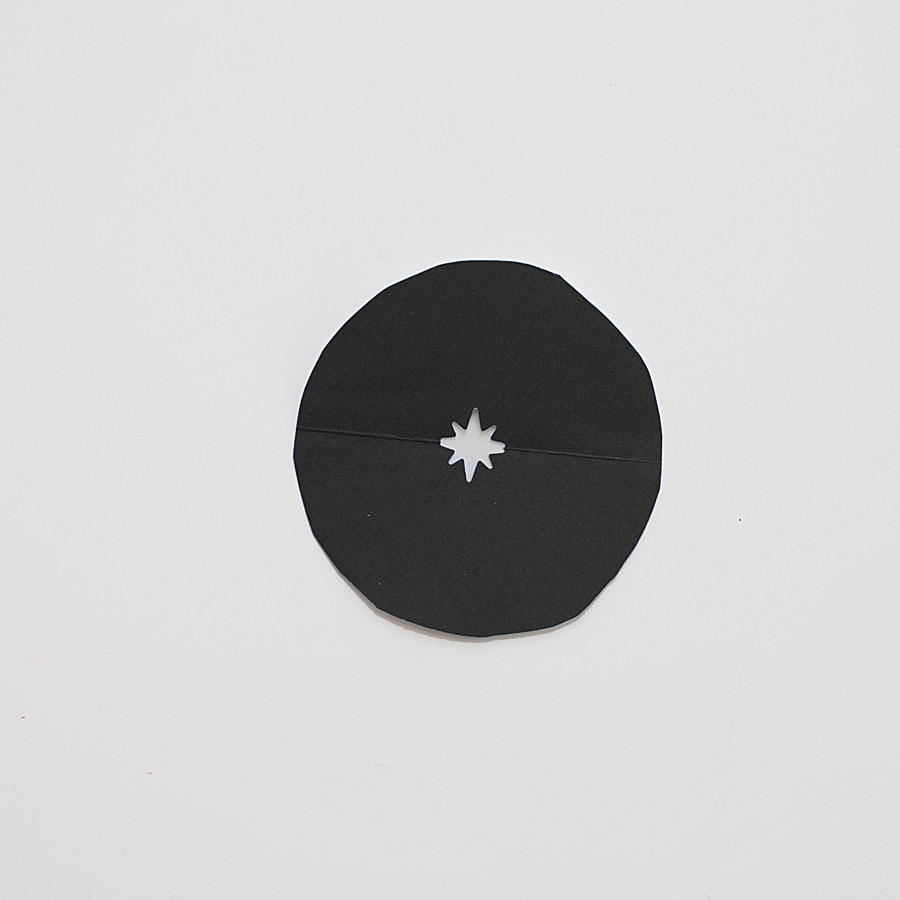
To do so, I dug out my paper punches and punched a few shapes into black paper. I also used my DSLR and lens, as I haven’t figured out a way to do this with my phone’s camera.
First, cut out a circle of paper the same size as your lens…
Punch a shape in the middle of the circle (fold the paper circle in half if your punch is short and you can’t reach the middle).
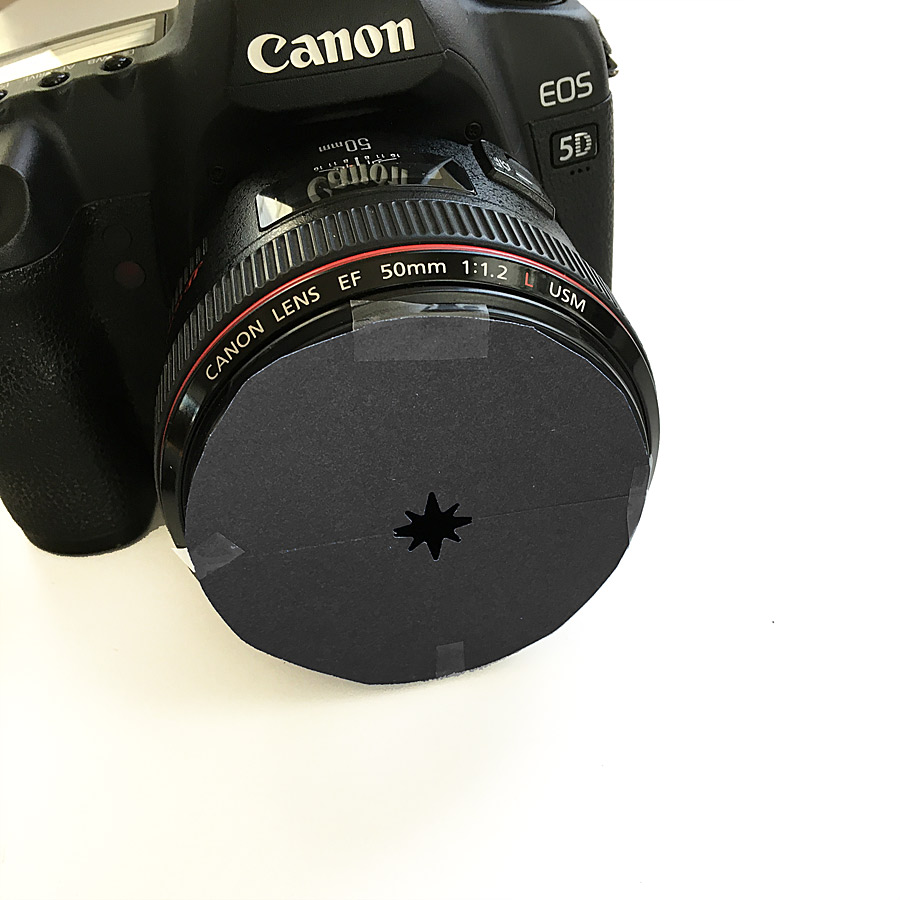
Next, tape the circle to your lens as shown below… and then follow the same instructions listed up above for “normal” bokeh photos.
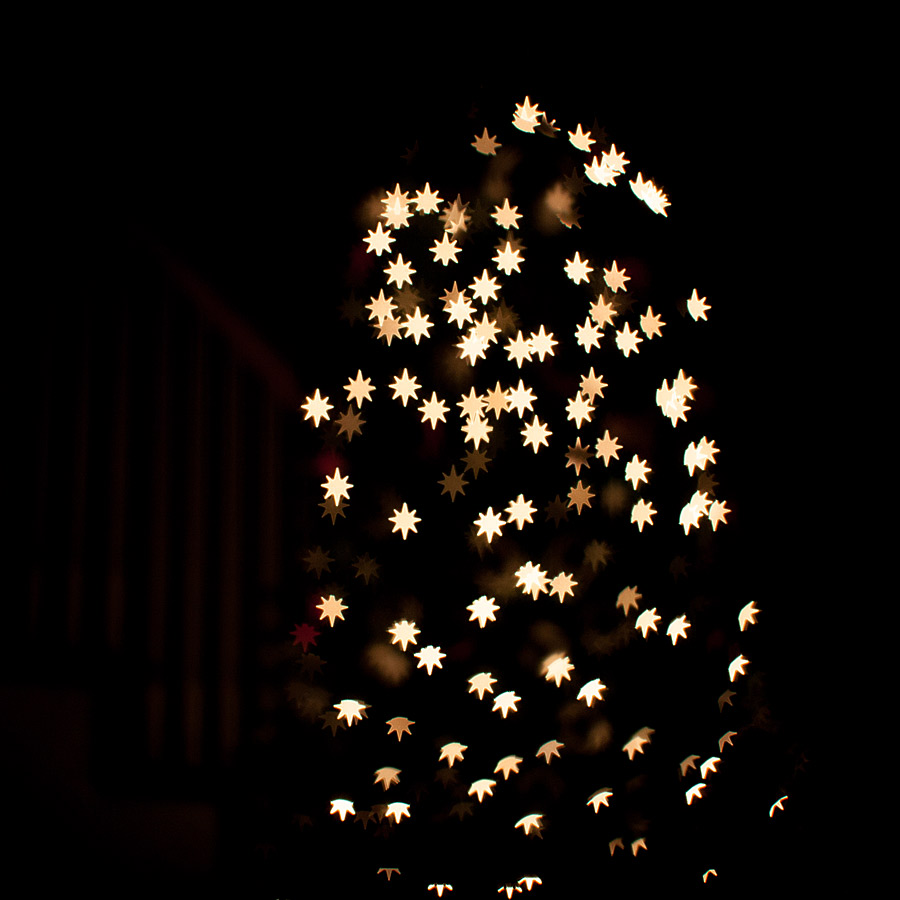
Here’s a look at the result… isn’t it fun?
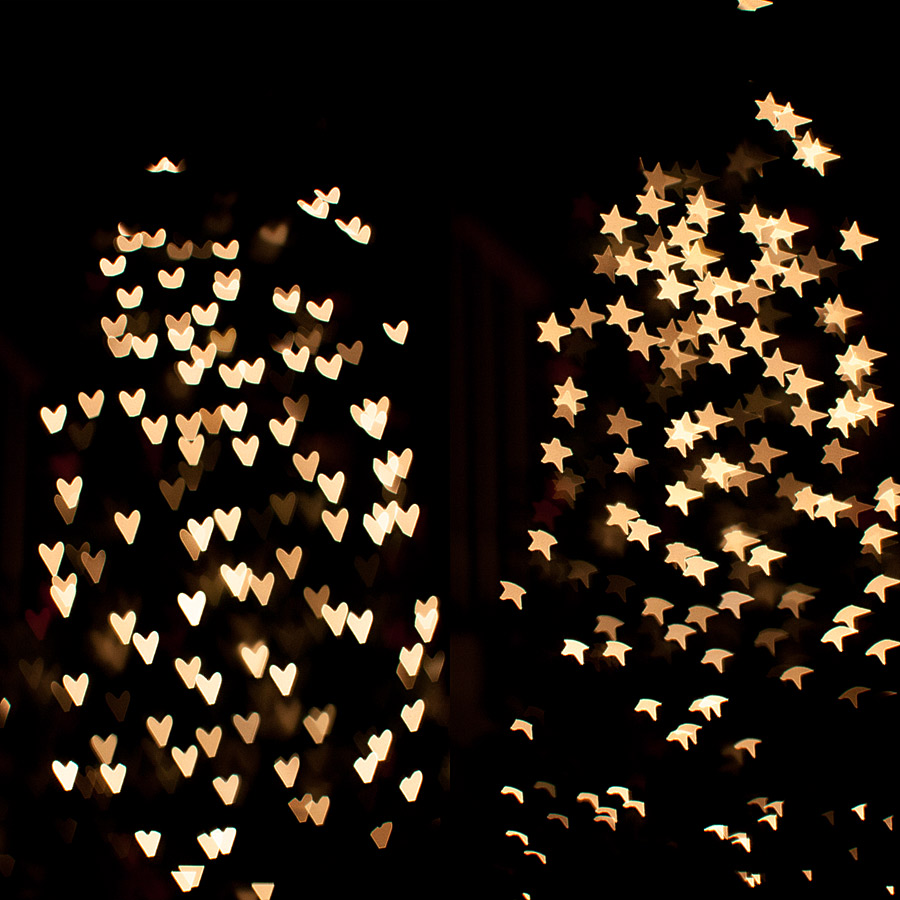
You can try some other fun shapes too…
Hopefully, this will help you capture some great bokeh photos this holiday season. Give it a try!


You are a rockstar Farrah!!! What an innovative tutorial. I love your photos anyways and the way you’ve explained it is so easy to follow. Thanks for sharing!
Great tutorial. Easy-to-use follow. I am going to try this tonight!
Thank you Farrah for the tutorial, I’ll definitely try!
Thanks so much for all the information.