Hello everyone, and welcome to another edition of our Tutorial Tuesday series here on The Digital Press blog! I’m here today to share a really quick & easy tip with you — a fun way to add journaling to your pages — creating custom journal strips!
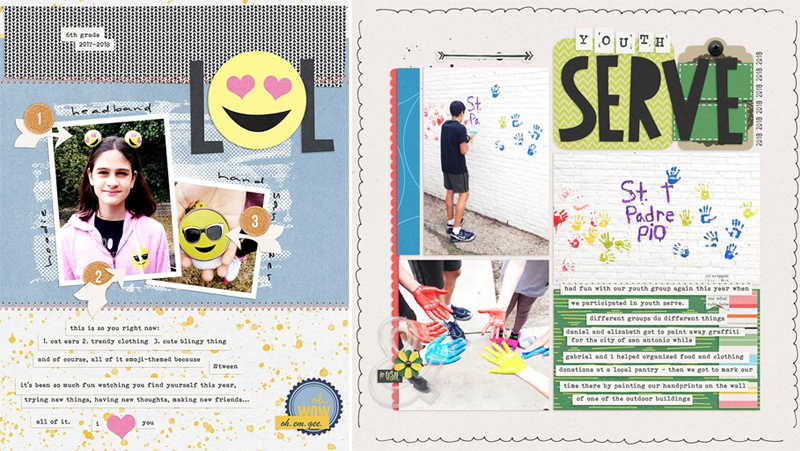
It’s possible that I love journaling cards more than most people do… but… sometimes a journaling card just doesn’t work (it might not fit the space on the page… or doesn’t contain enough space for the amount of journaling I have in mind… etc.). I’ve noticed one of our scrappy designers here at The Digital Press (the fabulous Dawn Farias of Dawn by Design fame) has a fun trick she uses to solve this issue — she creates custom journal strips that fit her layouts! Here are just a few examples of Dawn’s fabulousness…


Aren’t her layouts fun?
Now, I’ve noticed that many designers will include a journal strip or two in their kits, but sometimes they don’t fit! As seen in Dawn’s examples, though, creating your own custom strips ensures that your journaling will fit (and it also ends up being a really fun design element on the page)… and so today I’m here to show you how to quickly & easily do this.
For my example, below, you’ll see that I created my page and then needed a place to fit the journaling. I’m a sucker for plaid, and simply had to use that paper… and then none of the journal cards in this cute kit really worked for that space. Custom journal strips to the rescue!
First, you’ll see that I typed my journaling where I wanted it. A little here, a little there — loosey goosey, as this page’s topic was a fun ride at California Adventure — no left justification for journaling allowed here! 😉 
Then, I chose my foreground color by sampling the off white/cream color from the papers in the kit, using the color picker in Photoshop…

Next, I selected my “rectangle shape tool” and began creating my strips…

I drew my rectangles slightly larger than my journaling. You’ll see in my example, below, I was drawing my rectangles over the journaling, to ensure that I was covering it up (i.e. that it would fit onto the strips) — but — I could have just as easily made the rectangles under the journaling in the layers panel. The point is that either way works, and it’s just a matter of personal preference in terms of the process!

After my strips were all created, I dragged those layers down underneath my text layers, & added a shadow…

Voila! Custom journal strips that fit my text perfectly!
Another fun way to make strips is with the polygonal lasso tool. With this tool, you can make more realistic/not perfectly straight strips. I can’t cut a straight line with scissors to save my life… so this method mimics my real life perfectly!
To do this… first, you’ll need to add a new layer (not pictured here, because I forgot to screenshot that step, but you get the idea!) Then select your “polygonal lasso” tool…

Click & draw lines to make an irregular rectangle shape around your journaling. As soon as you click on the starting point to end your shape, you will get a selection…

While your shape selection (the “marching ants” in Photoshop) is active, select the “paint bucket” tool. Occasionally this will be hidden under the gradient tool; right-click to find the paint bucket nested inside. With the paint bucket tool, you will click inside your selection to fill with the foreground color. Repeat this process for all remaining strips…

My final results are shown here (with some warping added, and shadowing… as well as my text clipped to the custom journal strips)…

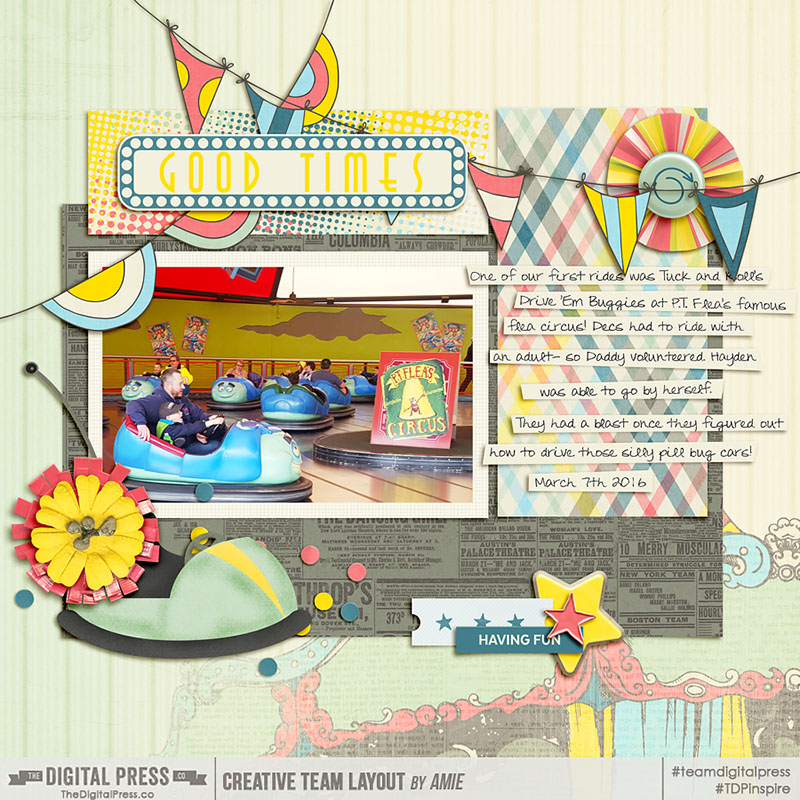
And then finally… here’s a look at my final layout…

[ sample layout made with: Midway by The Digital Press Designers ]
 About the Author Amie is a craft-loving dental hygienist who lives in Washington state. She loves her husband, her two crazy kids, and her English Bulldog… as well as coffee, baking cupcakes, daffodils, glitter & sprinkles, reading a good book, and lip gloss — not necessarily in that order.
