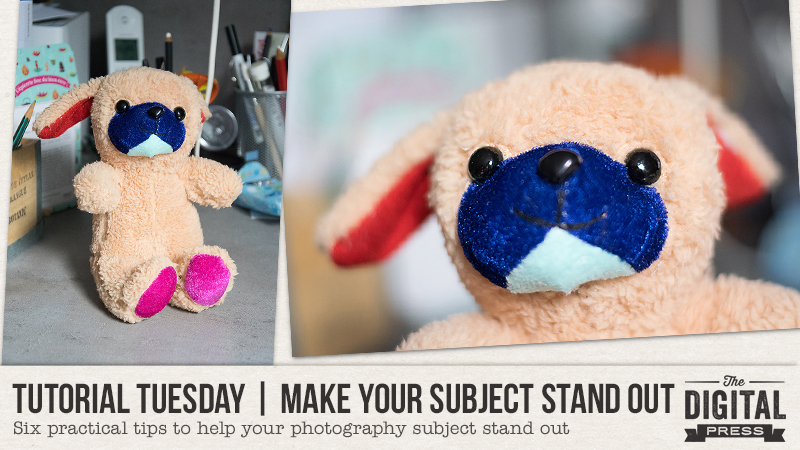
Hello, and welcome to another edition of our always-popular Tutorial Tuesday series here on The Digital Press blog! Today, I’m here to share with you some practical tips for making your subject stand out more when taking photographs.
Whenever we take a photo, it’s usually much stronger if it has a subject (or a main subject, at least) that can be immediately identified. To make the subject of your photo stand out, you have several “tools” at your disposal. Today, I will show you how to use those tools… using a toy that was recently gifted to my newborn son (because it’s a toy and not a person, it was able to “stand still” for a loooong time while I took all the pictures to illustrate this tutorial, LOL — so it was the perfect subject for me!). Here’s a look…
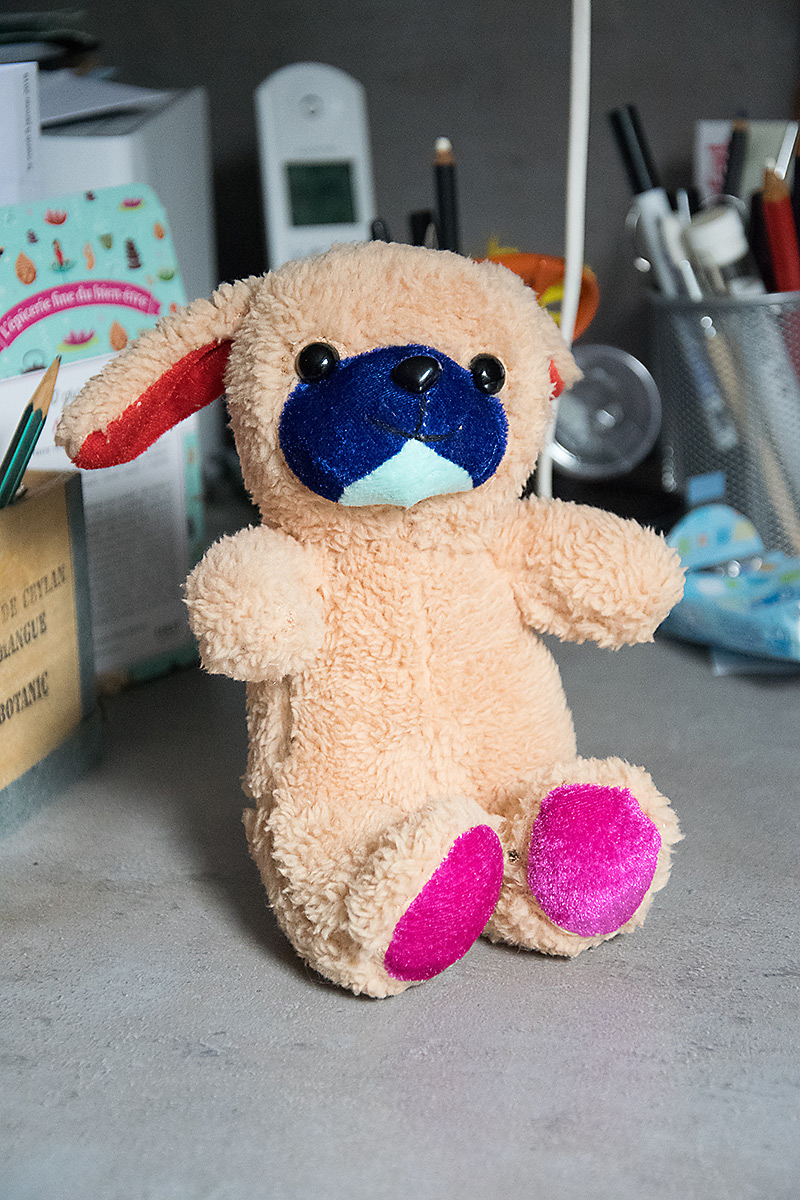
As you can see in this first picture… it’s a cute stuffed animal, but there is a lot going on visually around the toy (let’s be honest and call it what it is… clutter!). Because of this, it’s not standing out as well as it could be; you cannot easily tell, in just a split second, what the subject of this photo is.
How can I change that without having to clean up the mess around it? Here are a few ideas…
Use Focus and Depth of Field
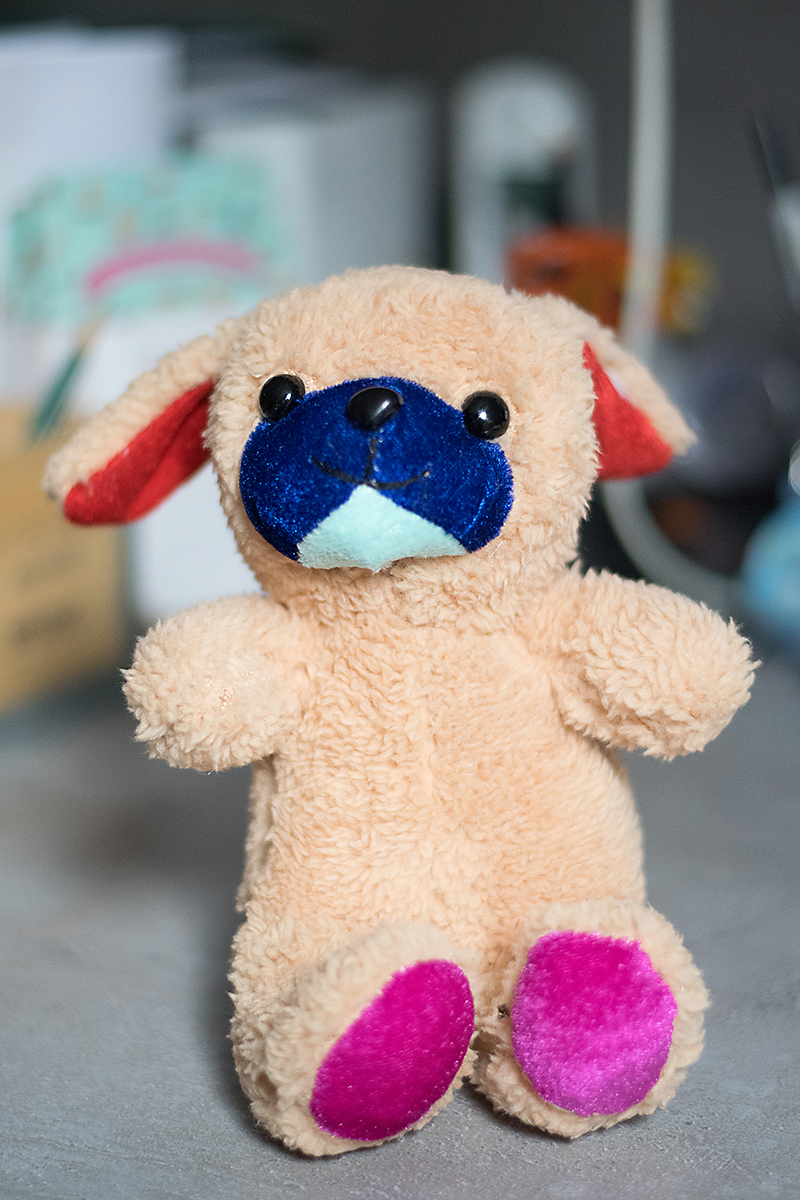
“Depth of Field” is the sharp area of your picture. If you use a shallow depth of field, that means that only a small “slice” of your image is in focus, the rest of it, in front and behind this “slice”, is blurry. This is a great technique to avoid distractions in the background and separate your subject from the background, even when it’s super messy (like my example here).
How to achieve this effect?
- Use a wide aperture (small f/stop in manual mode, macro mode, “portrait” mode on some smartphones)
- Zoom in
…or… - Increase the distance between your subject and the background
You can also mix all of those steps/techniques for an even bigger effect. That’s what I did in the 2nd image, above, when compared to the first image above it. I moved the toy away from the background (closer to the camera), and switched to my “nifty fifty lens” to have a much wider aperture (f/1.8 vs f/3.5-5.6 with my zoom lens that I had used in the first picture).
Want to read more about depth of field? Here’s an older tutorial from TDP’s blog all about focus and depth of field.
One other idea — you can also “fake” this technique after-the-fact, using your favorite photo-retouching software to blur your background, if your subject isn’t standing out to your liking.
Use the Rules of Composition
The rules of composition — such as the most famous “rule of thirds” — are great at helping guide the eye of the viewer towards the subject to make it immediately visible. There is a great tutorial on TDP’s blog about the most common composition rules.
To quickly recap the concepts that are covered in that previous blog post… here are some of the Rules of Composition to think about…
- Rule of Thirds
- Balance
- Leading Lines
- Viewpoint
- Background
- Symmetry and Pattern
- Depth
- Framing
- Cropping
We definitely recommend giving that old tutorial a quick read! Lots of great info.
No matter what rule you use (or if you decide to break them!)… what’s important is that you make a mindful, creative choice that’s dictated by your subject and what you want to convey. Isolating your subject is key — whether you do that through use of negative space or, on the opposite, by filling the frame completely with it. Each of these two composition choices work really well to eliminate distractions. When you use the “fill the frame” technique, don’t be afraid to crop part of your subject. To achieve these two techniques, you might have to move yourself around your subject… and sometimes move your subject itself, if it’s possible.
Here, I chose to focus on the toy’s face and fill the frame with it…

Use Color
Color can be a very powerful visual tool. Using complementary colors (colors that are opposite each other on the color wheel — for example, purple and yellow… or blue and orange… or green and red), or using contrast between bright and neutral colors, is a great way to add dynamism to your image.
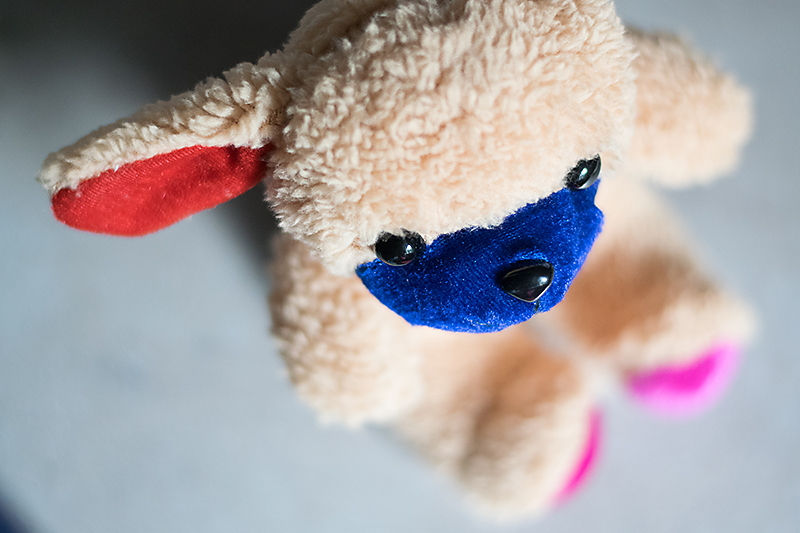
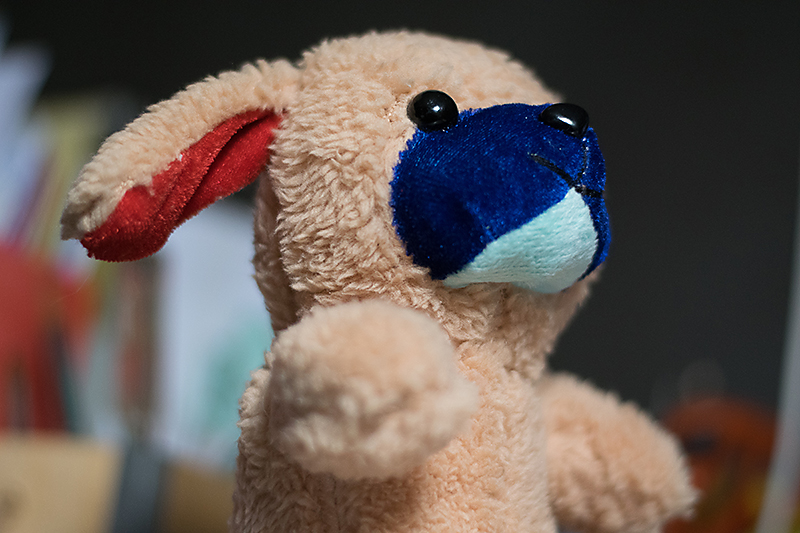
If your subject is red, well… lucky you, because red is a color that stands out naturally! Watch out for red elements that are NOT your subject, however, because they will attract the viewer’s eye and distract from your subject. In this example I used the toy’s bright colors in contrast with the neutral background by photographing it from above…
If you need more color inspiration, there is an older tutorial on TDP’s blog about using colors in layouts …but those examples can perfectly apply to photographs, as well!
Change Your Perspective / Point of View
Try taking your time to work your subject… move around it… experiment various points of view… different angles, etc. Try shooting at your subject’s level, or above it (like I did for the image up above), or from below it (like this next example), or from the front or the side, or even from the back for a “faceless” portrait.
Use Light
Light is the photographer’s raw material (photography means “writing with light”)… and you can definitely use it to make your subject stand out. For example, you can use backlight (with subject between you and the light source); rim light (the light is on the side of your subject and defines it with a “glow”); or a pocket of light in an otherwise darker environment.
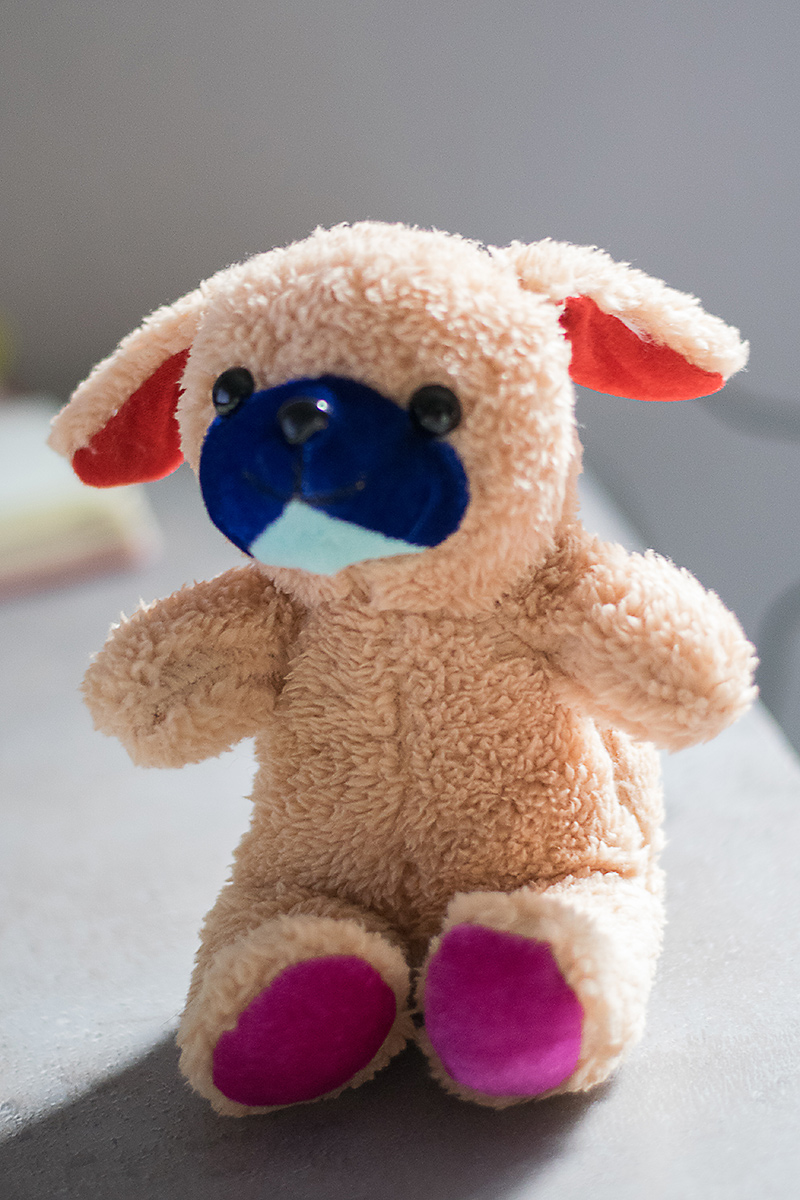
In this image, above, the light was actually a mix of backlight and rim light.
Focus on Details
Last but not least, sometimes you don’t have to see the “big picture” to tell a story through your photo. You can focus (no pun intended) on small parts of your subject and still evoke emotions and memories, and sometimes they will even be more powerful than an image of the whole subject.
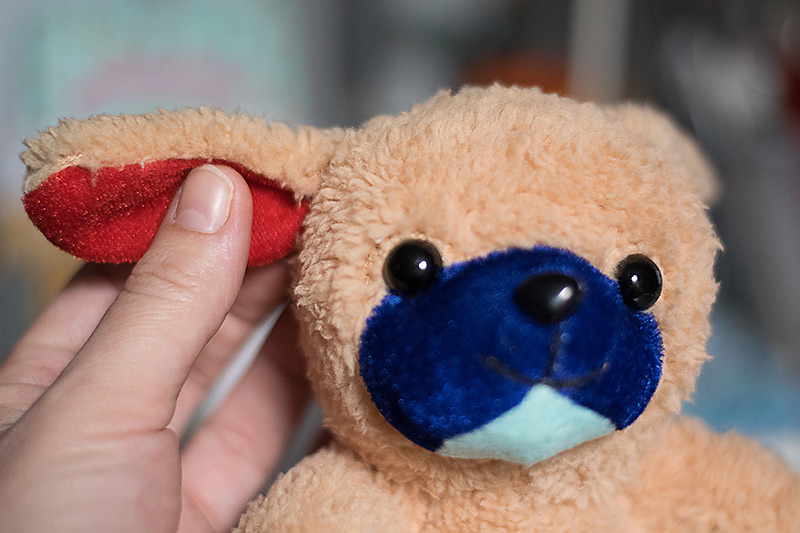
Focusing on details can easily be “mixed” with the “filling the frame” technique I mentioned before. Here I decided to focus on the toy’s ears that are, to me, the cutest part of it. My hand got into the picture as a nice “prop” to help attract the eye to the part I wanted to highlight.
Hopefully all of these practical tips and tricks will help you get stronger photos by helping to ensure that your photos have a clear subject! Now it’s time to get out your camera, and start capturing the little Everyday things in your life from a new perspective!
 About the author Chloé is in charge of PR and communication for her small town by day, is a digiscrapper “by night,” and a photographer whenever the light is beautiful. She lives with her man and dog Kira in a small town of Alsace (in the northeast of France), where she loves to read, watch good TV shows (TWD being her absolute favorite), and just hang out with her friends — no matter if they are close by, online, or away in her Swiss hometown. Right now she’s busy growing her baby boy that should be here in February.
