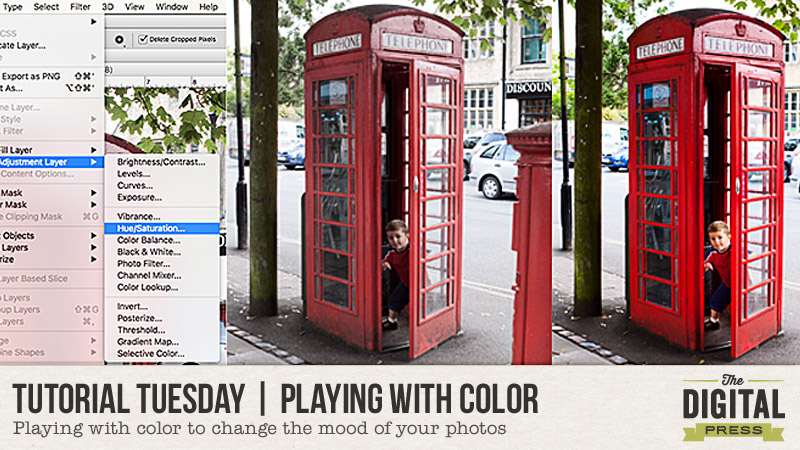
This tutorial is about playing with color in post-processing to change the mood of your photos… but first, I want to give you a basic idea of white balance.
White balance measures the color of the light. DSLR cameras have the ability to preset various white balances. White balance is the setting on your camera that is telling the camera what kind of light you are shooting in. It’s called white balance because the goal with this setting is to make anything white (or neutral) actually look pure white with no other color contaminating it. The color temperature is how white balance is measured — in degrees kelvin. For a lot of my shooting scenarios, Auto White Balance (AWB) is just fine. If I need minor changes, I can always do that in Photoshop’s Adobe Camera Raw (ACR) when I open my photos, so I will save the in-camera discussion for another day, and for now, we’ll just stick with AWB.
Easy ways to change the mood of your photos with color
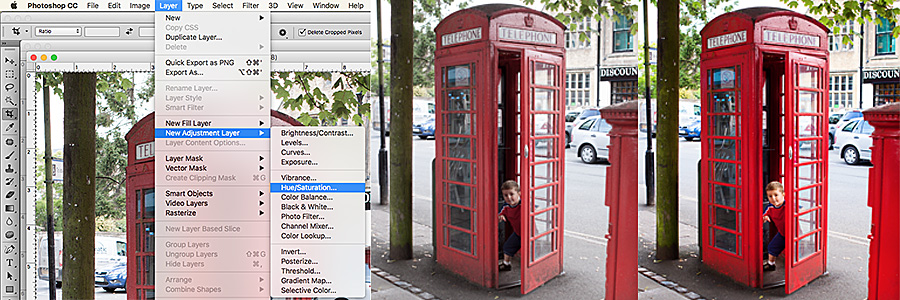
1. Increase/decrease the saturation & contrast — The degree of saturation in your photo can give a feel for a location. Urban scenes tend to have a more dramatic look, using higher saturation and contrast… while a more rural setting tends to have lower saturation & contrast. To change the saturation and contrast in Photoshop, use Layer –> New Adjustment Layer –> Hue/Saturation and/or Contrast.
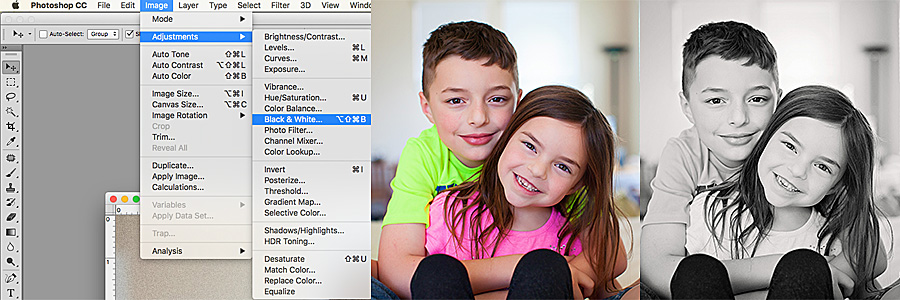
2. Turn your photo to black & white — Ted Grant once said, “when you photograph people in color, you photograph their clothes. But when you photograph people in black & white, you photograph their souls!” Sometimes our subjects (specifically, my daughter; choose your battles, right? hee hee) are wearing mismatched outfits and/or obnoxiously bright colors… and yet, that smile gets us every time. If you want to eliminate distracting backgrounds, you can change the photos to black and white! It’s an easy way to focus on the important parts. Black & white photos can also work really well when you’re scrapbooking and you’re using elements and papers that have different colors than in your photo, but happen to have just the right sentiment for your overall layout. There are many different ways to turn a photo to black & white, so feel free to use your favorite method. For a quick and easy method, just click on Image –> Adjustments –> Black & White.
For instance, looking at the picture below — ok, really?! Neon green and hot pink? MY EYES! Who buys them these clothes, anyway? 😉 BUT… by changing the image to black & white, we lose the distraction of the bright colors and instead see a sweet moment between brother and sister.
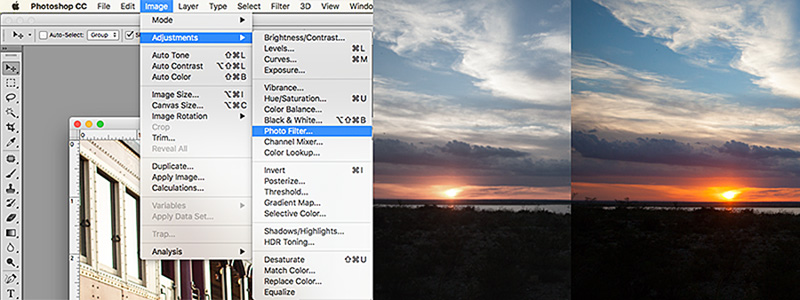
3. Change the temperature, change the season — The warmth/coolness of a photo says a lot about the season. Warmer tones indicate summer, while cooler tones feel like winter. Sometimes AWB can be fooled (especially in the winter). Snow is white, not blue… correct? Or maybe, on occasion, we actually want an overall blue tone for our whole scrapbooking layout, as we journal about the long winter months, etc. A summer evening sunset can be full of vivid colors, but might look a little dull when we pull the photo into Photoshop.
Sunsets can be tricky; they can go from bright and glowing to dull in less than a minute. I missed the best of this sunset, below, by a minute or two when I was photographing it. Not to worry, though. To change the temperature of the photo, I simply used a photo filter. To do this, click on Image –> Adjustments –> Photo Filter (I used warming set at 85).
4. The proper use of selective color — I have a love/hate relationship with selective color. There are times in which selective color can really make or break a photo. To create a photo that is partially black & white, open your image in Photoshop and then duplicate the image onto a new layer. Use the tip from #2 (above) to turn the top layer to black & white. Then, use a layer mask to selectively add color back to your image.
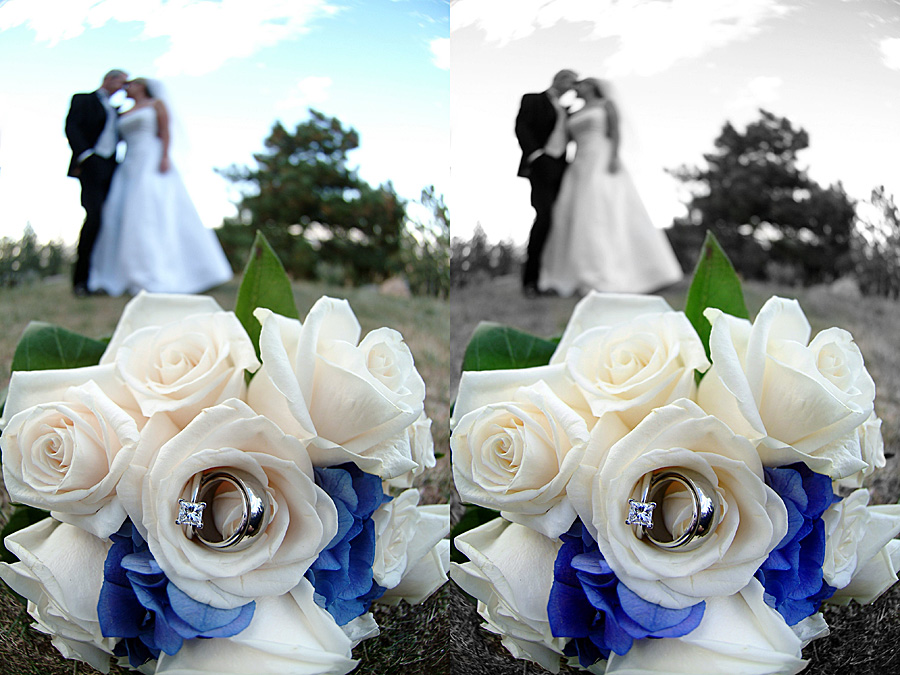
5. Bam…..whhaatttttt? Mix it up and do something unexpected — Play around with different color overlays, seasons, or a combination of all of the above to create a photo for your AMAZING layout. There really are no rules, so just have fun!
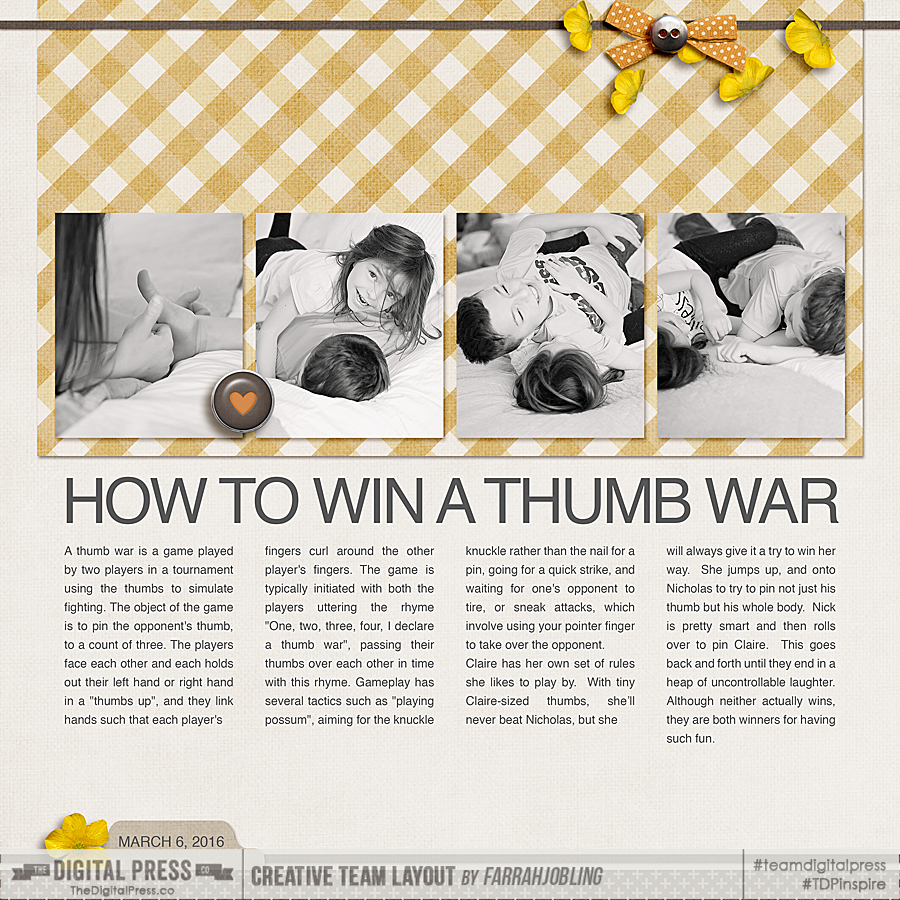
Here is a layout I created using photos from a series… in which the kids were in the bright green and pink shirts. I changed the photos to black & white, because I love the more muted yellows and how the black & white photos help to tell the story instead being a distraction with clashing colors.
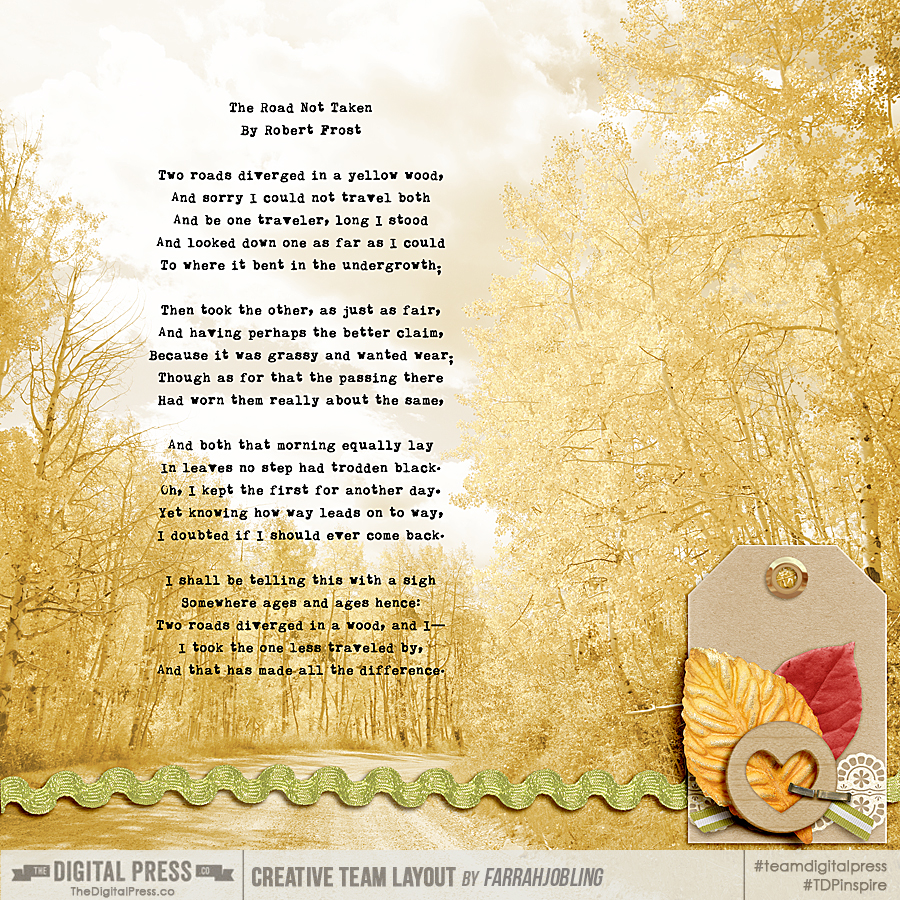
And here is another layout I created. I added a soft yellow layer over the photo to really highlight the poem by Robert Frost…
 About the Author Farrah Jobling is a member of the creative team here at The Digital Press. She lives in Denver with her amazing family — Mike, Nicholas (9), Claire (6), Hope (1.5 yr old puppy) & Kringle (3 mo old bunny). She works from home as a photographer and enjoys scrapping her personal photos.

One comment