Hey there, scrappers!
Today, I want to share a little tip with you related to pocket scrapbooking (which can actually be used on non-pocket layouts, as well!). A lot of times when I am working with a pocket scrapbooking-style template, I end up with a photo that just doesn’t fit into one pocket. So, why not get creative and split the photo into two or more pockets, right? It might seem challenging, but it really is quite easy once you learn this trick.
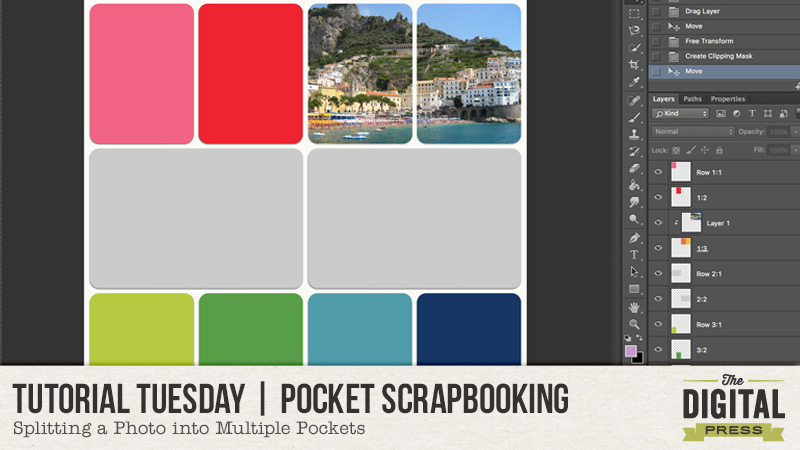
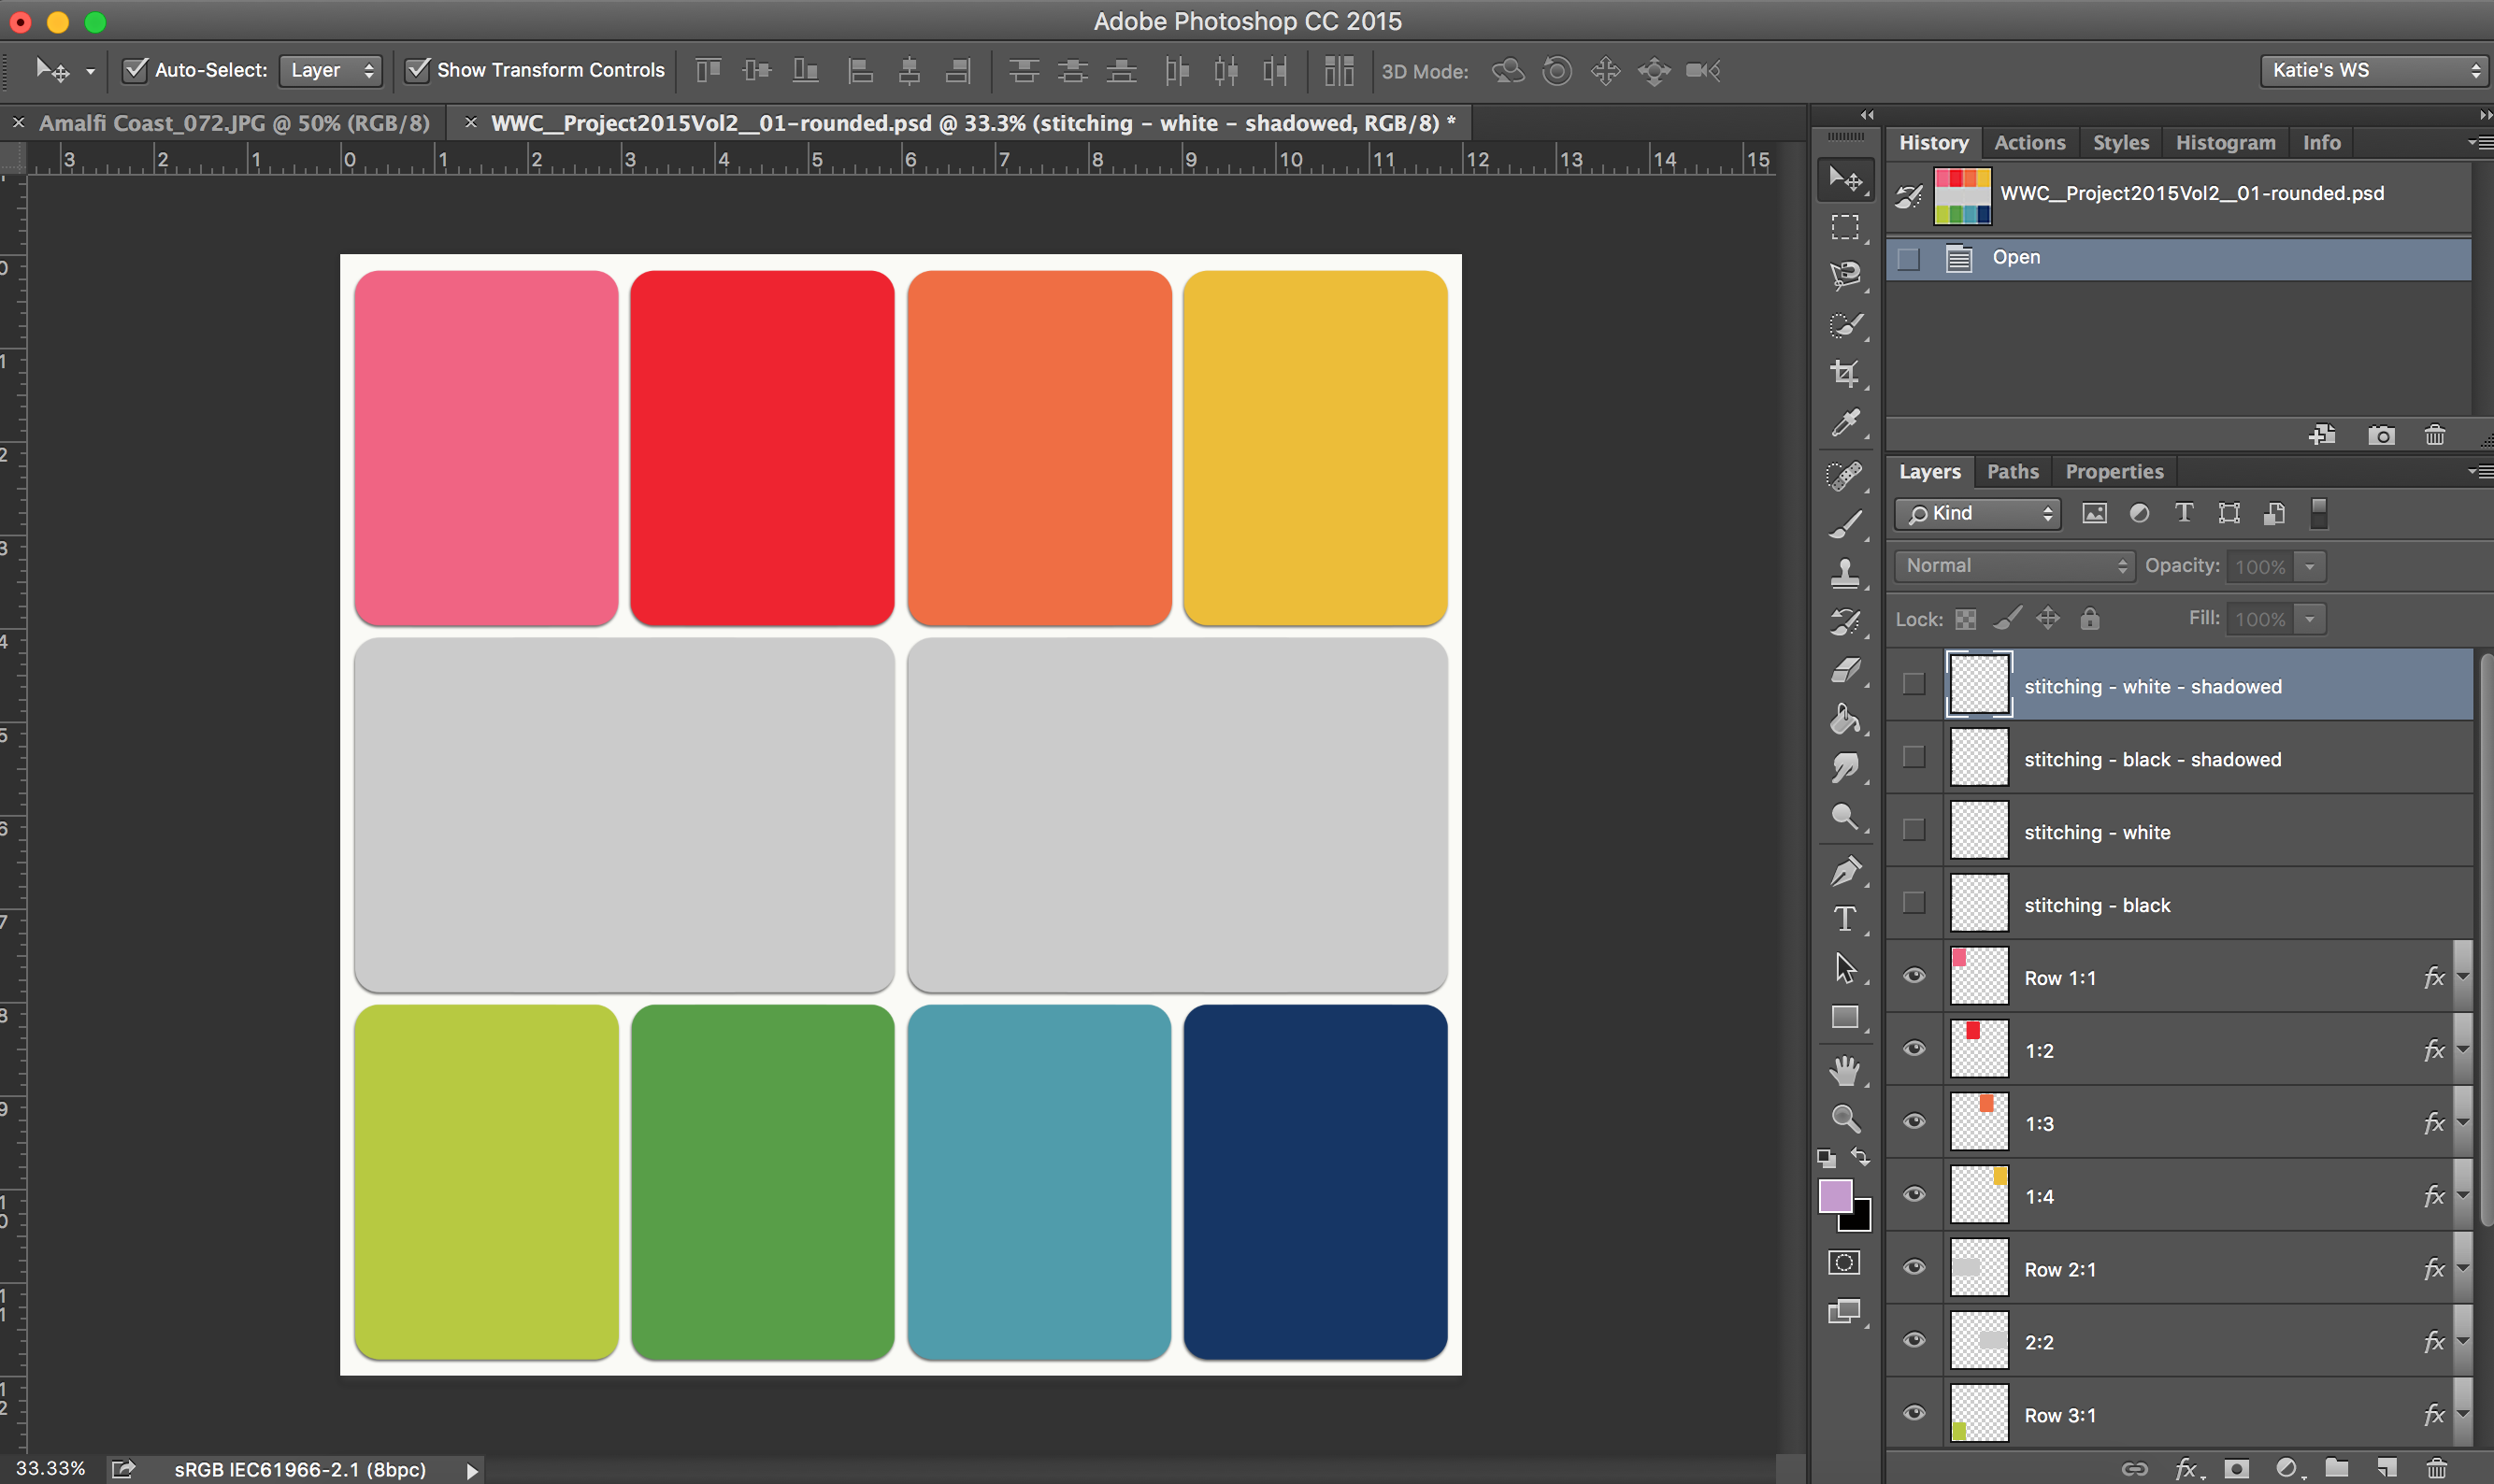
- Decide which pockets you would like to use for your photo. I am going to use two 3×4 journal card-sized pockets for one landscape-oriented photo. For this example, I’m going to put my photo into the two pockets at the top right…

- Select both of the pockets by clicking on the first one and then holding down the COMMAND key to select the other pocket or pockets. (CONTROL on a PC; and *note* that in PSE it might require holding down the SHIFT key, instead, to multi-click and select)
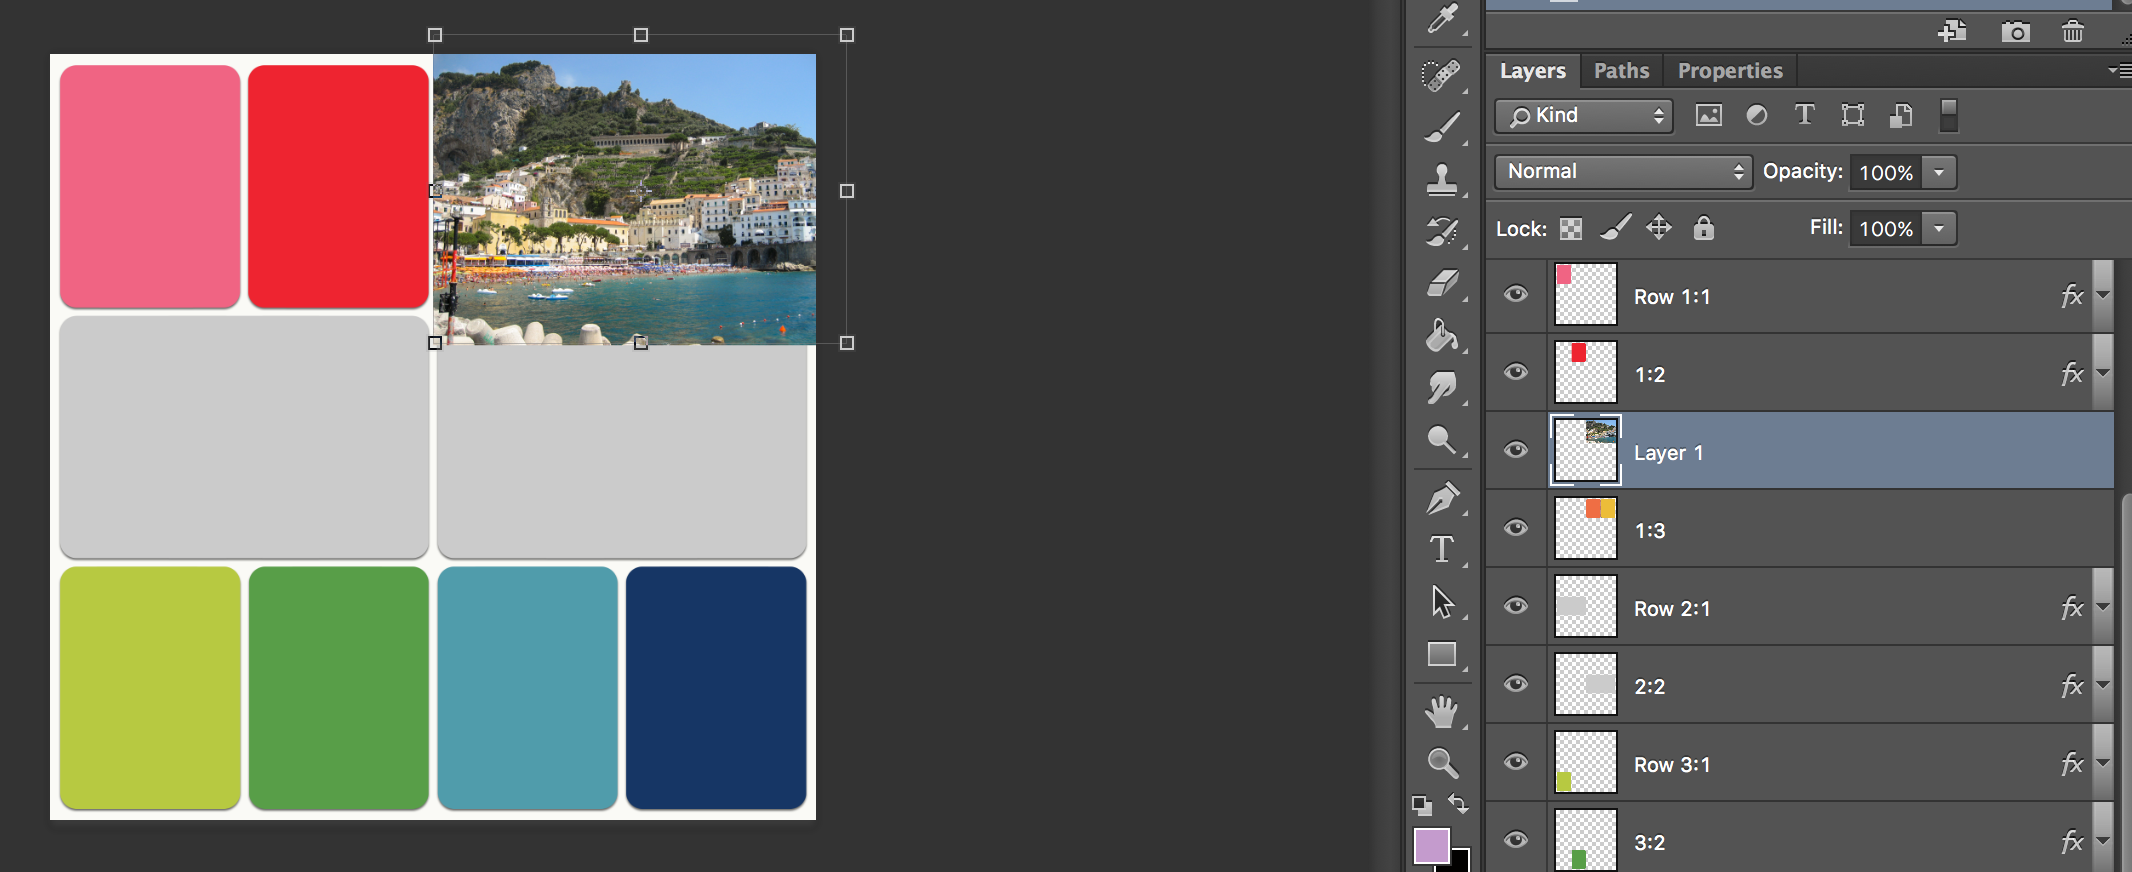
- Merge the selected layers into one layer by hitting COMMAND+E. (CONTROL+E on a PC)
- Drag your photo onto the layer directly above the merged layer you just created.

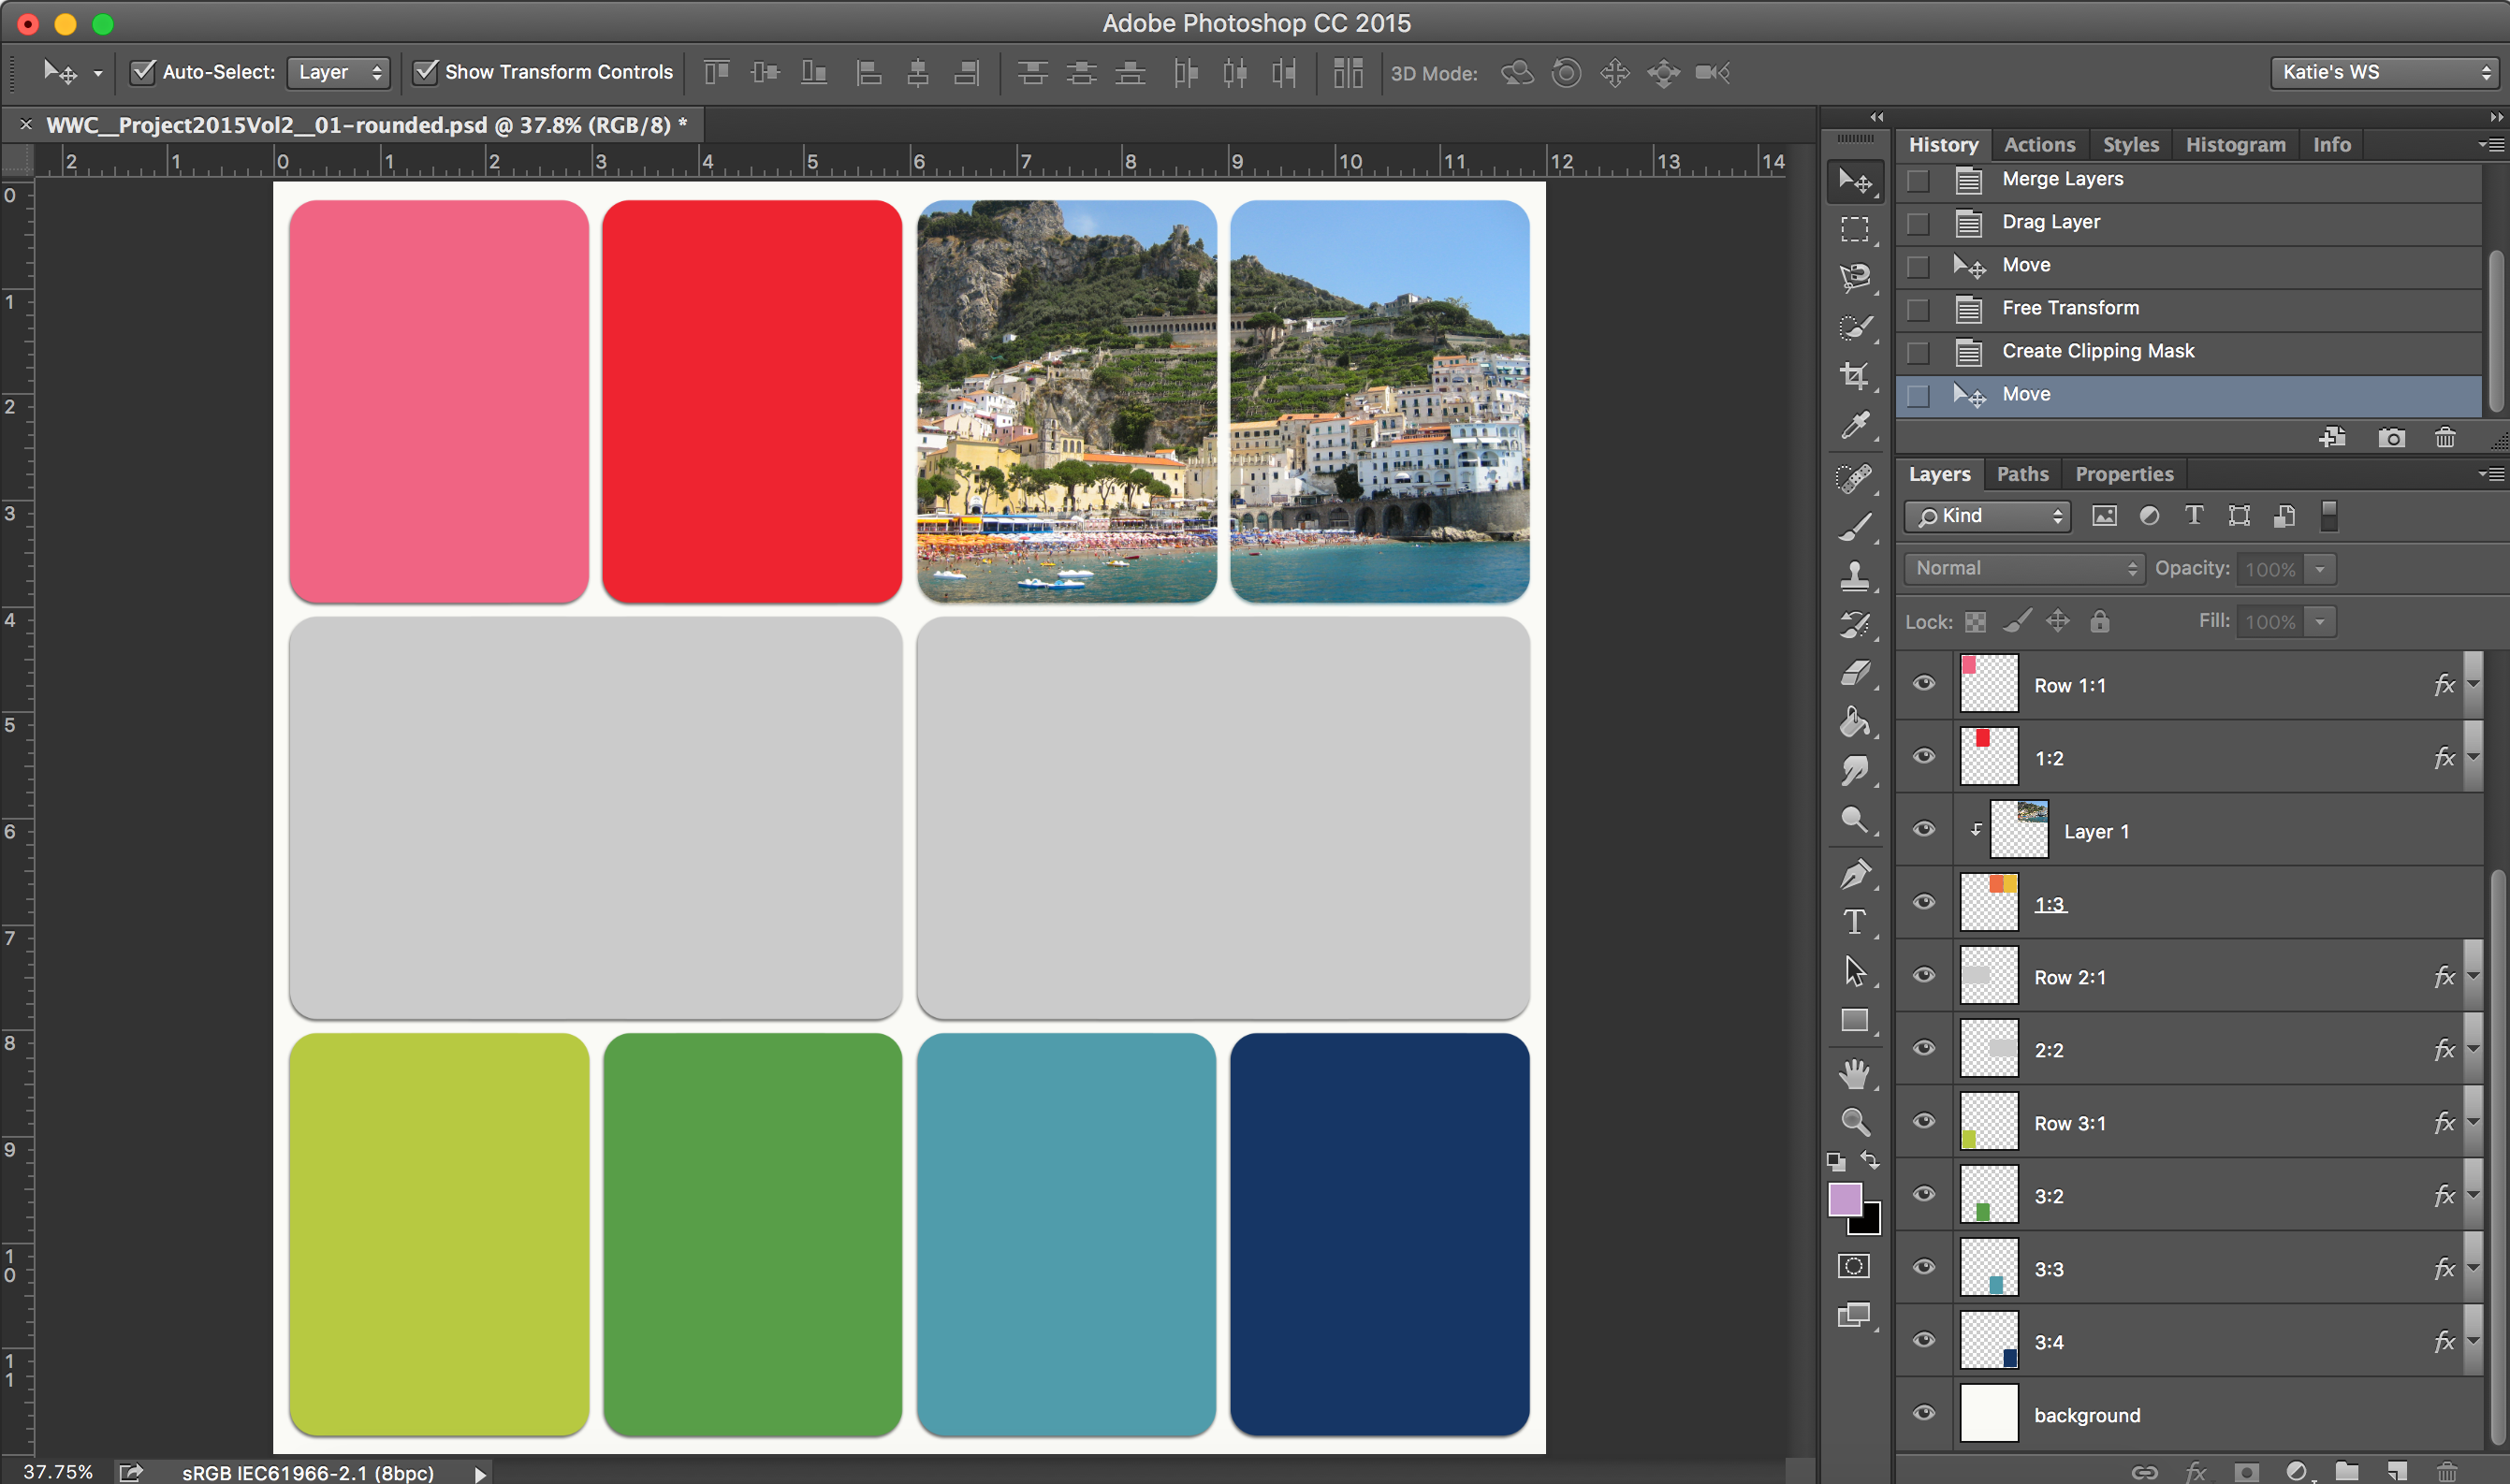
- With the photo layer selected in the layers palette, choose “Create Clipping Mask” with COMMAND+OPTION+G.(CONTROL+ALT+G on a PC) Then, just resize your photo so that it fits properly “into” your pockets.

I hope you will find this quick tip helpful when you are trying to arrange your photos on your pocket scrapbooking layouts!
Another note — if you are looking for some awesome pocket-style templates like the one I used for this tutorial, check out Laura Passage’s Project Twenty Fifteen Templates!
About the Author Katie is a member of the creative team here at The Digital Press. She lives in central Florida with her husband and their four sweet-but-crazy boys. When she’s not dodging Nerf bullets or trying to dig out from under a never-ending pile of laundry, she enjoys photography, cooking, going to Disney World with her family… and, of course, digital scrapbooking.
