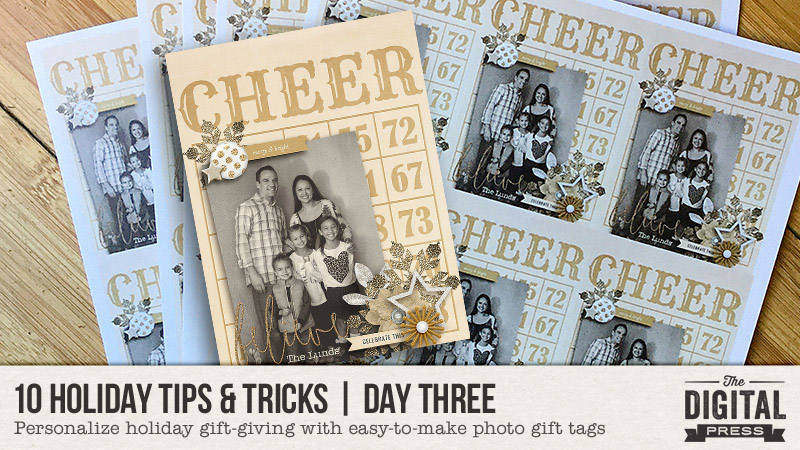
Hello everyone! It’s Day Three of our 10 Holiday Tips & Tricks series this month… and I am here today to share a super simple photo gift tag idea.
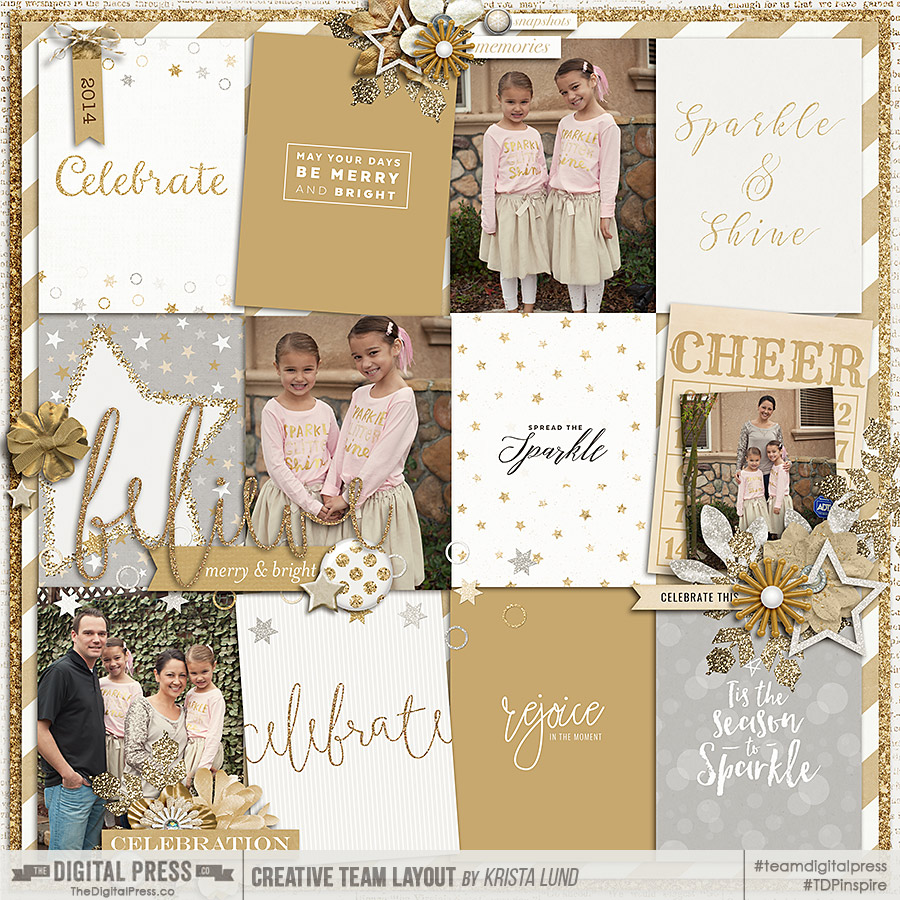
While creating a scrapbooking layout using the new December 2016 TDP Designer Collaboration Holiday Sparkle, I simultaneously created a photo gift tag to adorn our packages this Christmas (two birds! one stone!). Here’s a look at the layout that inspired it…
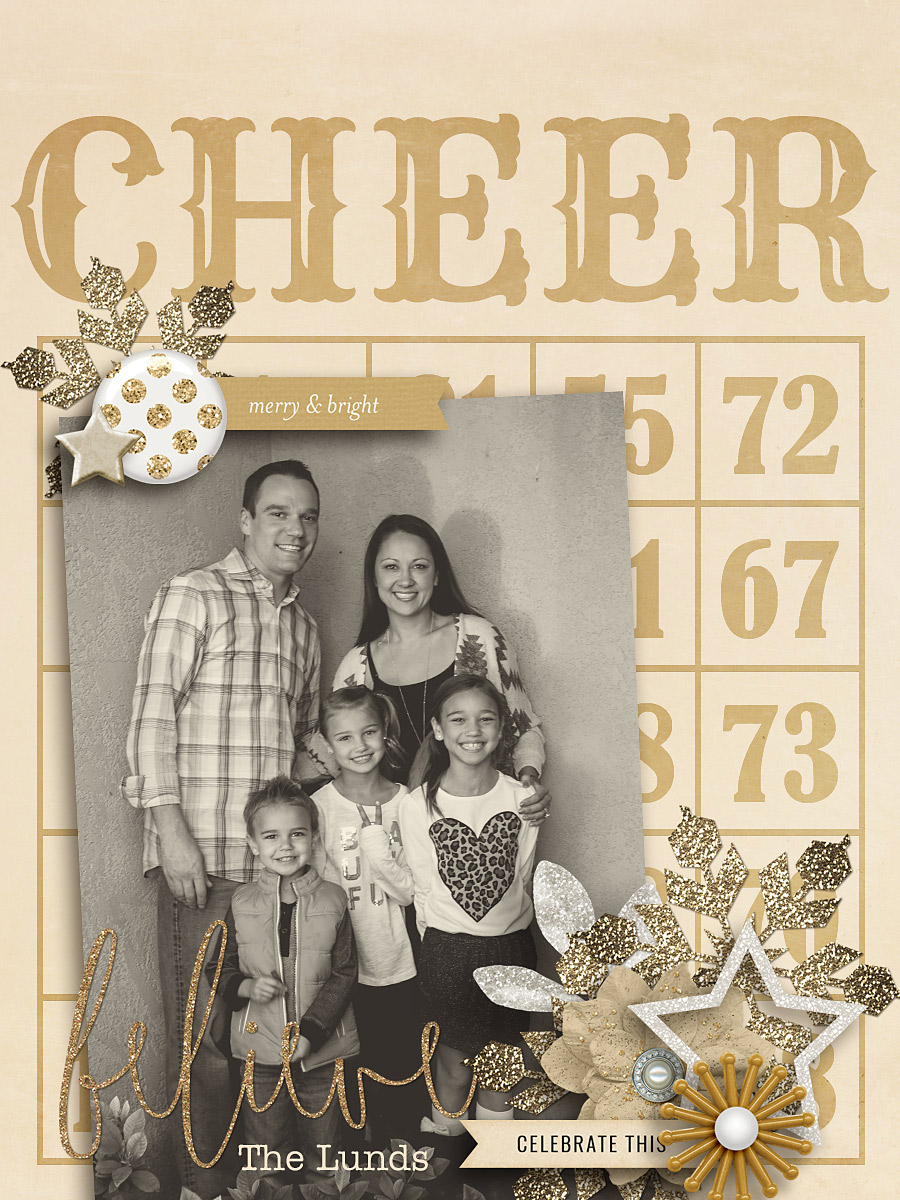
After creating the layout, I opened the “Cheer” journaling card separately… and then I dragged a few of the clusters from my layout onto the card. I also added a family photo, and resized as needed…
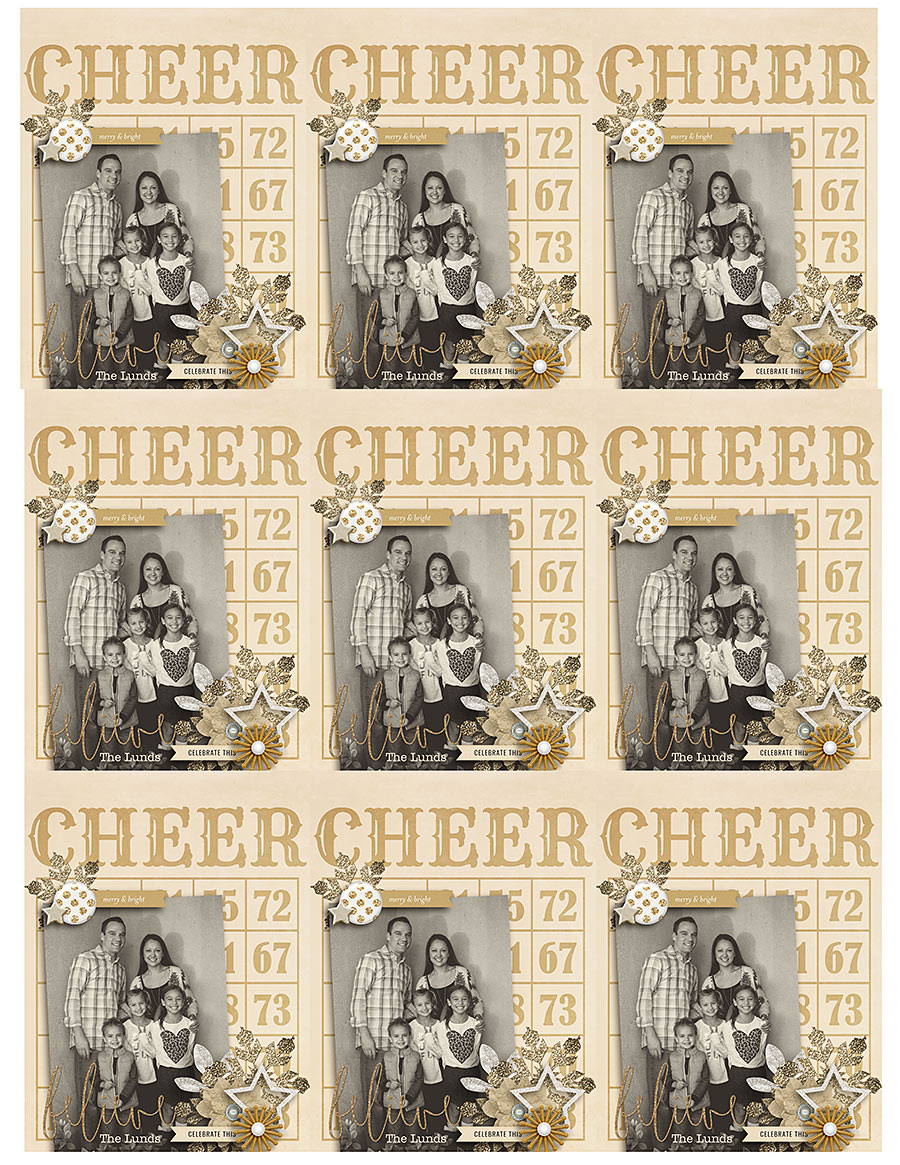
Once I had the finished card/tag, shown above, I opened a new 8.5 x 11 document and dragged in my flattened image. I duplicated it 2 more times to create a row of 3, and then I copied this row of 3 two more times so that I had a grid of 9 tags. Then I re-sized all 9 layers to fit the page, as shown here…
After I had a printable page full of tags, I printed them out on white card stock…
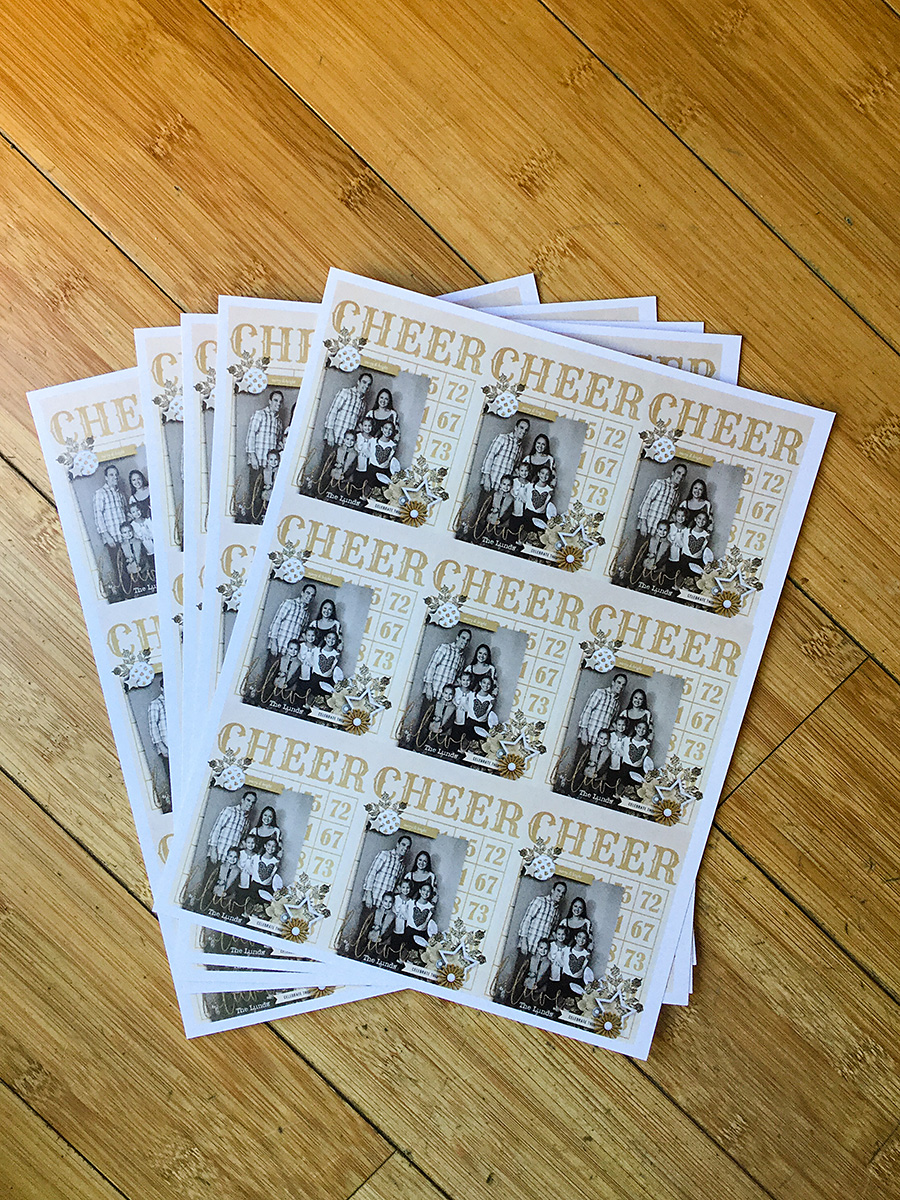
…and cut them into separate tags…
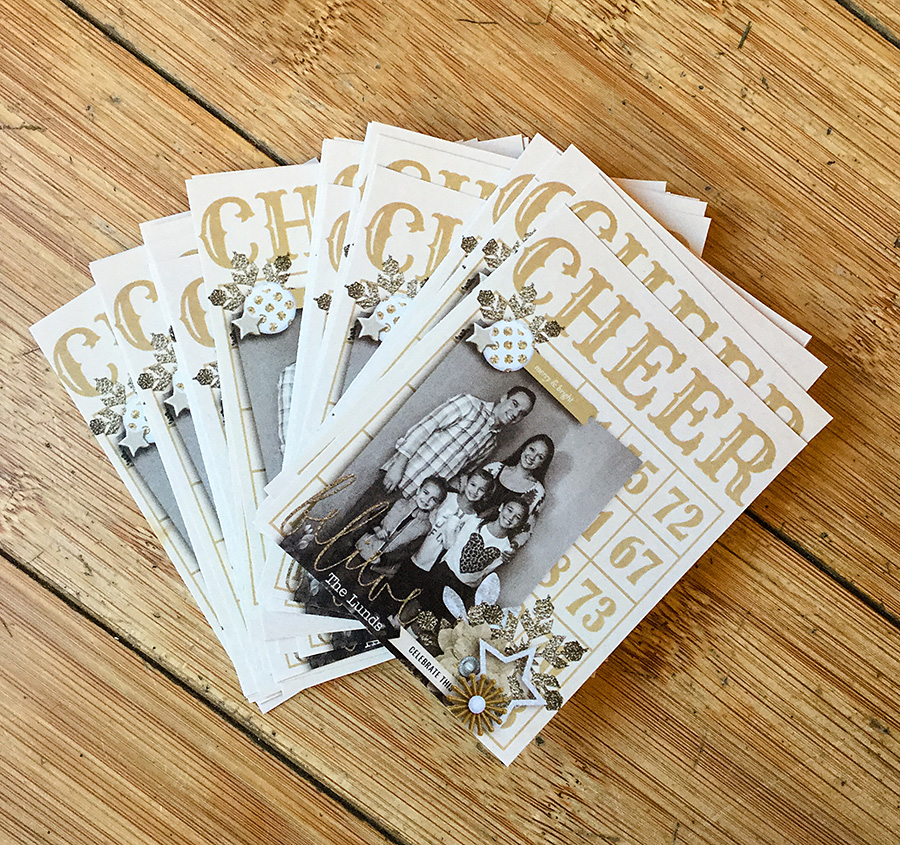
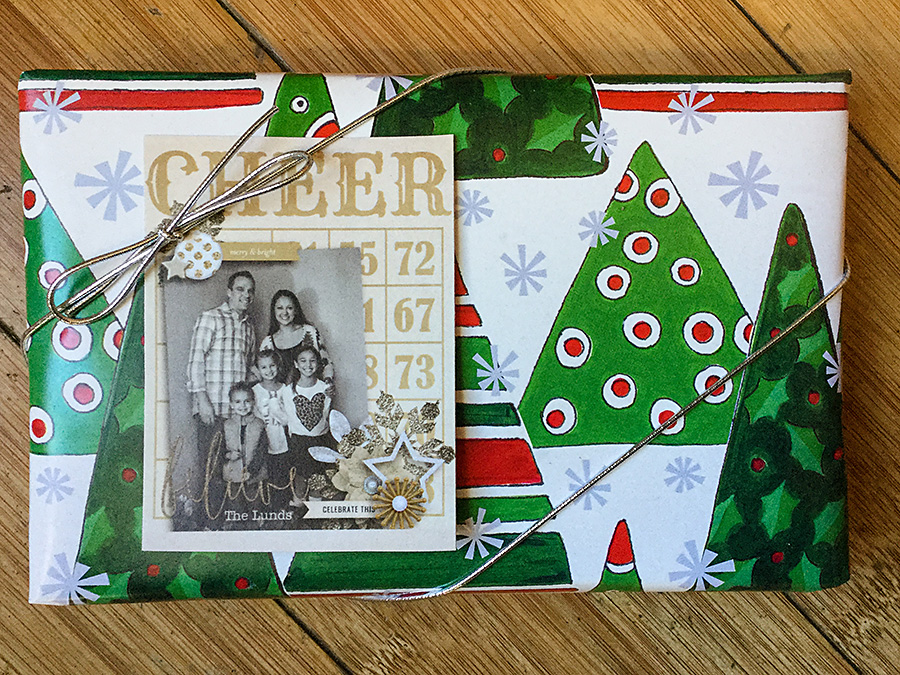
Now, I have an adorable stack of ready-made custom tags that I will add to gifts that we give out during this holiday season…

About the Author Krista Lund is a mom of 3, married to her high school sweetheart and living in the San Francisco Bay Area. Some of her favorite things are brownies, chips ‘n’ dip, taking pictures, and documenting her family’s story.

amazing tuto, looks so easy to realize.
Great idea!