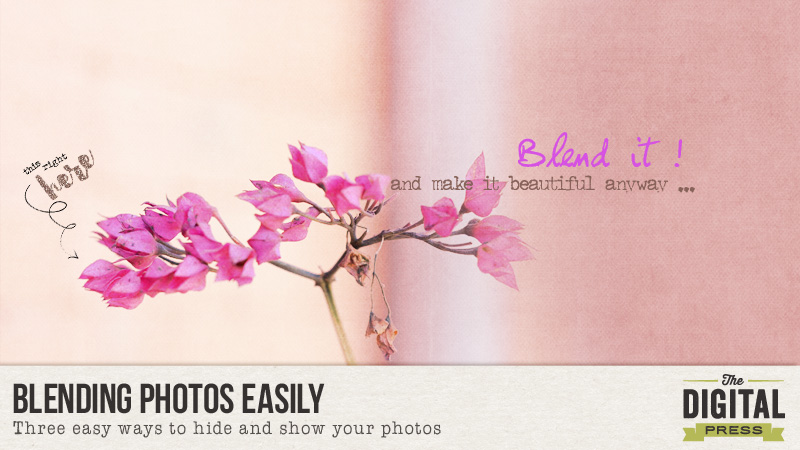
When we scrap, we can use frames to highlight our photos. We can also choose to show our photos partially or discreetly by blending them. Today we would like to share with you three very easy ways to blend them. Follow the step-by-step tutorial and after that you can experience them one by one 😉
First way : Use Clipping Mask
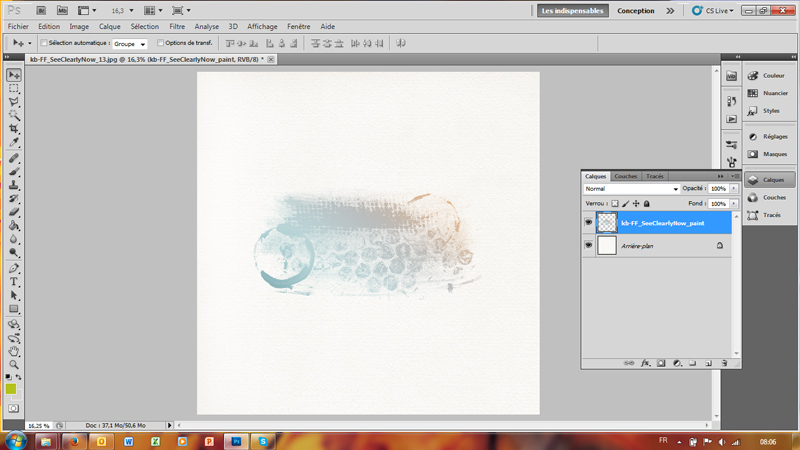
Choose your background paper. Then add a pretty paint brush or an overlay. It is better to choose one with great patterns.
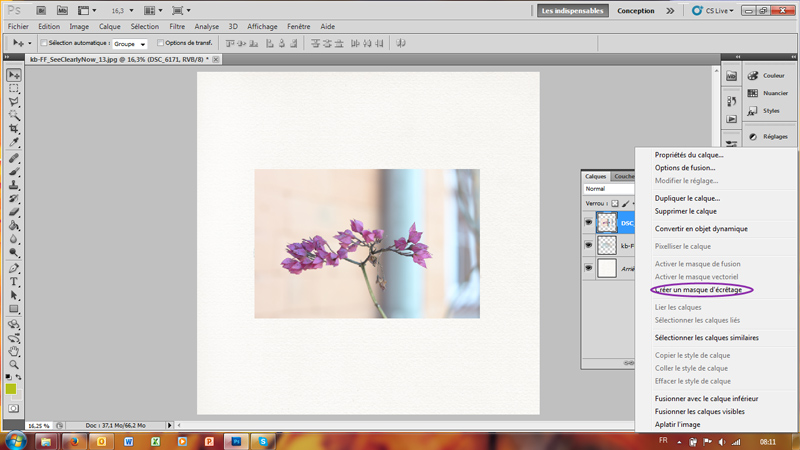
Now add your photo and create a clipping mask on the brush.
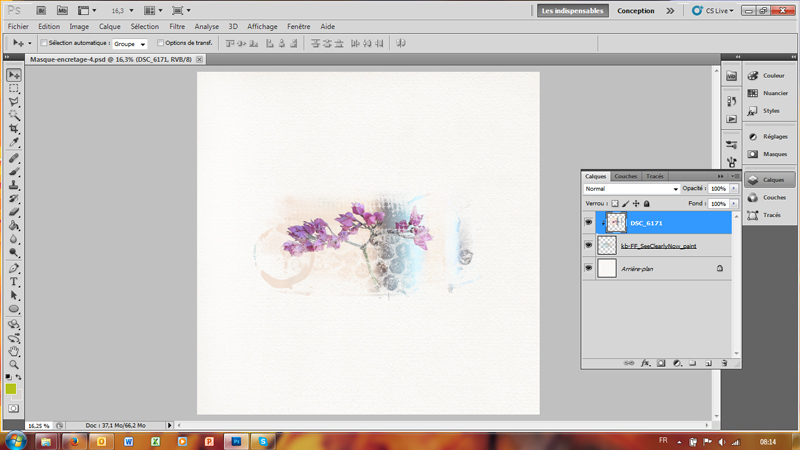
Your photo will immediately take the form of your brush. Mine looks like this.
Second way : Use Layer Mask
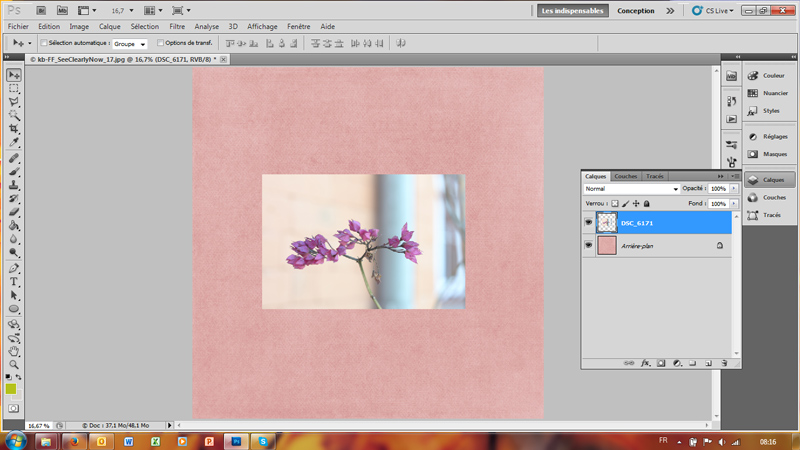
Choose your background paper and add your photo.
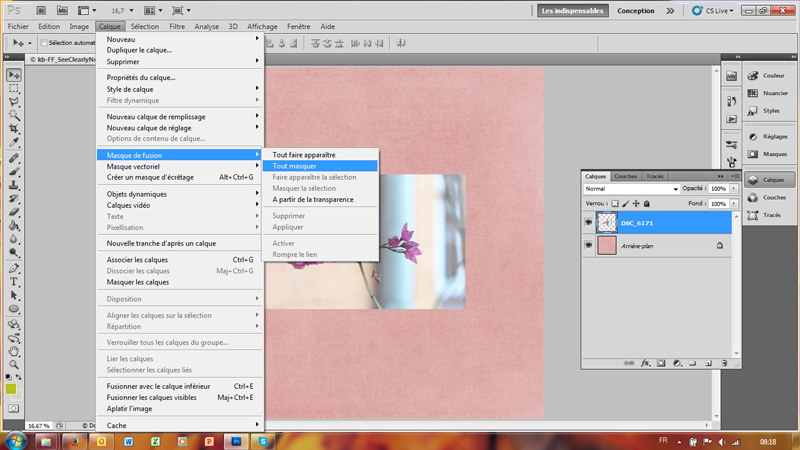
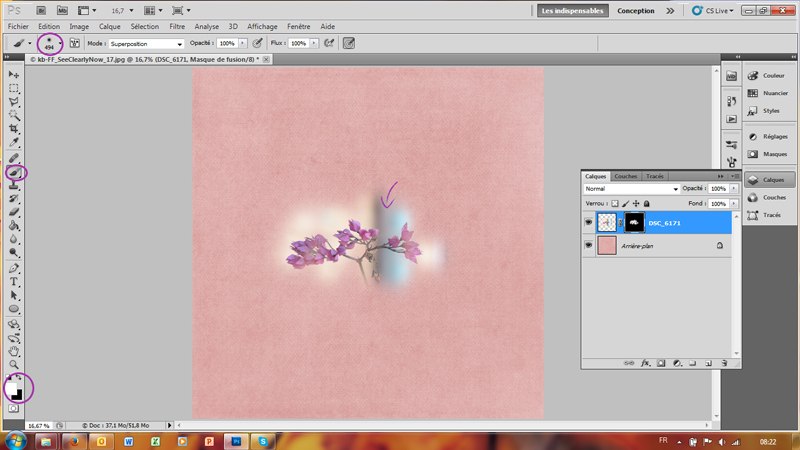
Add a layer mask on your photo. Use black on the layer mask to hide areas of your photo. Your photo will begin to disappear 🙂 Don’t worry.
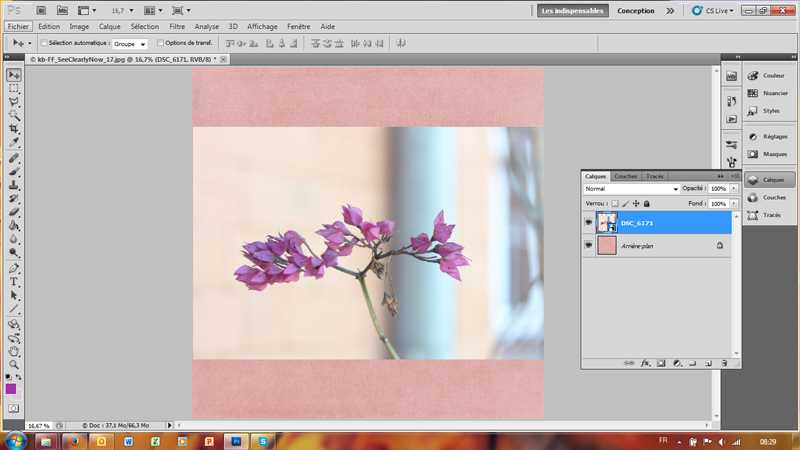
Then use a soft brush to paint white on to the shape to reveal parts of the photo. You will see the photo little by little. You will have something like this :
Third way : Play with Opacity
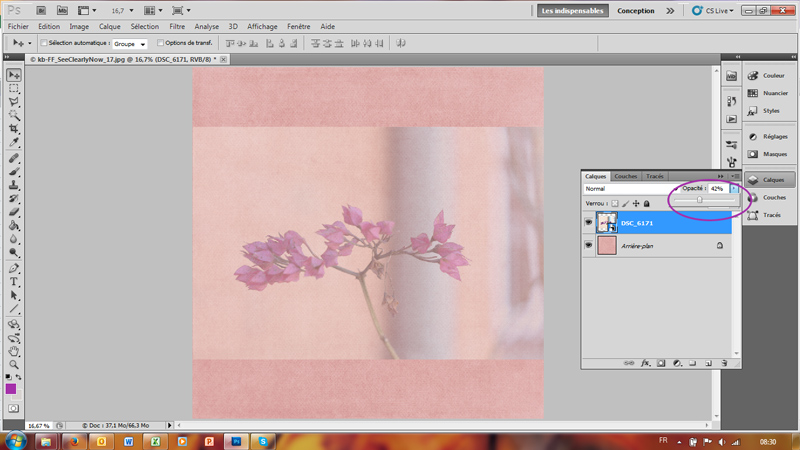
Choose your background paper and your photo.
Change the opacity of your photo layer. I put mine on 42% but it depends on the clarity of your photo and the background color.
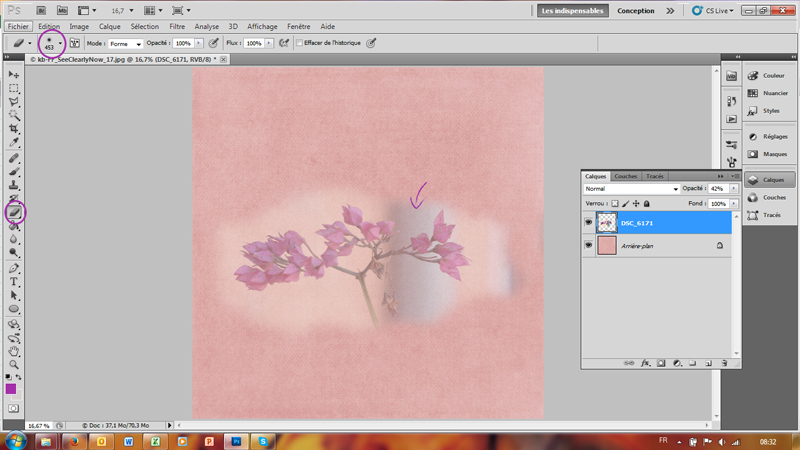
This time use an eraser tool – a soft edge is better.
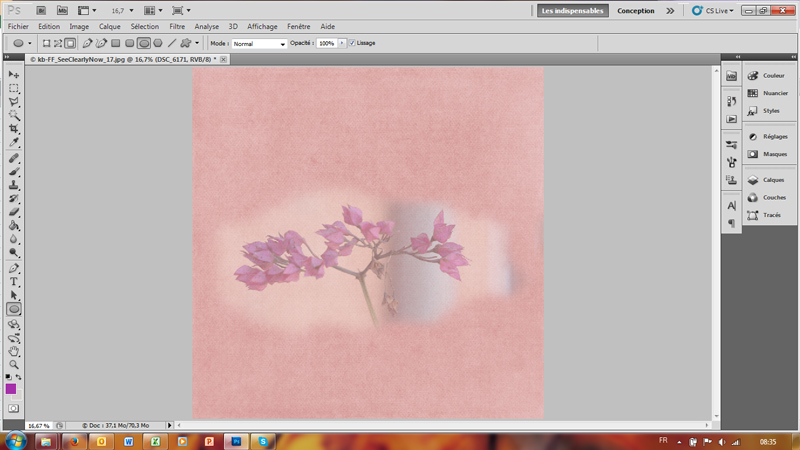
The final result can be like this.
Now you can go and play. Don’t forget to show us how you deal with blending process by sharing your page in the gallery 😉
 About the Author : Bao is a Creative Team member at The Digital Press. She has been a Digiscrapper for about ten years now. She joined The Digital Press in March and enjoys being active on the site. Her style tends to be clean & simple. Most of the time she scraps her family’s photos. She loves, however, to scrap other subjects such as flowers, nature, the environment, foods … She says hello to all of you from her big island named Madagascar, and feels blessed to live there.

