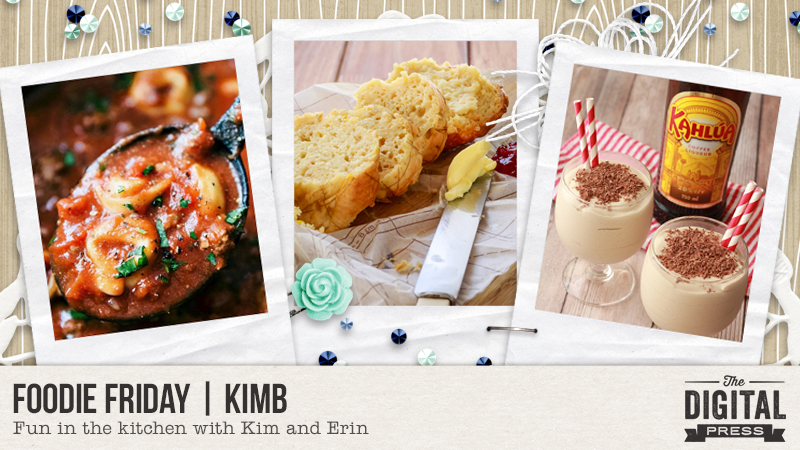
Hello! Welcome to The Digital Press blog today for another fun edition of our always-popular Foodie Friday series!
I’m Robin, and this week we are featuring TDP Designer Rachel Hodge, and peeking into her kitchen to learn a few of her favorite recipes. This is actually Rachel’s third feature on The Digital Press blog (if you want to learn even more about her, you can find her first feature article from April 2016 HERE, and her second feature article from March 2017 HERE).
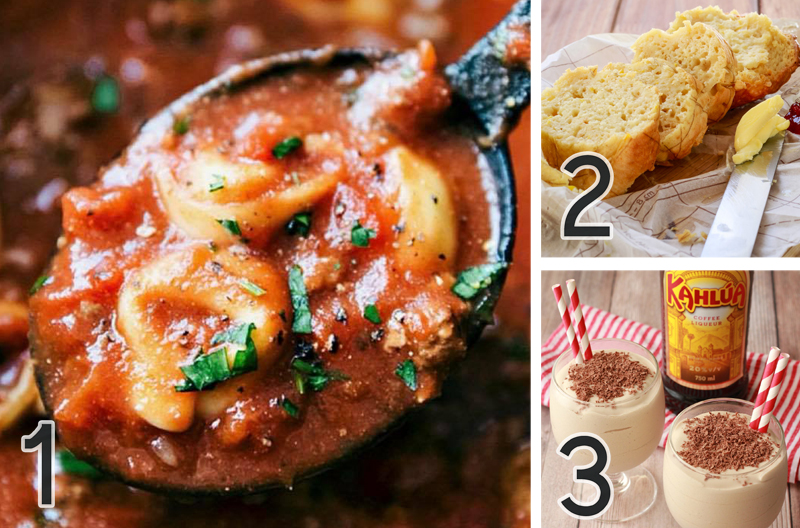
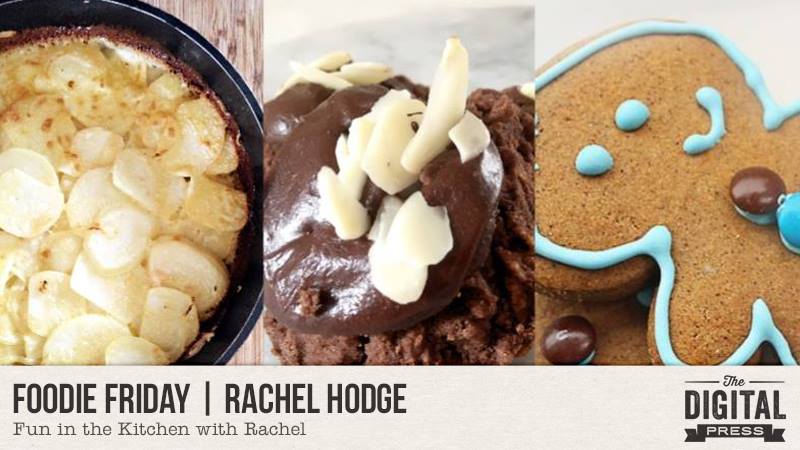
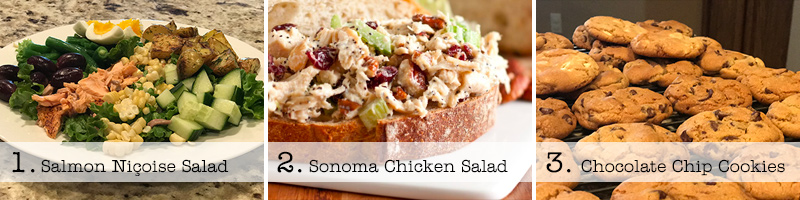
Rachel has some amazing recipes to share with us this week. Take a peek…
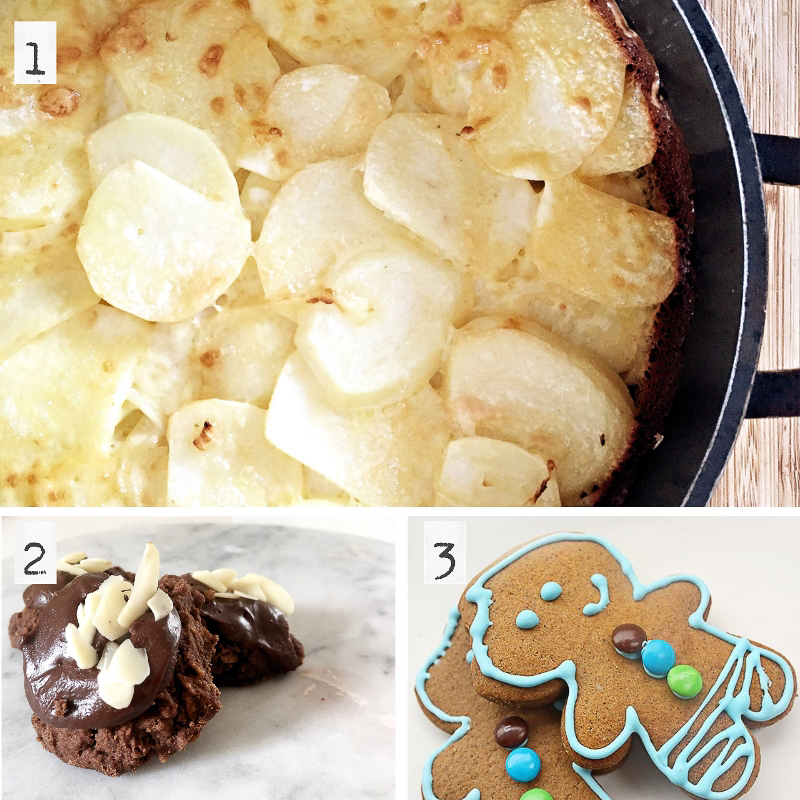
So, what are these delicious things you see pictured above?
- Scalloped Potatoes
- Afghan Cookies
- Spiced Treacle Gingerbread
Scalloped Potatoes
About this recipe, Rachel says, “I love me a good scalloped potatoes recipe! This one is super easy and super tasty… and it’s a family favorite in my house.”
INGREDIENTS
- 4 large potatoes, thinly sliced
- 1 onion, sliced finely
- 1 cup grated cheddar (for those who are also in Australia, I use the dairylea block)
- 1-1/2 cups cream
- 2 teaspoons chicken stock
INSTRUCTIONS
- Preheat oven to 180 C (350 F)
- Arrange a layer of potato slices in a baking dish and then top with a layer of the sliced onions.
- Set aside half the grated cheese (this will be for the top layer) and then sprinkle some of the remaining cheese over the onion.
- Continue this layering until all the potato and onion is used.
- In a separate bowl gently mix the cream and chicken stock together then pour over potato and sprinkle with the rest of the grated cheese.
- Cover and bake for 40 minutes, or until potato is tender.
Afghan Cookies
When I asked Rachel about this recipe, she replied, “Oh my gosh, these are the best! This is a favorite I love to have with a coffee or cup of tea. This is sweet, crunchy, and chocolatey… what’s not to love?”
INGREDIENTS
- 220g butter (at room temperature)
- 90g caster sugar
- 185g plain flour
- 30g cocoa
- 60g crushed cornflakes
FOR THE ICING
- 2 cups icing sugar
- 1 heaped tablespoon cocoa (approx. may need a bit more or less, depending on how rich you like the icing)
- 1 tablespoon melted butter
- Water
- Flaked almonds
INSTRUCTIONS
- Grease an flat oven tray and preheat oven to 180 C (356 F)
- Beat butter and sugar till pale and fluffy.
- Add the flour, cocoa and cornflakes and mix together.
- Scoop a small amount (around a tablespoon’s worth) onto tray, repeat till mixture is gone and then bake for around 15 minutes.
- Remove from oven and cool
- ICING: While cookies are cooling, make the icing. Mix the icing sugar and the cocoa together, add the butter and enough water to make a thick paste consistency.
- Ice with the chocolate icing and place flaked almonds on top.
Spiced Treacle Gingerbread
While describing these cookies, Rachel wrote, “This is my favorite gingerbread recipe because it’s not a hard recipe (like a lot of them can be), and the flavor is spot on — especially with some chocolate M&M’s added on.“
INGREDIENTS
- 140g unsalted butter
- 1/2 cup dark brown sugar
- 1/4 treacle
- 1 egg
- 2 cups plain flour
- 1/4 cup self raising flour
- 3 tsp ground ginger
- 2 tsp ground cinnamon
- 3/4 tsp ground cloves
- 3/4 tsp ground nutmeg
- 1 tsp bicarbonate soda
FOR THE ICING
- 1 egg white
- 1/3 tsp lemon juice
- 1 cup icing sugar
- Food coloring
INSTRUCTIONS
- Lightly grease two baking sheets. Beat the butter and sugar with electric beaters until light and creamy, then beat in the treacle and egg. Fold in the flours, spices and baking soda. Turn out onto a lightly floured surface, knead for 2-3 minutes. Cover with plastic wrap and chill for 10 minutes.
- Divide dough in half and roll out first half in between two sheets of baking paper to about 4mm thick. Repeat with 2nd half, and lay each on a tray to chill for 15 minutes. Preheat oven to 340 F.
- Use cookie cutters to cut out desired shapes, place on trays and bake for 10 minutes. Remove from oven and let cool before icing.
- ICING: Whisk egg white till foamy. Add the lemon juice and sugar and beat till glossy. Add desired food coloring, then place in piping bag (or a small plastic bag with the tip cut off in one corner), and ice away…
Don’t all of these goodies look delicious?! After simply seeing these pictures, my youngest son has asked to make them this weekend. I’m sure he will love these as much as Rachel does!
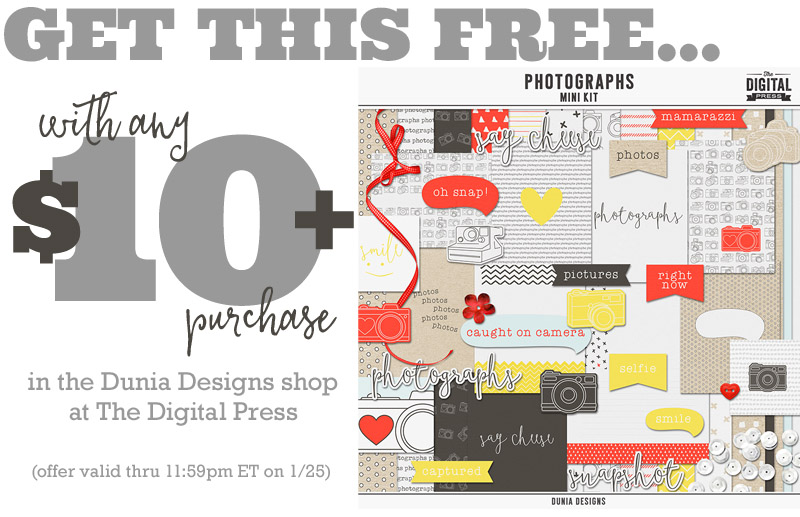
Meanwhile, it wouldn’t be a designer feature week without a fantastic sale and a special Free-with-Purchase offer… so you’ll be excited to see what Rachel has in store for you! Not only is her entire shop marked down 30% OFF throughout her entire feature week (sale prices will be valid through 11:59pm ET on Thurs 2/1)… but she also has the following awesome deal available in her shop all week long, as well! Spend $10+ in Rachel Hodge’s shop at The Digital Press and get the following bundled collection completely FREE…

About the author Robin is a member of the creative team here at The Digital Press. A wife of 25 years and a mom of 4 crazy children (3 in college and 1 still at home), she says that her life occurs mostly in the car as she transports said crazy kids to their many, many homeschool activities. When not driving, Robin loves to make her family cringe by pulling out her camera again (and again, and again…).


 Jennifer Hignite is a mom of three boys and new homeowner with her fiance in the mitten state of Michigan. When she is not scrapbooking, she enjoys photography, watching her boys play sports, decorating, and shopping at Target.
 About the Author Shannon has been completely addicted to digiscrapping since she began in early 2016 (though she’s been a scrapper since 2000). Her early morning ritual of a few quiet hours of scrapping while sipping a chai tea is her favorite part of each day. She is also the owner of a web design company, and when she’s not at the computer designing websites or digiscrap layouts, she’s probably hiking one of the local mountains in her hometown of Phoenix, Arizona.


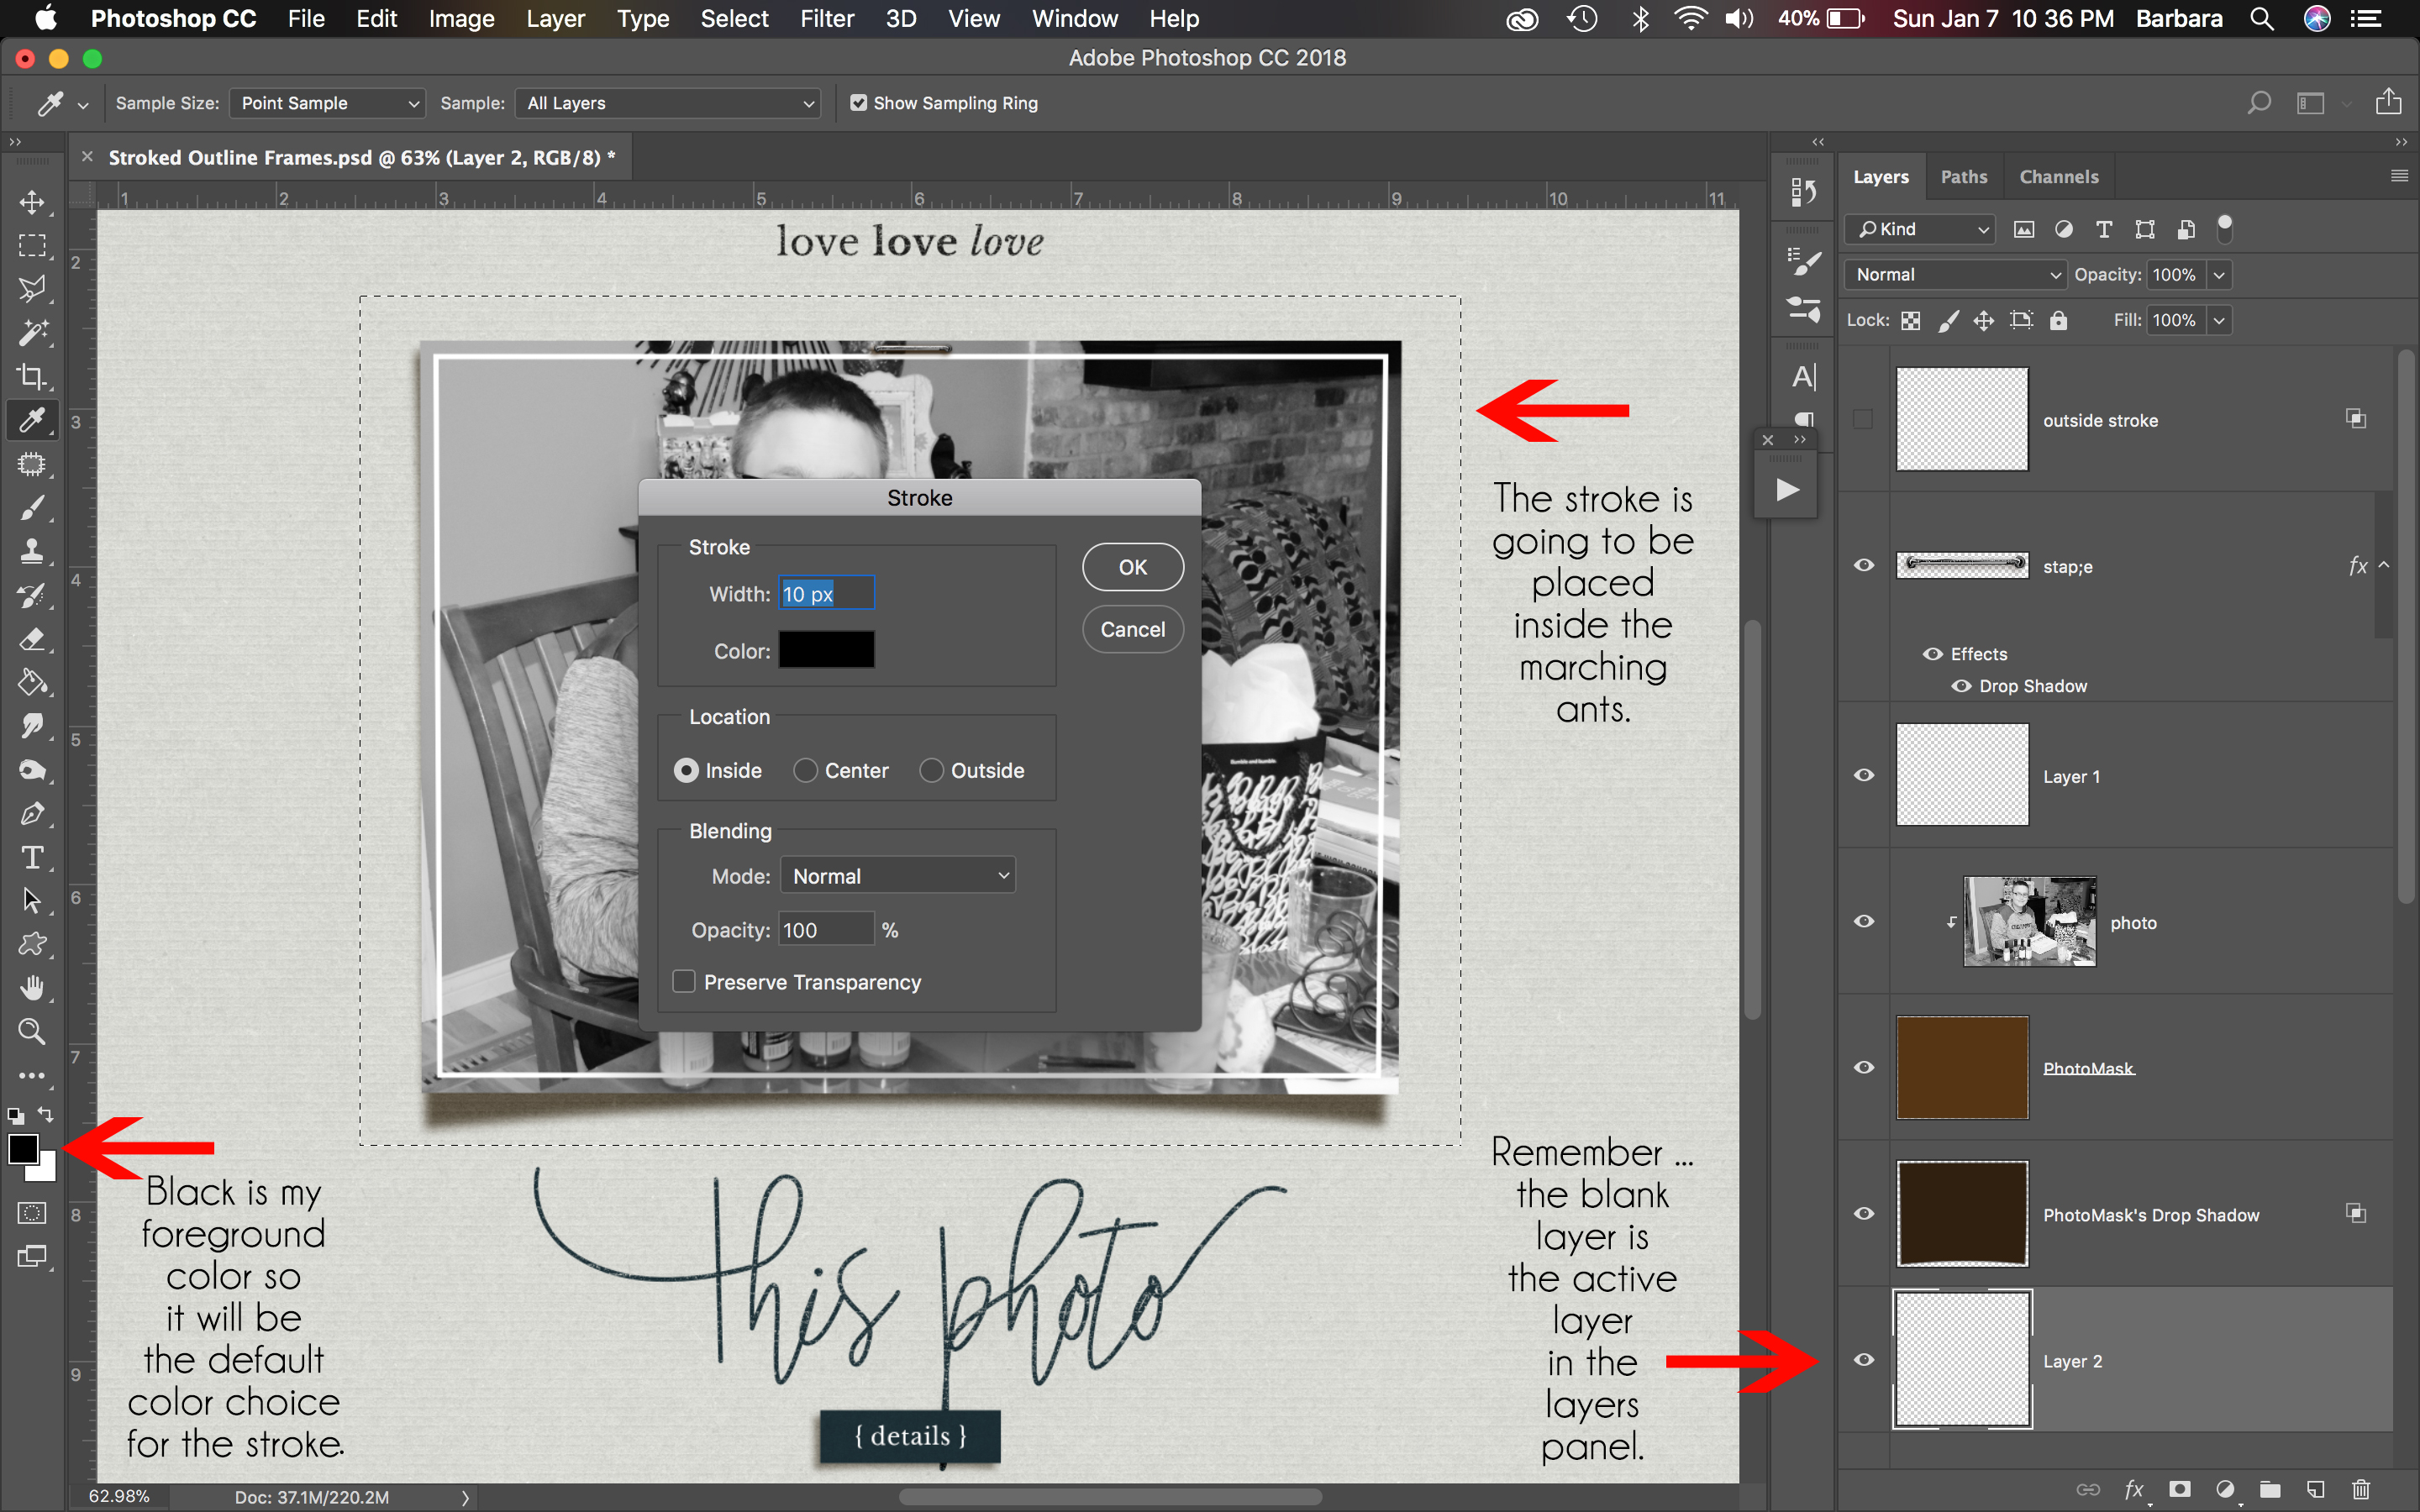
 About the Author: Barbara is a member of the creative team here at The Digital Press. She’s a mom to two adult “kids” (a 21 year old son and an 18 year old daughter). Seriously, when did that happen? She hasn’t gotten any older, really! In her free time (since her kids are adults, like it or not she has plenty of free time) she loves to tell her family’s stories through her scrapbook art, learn all she can about Photoshop and Lightroom, take photos, travel and hang out with her family. Life is good!