Tutorial Tuesday | Simplifying Yearly Album Projects

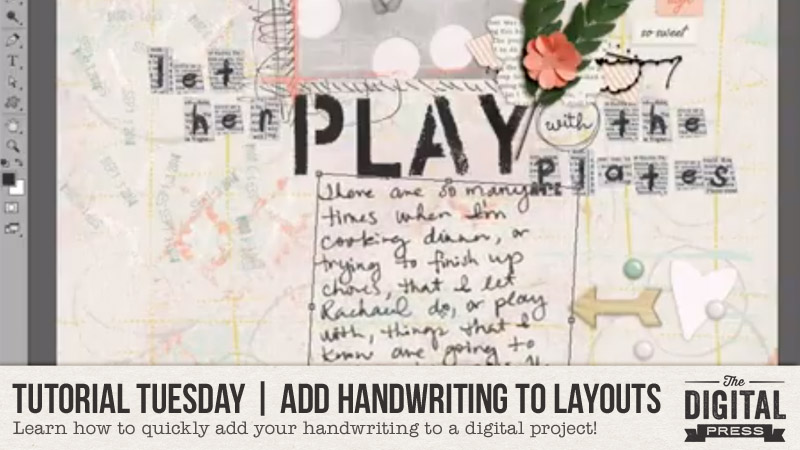
Happy New Year, scrappers! It’s time for another edition of our Tutorial Tuesday series… and I’m here today to share a few easy tips for simplifying the process of creating an annual album (thus making it possible to stick with these long-term projects!).

As we embark on a new year, I know many ofus are planning on creating some sort of yearly pocket scrapbooking album. Whether you choose to do weekly or monthly layouts, it is important to think about setting yourself up to be successful for the whole year. Many times in the past, I have started out with grand plans to do a weekly pocket layout… only to get burned-out by the end of the second month due to over-complicating my layouts.

This year, though, I am going to try to simplify my weekly layouts in order to make it through the year and have a finished album as the clock strikes midnight and brings 2018 to a close. I thought I would share some of my simplification ideas with you, too, in case you are planning a similar project!

Yearly Pocket-Style Album Tips

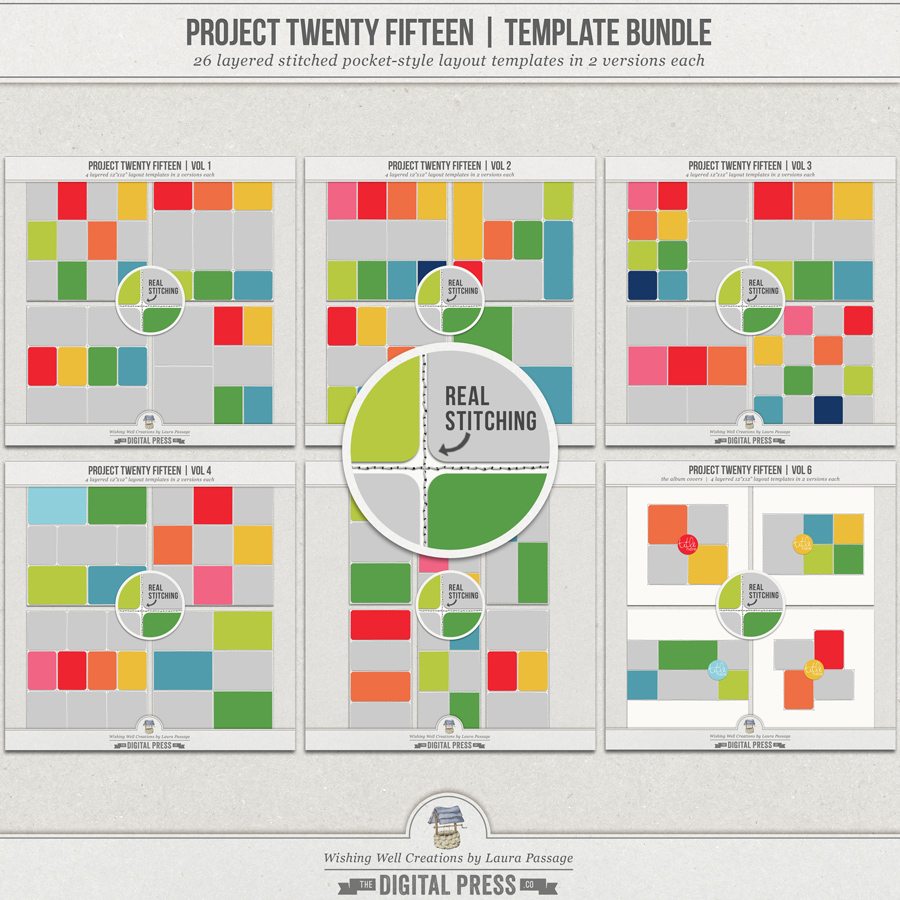
1. Choose a few templates and reuse them throughout the year — I find that I sometimes spend as much time looking for templates as I do actually scrapping the layout. This year, I am going to try to stick to a few templates in order to speed up my scrapping. You can always rotate the templates if you need to mix things up a bit. A template collection makes this really easy! My all-time favorite pocket scrapping template collection is Laura Passage’s Project Twenty Fifteen Template Bundle. There are templates in there for so many different combinations and they are very versatile (including options for stitching).

2. Use one kit for multiple layouts — If I used a different kit for each weekly spread, I would spend a LOT of time sorting through papers, embellishments and cards. By using the same kit for multiple layouts, you can streamline the process of sorting through kits and simplify your scrapping. For example, for January, I might use a monthly kit like the amazing Monthly Chronicles | FROST for all of my January layouts. These types of kits give me plenty of choices, so that my layouts have variety but I am still only sorting through one kit per month

3. Schedule a set scrapping time for these layouts — I am going to do Monday-Sunday layouts, so I set a reminder in my calendar so that I remember to scrap my weekly spreads on Monday evenings. I find that getting behind stresses me out and then I am more likely to give up on my projects. By setting aside dedicated scrap time for these special layouts, I will stay up to date. Whether you are doing a weekly or monthly format, schedule time to complete your layouts to stay up to date.

4. Embrace the ‘less is more’ ideal — Don’t we want to use all those gorgeous embellishments and papers? But, it takes lots of time to get each one placed just right. Instead, try using a few favorite cards, papers, and elements and let your photos be the stars of the layouts. It will speed up the process and get those layouts complete in no time.

And finally, the one tip that I think is the most important…

5. Be flexible — Did you have a busy week and not take enough photos? Run out of time to do a layout one week or month? NO BIG DEAL! Forgive yourself and do what works. Maybe you combine two weeks together in one spread or just do a monthly layout instead if you feel like you are falling behind. Know that whatever you do to save those memories for your family is enough! Scrap whatever you can proudly!

I wish you a very happy 2018, and hope that you find success with your scrapping goals!


KatieAbout the Author  Katie is a member of the creative team here at The Digital Press. She lives in Central Florida with her husband and their four sweet but crazy boys. When she’s not dodging Nerf bullets or trying to dig out from under the never-ending pile of laundry, she enjoys photography, cooking, going to Disney World with her family, and, of course, digital scrapbooking.

Foodie Friday | Sherry Ferguson

Welcome to another edition of our Foodie Friday series here on The Digital Press blog!

Due to our 10 Holiday Tips & Tricks series in December 2017, it’s been quite a while since we ran one of these Foodie Friday posts on the blog… but if you remember this series from last year, it is a combination of our weekly designer features along with some food and recipe fun in the kitchen! Every week on Foodie Friday, you get the chance to peek into the lives (and kitchens!) of some of your favorite TDP designers and creative team members.

This week, we are featuring Sherry Ferguson, and peeking into her kitchen to learn a few of her favorite recipes. This is Sherry’s third feature on The Digital Press blog (if you want to learn even more about her, you can find her first feature article from July 2016 HERE, and her second feature article from February 2017 HERE).

According to Sherry, “I cook a lot for my younger daughter who has so many food allergies she can’t eat out. Here are some things I find myself making for her over and over. The girls and I are carb lovers so not a lot of meat in these recipes… but you can always add your own meat to the pizza or the macaroni.”

Here’s a peek of what she’s been cooking up for us…

photo credits for [1] [2] and [3] to TDP designer Sherry Ferguson

So, what are these delicious things you see pictured above?

  • Easy Baked Mac & Cheese
  • Quick Homemade Pizza
  • Banana Cake

EASY BAKED MAC & CHEESE

Sherry says, “I swap in homemade breadcrumbs on the top instead of Panko.”

INGREDIENTS NEEDED

—1 (16 oz.) package elbow macaroni or shell pasta
—8 tablespoons butter, divided
—2 cups heavy cream or half and half, warm
—2 cups shredded cheddar cheese
—1 cup shredded mozzarella cheese,
—1 cup shredded Monterrey Jack cheese,
—8 ounces Velveeta, cubed
—1 cup Panko breadcrumbs
—Salt and pepper, to taste

INSTRUCTIONS

—Preheat oven to 350 degrees. Cook pasta according to package directions for 8-10 minutes or until al dente; drain.
—Meanwhile, melt 6 tablespoons of the butter.
—Transfer pasta to a large bowl and toss with melted butter. Stir in cream.
—Add shredded cheese and Velveeta and mix well. Season with salt and pepper to taste.
—Pour pasta mixture into a greased, 9×13 baking dish (cheeses will not be melted yet).
—Melt the remaining 2 tablespoons of butter and stir into the breadcrumbs. Sprinkle the breadcrumbs over the macaroni.
—Bake for 30-35 minutes or until cheese is hot and bubbly and topping is golden brown.

[recipe adapted from Let’s Dish Recipes ]

QUICK HOMEMADE PIZZA

About this recipe, Sherry says, “We always skip the sauce on ours… but the beauty in making your own is you can add whatever you like!”

INGREDIENTS NEEDED

—1 tablespoon yeast
—1 cup warm water (use hot water from the tap)
—1 teaspoon honey
—1 teaspoon salt
—1-2 Tablespoons olive oil
—2-1/2 cups unbleached flour (I usually add 1 cup whole wheat)
—cornmeal (optional)
—sauce and toppings of choice

INSTRUCTIONS

—Add yeast to a mixing bowl and pour the 1 cup of hot tap water over it and mix.
—Add the remaining ingredients and let the mixer run at medium speed until the dough clears the side of the bowl (you can do this by hand: beat vigorously for 30 strokes).
—Let dough rest in the bowl 15-20 minutes while you preheat the oven and prep the toppings.
—On a large baking sheet or pizza pan/stone, sprinkle a bit of cornmeal. With oiled hands, remove the dough from the bowl and pull/shape into a general rectangle or circle (depending on your pan), then lay it on top of your cornmeal coated pan. Using a rolling pin or your hands, flatten and stretch the dough to fill the pan.
—Bake the dough for 10 minutes in a 425 degree oven (you don’t have to, but it ensures a fully cooked center crust, no matter how many toppings you add).
—Remove prebaked crust from the oven and spread with your toppings: sauce, shredded cheese, cooked meat and chopped vegetables.
—Place topped pizza back into oven and bake for 10-15 minutes more, or until cheese is melted and toppings are browned.
—Slide the whole pizza from the pan to a cutting board and slice into pieces.

[recipe adapted from An Oregon Cottage ]

BANANA CAKE

Sherry says, “This is such an easy cake to make, and the bananas themselves help bind it since there are no eggs.”

INGREDIENTS NEEDED

—1-3/4 cups ripe banana, mashed (about 4 medium bananas)
—1/2 cup oil
—2 cups flour
—3/4 cup brown sugar, firmly packed
—1 tsp baking powder
—1 tsp baking soda
—1/2 tsp salt
—vegetable cooking spray

INSTRUCTIONS

—Preheat oven to 350 degrees. Coat bundt pan with vegetable cooking spray and then set aside.
—In a large bowl, combine flour, brown sugar, baking powder, baking soda, and salt. Stir well and then set aside.
—In another bowl, combine banana and oil. Stir well.
—Add banana and oil mixture to the dry ingredients, stirring just until moistened.
—Spoon all of the batter into the bundt pan.
—Bake 40-50 minutes* or until a cake-tester inserted in the center comes out clean.
—Cool in pan for 10 minutes first, and then remove from pan and cool completely on a wire rack.
—Cake can be served plain for breakfast… or topped with chocolate glaze and served for dessert… etc.

*NOTE: Sherry bakes hers for just 35 minutes; it likely depends on your oven, etc.

[recipe adapted from The Food Allergy News Cookbook ]

We’re betting that you’re hungry just reading through these recipes, and that you can’t wait to try them out!

Meanwhile, it wouldn’t be a designer feature week without a fantastic sale and a special Free-with-Purchase offer… so you’ll be excited to see what Sherry has in store for you! Not only is her entire shop marked down 30% OFF throughout her entire feature week (sale prices will be valid through 11:59pm ET on Thurs 1/11)… but she also has this awesome deal in her shop all week long, as well! Spend $10+ in the Sherry Ferguson shop at The Digital Press, and get her “A Tranquil Life” Kit completely FREE!


Laura Passage

About the Author  Laura Passage is the owner of The Digital Press, and also the designer behind Wishing Well Creations by Laura Passage (WWC). She works now as a graphic designer in both the digital and paper scrapbooking industries, but previously spent over a decade working as a college soccer coach. She lives in the Pacific Northwest with her husband and two young sons (affectionately referred to as The Tiny Terrorists), and will rationalize eating coffee ice cream for breakfast to anyone who questions it.

Tutorial Tuesday | Adding Your Handwriting to Digital Layouts

Hello, and welcome to the very first Tutorial Tuesday post of 2018, here on The Digital Press blog!

Today I am visiting the blog to share with you a really quick, simple, and fun (!) procedure for adding your own handwriting (or that of your children, other family members, friends, etc.) to your digital scrapbook pages.

It’s much quicker and easier than you’d think! Here’s a short 3-ish minute video to show you exactly how it’s done…

Yes, it’s really that easy! I hope you’ll give it a try.


Dawn Farias

About the Author  Dawn Farias is school teacher, a mom of 5, and the designer behind the Dawn by Design brand at The Digital Press. She lives in San Antonio, Texas with her family.

10 Holiday Tips & Tricks | Day Ten

Hello, and welcome to the very last day of our 2017 10 Holiday Tips & Tricks series here on The Digital Press blog!

Today I am here to share with you a really fun last-minute project for those of you who want to add a little extra magic to your Christmas morning…

…festive marshmallow-snowflake hot cocoa toppers! 🙂

Supplies Needed

  • marshmallows (mini size shown above; but you can use a variety of big/small/different colors/etc.)
  • toothpicks
  • mug(s)
  • hot cocoa of choice

Instructions

This project’s about as simple as it gets, when it comes to the “how-to” of it all! Seriously… you just thread the marshmallows onto toothpicks in any configuration / combination that you like! 🙂

A few pointers and ideas, though (based on my vast experience in the field of marshmallow-snowflake production, LOL)…

  • If using mini-marshmallows, as shown above, you should limit it to 3 toothpicks (a.k.a. a 6-point snowflake), or else the center piece won’t hold together when acting as the center for more than 3 spokes (toothpicks)
  • When threading toothpicks through the center “spoke” (or marshmallow)… stick the first toothpick through the very middle, the next one just above that (almost touching the first), and the third one just below the first (middle) toothpick. This keeps everything centralized, and leaves enough marshmallow on the top and bottom to keep your toothpicks from breaking through.
  • To create a much larger snowflake… you can also use a large marshmallow for the center, and then use 6 individual toothpicks that all radiate outward from that center point (i.e. your snowflake will be 2x as big as mine… so only do this if you have a giant mug! haha)
  • If you want to get really creative, you can use marshmallows of different colors and/or shapes. You could use the little pink and green mini-marshmallows to make “red” and “green” snowflakes, for instance, on Christmas… etc. You can also use the cute little star-shaped marshmallows for the center and the ends of each toothpick… super cute!

No matter how you make your marshmallow-snowflakes… they’ll be delicious, and they’ll put a smile on the face of anyone whose mug gets delivered with one on the edge. Guaranteed!

If you’re thinking of giving this recipe a try… head over to The Digital Press’s challenge forum and get the details about how you can earn challenge points for December 2017 at TDP if you try any of our ’10 Holiday Tips & Tricks’ throughout the month as they appear here in this blog series.

Here’s wishing you you have a very happy holidays and a fantastic upcoming weekend with your family and friends! 😉


Laura Passage

About the Author  Laura Passage is the owner of The Digital Press, and also the designer behind Wishing Well Creations by Laura Passage (WWC). She works now as a graphic designer in both the digital and paper scrapbooking industries, but previously spent over a decade working as a college soccer coach. She lives in the Pacific Northwest with her husband and two young sons (affectionately referred to as The Tiny Terrorists), and will rationalize eating coffee ice cream for breakfast to anyone who questions it.

10 Holiday Tips & Tricks | Day Nine


Welcome to Day Nine of the 2017 edition of our always-popular 10 Holiday Tips & Tricks series here on The Digital Press blog!

Today I’m here to share a really quick and inexpensive holiday treat recipe… homemade peppermint bark!

Each year during the holiday season, we love taking Christmas goodies to neighbors, friends, piano teachers, debate coaches, UPS drivers, mailmen… and pretty much everyone else in our lives! My college kids also like baking for their friends, roommates, girlfriends, professors (or anyone else they want to impress!). Unfortunately, the problem with making so many goodies all season long… is that eventually, we just need a recipe or two that is fast, easy, cheap, and delicious! This one serves those needs!

After many years of trying recipes, our family finally found one for Peppermint Bark that fits the requirements — and the best part is it’s so simple that kids of all ages can make it themselves!

Peppermint Bark

INGREDIENTS

— 1 pound vanilla-flavored candy coating (cut up into smaller pieces)
— about 24 hard peppermint candies (more or less to taste!)
— 1 tsp peppermint extract

Yup, that’s it! Just three ingredients!

And the best part is… it’s not only easy, but flexible, as well. What do I mean? Well, if you want me to be honest, I’ll tell you that my mommy brain has kicked in more than once in the past, and I’ve forgotten to buy the peppermint extract (additionally, my college kids have elected to save money and not buy it, either, at times… so we’ve left the extract out multiple times and no one has truly known the difference). On the flip side of that… we tend to be a really “pepperminty” family, and so at other times I’ve actually used more candies than listed above — a tweak that not only makes it taste great, but also affects the crunch factor. 🙂

INSTRUCTIONS

  • Line a cookie sheet with aluminum foil or wax paper (we never have wax paper on hand, so I use aluminum foil).
  • Crush the candies. I have a food processor, and we use this… but my college kids just place them in a gallon bag, cover it with whatever they have nearby (towels, or dirty clothes, haha), and smash it with hammers, books, or anything else that’s heavy. As long as it’s not their laptops or cell phones, I’m happy.
  • Melt the candy coating in a microwave-safe dish for 1 minute on high. Take it out, stir, and put it back in the microwave for another 30 seconds on high. Keep repeating this until the candy coating is smooth and melted. *TIP* make sure you truly do take the time to stop and stir, as simply heating it on high for 2 minutes + may or may not result in a smelly and inedible glob. Don’t ask me how I know this.
  • Next, mix in the crushed candies and peppermint extract… and then spread the melted candy onto the prepared cookie sheet. *TIP* the thinner you spread it, the further the recipe goes.
  • Freeze for 30 minutes or so and then break it into pieces. The candy can be stored at either room temperature or hidden in the freezer where children can’t find it — and either way it tastes great!

See how easy this is? No oven required, not many dishes to wash, and the total recipe costs less than $5. You can’t ask for more than that!

Now, you can certainly make this candy fancier by using both chocolate AND vanilla candy coating. Just make sure the first layer (usually chocolate) is hard before adding the second layer (usually vanilla). Adding this second layer often makes the bark look prettier (and who doesn’t love chocolate?!)… but it’s important to note that adding the chocolate candy coating, also, makes the process take longer and makes the recipe slightly more expensive. Thus, our family often just sticks with plain vanilla (unless we really, really like you 🙂 ).

Have fun with the recipe, and feel free to change it to your liking!


If you’re thinking of giving this recipe a try… head over to The Digital Press’s challenge forum and get the details about how you can earn challenge points for December 2017 at TDP if you try any of our “10 Holiday Tips & Tricks” throughout the month as they appear here in this blog series!


Robin

About the author  Robin is a member of the creative team here at The Digital Press. A wife of 25 years and a mom of 4 crazy children (3 in college and 1 still at home), she says that her life occurs mostly in the car as she transports said crazy kids to their many, many homeschool activities. When not driving, Robin loves to make her family cringe by pulling out her camera again (and again, and again…).

10 Holiday Tips & Tricks | Day Eight

Welcome to Day Eight of the 2017 edition of our always-popular 10 Holiday Tips & Tricks series here on The Digital Press blog!

Stefanie here today, bringing you a fun (and adult-friendly!) recipe for the milk and cookies you leave out for Santa. 🙂

As part of our family’s holiday tradition, we leave out a side plate with some milk and cookies for Santa on Christmas Eve. I don’t know about your Santa… but the one who visits our house is usually very tired and in need of a pick-me-up… so why not treat him to an adult version? We call them ‘milktart shooters,’ and we serve them up with some yummy crunchies on the side.

Here are the recipes…

Milktart Shooters

INGREDIENTS
— 375ml vodka
— 395g tin condensed milk
— 375ml tin evaporated milk
— ground cinnamon to serve


INSTRUCTIONS
— Mix the ingredients together and shake well
— Store in a bottle in the fridge for up to 4 days

Crunchies

INGREDIENTS
— 1 cup oats
— 1 cup cake flour
— 1 cup white sugar
— 1 cup dessicated coconut
— 165g butter melted with 15mls syrup; then add 5mls bicarb, pinch of salt*, a squirt of lemon juice* and 15-30mls boiling water*

*optional

INSTRUCTIONS
— Mix dry ingredients well.
— Make a well in the dry ingredients and add the wet ingredients; mix well and press down firmly into a rectangle-shaped oven pan.
— Bake at 180C for 12-15 min (but check often, as it can burn quite easily).
— Cut into squares while still warm (let cool for about 5-10 min after removing from the oven before cutting).
— Will keep well in a sealed container for at least 4 days.


If you’re thinking of giving one (or both!) of these recipes a try… head over to The Digital Press’s challenge forum and get the details about how you can earn challenge points for December 2017 at TDP if you try any of our “10 Holiday Tips & Tricks” throughout the month as they appear here in this blog series!


small avi

About the author Stefanie is a member of The Digital Press creative team and a stay at home mother of three older children living in Cape Town, South Africa with her hubby of 29 years, two of their three children and 3 cats. She loves photography, traveling and digital scrapbooking, documenting the good and the ordinary everyday.