Hello, and welcome to another edition of our always-popular Hybrid How-To series here on The Digital Press blog!
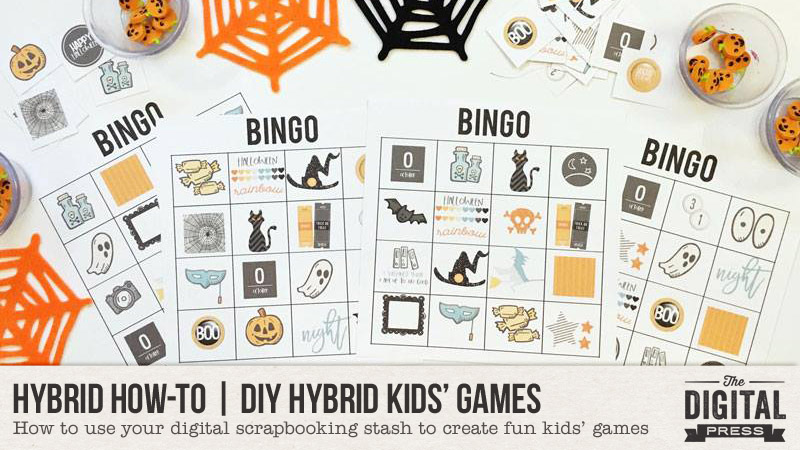
I’m here today to show you how to use your favorite digital supplies to create kids’ games…such as the fun BINGO game you see pictured below.
This project is soooo simple, and really just requires a BINGO template and your favorite digital kits to create.
Let’s get started!
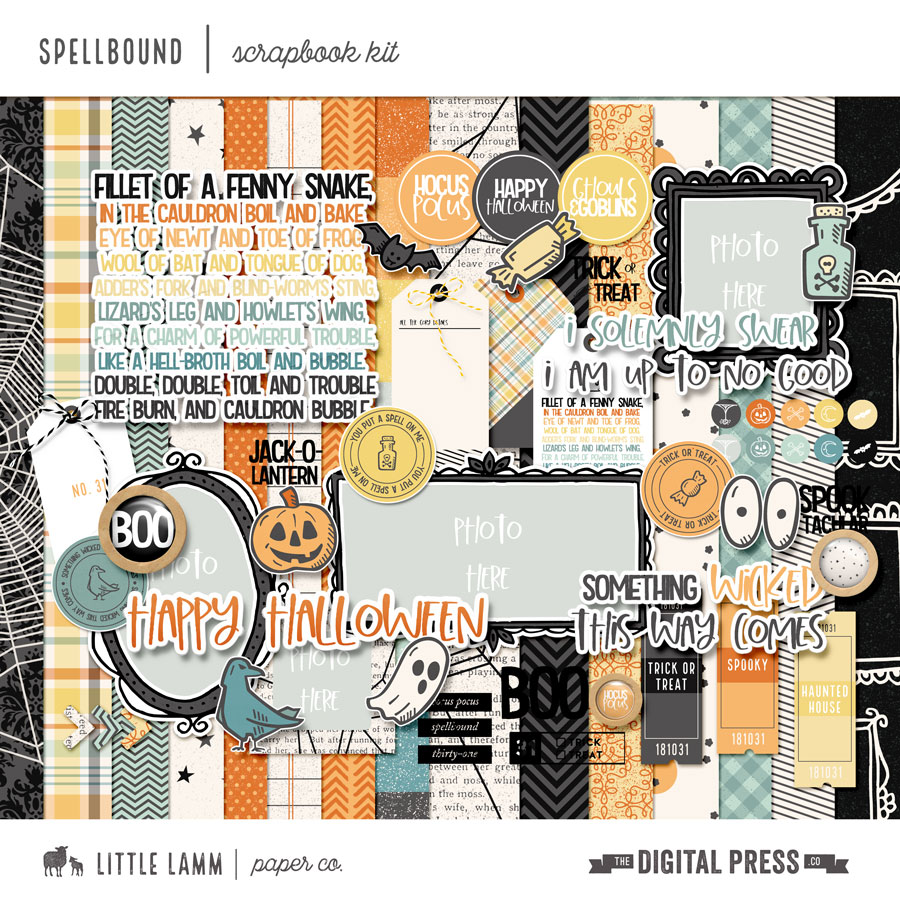
The first thing you’ll want to do is decide on a theme for your game cards, if desired, and choose a digital kit (or a selection of kits) that contain images that you’d like to use. For my Halloween-themed BINGO cards, I chose an awesome new collection called Spellbound that was designed by Little Lamm Paper Co., shown here…
I used the images contained within this collection to get started on filling up my BINGO card. I chose to make 6 different cards, and in doing so I placed the different images/stickers (like the tickets, candy, bat, ghost, potion and jack-o-lantern) into different spots on each card, filling all of the squares of a simple BINGO template I’d created (one of which I’ve shown here)…
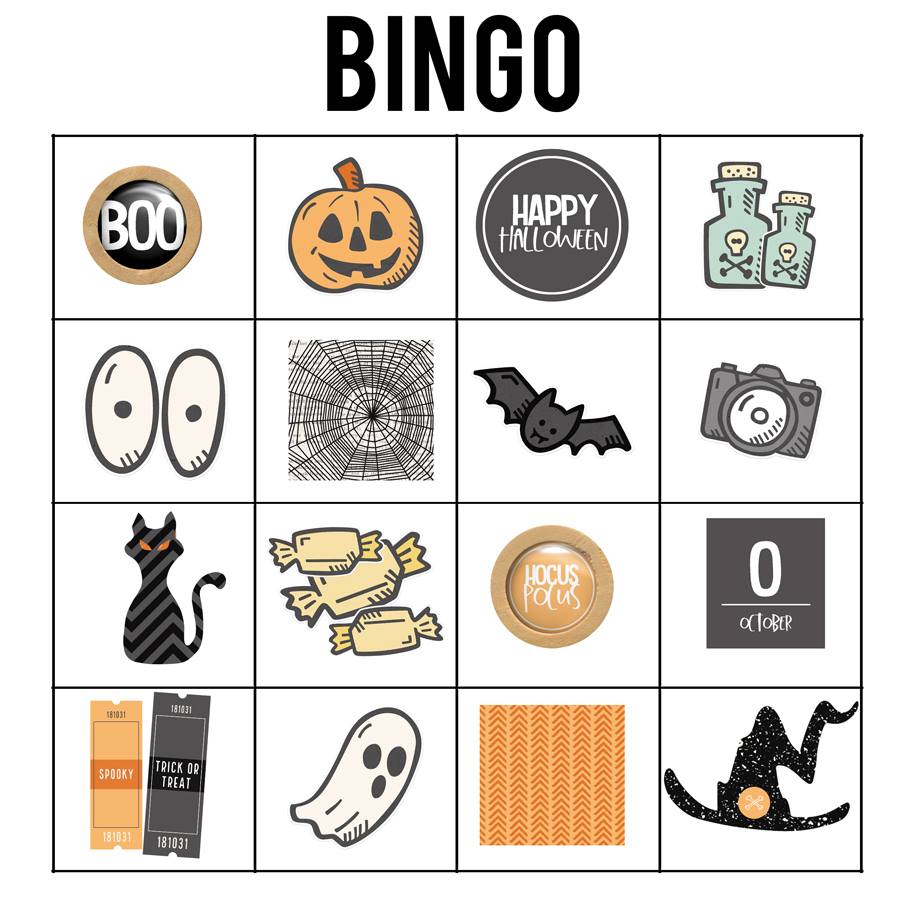
When I found that I needed more images than the stickers I found in the kit, I decided to look at using the word strips and stamps, as well. I liked the tickets, the two flairs, and a circle with “Happy Halloween” printed on it… so I used those, as well. I also decided to use two ‘swatches’ of paper to represent a spider web and the color orange.
I also used a dingbat font (you can find some really great dingbat fonts for FREE on the internet) for shapes such as the cute black cat you see in the 3rd row of the card shown above. It started out as a plain black font, however… and I wanted to jazz it up a bit. In this next screenshot, you can see I found dingbat font shape I wanted — a cat — and then I simplified the layer and clipped a paper to it (the black/grey chevron pattern) from the Spellbound kit I was using…
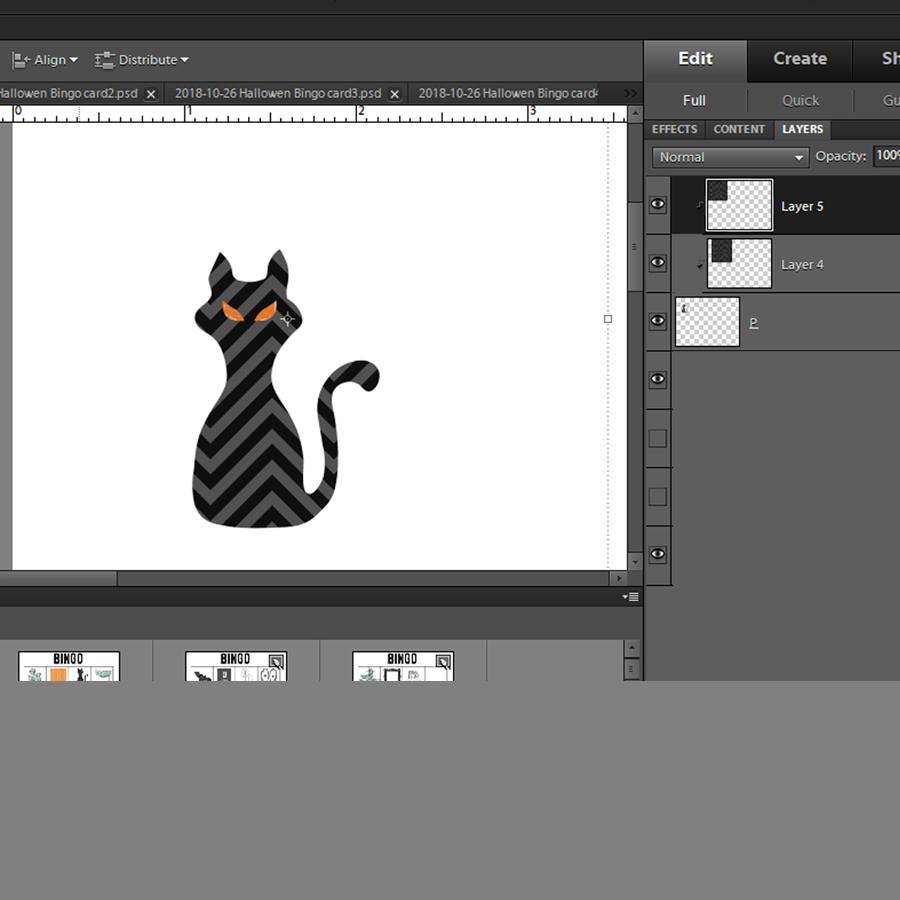
I also added in an orange paper behind the cat shape for the eyes and just erased the parts I didn’t need… so the orange would show through the “holes” where the eyes were in the dingbat font. Cute, right? Such a simple way to add a cat into my BINGO card even though the actual digital collection I was using didn’t have one. 🙂 (I repeated this same process to create a witch’s hat and a flying witch).
As I worked, I found that this project was a wonderful way to re-think my digital products, and was a great way to re-purpose a bunch of things! For instance, I used two chipboard numbers (“31”) from a girl-themed kit to stand for the day of the month/Halloween. I also was able to use shapes like the circle moon and star from other kits, re-purposing them for this project.
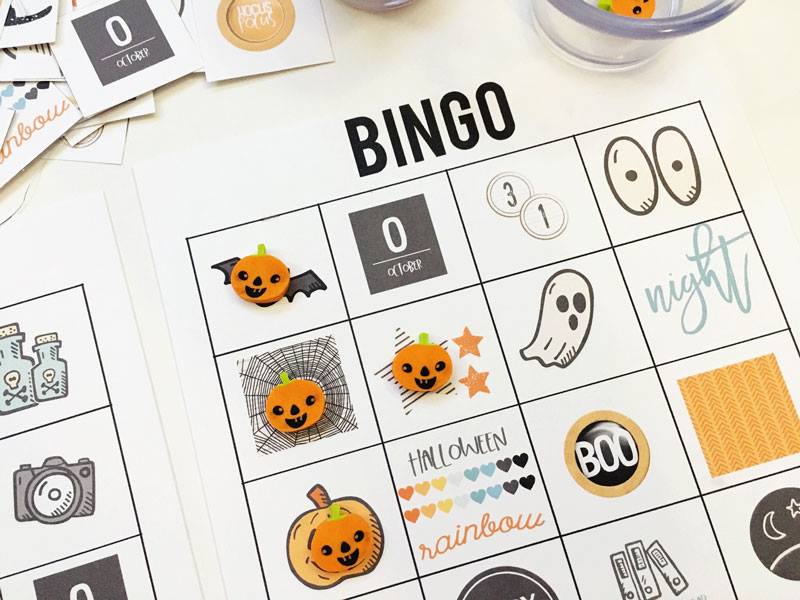
Here’s a look at a bunch of my cards after I was finished creating them in Photoshop, and printing them out…
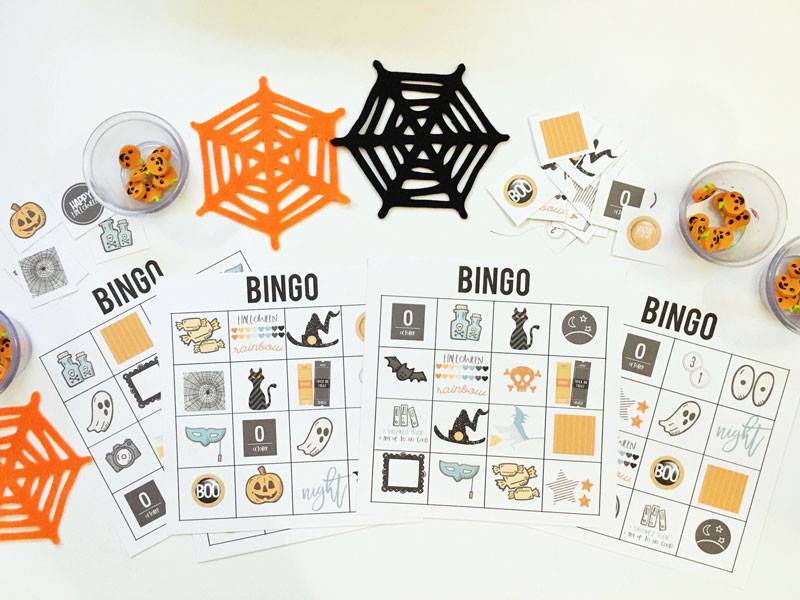
Aren’t these cards fun?
I hope today’s tutorial inspires you to re-think your own digital supply stash, and have fun playing with your digital products to make something completely new, fun, and festive — something as simple as an everyday BINGO-themed game!
Don’t forget to visit the CROSSWORD SECTION in The Digital Press forum, and jump into this month’s Hybrid Challenge if you are thinking of trying out this project. You can earn points toward discounts & FREEBIES! I hope that you will join in!

About the Author Sabrina is an avid documenter of life — herself, her children, her hubby, and her everyday life. There is beauty in the ordinary moments, and they are what she loves to scrap. She is also always on the hunt for a quiet, peaceful moment… and she usually spends it reading or playing at her crafty desk.

