Hello everyone! It’s Tanya here, and I’m excited to share another edition of our Hybrid How-To series with you here on The Digital Press blog! With Mother’s Day just around the corner, I thought I’d show you how to use your digital papers and/or elements to create a couple of cute (but simple!) gifts for Mom.
I made these gifts for my husband’s Mom for Mother’s Day, but you can change up the tag to suit any occasion.
SUPPLIES NEEDED:
- Your favorite digital scrapbook products
- White cardstock
- Glossy photo paper (not a must, but it works best)
- Circle & scallop shaped punches
- Hole punch
- Wooden skewer or popsicle stick
- Ribbon
- Pop dots
- Tape
- Scissors
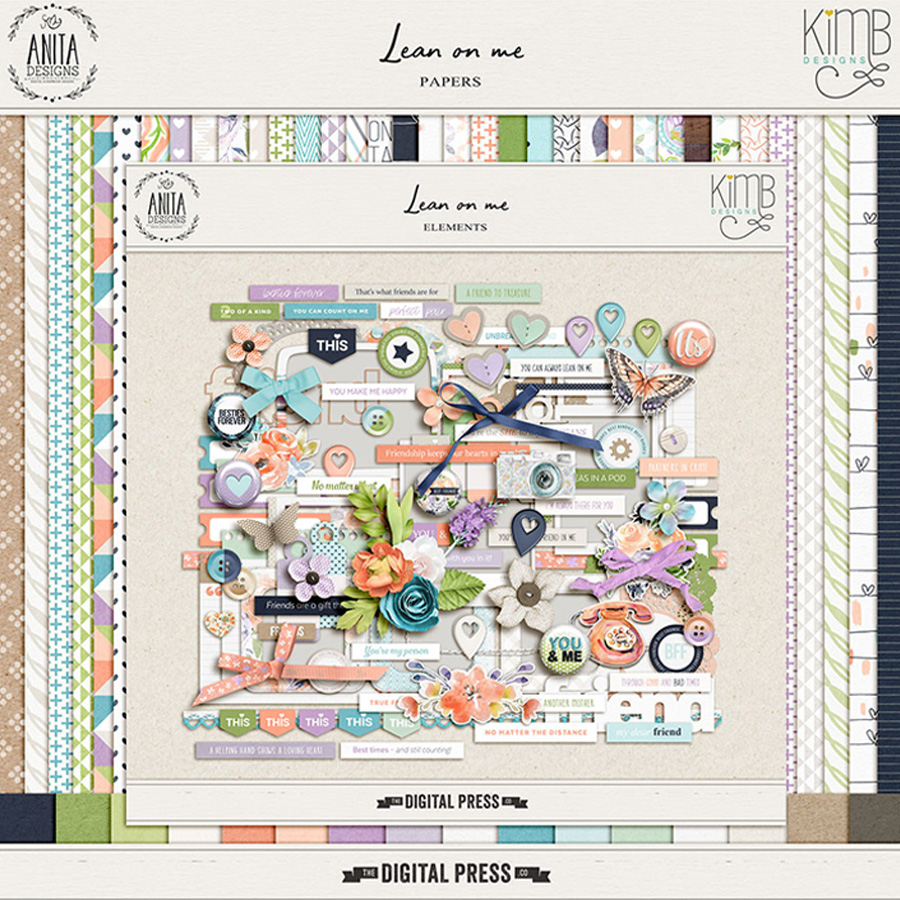
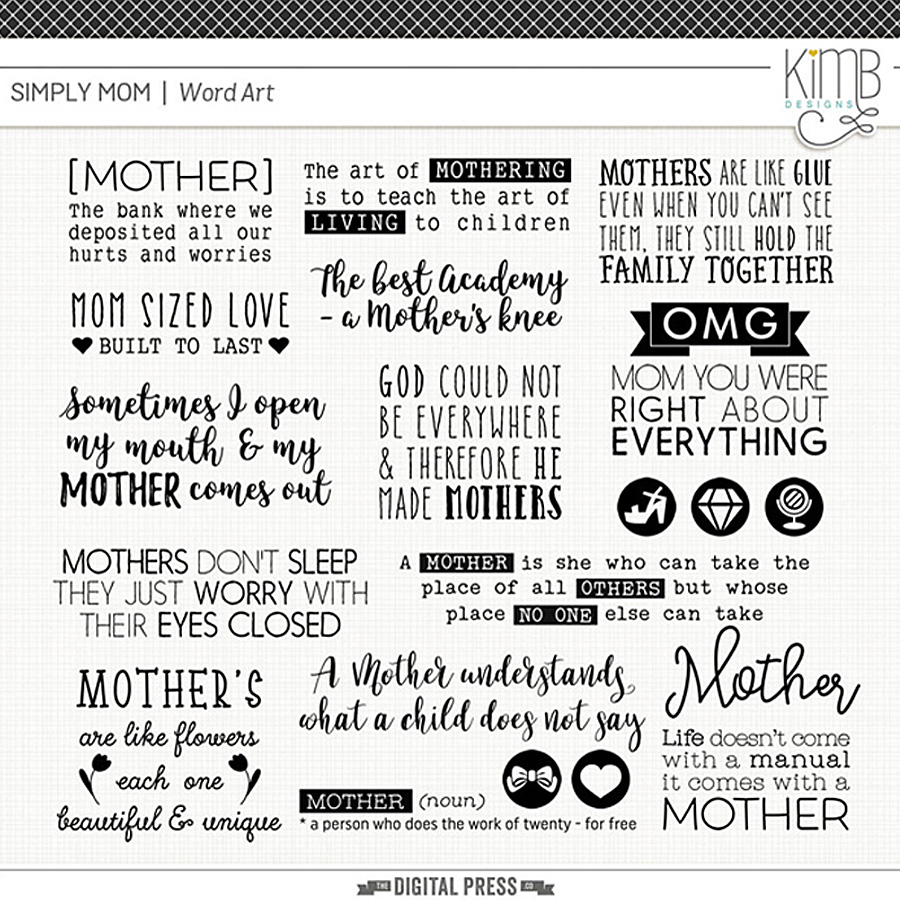
For my sample project, shown below, I used the following digital products: the Lean On Me kit by Anita Designs and Kim B Designs, and Simply Mom Word Art by Kim B Designs. Here’s a look at each of those…
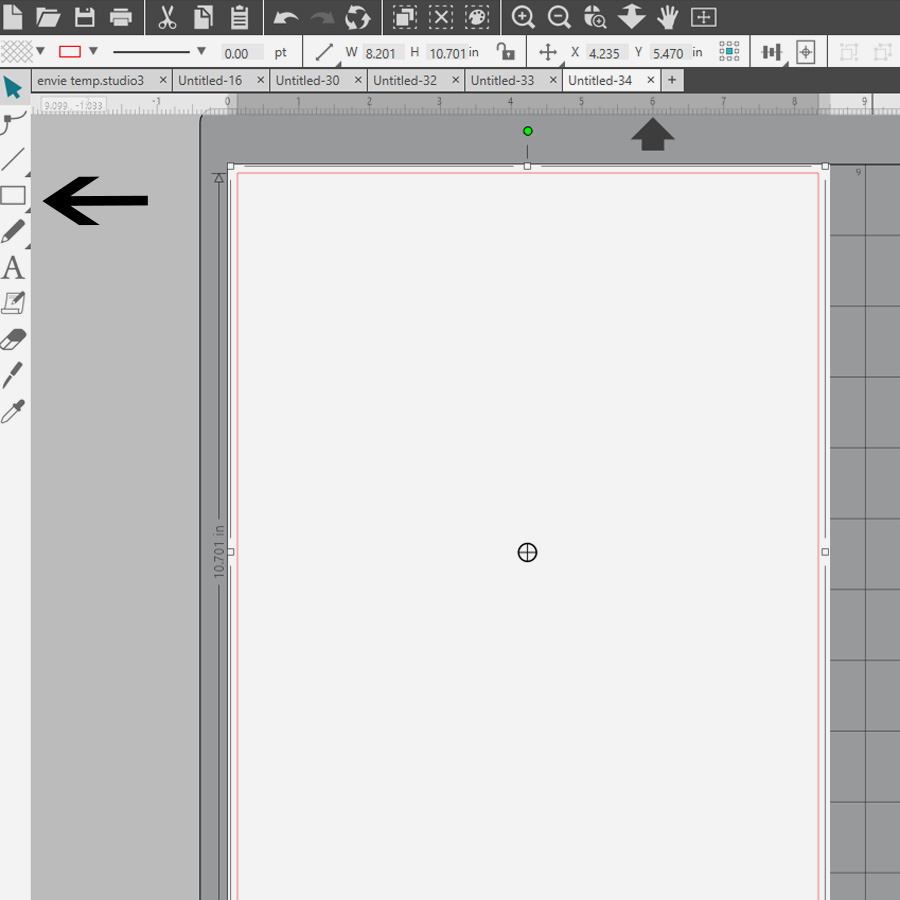
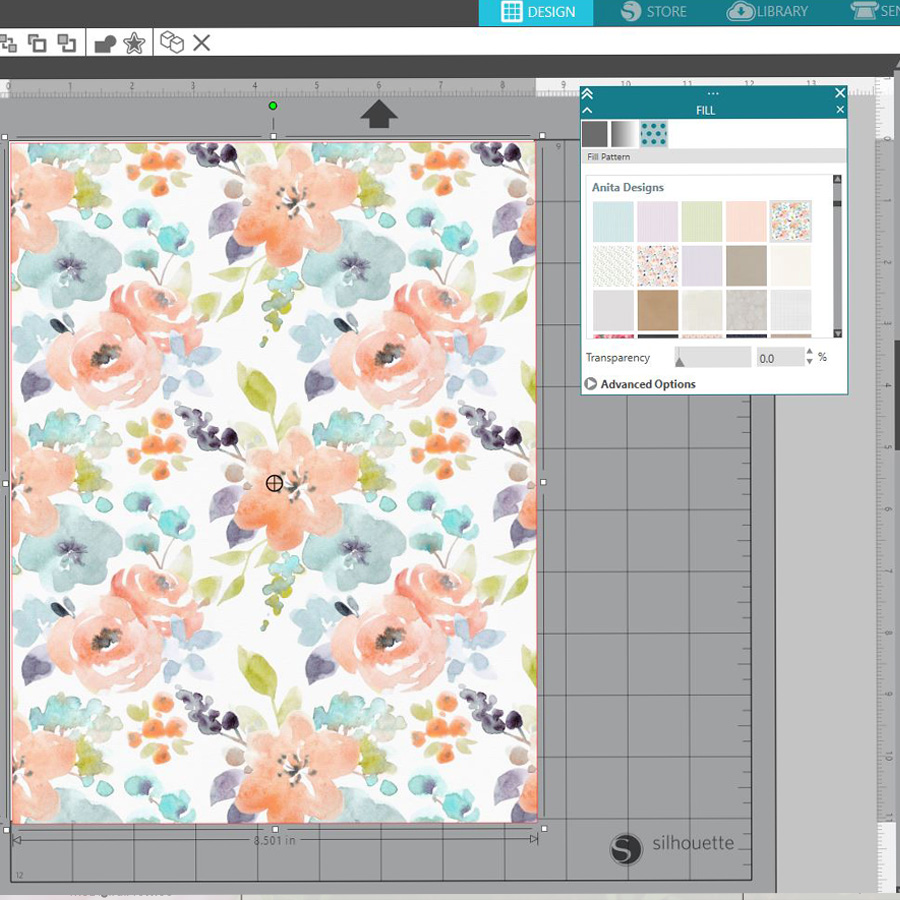
For this project, I used my Silhouette Studio Business Edition software. You can use any photo editing software, however. The first step is to draw out a 8 1/2 x 11 triangle. To do this, I used the draw tools to the right of the work space…
Next, I filled the shape with a digital paper I choose by opening the fill pattern on the right…
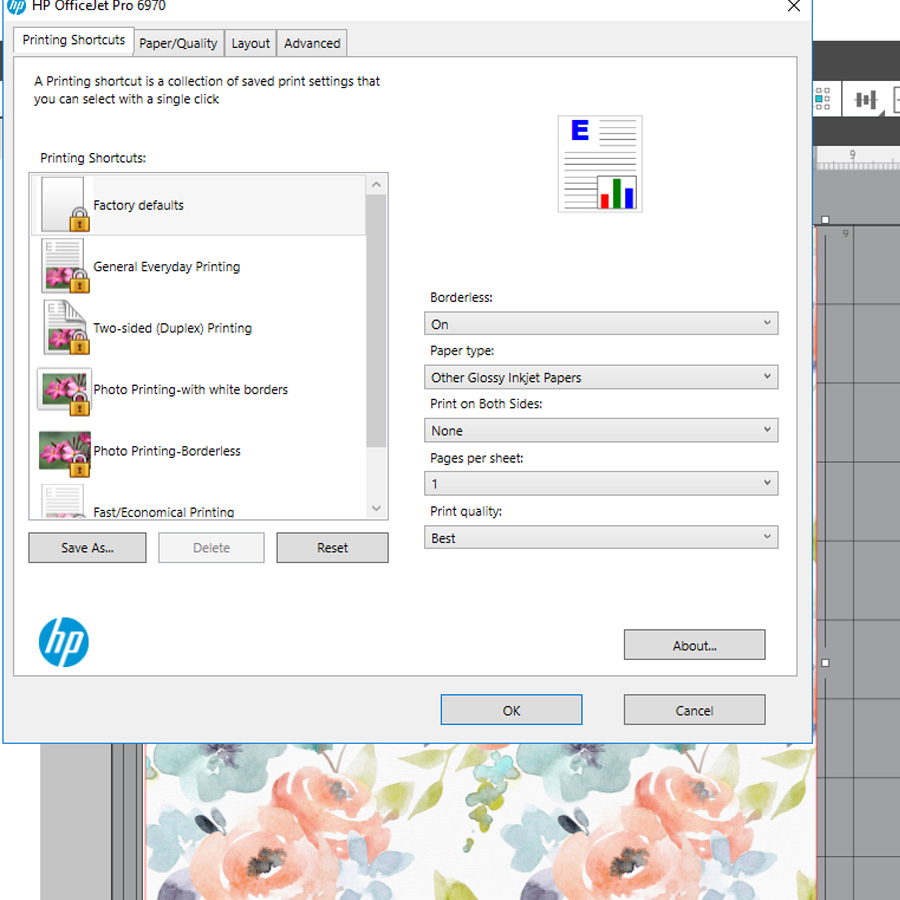
The next step is to print it out. I have a HP Office Jet and it prints really nicely… but I’ve found that to get the best print possible, you need to make sure when you change between different types of paper that you go into your printer preferences and change the ‘paper type’ there, as well. I also turned ‘borderless’ to ON…
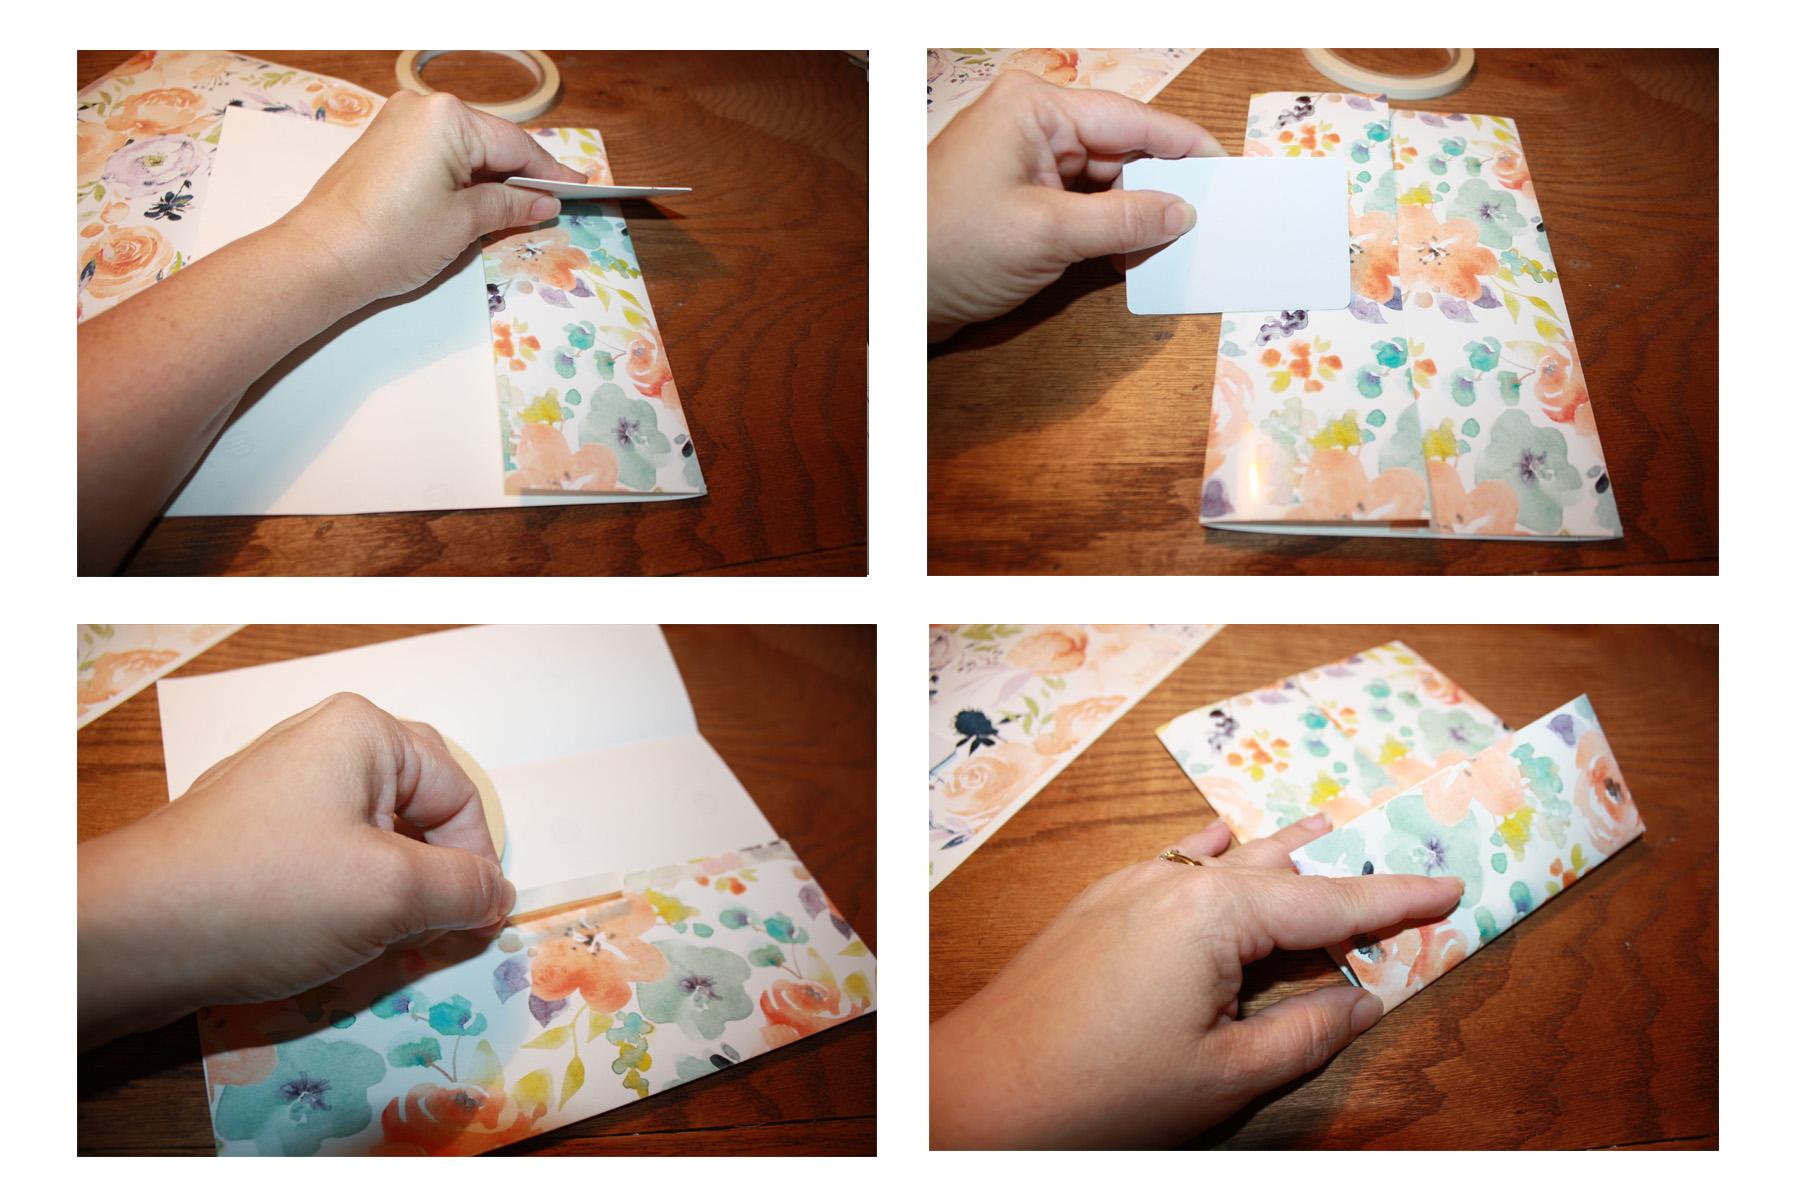
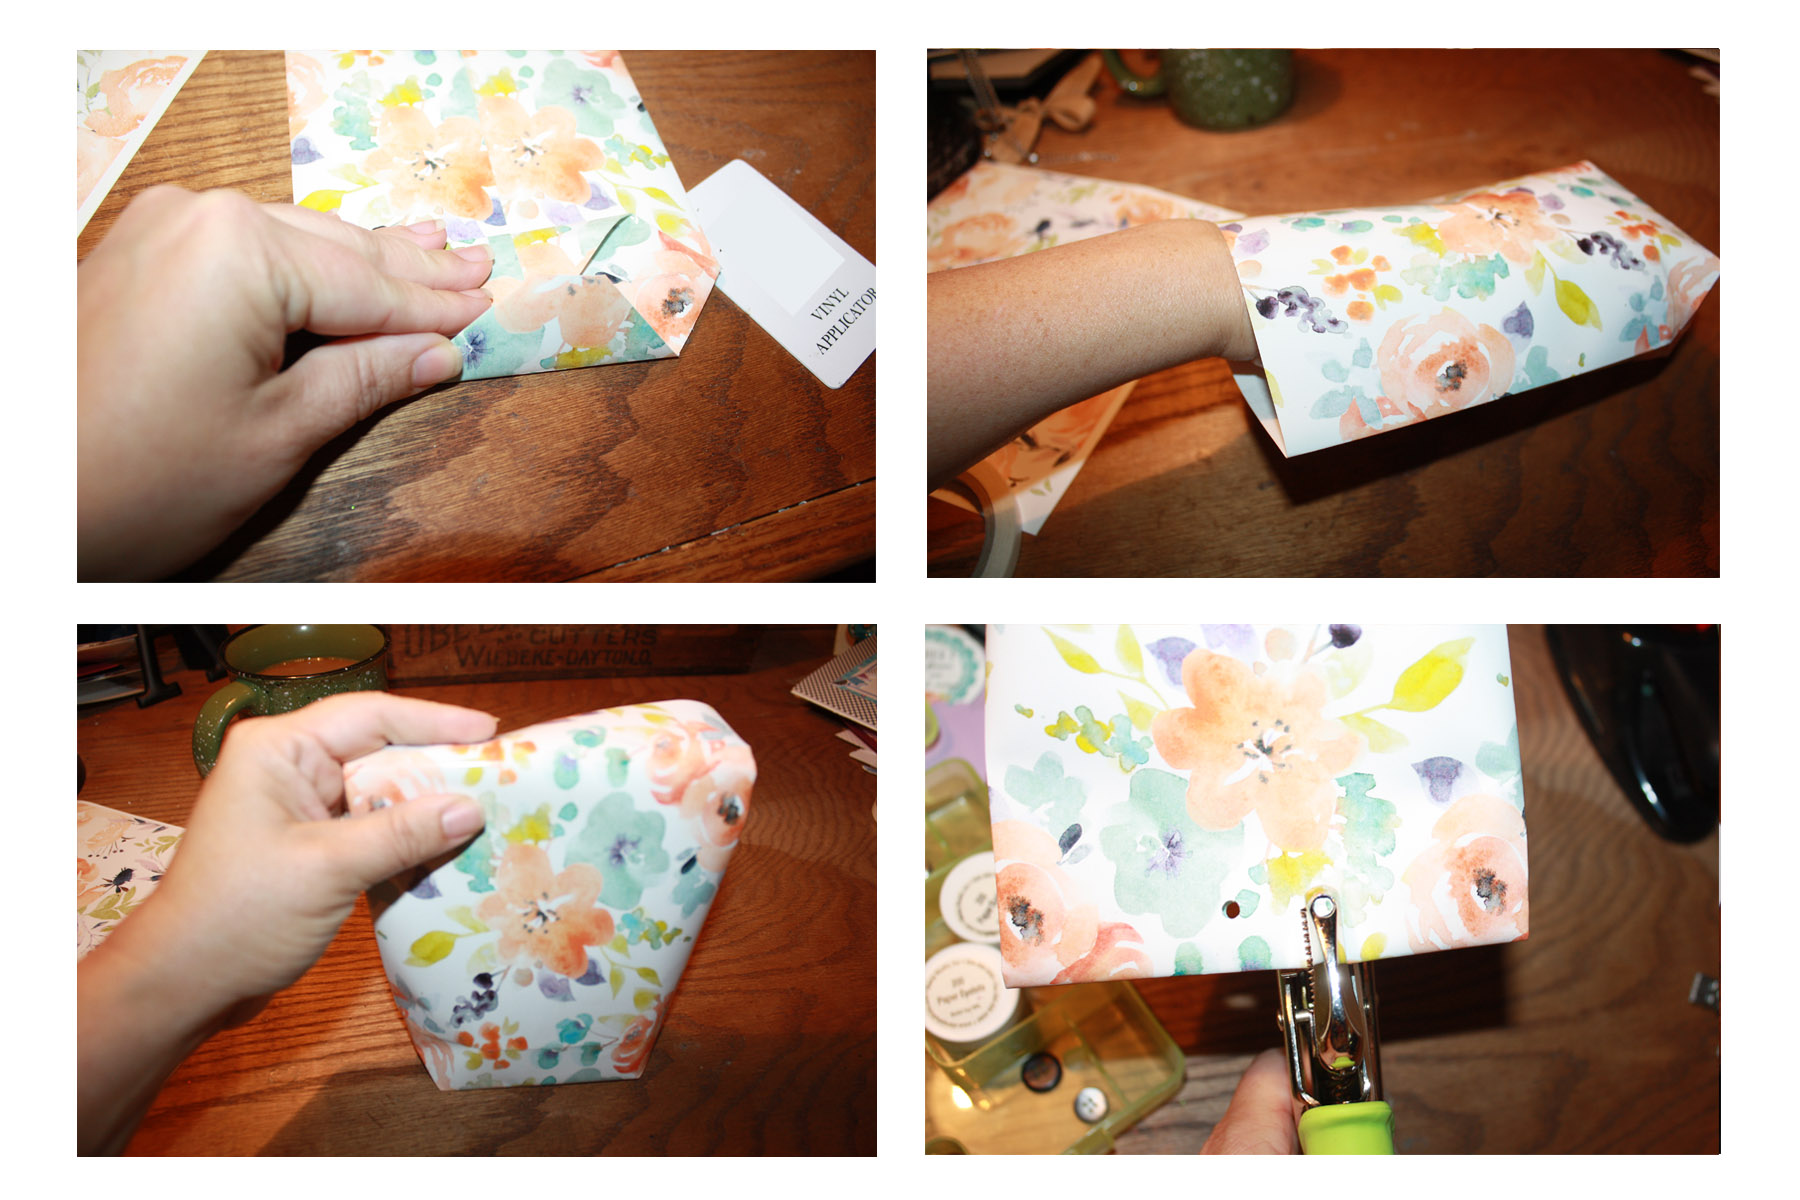
Now, the fun part — creating the little gift bag! Fold as pictured below. I used a flat card (like a credit card) to get good creases. When making your second fold, overlap just a little and use double-sided tape to hold it together. Then fold the bottom up, as shown…
Now, we’ll open the bottom of the bag as shown… and flatten it down… and then fold the top down…
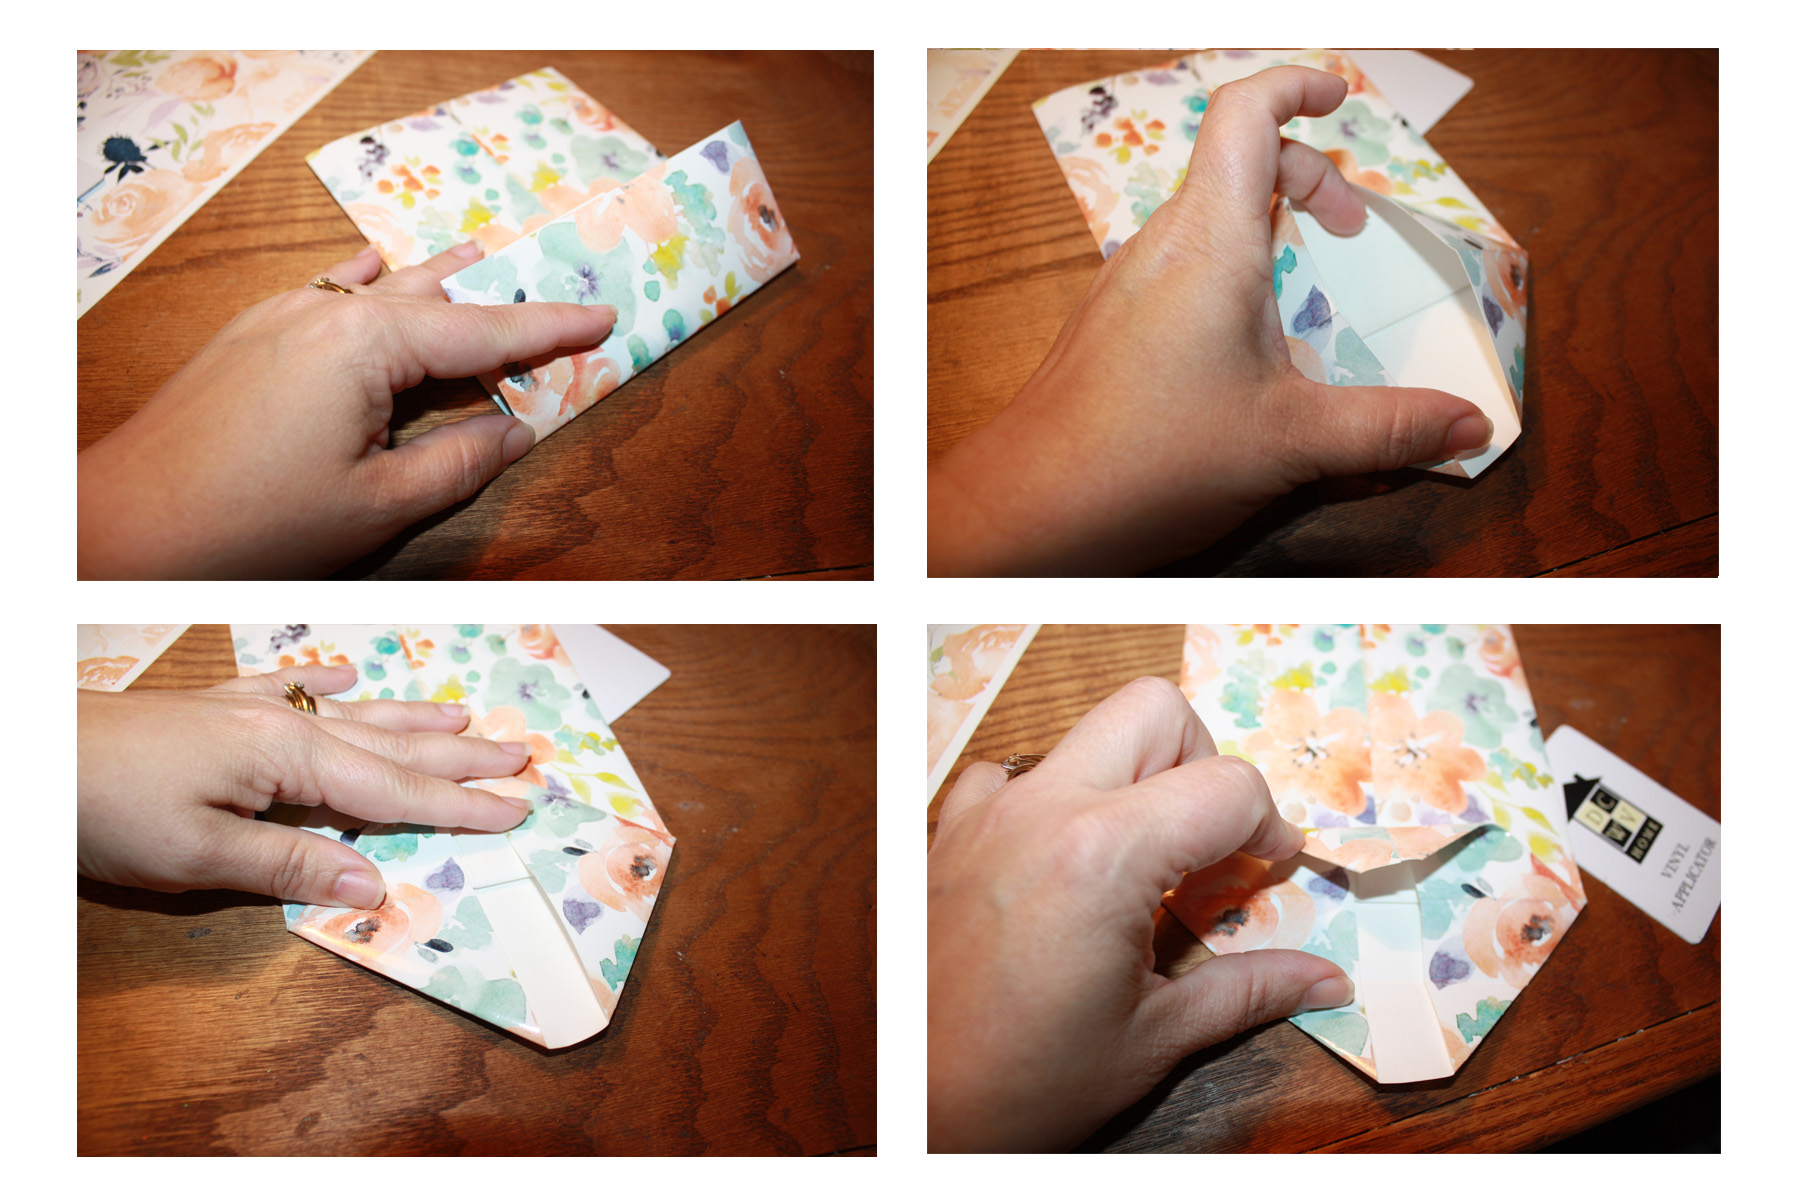
We will do the same to the opposite side by folding the bottom up (I taped with scotch tape). Now, we’ll stick our hand into the bag to open it up. At this point, we’ll want to fold a small portion over and punch holes for the ribbon. Of course we’ll be filling the gift bag with Mom’s favorite treats before closing with the ribbon…
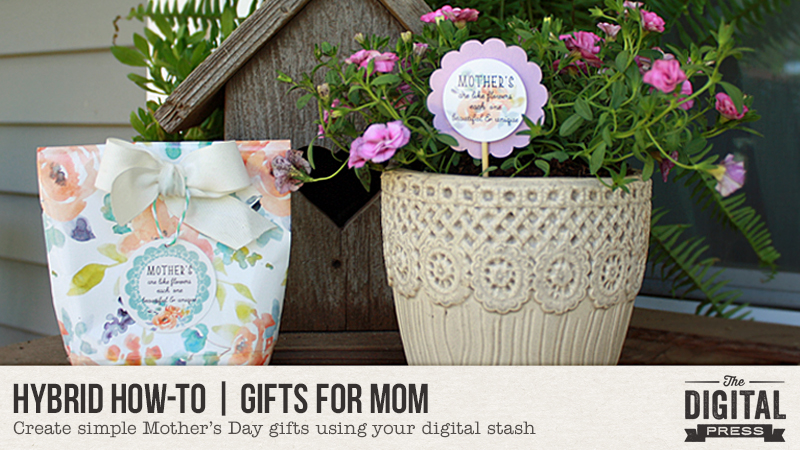
Here is a look at the finished gift bag… isn’t it cute?! Instructions for the tag can be found below, as well. 😉
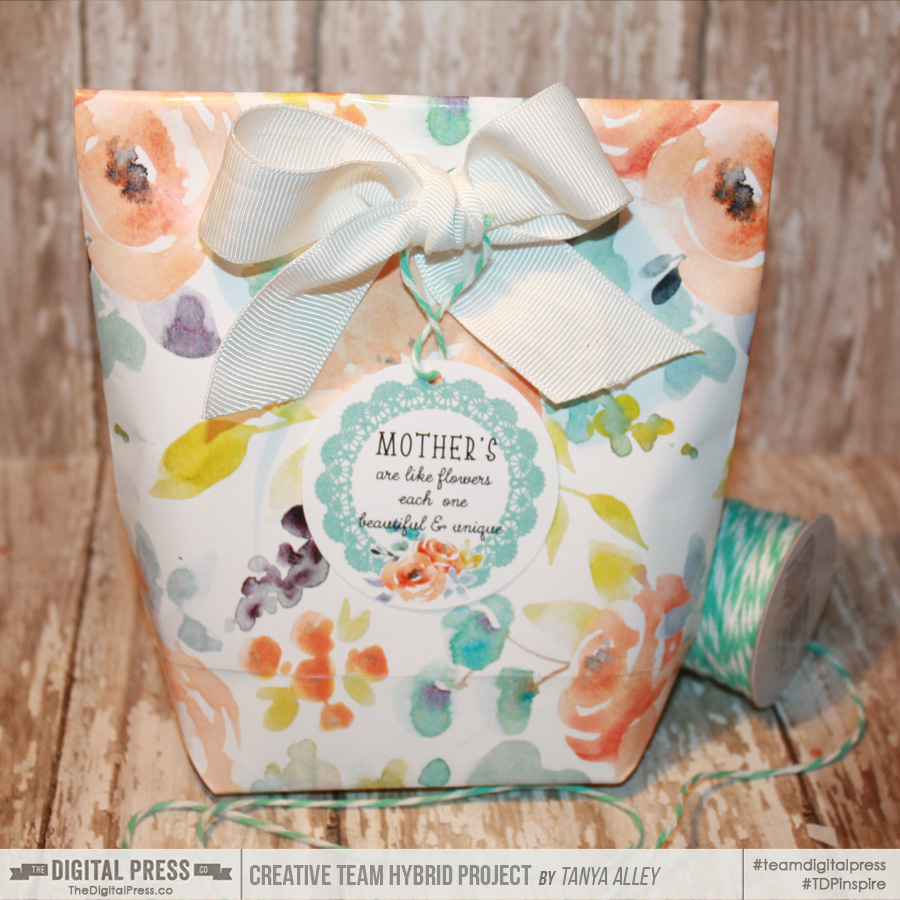
Next, the cute matching tag!
For the tag, I used my Silhouette Studio software again… but just as with the bag, you can use any photo editing software and a couple of punches… no cutting machine necessary. I created several choices, including the tag that you saw on my gift bag, above… and also, a cute plant flag…

Like I mentioned, above… even though I used my Silhouette to cut out my tags, it’s not a must. You can see below how I also used a couple of hand-held punches…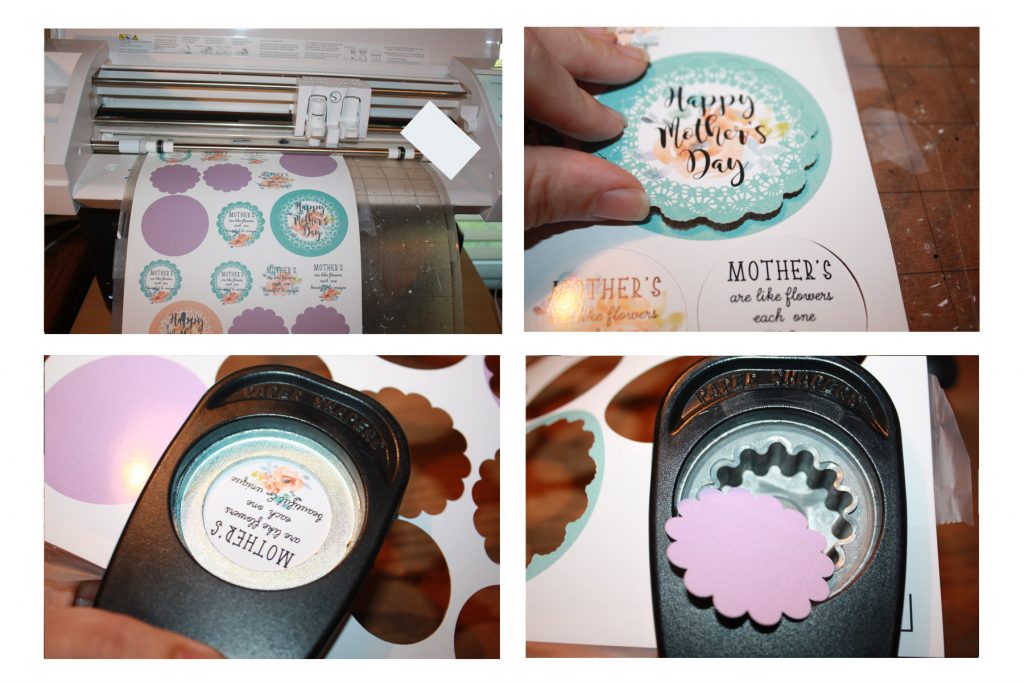
Next, we will take the bamboo skewer and a couple of the printed pieces… and make a plant flag with all of it. The bamboo skewer will likely be too long, so we will need to trim it with a pair of scissors. We’ll also add a couple of pop dots to the back of the top layer of the flag (I also used a small piece of tape to secure the skewer down). Now we attach to the scalloped circle to create a pretty plant flag for Mom…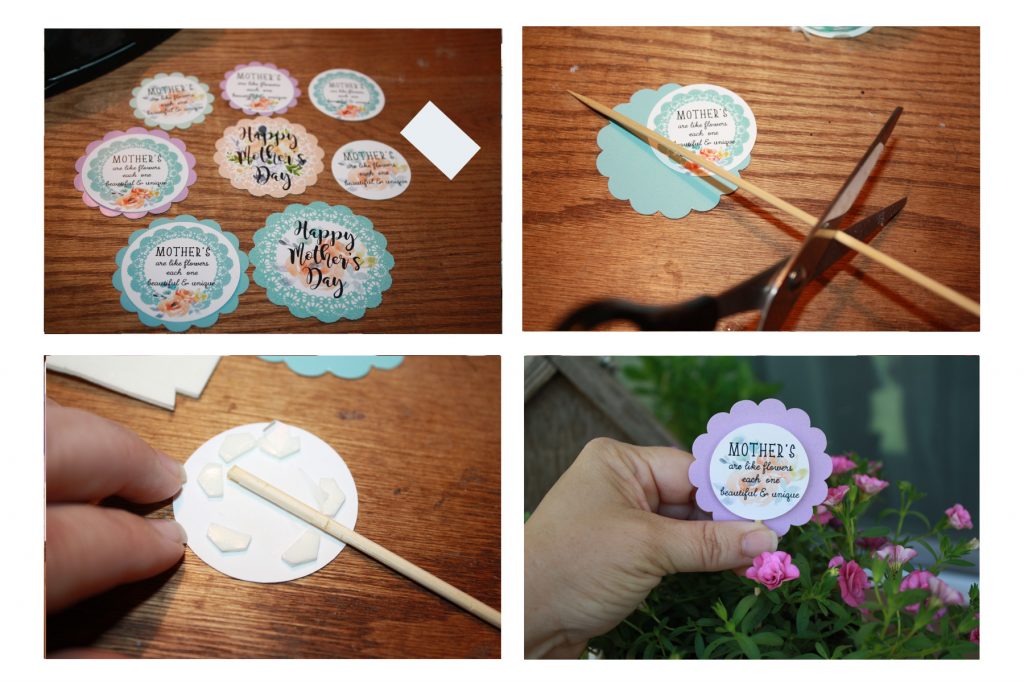
Here is a look at the finished project. Just a little touch to let Mom know we went the extra mile to make her feel special…
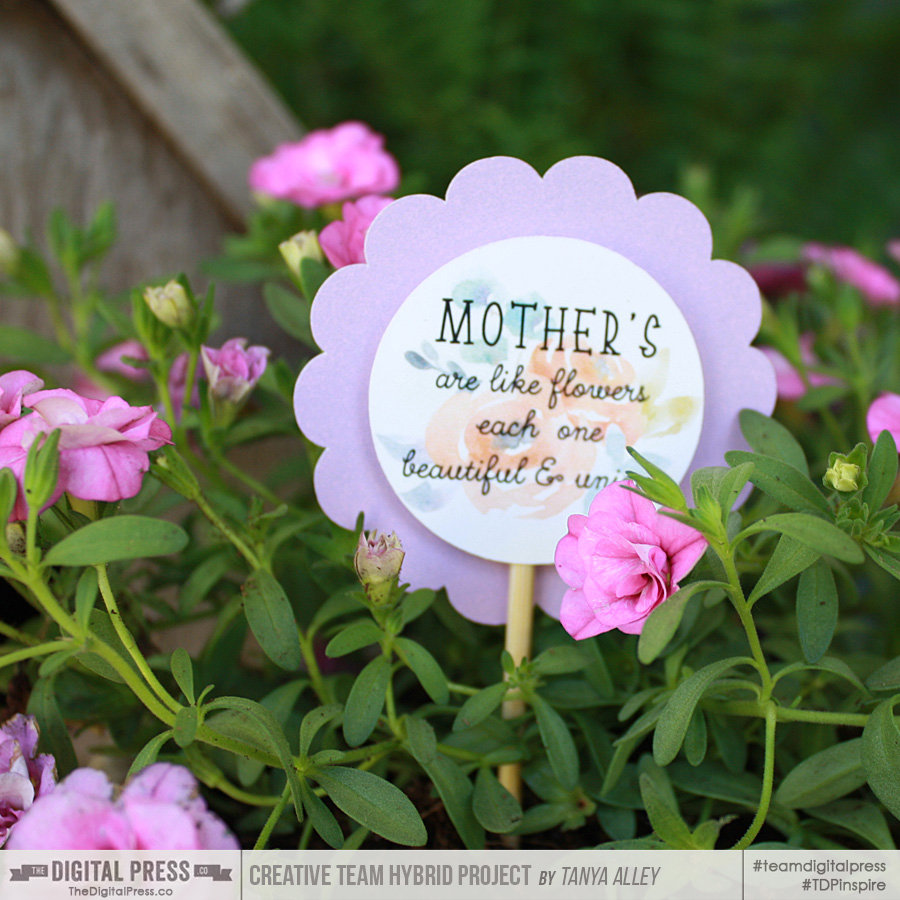
Aren’t they so adorable?
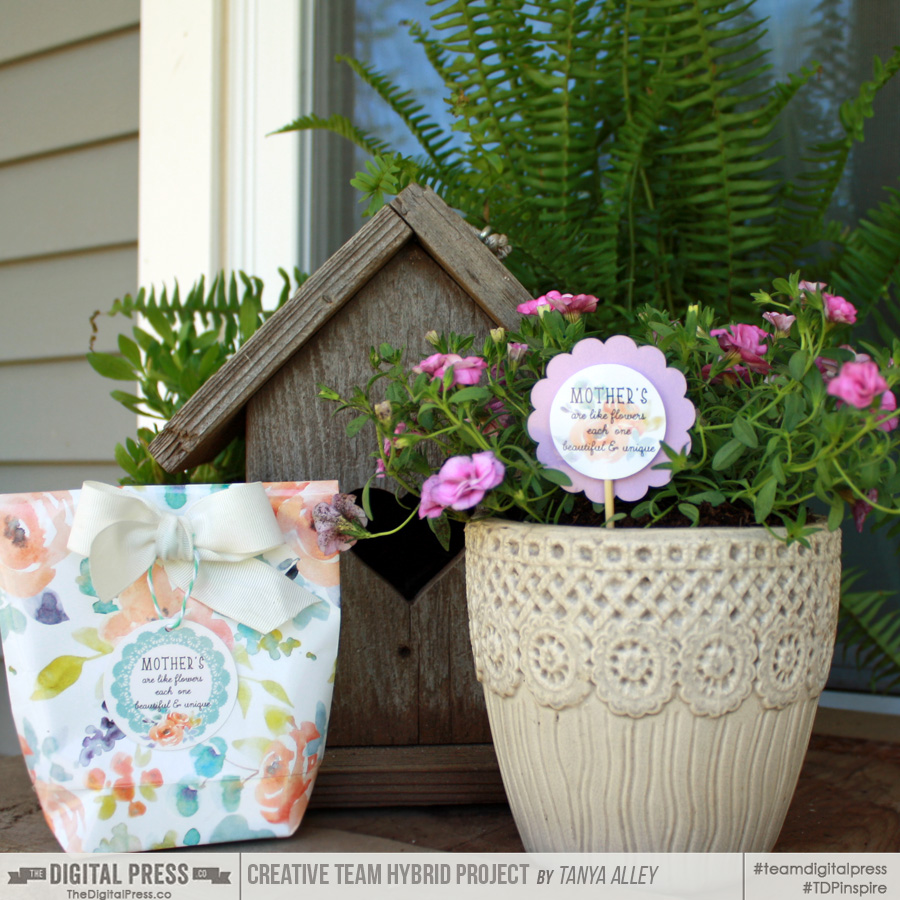
I hope that you have enjoyed this edition of Hybrid How-To. Don’t forget to visit the CROSSWORD SECTION in The Digital Press forum, and jump into this month’s Hybrid Challenge if you are thinking of trying this project. You can earn points toward discounts & FREEBIES! I hope that you will join in!
About the Author Tanya is a part of the hybrid team here at The Digital Press. She has been hybrid crafting for at least 16 years now, and loves creating and sharing those creations with others. Her all-time favorite tool is her Silhouette Cameo. She has been married for 29 years to her high school sweetheart, Richard and has two sons: Chris, 26 and Chance, 22. She also enjoys crocheting, photography and woodworking.

