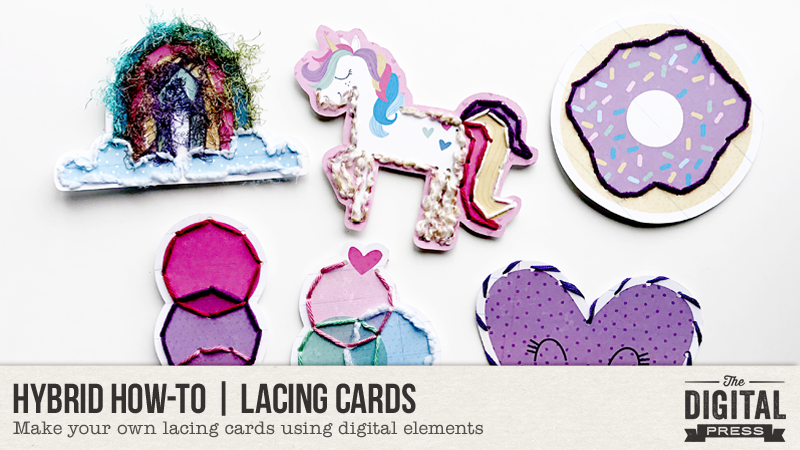
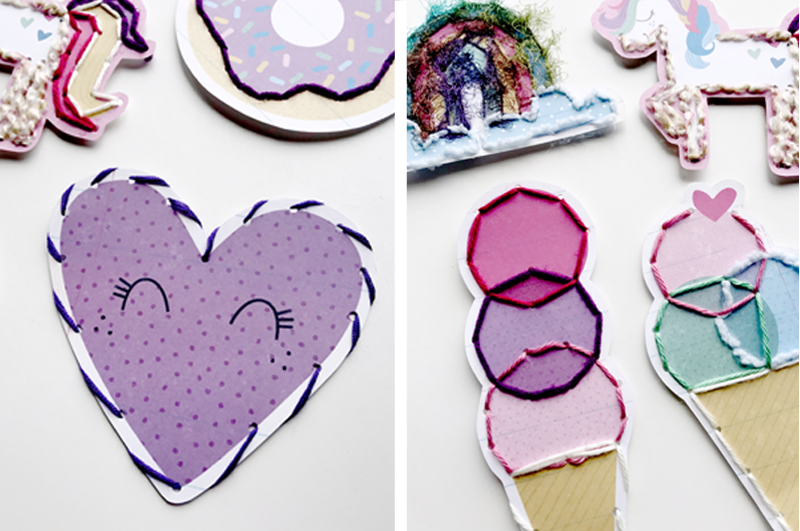
Hello, everyone! Welcome to another edition of our Hybrid How-To series here on The Digital Press blog! Today, I am here to show you how to make these adorable lacing cards using digital elements from your favorite digital kits.
Supplies Needed
- Digital kit of your choice (I used Be A Unicorn by Mari Koegelenberg)
- Cardstock
- Scissors (or cutting machine if you prefer)
- Hole punch
- Yarn
- Yarn needle
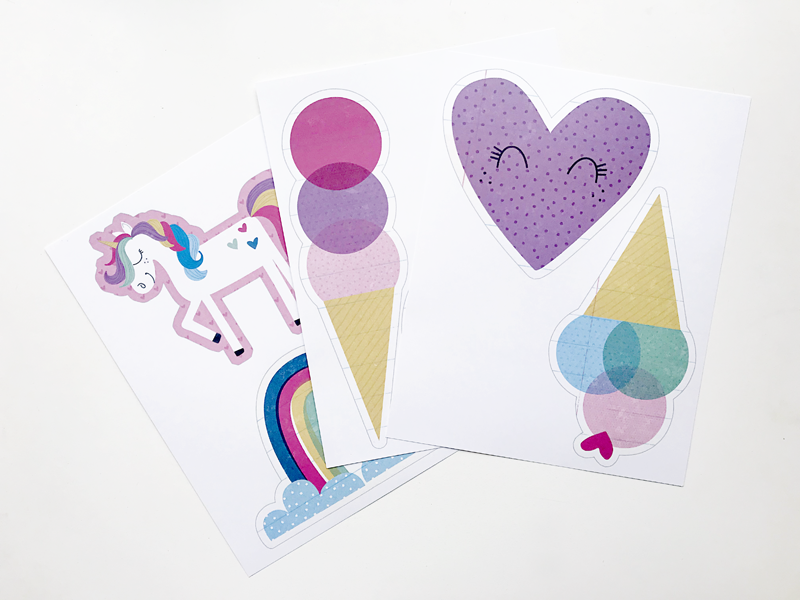
The first step is to select the images you want. I try and stick with simple images that will be easy to trace with yarn. The unicorn in this was more complicated than I would normally want, but I just really wanted that unicorn!
I enlarged them a bit, added two images per page, printed and cut them out.
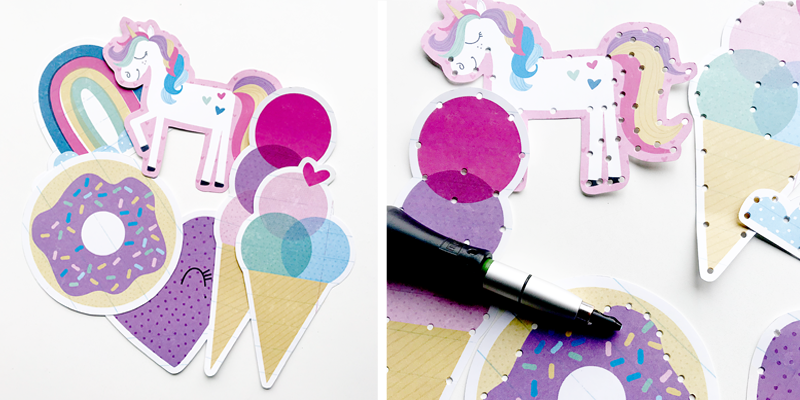
I used an eyelet punch to make the holes around each image. Make sure the yarn needle can fit through the punch you’re using.
And that’s it! They’re ready to go.
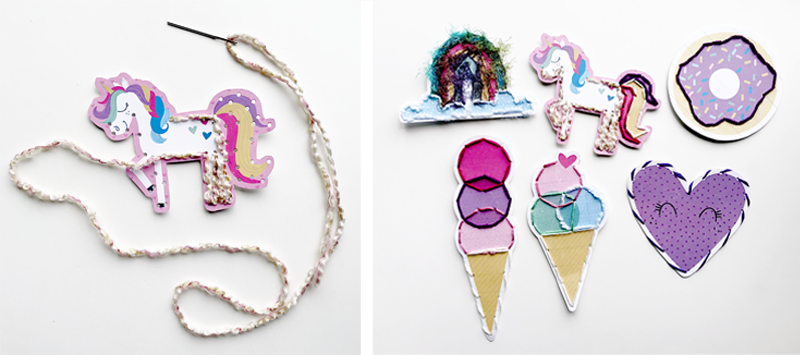
I used to laminate them to give them more durability, but our local lamination place shut down and so I started letting the kids use them without the laminate and found it was just fine. Because they’re so quick to make, I can easily print and cut new ones using new images each time. My kids love lacing cards!
 About the Author Kate is on the hybrid team here at The Digital Press. She lives on the Utah/Colorado border with her husband, 5 kids, 10 chickens, a dog named Gracie, and a cat named Kit. She’s a city-born girl who found she’s really a country girl at heart. She can be found outside, barefoot, and probably in her garden.
